
Transform Your Tangles: The Ultimate DIY Hanging Jewelry Organizer for a Clutter-Free Life
Every jewelry enthusiast knows the struggle: tangled necklaces, mismatched earrings, and bracelets lost in the depths of a drawer. It’s a common dilemma that leads to wasted time, damaged pieces, and often, choosing not to accessorize at all simply because the effort of sifting through clutter feels overwhelming. For years, my jewelry collection was a chaotic mess, hidden away and rarely enjoyed. Then, I embarked on a simple yet transformative DIY project that not only brought order to my accessories but also added a touch of elegance to my master bedroom wall. This isn’t just a jewelry organizer; it’s a piece of functional art that makes getting ready a joy instead of a chore. If your precious adornments are currently suffering from disorganization, prepare to discover how you can create this beautiful and practical hanging jewelry organization system in just an afternoon, all without breaking the bank.
My journey into the world of organized jewelry truly began a few years ago, thanks to my incredibly talented friend, Thea. Before meeting her, I wasn’t much of an accessorizer. My jewelry collection was minimal, and what I had usually stayed tucked away. However, seeing her stunning, handcrafted pieces ignited a passion I never knew I had. I remember seeing her exquisite tassel necklace at a church event and immediately had to know where she found such a unique piece. When she revealed she crafted it herself, I was captivated! I convinced her to make one for me for an upcoming family photoshoot, and just like that, a beautiful obsession began. As my collection grew, so did the chaos. Necklaces became intertwined knots, earrings played a constant game of hide-and-seek, and bracelets were often forgotten. The sheer volume of my new treasures quickly outgrew my limited storage solutions, turning my once-modest collection into a disorganized nightmare. It was during a rainy Memorial Day, with an unexpected day indoors, that I decided enough was enough. I channeled my newfound inspiration into creating a solution, and the result was this stunning DIY jewelry organizer. The transformation was instant and incredibly satisfying. Now, I’m thrilled to share the full step-by-step tutorial so you can reclaim your jewelry and display it beautifully too.
A special thank you to DAP for generously sponsoring this post. Please note that this post includes affiliate links for your convenience. This means that if you make a purchase after clicking on a link, I may earn a small commission at no additional cost to you. You can read my complete disclosure policy here.
DIY Hanging Jewelry Organization Tutorial: Crafting Your Custom Display
Creating your own custom jewelry organizer is a rewarding project that allows you to tailor storage specifically to your collection and aesthetic preferences. This tutorial will guide you through crafting two essential components: an elegant earring display and a practical necklace and bracelet holder, designed to work seamlessly together to create a cohesive and beautiful storage solution. By combining these elements, you’ll not only declutter your space but also transform your jewelry into a visually appealing display.
Gather Your Materials: What You’ll Need
Before diving into the creative process, ensure you have all the necessary supplies on hand. Having everything ready will make the project smoother and more enjoyable.
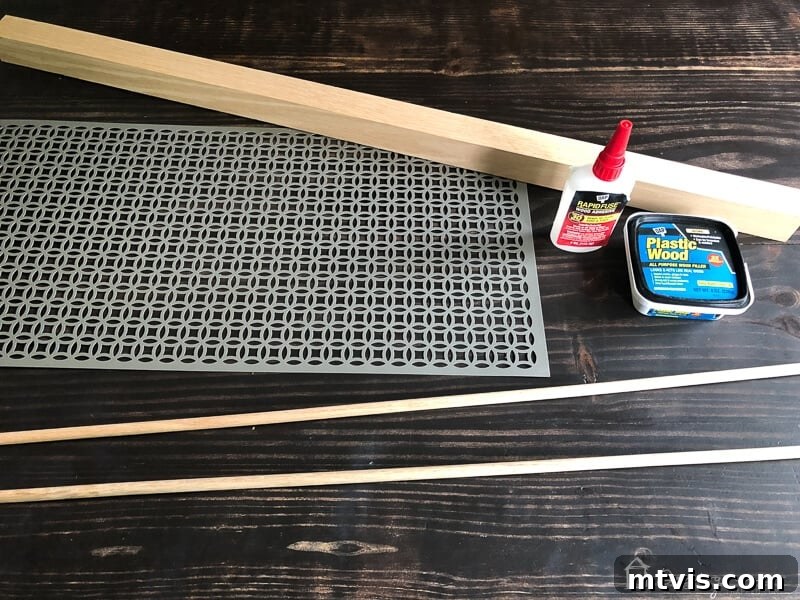
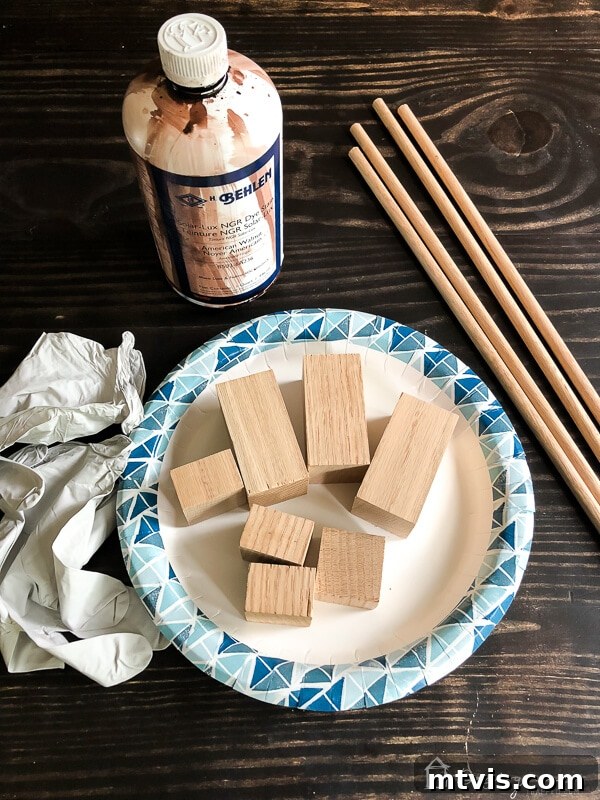
- Decorative aluminum sheet (2 x 3 feet): This is the star for your earring organizer. Its perforated design provides the perfect spots for hooks and studs. I opted for a gold color, but if your local store is out, don’t hesitate to grab another color and personalize it with spray paint!
- DAP Rapid Fuse: A strong, fast-acting adhesive crucial for securely attaching your wood pieces. Its quick set time makes the assembly process efficient.
- 2 x 2 piece of solid wood (e.g., oak): This forms the structural foundation for both parts of your organizer, offering durability and a classic look. Oak provides excellent stability and takes stain beautifully.
- 18″ wood dowel: Ideal for hanging necklaces and bracelets, preventing tangles and allowing for easy selection.
- Hand Miter Saw Box: An essential tool for precise angle cuts, especially if you don’t have access to power tools.
- Compound Miter Saw (optional): For those with access to power tools, this will make quick and accurate cuts, saving time.
- Clamps: Indispensable for holding pieces securely in place while the adhesive cures, ensuring strong bonds.
- Wood stain: To enhance the natural beauty of the wood and match your desired aesthetic. Choose a color that complements your room’s decor.
Crafting Your Elegant Earring Organizer: Step-by-Step Guide
This section focuses on creating the beautiful mesh panel that will elegantly display all your earrings, keeping them visible and untangled.
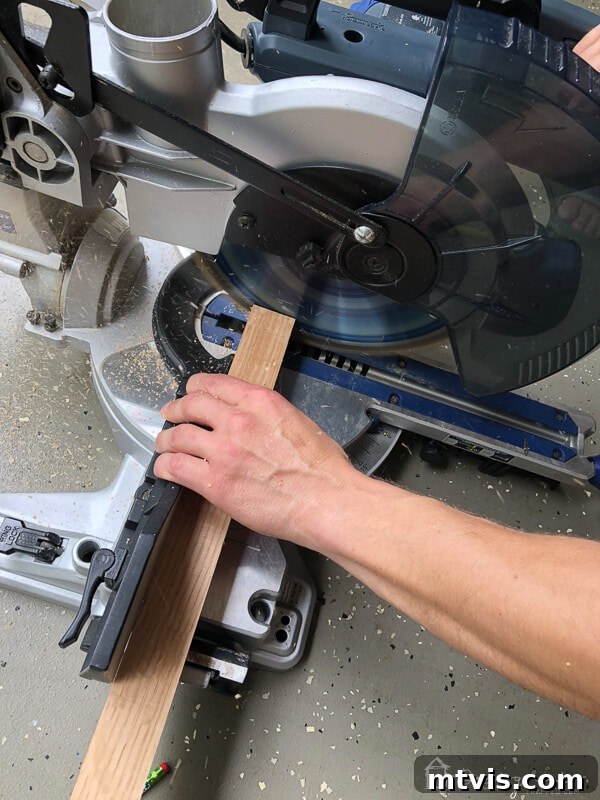
1) Prepare Your Corner Blocks: Begin by carefully cutting four precise 1-inch thick corner blocks from your 2 x 2 piece of solid wood. These small but sturdy blocks will provide the necessary support and depth for your decorative aluminum sheet, giving it a framed, floating appearance. While a compound miter saw offers speed and precision, a reliable Hand Miter Saw Box paired with a sharp hand saw will achieve excellent results. Take your time to ensure all four blocks are uniform in size for a balanced look.
2) Sand and Stain for a Flawless Finish: Once your blocks are cut, lightly sand all surfaces to remove any rough edges or splinters. This step is crucial for achieving a professional finish and preparing the wood to absorb stain evenly. After sanding, apply your chosen wood stain. Staining not only adds a rich color but also protects the wood, enhancing its natural grain. I personally recommend this particular stain for its beautiful depth and ease of application. Allow adequate drying time according to the product instructions.
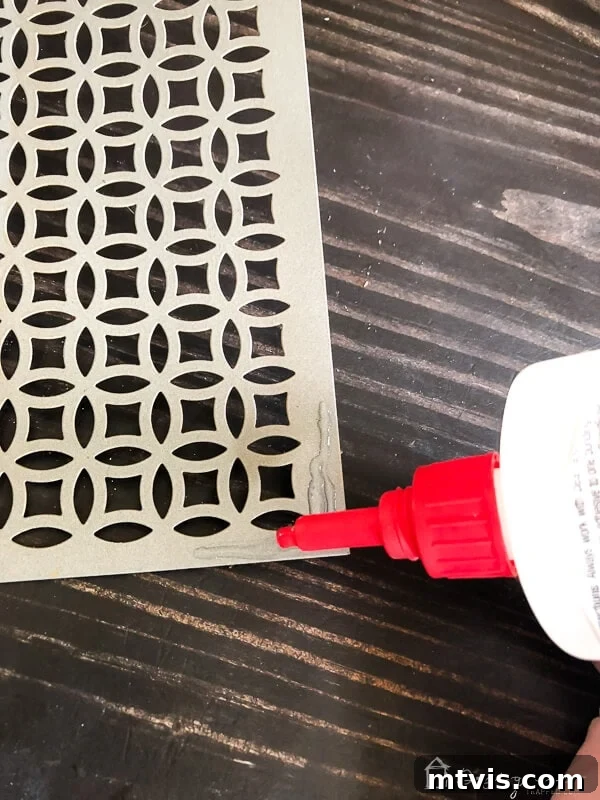
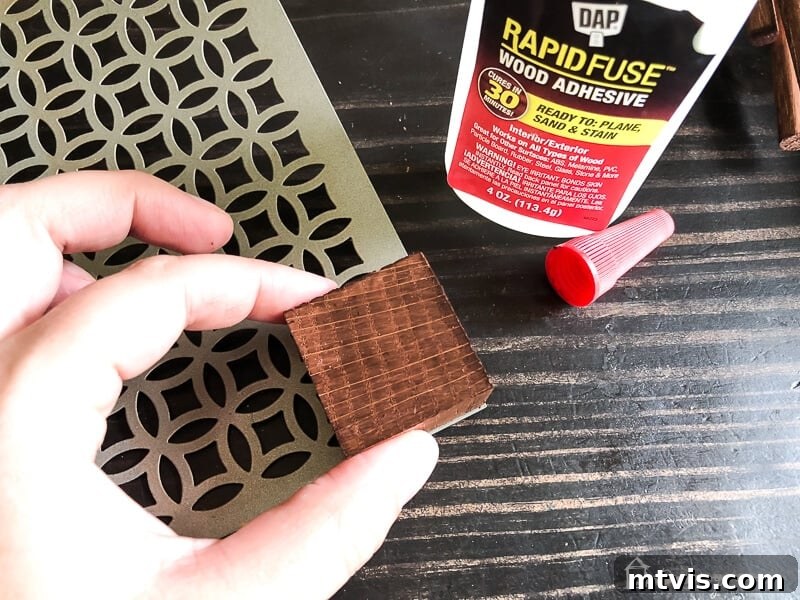
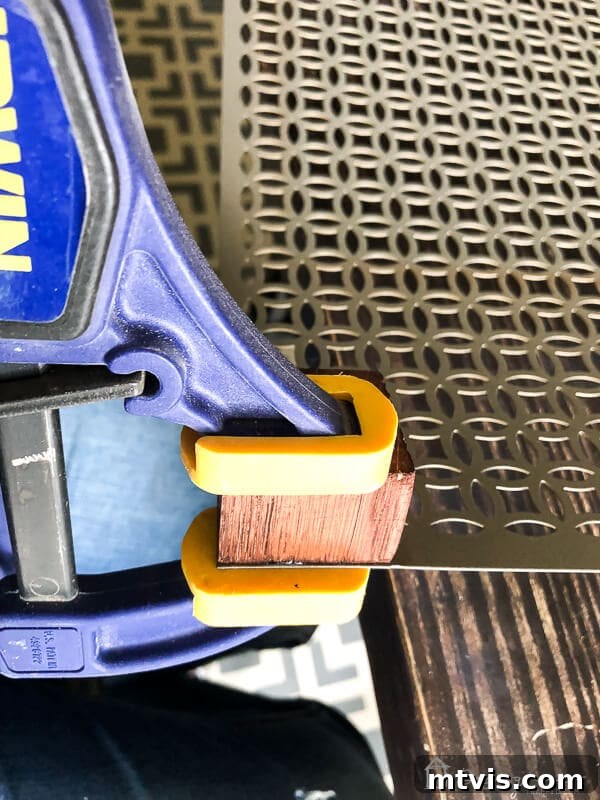
3) Secure the Aluminum Sheet: Now it’s time to bring the components together. Apply a thin, even bead of DAP Rapid Fuse to the corner edges on the back side of your decorative aluminum sheet. Carefully position one of your stained wood blocks onto the glued corner, ensuring it lines up perfectly with the edge of the aluminum sheet. This step requires precision for a clean, professional look. Once aligned, use a clamp to firmly hold the block in place while the adhesive cures. DAP Rapid Fuse is known for its quick set time, but allowing it to fully cure under clamp pressure ensures a strong, lasting bond. Repeat this process for all four corners, creating a sturdy frame for your earring display.
4) Ready to Hang: Once all four blocks are securely attached and the glue has fully cured, your earring organizer is ready for display. For a damage-free installation, apply reliable Command picture hanging strips to the back of each corner block. These strips offer a strong hold without the need for nails, making it easy to hang and reposition if needed.
Assembling Your Necklace and Bracelet Organizer: Simple Steps
This complementary piece will ensure your longer items remain tangle-free and easily accessible, completing your comprehensive jewelry storage system.
1) Cut Necklace/Bracelet Blocks: From your remaining 2 x 2 piece of wood, cut two blocks, each 3 inches long. These slightly longer blocks will serve as the base for your dowel, providing ample support. Just like with the earring organizer, you can use a compound miter saw for speed or rely on a Hand Miter Saw Box for accurate cuts. Precision here contributes to the overall stability and aesthetics of the finished piece.
2) Prepare the Dowel: Take your 18-inch wood dowel and carefully cut it in half, resulting in two 9-inch pieces. These shorter dowels are the perfect length for hanging multiple necklaces or a collection of bracelets without overcrowding. A simple hand saw works perfectly for this task, allowing for clean, straight cuts.
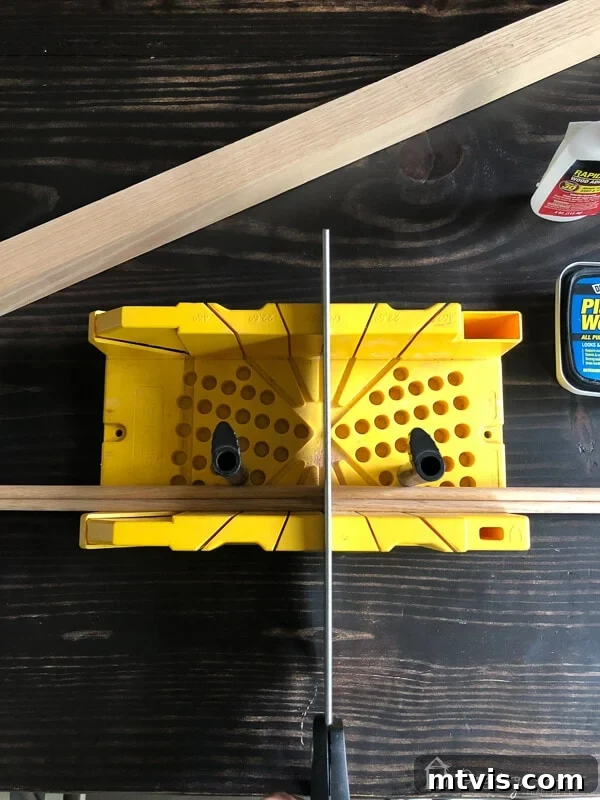
3) Sand and Stain for Cohesion: Just as with the earring organizer blocks, lightly sand the newly cut 3-inch blocks and the dowel pieces. This ensures a smooth finish and prepares them for staining. Apply the same wood stain you used previously (again, this is the stain I used), ensuring a consistent look across both parts of your jewelry organization system. Allow ample time for the stain to dry completely.
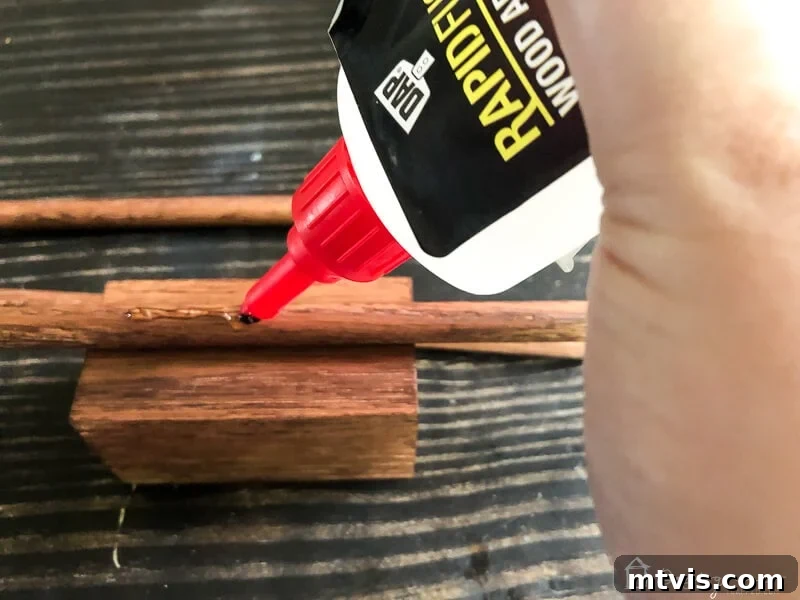
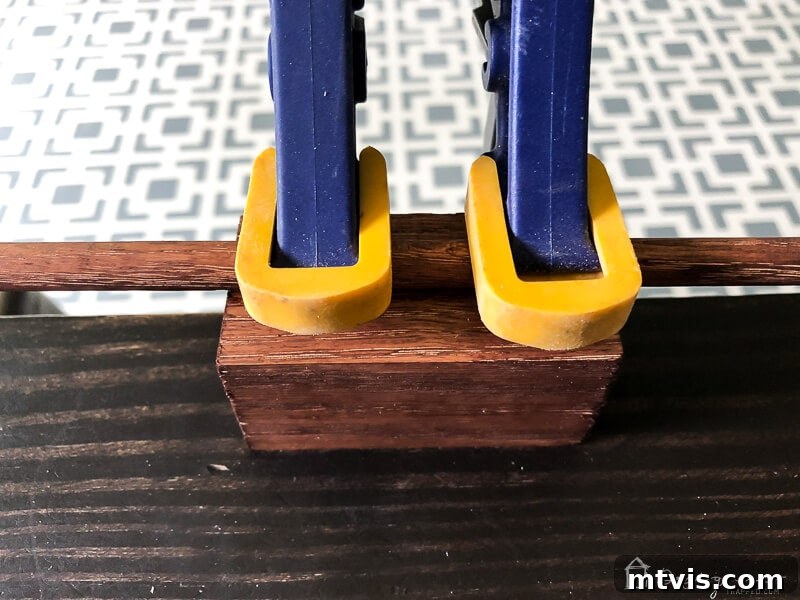
4) Assemble Dowel to Block: Apply a small amount of DAP Rapid Fuse to the center of one of your stained wood dowel halves. Carefully center this dowel onto one of the 3-inch stained wood blocks. Once perfectly aligned, use a clamp to secure the dowel firmly to the block. This clamping action is vital for creating a strong, lasting bond as the adhesive sets. Repeat this step for the second dowel and block assembly.
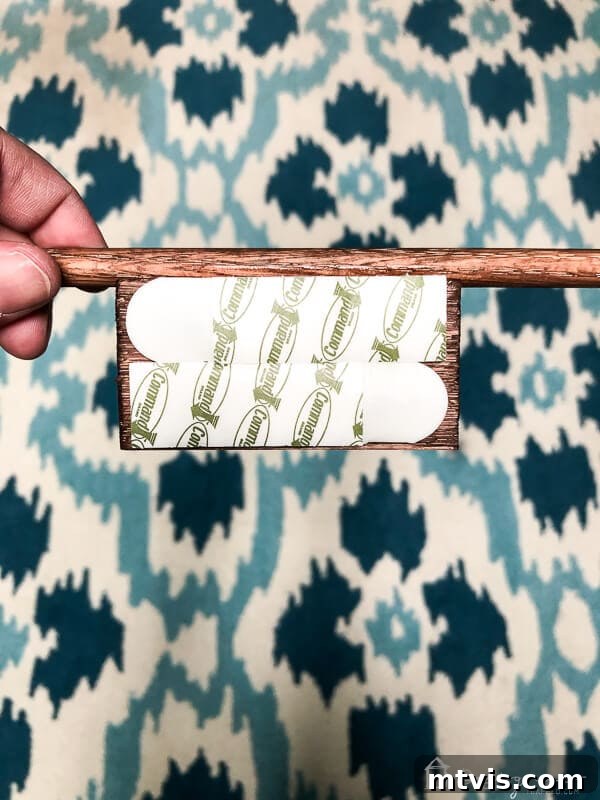
5) Mounting Your Necklace/Bracelet Holders: With the adhesive fully cured, your necklace and bracelet organizers are ready to adorn your wall. Similar to the earring organizer, attach Command picture hanging strips to the back of each 3-inch wood block. These strips offer a secure yet removable hanging solution, perfect for arranging your jewelry display exactly how you envision it in your space.
The Beautiful Result: Enjoying Your Organized Collection
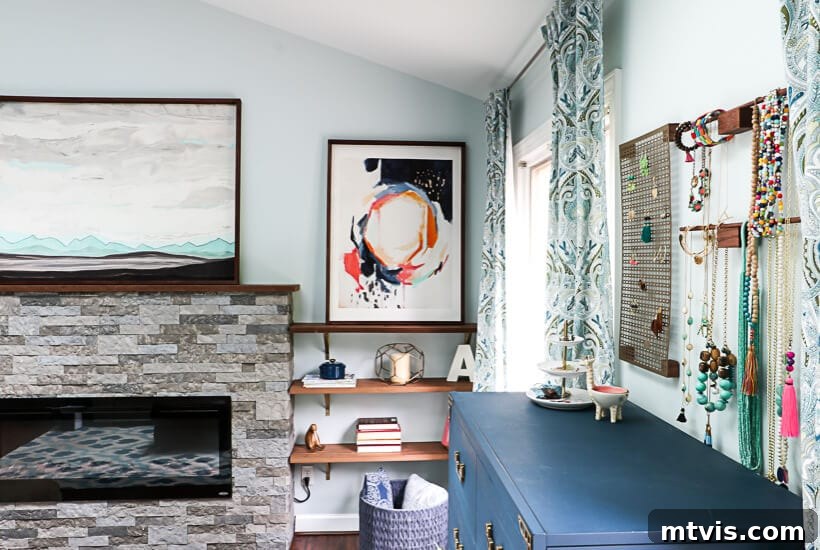
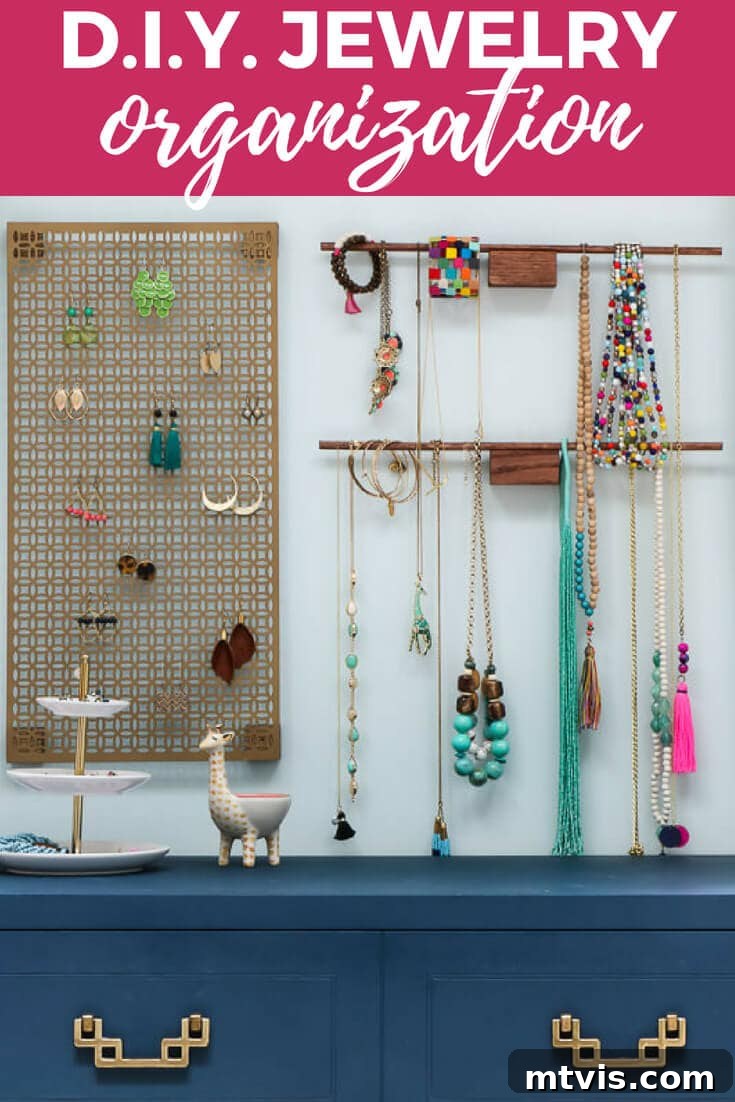
I’m absolutely thrilled with how this hanging jewelry storage system transformed my space! The combination of the decorative aluminum sheet for earrings and the wooden dowel holders for necklaces and bracelets not only solved my organizational woes but also created a stunning focal point in my master bedroom. Every piece is now easily visible, accessible, and beautifully displayed, making it a joy to choose accessories each day.
Imagine no more fumbling through cluttered drawers or untangling delicate chains. This DIY solution brings both practicality and aesthetic appeal, elevating your daily routine and showcasing your treasured jewelry collection as the works of art they are. The satisfaction of creating something so functional and beautiful with your own hands is truly unmatched. It’s a personalized touch that store-bought organizers simply cannot replicate.
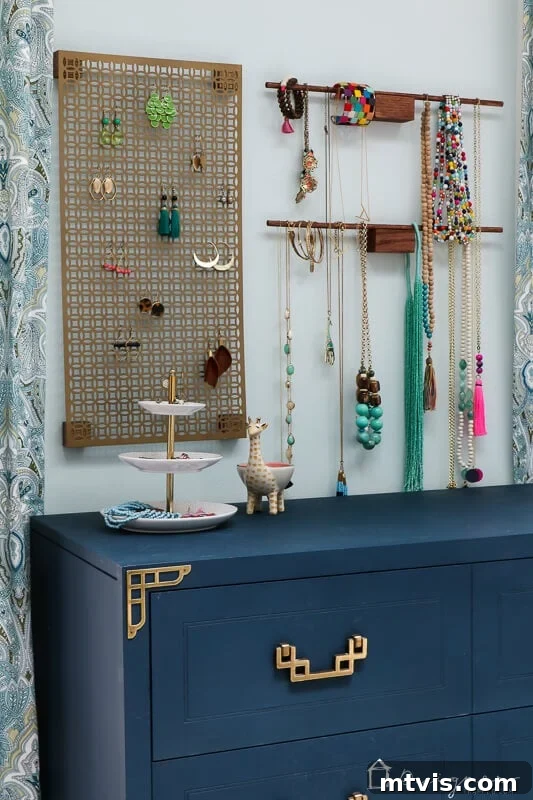
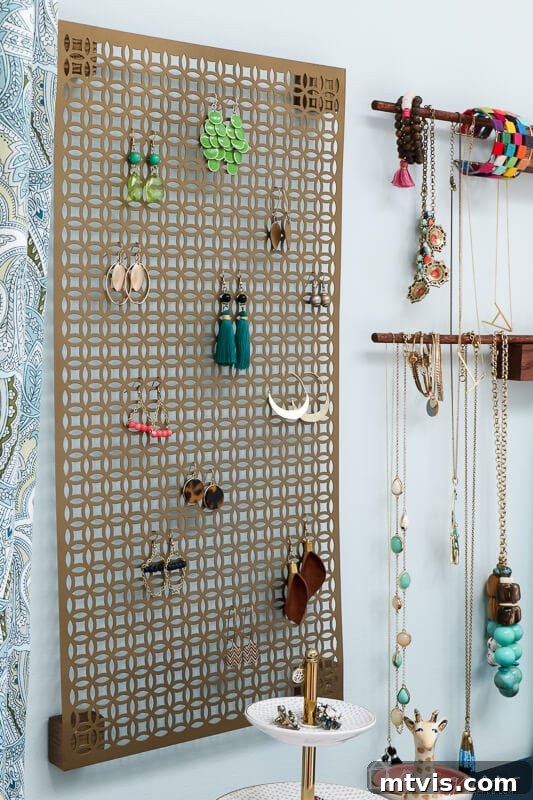
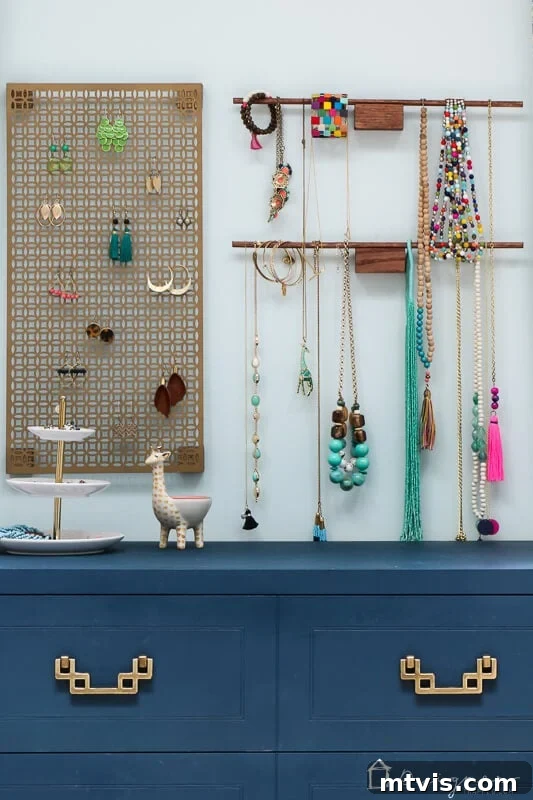
Why This DIY Jewelry Organizer is a Must-Have:
- Visibility and Accessibility: No more digging! Every earring, necklace, and bracelet is on display, allowing you to quickly find exactly what you need. This saves precious time during your morning routine.
- Prevents Damage and Tangling: By giving each piece its own space, you protect delicate chains from tangling and prevent earrings from getting lost or bent. This extends the life of your jewelry.
- Space-Saving Solution: Utilizing wall space frees up valuable drawer and counter space, making your room feel larger and less cluttered.
- Customizable Aesthetic: Choose your own decorative aluminum sheet, wood stain, or even paint the wood blocks to perfectly match your existing decor. This DIY project can be as unique as your personal style.
- Budget-Friendly: Creating this organizer yourself is often significantly more affordable than purchasing high-end commercial jewelry storage solutions, without compromising on style or functionality.
- Satisfying Project: There’s immense satisfaction in creating something beautiful and practical with your own hands. It’s a weekend project that yields lasting rewards.
Tips for Styling Your New Jewelry Display:
- Curate Your Collection: Group similar items together – all gold earrings on one section, silver on another. Arrange necklaces by length or color for visual appeal.
- Mix Textures and Materials: The combination of metal mesh and stained wood already adds visual interest. Consider adding small decorative hooks or clips if you want to hang additional items like rings or headbands.
- Integrate with Wall Decor: Position your jewelry organizer alongside framed art, mirrors, or other wall hangings to create a gallery wall effect. It becomes an extension of your room’s aesthetic.
- Keep it Clean: Regularly dust your organizer and jewelry to maintain its pristine look. A clean display always looks more inviting.
Ready to bring harmony and style to your accessory collection? This DIY hanging jewelry organizer is more than just storage; it’s an invitation to enjoy your jewelry every single day. I encourage you to gather your materials and dedicate an afternoon to this fulfilling project. You’ll wonder why you didn’t do it sooner!
Before you head out, be sure to grab my free guide on how to design a room you love! It’s packed with tips to help you create spaces that truly reflect your style.
Explore More Popular DIY Projects
Looking for more creative ways to enhance your home? Check out some of my most popular projects that blend practicality with beautiful design. From decor hacks to functional crafts, there’s always something new to inspire your next DIY adventure.
