The Ultimate Guide to Repairing Chipped Baseboards and Trim for a Flawless Finish
Baseboards and trim molding are essential elements that frame your rooms, providing a clean, finished look where walls meet the floor. However, over time, these high-traffic areas are prone to accumulating unsightly chips, dents, and dings. Daily wear from vacuum cleaners, playful pets, moving furniture, or even significant home renovations can take a toll, leaving your once pristine baseboards looking worn and detracting from your home’s overall aesthetic.
The good news is that restoring chipped and damaged baseboard paint is a surprisingly straightforward and rewarding DIY project. With the right materials and a clear, step-by-step approach, you can transform tired, damaged trim into a fresh, clean, and polished feature of your home. This comprehensive guide will walk you through everything you need to know to achieve professional-looking results, making your baseboards appear brand new again. Say goodbye to the eyesore of chipped paint and hello to beautifully restored trim!
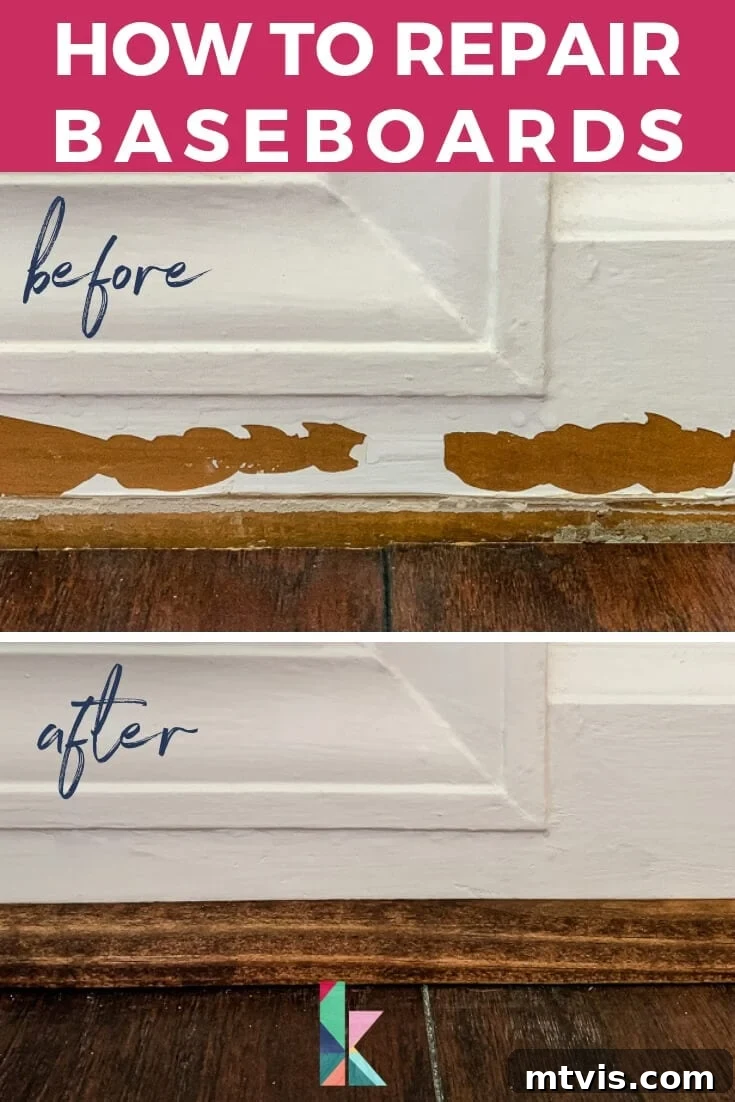
Table of Contents
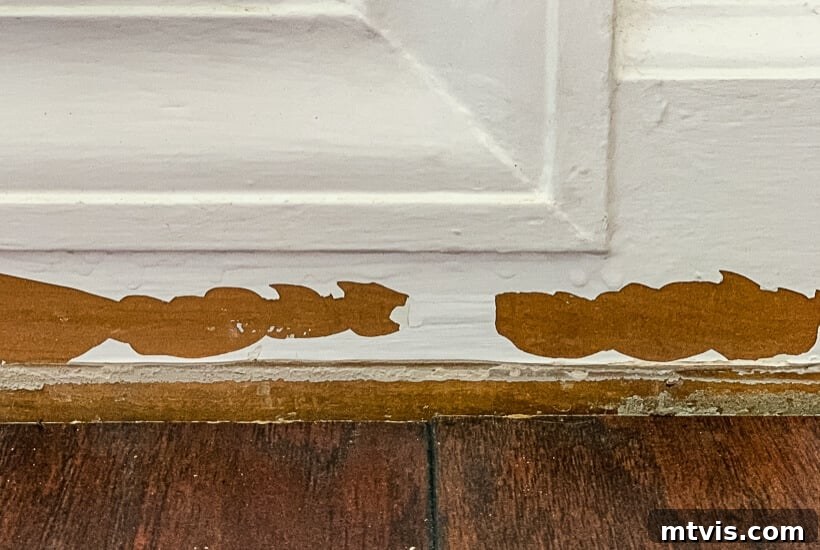
If you’ve ever glanced at the baseboards in your home and felt a pang of disappointment, you’re not alone. It’s perfectly normal for these often-overlooked architectural details to accumulate dirt, chips, and dents over time. While daily life contributes to their wear, baseboards can suffer significant abuse during home renovations. Worn-out baseboards, unfortunately, can diminish the appeal of an otherwise beautifully decorated room, creating an unintentional sense of neglect.
For us, our baseboards endured considerable damage following the extensive demolition required for our first-floor and kitchen renovation. The transformation was nearly complete, but the baseboards were a clear weak point. If you’re currently facing similar challenges and wondering how to repair baseboards to restore their fresh and attractive appearance, then you’ve landed in the perfect spot. All it takes is the right selection of materials and a reliable technique – and I’m here to guide you through every step in this detailed post.
How Our Baseboards Were Damaged: A Renovation Story
Before diving into the repair process, let’s set the stage with a bit of background on how our baseboards came to be in such a state. During our recent renovation, we undertook the significant task of removing an old tile floor in our foyer. Typically, the standard practice for such a project involves completely removing all baseboards before the demolition phase begins. This protects the trim from damage and makes flooring installation much easier.
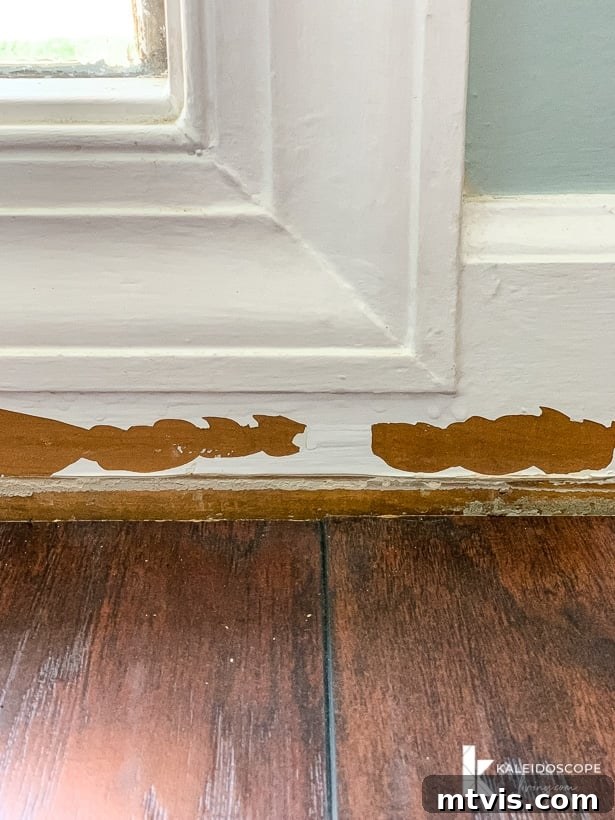
However, we made a strategic exception. We removed most of the old baseboards throughout the area, but we deliberately left a section of baseboards intact beneath the large windows in our foyer. Our primary concern was that attempting to remove these particular baseboards would inevitably lead to damage to the intricate window trim surrounding them. We simply didn’t want to open that “can of worms” and add a more complex, time-consuming repair to our already extensive renovation list. While we anticipated some patching and repair work for all the baseboards we reinstalled, I specifically chose to demonstrate this tutorial on the areas that suffered the most severe damage on these left-in-place sections. This approach vividly illustrates that even significant baseboard damage is entirely repairable by a DIY enthusiast like you. When you’re dealing with less severe damage, the process is even simpler and quicker!
A big thanks to DAP Products for sponsoring this post. This post contains some affiliate links for your convenience. Click here to read my full disclosure policy.
How to Repair Baseboards: A Detailed Step-By-Step Tutorial
Ready to give your baseboards a fresh lease on life? This comprehensive tutorial will guide you through each stage of the repair process, from preparing the surface to applying the final coat of paint. Follow these steps carefully to achieve a smooth, professional finish that will dramatically improve the look of your trim.
Essential Materials Needed for Baseboard Repair
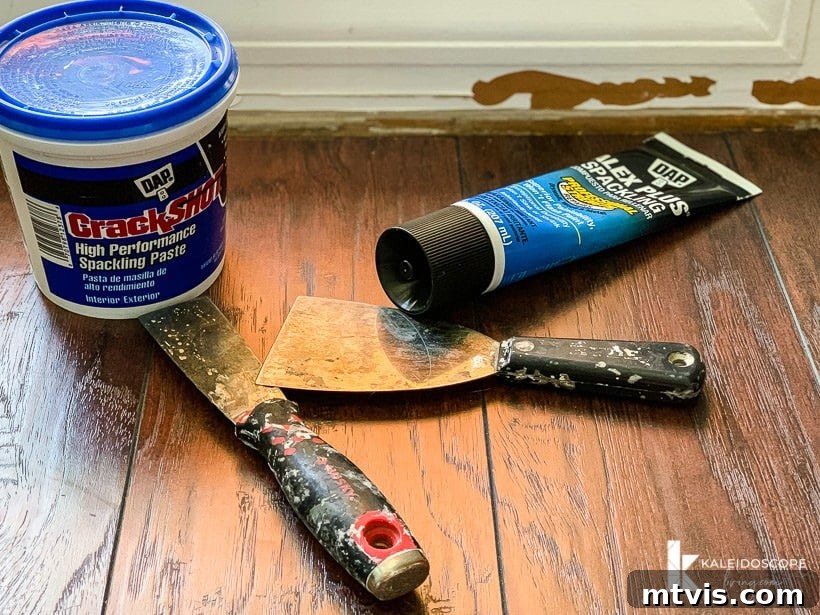
- Spackling Compound: We highly recommend DAP Alex Plus Spackling for its exceptional smoothness and ease of use. It truly feels like a hybrid of caulk and spackle, offering excellent workability. If Alex Plus isn’t available, DAP Crack Shot Spackling Paste is an excellent alternative.
- Putty Knife: A flexible, medium-sized putty knife (around 2-3 inches) is ideal for applying and smoothing spackle. A larger one can be useful for scooping out material from a tub.
- Sandpaper: Fine-grit sandpaper (180-220 grit) is crucial for smoothing patched areas and ensuring a seamless transition before painting.
- Caulk (if needed): DAP Alex Plus Caulk is perfect for filling gaps where the baseboard meets the wall or floor. This flexible sealant prevents cracks and creates a crisp line.
- Caulk Gun: Necessary for applying caulk neatly and efficiently.
- Trim Paint: Select a high-quality interior paint in your desired color and sheen. For trim, a semi-gloss or high-gloss finish is typically recommended for durability and easy cleaning. We consistently use Behr Ultra-White in a Semi-gloss finish for a classic, clean look.
- Paintbrush: An angled paintbrush (1.5-2 inches) is best for precision work on trim, allowing you to “cut in” cleanly along edges.
- Damp Cloth: For wiping away dust and excess spackle or caulk.
- Optional: Painter’s Tape: If you’re not confident in your brush skills, painter’s tape can protect adjacent surfaces.
Step 1: Prepare the Surface by Removing Loose and Peeling Paint
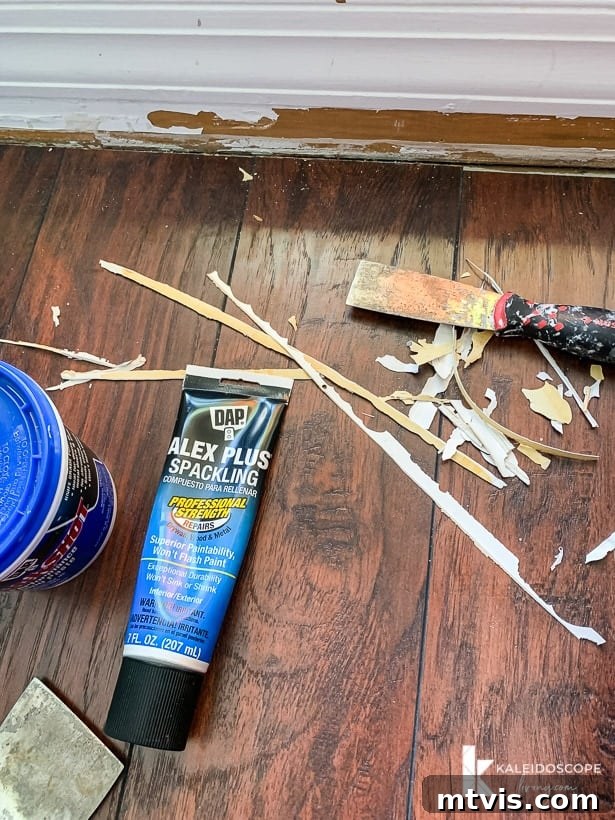
The foundation of any successful paint repair lies in proper surface preparation. Begin by thoroughly inspecting the damaged baseboard for any loose, flaking, or peeling paint. Using your putty knife, gently scrape away any paint that is no longer firmly adhered to the baseboard. For areas with old caulk lines or remnants from removed quarter-round trim, carefully scrape these away as well. The key word here is gently. Avoid aggressive scraping, which can gouge the wood or create new imperfections, ultimately leading to more work for yourself.
Focus only on the paint that lifts easily with minimal pressure from your putty knife. If the paint is still firmly bonded to the baseboard, leave it undisturbed. The goal is to create a stable, clean surface for the new spackling and paint to adhere to. After scraping, use a stiff brush or a damp cloth to wipe away all dust and debris from the baseboard and surrounding area. A clean surface is paramount for optimal adhesion and a smooth finish.
Step 2: Expertly Patch and Fill the Damaged Areas with Spackle
Now it’s time to tackle the imperfections themselves. For all our baseboard repair work, we relied on DAP Alex Plus Spackling. This product is a personal favorite due to its remarkably smooth consistency, making it far easier to work with than many other spackle varieties. Its unique texture is like a perfect blend of caulk and spackle, providing excellent adhesion and a professional finish.
If DAP Alex Plus Spackling isn’t readily available, our second choice would be DAP Crack Shot Spackling Paste. Given the extensive patching required for our baseboards, we found it more efficient to scoop a generous amount of spackling compound onto a larger putty knife, making it easy to access as we worked. For smaller areas, applying directly from the tube can be convenient.
General Spackling Tips for Best Results:
- Application Technique: Scoop a small amount of spackle onto your putty knife. Hold the blade of your putty knife at a 45-degree angle to the baseboard. With a smooth, feathering motion, spread the DAP Alex Plus Spackling over the chipped or dented area. Ensure the imperfection is completely filled, slightly overfilling if necessary, to allow for sanding.
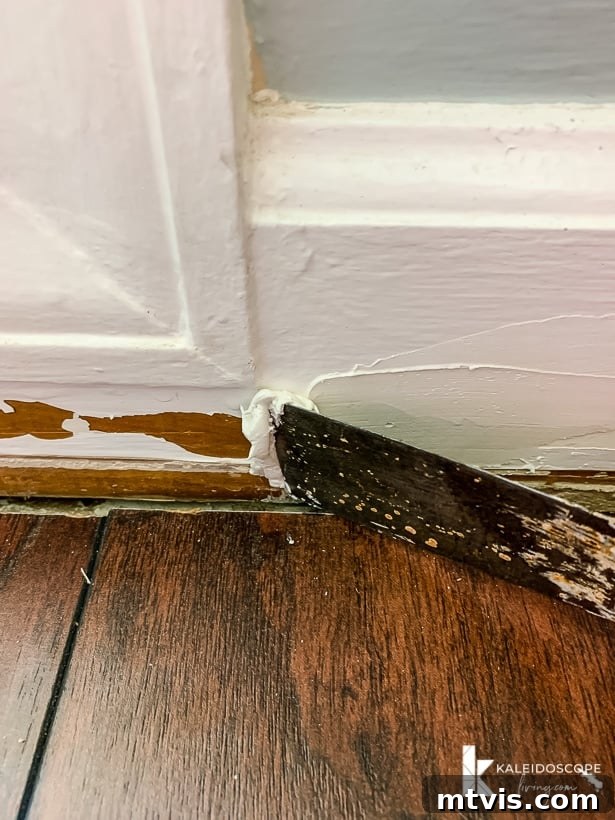
- Removing Excess: Immediately after applying, hold your putty knife at a 90-degree angle to the wall and gently scrape away any excess spackle from the surrounding flat surfaces. Be careful not to pull the spackle out of the imperfection you just filled. Use a damp cloth to wipe away any remaining residue or smudges from the wall or baseboard before the spackle begins to dry, as dried spackle is much harder to remove.
- Layering for Severe Damage: For deeper chips or larger holes, resist the urge to apply one thick coat. It’s always better to apply several thin coats, allowing each to dry completely before adding the next. This prevents cracking and ensures a stronger, more durable repair. Our initial application on highly damaged areas often looks rough, but this is normal.
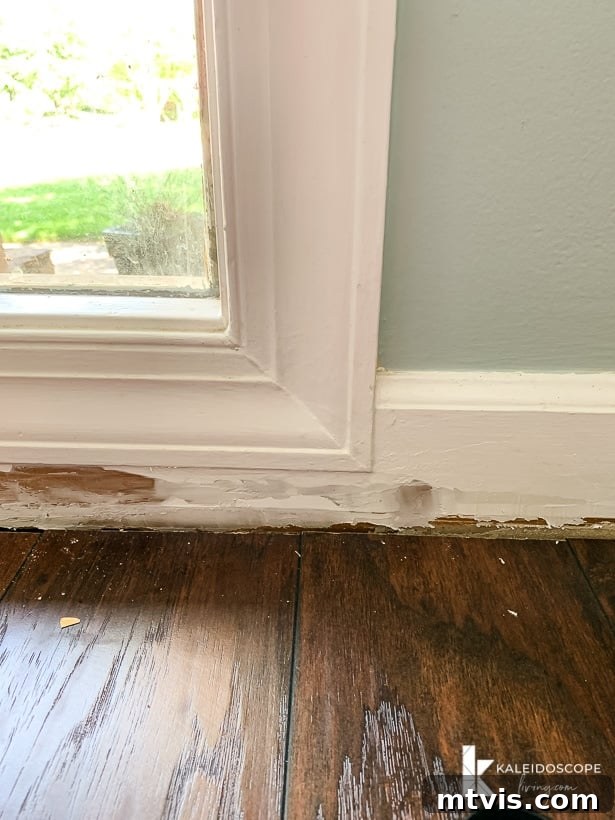
- Drying and Sanding: Once each coat of spackle has thoroughly dried (check product instructions for specific drying times, usually a few hours), lightly sand the patched area with fine-grit sandpaper. The goal is to make the repair perfectly flush and smooth with the existing baseboard surface. Repeat the application and sanding process for additional coats as needed. We typically apply 2 coats to most damaged areas, sometimes a third for particularly stubborn spots.
- Final Prep: After all repair work is complete and the spackle is fully dry and sanded, wipe down the entire baseboard with a damp cloth to remove any lingering dust. This crucial step ensures a clean surface for painting.
For smaller imperfections, such as nail holes from previous installations or decorative accents, the process is even simpler. Just squeeze a small dot of DAP Alex Plus Spackling directly over the hole. Then, use your putty knife to quickly swipe away the excess, leaving only the filled hole. This quick fix is incredibly effective for minor damage.
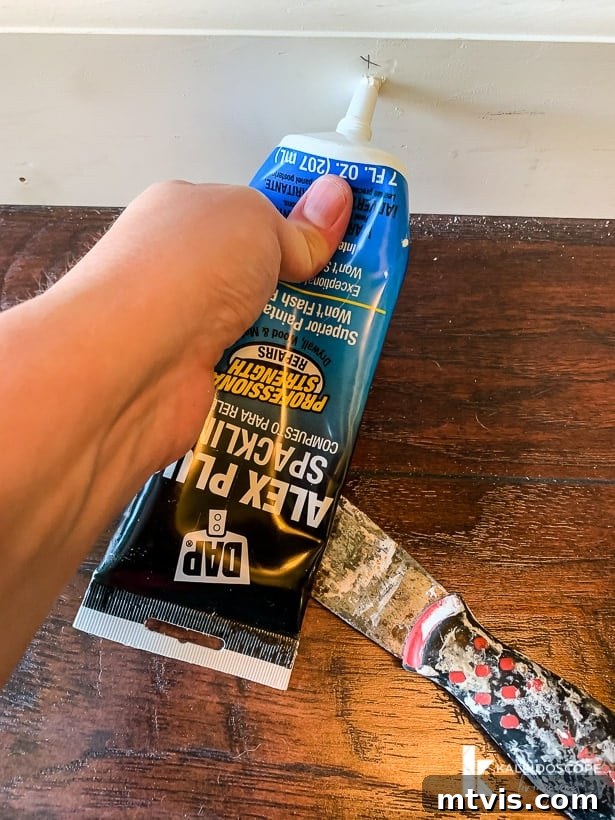
Step 3: Apply Caulk for a Seamless Finish (If Needed)
After your spackle repairs are complete and dry, it’s the perfect time to address any gaps or cracks where your baseboard meets the wall or other trim pieces. This step, while optional for some repairs, is essential for achieving a truly finished and professional look. Since we reinstalled most of our baseboards after removal, we had a substantial amount of caulking to do. The good news is that caulking is generally much easier than spackling, offering quick and dramatic results!
We rely on DAP Alex Plus caulk for all our trim caulking needs due to its excellent adhesion and flexibility, which prevents future cracking. To caulk effectively, load your caulk gun and cut the tip of the caulk tube at a 45-degree angle, making an opening just large enough for the bead you desire. Hold the caulk gun at a consistent 45-degree angle to the seam you are filling, maintaining an even pace as you run a continuous bead along the length of your baseboard. Once the caulk is applied, dip your finger in a small amount of water (this prevents sticking) and gently run it along the bead to smooth out any bumps or inconsistencies. This creates a clean, uniform line that seamlessly blends the baseboard with the wall—easy peasy!
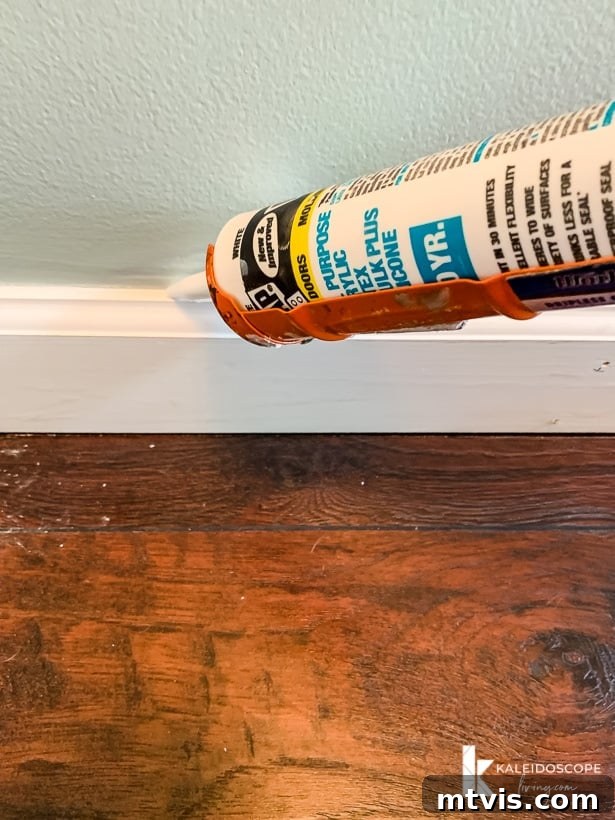
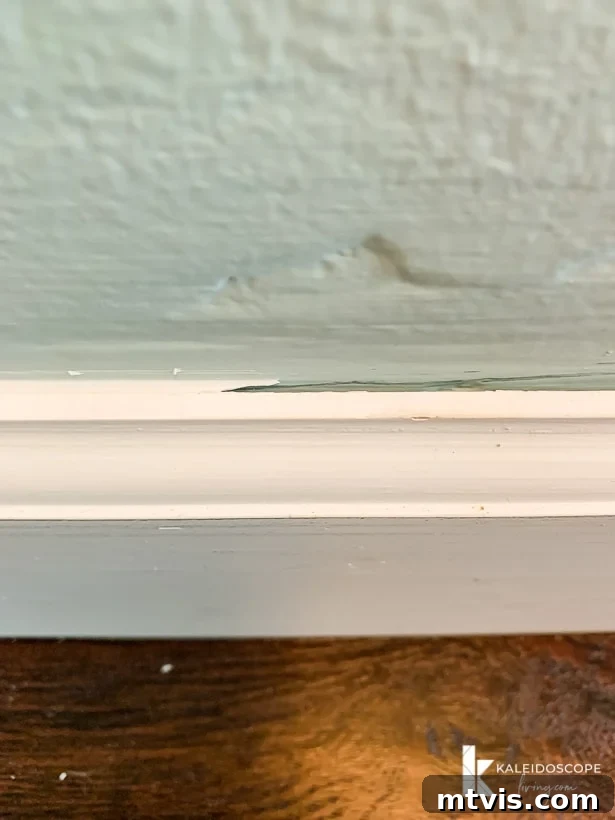
The visual impact of proper caulking is undeniable. Observe the dramatic difference it makes in the photo below, where the baseboard trim meets the wall. Caulking effectively fills in any unsightly gaps, transforming a disjointed junction into a beautifully finished, cohesive line that truly elevates the overall appearance of your room.
Step 4: Paint for a Pristine New Look
With all the repair work meticulously completed and surfaces smooth and clean, it’s finally time for the satisfying step of painting! While most homeowners are familiar with the basics of painting, a few specific tips can help you achieve a truly professional finish on your freshly repaired baseboards. We recommend using an angled paintbrush, typically 1.5 to 2 inches wide, as its design allows for precise control when “cutting in” along edges, minimizing the need for painter’s tape.
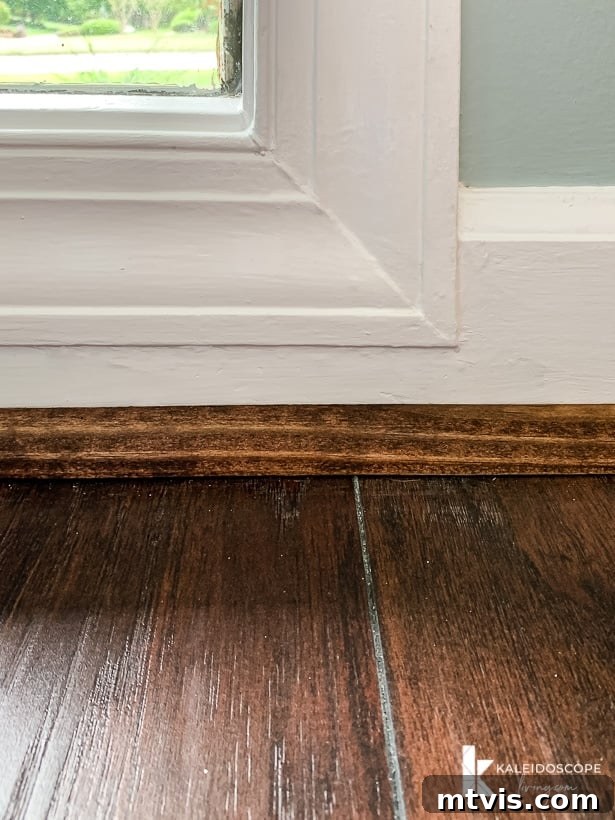
If you’re an experienced painter, you might find you don’t even need to tape off the surrounding floor and wall areas, enabling you to complete this step quickly and efficiently. However, if you’re less confident in your brushwork, or simply prefer added security, it’s highly advisable to apply painter’s tape along the top edge of the baseboard (where it meets the wall) and along the bottom edge (where it meets the floor). This ensures crisp lines and protects adjacent surfaces from accidental drips or smears. Apply two thin coats of your chosen trim paint, allowing adequate drying time between coats for optimal coverage and durability. This final layer of paint will unify the repaired areas, making all the chips, dents, and imperfections disappear, revealing beautifully restored baseboards that enhance the elegance of your entire room.
|
|
And there you have it! Take a moment to appreciate the remarkable before and after comparison above. While perfection is an elusive goal in any DIY project, the improvement is truly a “zillion, trillion” times better. The process wasn’t overly complicated, and the results speak for themselves. You’ve successfully transformed damaged baseboards into a crisp, clean feature that enhances your home’s appeal!
If you’re curious about how we finished off the look by installing quarter-round after repairing our baseboards, be sure to check out our detailed guide on how to install quarter-round molding!
More Essential Home Repair Guides
SEE ALL HOME IMPROVEMENT POSTS
-
How to Fix a Hole in the Wall Yourself the Easy Way!
-
How to Fix a Door That Won’t Close
-
How to Match A Paint Color That’s Already On A Wall
-
How to Repair Holes in Your Doors
-
How to Repair Drywall: Tips for “Smallish” Repairs
-
How to Repair Chipped Baseboards
Wondering how to approach transforming rooms and spaces in your home with confidence? Check out our acclaimed guide, Designer in a Binder®. It provides an affordable and simple methodology to decorate your home like a pro.
And if you’re keen to receive exclusive content, behind-the-scenes sneak peeks, and the latest DIY and design tips straight to your inbox, be sure to subscribe before you go! Join our community and never miss out on valuable home improvement insights.