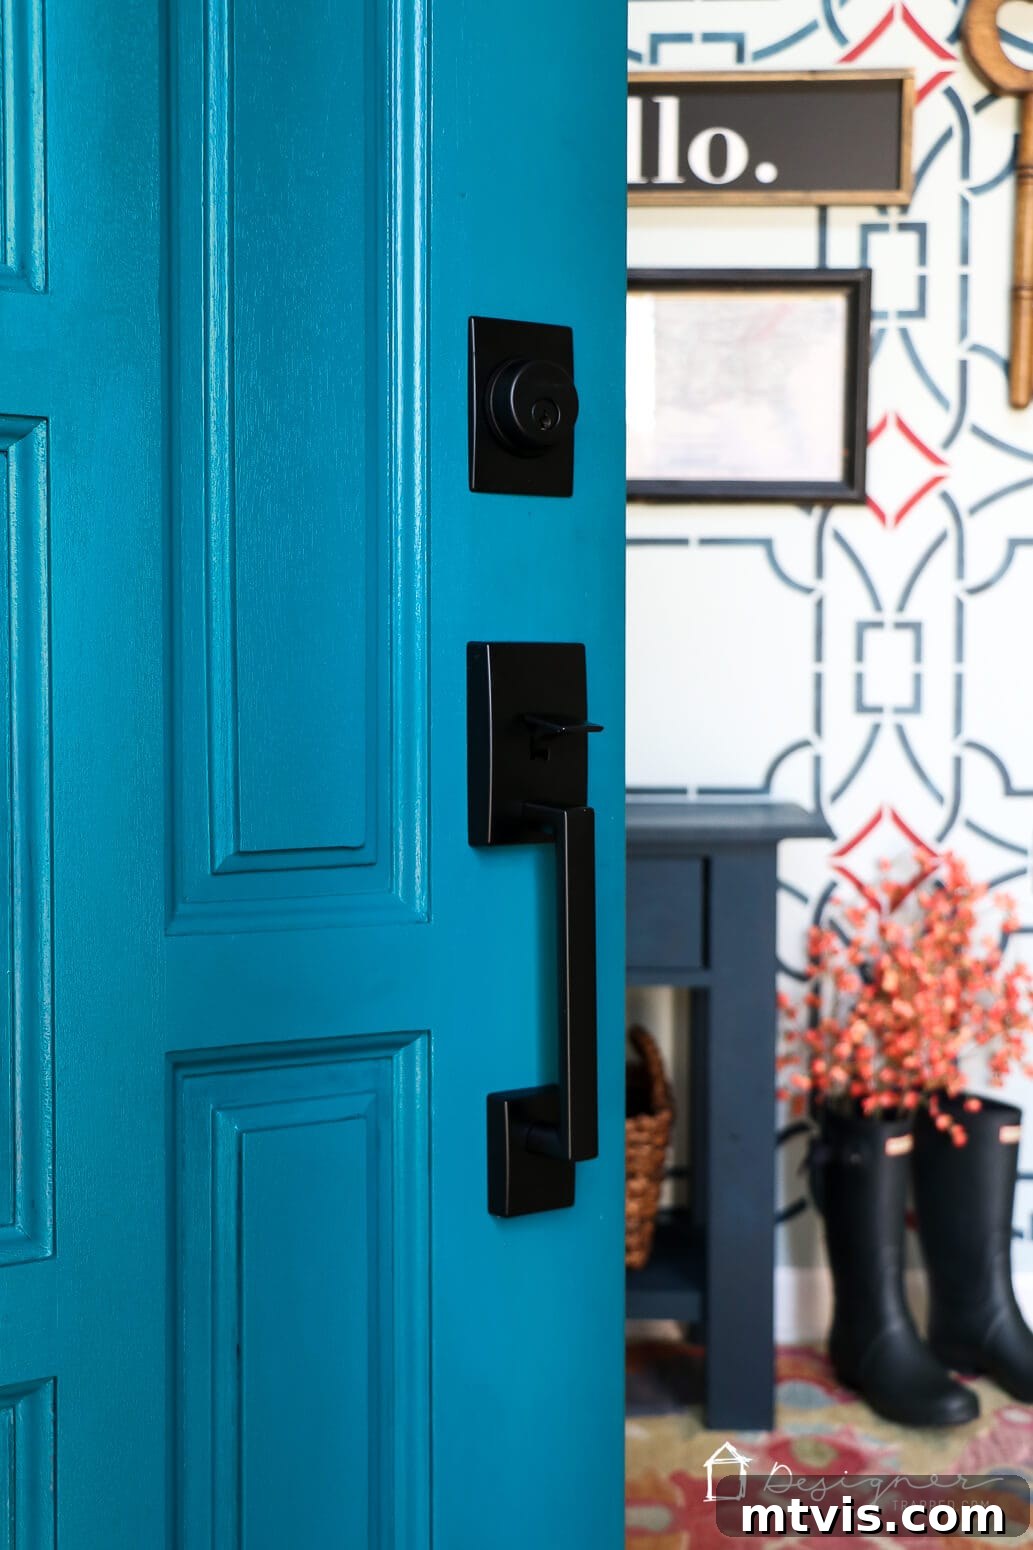
Have you ever encountered unsightly holes in your doors, perhaps from previous hardware installations that didn’t quite align with new fixtures, or even from natural wear and tear like rot? These common issues can detract from your home’s aesthetics and even compromise its security. Fortunately, there’s a simple, effective, and DIY-friendly solution that can restore your doors to their former glory: epoxy putty. This versatile material offers a robust fix for a variety of door damages, allowing you to achieve a smooth, seamless finish. In this comprehensive guide, we’ll walk you through a step-by-step process to effortlessly repair holes in your doors using epoxy putty, transforming them with professional-looking results.

It’s a familiar scenario for many homeowners: you decide to upgrade your door hardware, only to find the new handles or locks don’t perfectly match the existing holes. This often leaves you with a choice: either compromise on your desired hardware or face the task of repairing the door. Beyond hardware changes, doors, especially exterior ones, are susceptible to damage like wood rot caused by moisture exposure, accidental impacts, or even pet scratches. These damages not only look bad but can also weaken the door’s structure, affecting insulation and security. Tackling these repairs might seem daunting, but with the right approach, it’s a manageable home improvement project.
We’ve successfully used epoxy putty to address these very challenges in our own home. This DIY door repair method proved to be an indispensable part of our front door makeover, seamlessly filling holes left by old hardware and preparing the door for a fresh look. The same technique can be applied to mend holes caused by rot, dings, or other forms of damage. Epoxy putty is incredibly adaptable, designed to be easily shaped and molded to fit any repair need, making it an excellent choice for a wide range of door restoration projects.
This post contains affiliate links for your convenience. Click here for my full disclosure policy.
How to Fill Holes in Doors With Epoxy Putty: A Comprehensive Guide
Repairing holes in your door is a rewarding home improvement project that can significantly enhance your home’s curb appeal and functionality. While a video can provide a visual walkthrough, the detailed written instructions below will ensure you understand every nuance of the process, empowering you to complete this task with confidence.
Essential Materials You’ll Need for Door Repair
Before you begin, gather all the necessary tools and materials. Having everything ready will make the repair process smooth and efficient.
- Mohawk Epoxy Putty Stick: This is the star of our repair. It comes in various colors, so if you’re working on stained wood, choose a shade that closely matches your door to minimize the need for heavy staining later. White is ideal for painted doors.
- A leveler card or old credit card: Essential for smoothing the putty and ensuring a flush finish with the door’s surface.
- A small dish of soapy water: Prevents the epoxy from sticking to your fingers and tools during application.
- A sharp knife or utility blade: Used to cut off the desired amount of epoxy putty from the stick.
- Sandpaper (various grits): You’ll need medium-grit (e.g., 120-150) for initial shaping and fine-grit (e.g., 220-320) for a smooth, finish-ready surface.
- Protective gloves: While epoxy putty is generally safe, wearing gloves protects your hands and makes cleanup easier.
- Clean cloth: For wiping down the door and drying surfaces.
Step-by-Step Instructions for Flawless Door Repair
Follow these steps carefully to achieve a durable and invisible repair.
Step 1: Prepare Your Work Area and Soapy Water Solution
Begin by ensuring your door surface is clean, dry, and free of any loose debris or paint chips. A clean surface promotes better adhesion of the epoxy putty. Next, prepare your soapy water mixture. Pour about 2 ounces of water into a small dish and add a tiny amount of liquid dish soap. This solution will be your secret weapon to prevent the epoxy from adhering to your fingers and tools, making it much easier to work with.
Step 2: Activate and Knead the Epoxy Putty
Using your sharp knife, cut a small, manageable piece from your Epoxy Putty Stick. The amount you cut will depend on the size of the hole you are repairing. Now, begin to knead the putty vigorously with your fingers. You’ll notice two distinct colors in the stick, representing the resin and hardener components. It is crucial to mix these thoroughly until the color becomes completely uniform throughout the putty. As you knead, you’ll feel the putty warming up in your hands – this indicates the chemical reaction is activating, and the curing process has begun. If the putty starts to become sticky, simply dip your fingers in your prepared soapy water mixture and continue kneading. Remember, the working life of epoxy putty is quite short, typically around 6 minutes after you start mixing, so work efficiently.
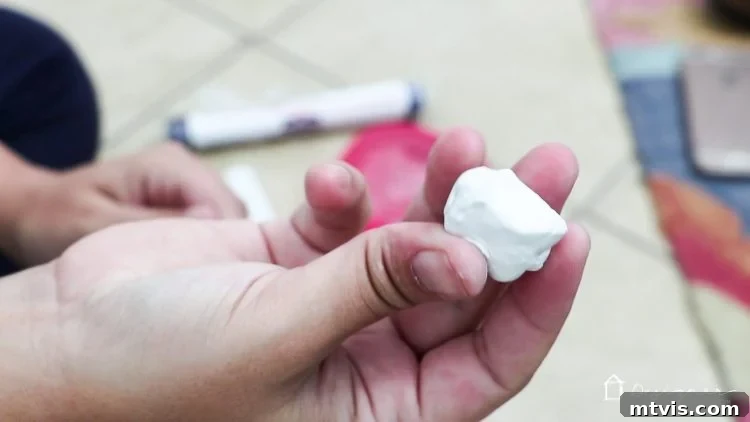
Step 3: Apply and Smooth the Putty into the Hole
Once the epoxy putty is uniformly mixed and warm, immediately push it firmly into the area you are repairing. Use your fingers to ensure it fully penetrates and fills the entire hole, leaving no air pockets. It’s often helpful to slightly overfill the hole, allowing the putty to protrude slightly above the door’s surface. This excess can then be easily removed and smoothed. Take your leveler card or old credit card and use it to carefully scrape away any protruding epoxy, making sure the surface is as level and flush with the door as possible. If the epoxy begins to stick to your card or fingers during this process, lightly rub the surface of the epoxy with your soapy water mixture. This will provide a thin lubricating layer, allowing for smoother manipulation and a cleaner finish. For deeper holes, you might consider applying the putty in layers, allowing each layer to partially cure before adding the next, though for most door hardware holes, a single firm application is sufficient.
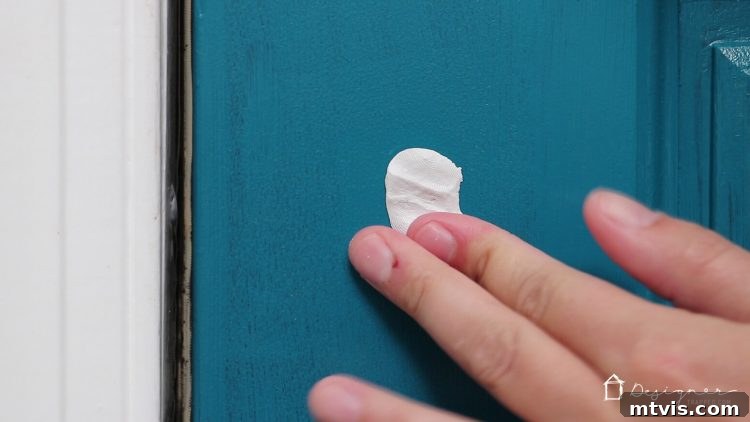
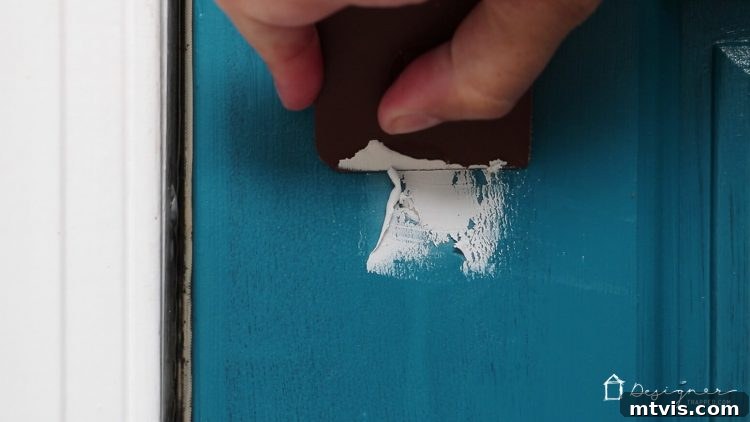
Step 4: Allow for Complete Curing
After applying and leveling the epoxy putty, it’s crucial to allow the filled area to cure completely. While it may feel firm to the touch relatively quickly, we recommend a minimum curing time of 20 minutes before proceeding to the next step. The magic of epoxy putty lies in its composition: a resin and a hardener that chemically react to form an incredibly strong and durable bond. This reaction makes the putty perfect for filling large holes, repairing rotted areas, and even mending broken molding. Once fully cured, the epoxy putty surface becomes even harder and more resilient than the original wood, ensuring a long-lasting repair that can withstand daily use.
Step 5: Finish to Perfection with Sanding
With the epoxy putty fully cured, the final step is to sand it until it is perfectly level and smooth with the surrounding surface of your door. Start with a medium-grit sandpaper (around 120-150 grit) to quickly remove any remaining high spots or imperfections. Once you’ve achieved a generally flat surface, switch to a finer-grit sandpaper (220-320 grit) to smooth out any sanding marks and prepare the area for painting or staining. The goal is to make the repaired area indistinguishable from the rest of the door, creating a seamless and professional finish.
That’s it! Once sanded, you’ll be amazed at how the holes from your old door hardware or any other damage have completely vanished. The result is a smooth, durable surface, ready for the next phase of your door’s transformation. This repair process is remarkably straightforward and yields fantastic results, making it an ideal DIY project for any homeowner.
Beyond Repair: Painting and Staining Your Restored Door
Once your epoxy putty has fully cured and been meticulously sanded, your door is perfectly primed for its final aesthetic touch. If you plan to paint your door, we recommend applying a good quality primer over the repaired area (and potentially the entire door for a uniform finish) before your chosen paint color. This ensures optimal adhesion and a smooth, consistent appearance. For stained wood doors, the key is to choose an epoxy putty color that closely matches your wood’s natural tone, allowing the stain to blend seamlessly. In some cases, a wood-grain-matching product might be applied before staining for an even more invisible repair. A fresh coat of paint or stain will make your door look brand new, with no visible signs of the previous damage.
Expert Tips for Flawless Door Hole Repair
To ensure your door repair project is as successful as possible, consider these additional tips:
- Work in a Well-Ventilated Area: Although epoxy putty isn’t overly noxious, good ventilation is always recommended when working with chemical products.
- Cleanliness is Key: Always clean the door surface thoroughly before applying putty. Dust, grease, or old paint flakes can prevent proper adhesion.
- Don’t Rush the Curing: While the putty might feel hard after 20 minutes, allowing a full hour or even longer (depending on product instructions and temperature) before heavy sanding or applying finishes will ensure maximum strength.
- Layer for Large Gaps: For extremely large or deep holes, especially those involving significant rot, it might be beneficial to build up the epoxy putty in layers. Apply a thinner layer, let it partially cure, then add another. This helps prevent sagging and ensures a solid fill.
- Temperature Matters: Epoxy putties cure best at room temperature. Extreme cold can slow down the curing process, while excessive heat can speed it up too much, reducing your working time.
- Consider a Backer for Through-Holes: If you’re repairing a hole that goes completely through the door, especially on a hollow core door, use a piece of cardboard or tape on the back side as a temporary backer to prevent the putty from pushing through.
Transform Your Home: The Satisfaction of DIY Door Repair
Repairing holes in your door from old hardware or damage using epoxy putty is not just a practical task; it’s a rewarding home improvement project that anyone can accomplish. The ability to restore a damaged door yourself provides immense satisfaction, saves money on professional repairs or replacements, and contributes significantly to the overall aesthetic and value of your home. You’ll enjoy the peace of mind that comes with a robust repair and the fresh look of your revitalized door. Embrace the power of DIY and take pride in transforming your living space, one door at a time.
Repairing holes in your door is a straightforward DIY task that yields impressive results. By following these steps with epoxy putty, you can easily address old hardware holes, rot, and other damages, leaving your doors looking flawless and extending their lifespan. We hope this guide has been incredibly helpful in empowering you to tackle your next door repair project!
More HOME REPAIR Posts
SEE ALL home improvement POSTS
-
How to Fix a Hole in the Wall Yourself the Easy Way!
-
How to Fix a Door That Won’t Close
-
How to Match A Paint Color That’s Already On A Wall
-
How to Repair Holes in Your Doors
-
How to Repair Drywall: Tips for “Smallish” Repairs
-
How to Repair Chipped Baseboards
Wondering how I approach transforming rooms and spaces in our home? Check out Designer in a Binder®.
And if you want exclusive content and behind-the-scenes sneak peeks, be sure to subscribe before you head out!