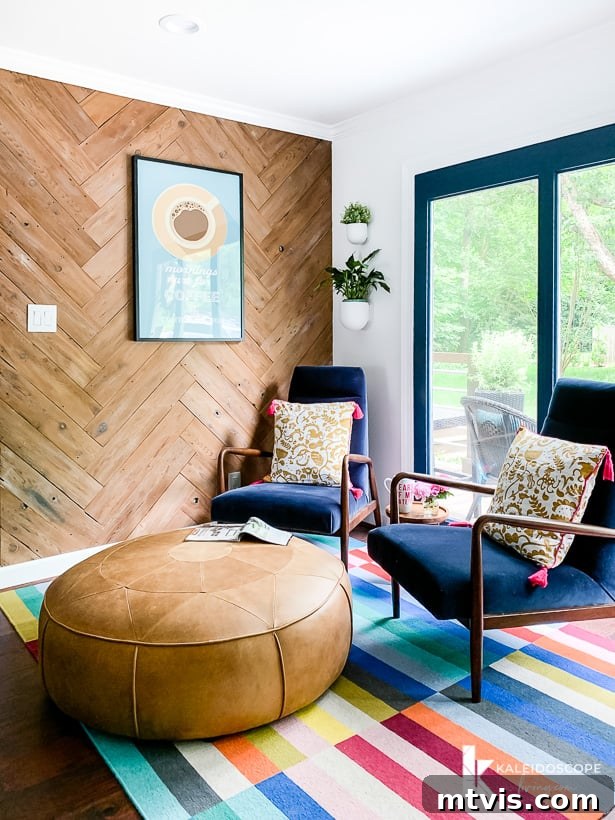
Transform Your Home with a DIY Herringbone Reclaimed Wood Plank Wall: A Comprehensive Guide
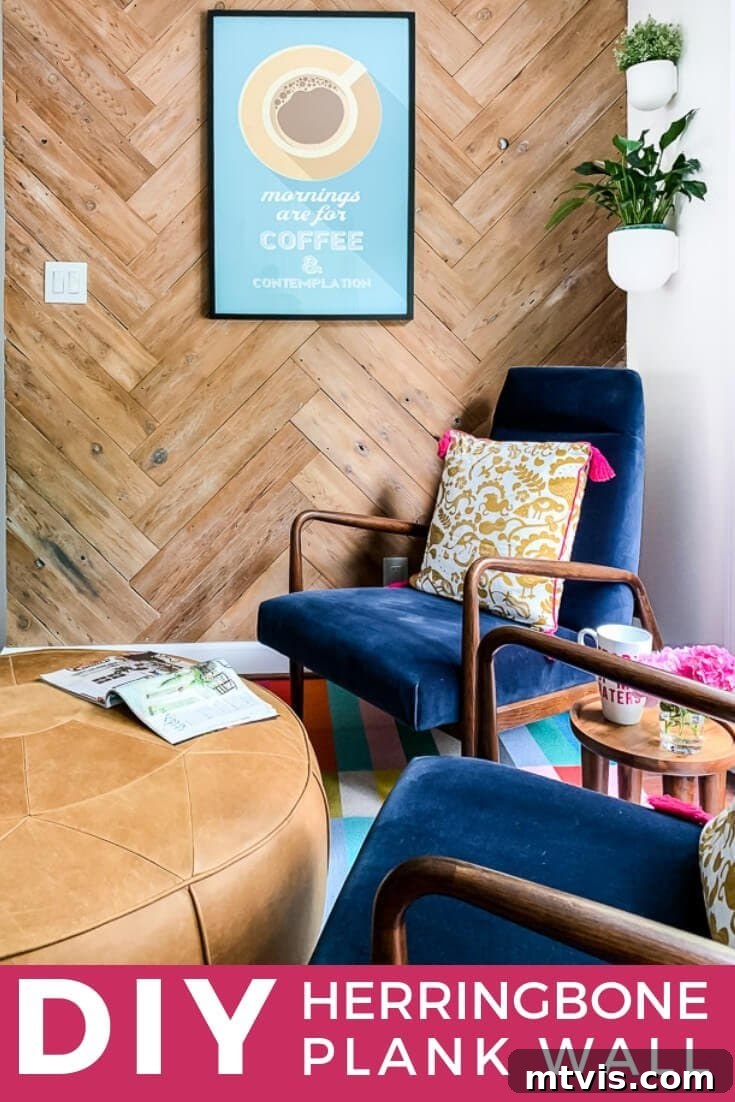
Hello, fellow DIY enthusiasts! We’re thrilled to share an updated look at one of our all-time favorite home projects: a magnificent reclaimed wood herringbone plank wall. This timeless accent wall has truly stood the test of time, enduring through significant changes in our home, including a complete kitchen overhaul. Its rustic charm and unique pattern continue to captivate, making it a design element we simply couldn’t part with. We’ve refreshed this guide with new photos and answers to your most frequently asked questions, ensuring you have everything you need to recreate this stunning feature in your own space.
While this herringbone design offers unparalleled character, we understand it might not be for everyone. If you’re exploring other wall treatment ideas, don’t miss our tutorial for the easiest DIY board and batten accent wall ever, recently installed in our new house. But for those dreaming of adding warmth, texture, and a touch of artisanal flair, our herringbone plank wall remains a standout choice among our many DIY home decor projects.
Our journey with this wall began back in 2014. At the time, we were embarking on a mission to give our old kitchen a cosmetic facelift, a strategic move to enjoy the space while diligently saving for a much larger renovation. This budget-friendly approach proved invaluable, as it took us a full six years to accumulate the funds for our dream kitchen remodel. The wait was undeniably worth it, but the initial cosmetic updates, costing less than $700, truly transformed our daily living, allowing us to love our kitchen during the saving period.
Initially, I envisioned a classic horizontal reclaimed wood plank wall. The idea alone filled me with excitement. However, my incredibly perceptive and creative husband, my steadfast DIY partner, casually proposed, “Why don’t we try a herringbone plank wall instead?” His suggestion immediately elevated the project to an entirely new level. I had worried he might find my original plank wall idea too unconventional, so his willingness to embrace an even bolder design made me the happiest wife on earth! My answer, of course, was an enthusiastic YES!
Sourcing Affordable Reclaimed Wood for Your DIY Plank Wall
Our first significant challenge was finding the right wood. Being on a strict budget for our kitchen refresh, spending a fortune on materials was simply not an option. We explored various avenues for reclaimed wood, starting with the ubiquitous pallet wood. While pallets are a popular choice for many DIY projects due to their availability and low cost, we found the quality and consistency often varied greatly, requiring extensive prep work. We also scoured Craigslist, searching for local listings of salvaged lumber or demolition materials. We found some intriguing possibilities, but nothing truly sparked our inspiration or fit our specific vision for this statement wall.
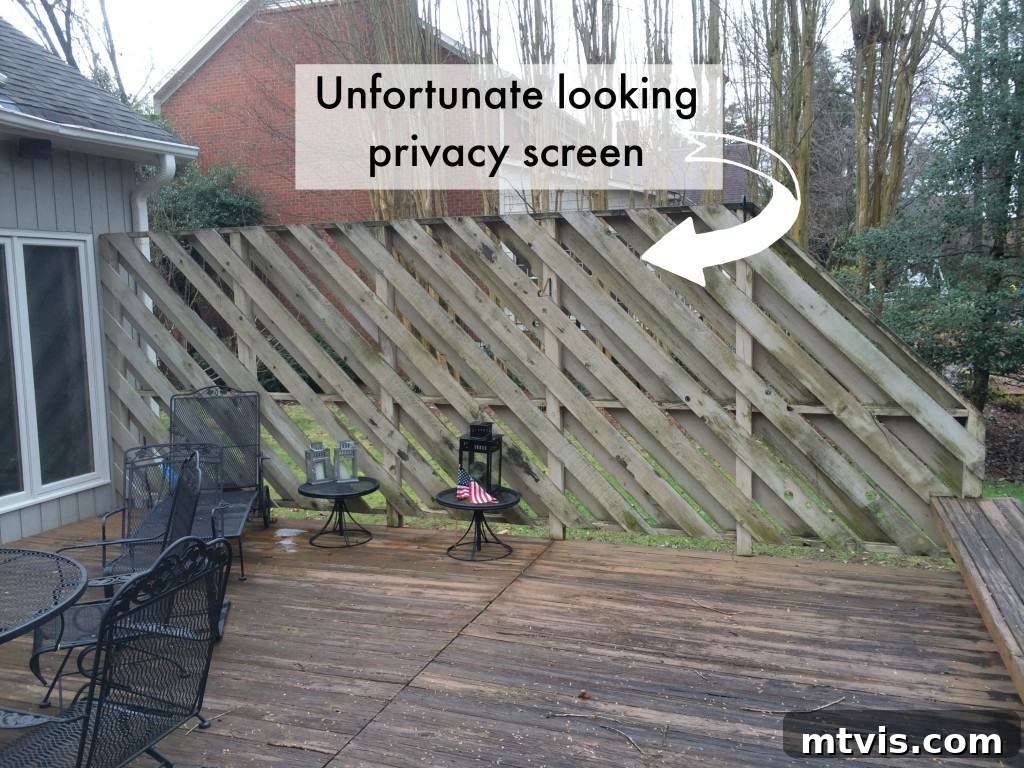
It was then that my brilliant husband had another stroke of genius: why not repurpose the wood from our unsightly deck privacy fence? It was an absolute eyesore, and we had already planned for its eventual removal. This idea was perfect – not only would it be entirely free, but it also offered a sustainable solution by giving old wood a new, beautiful purpose. This decision proved to be a game-changer, providing us with an ample supply of character-rich timber without breaking the bank. Always look for hidden gems right in your own backyard or local community before buying new materials!
Preparing Your Reclaimed Wood for Installation
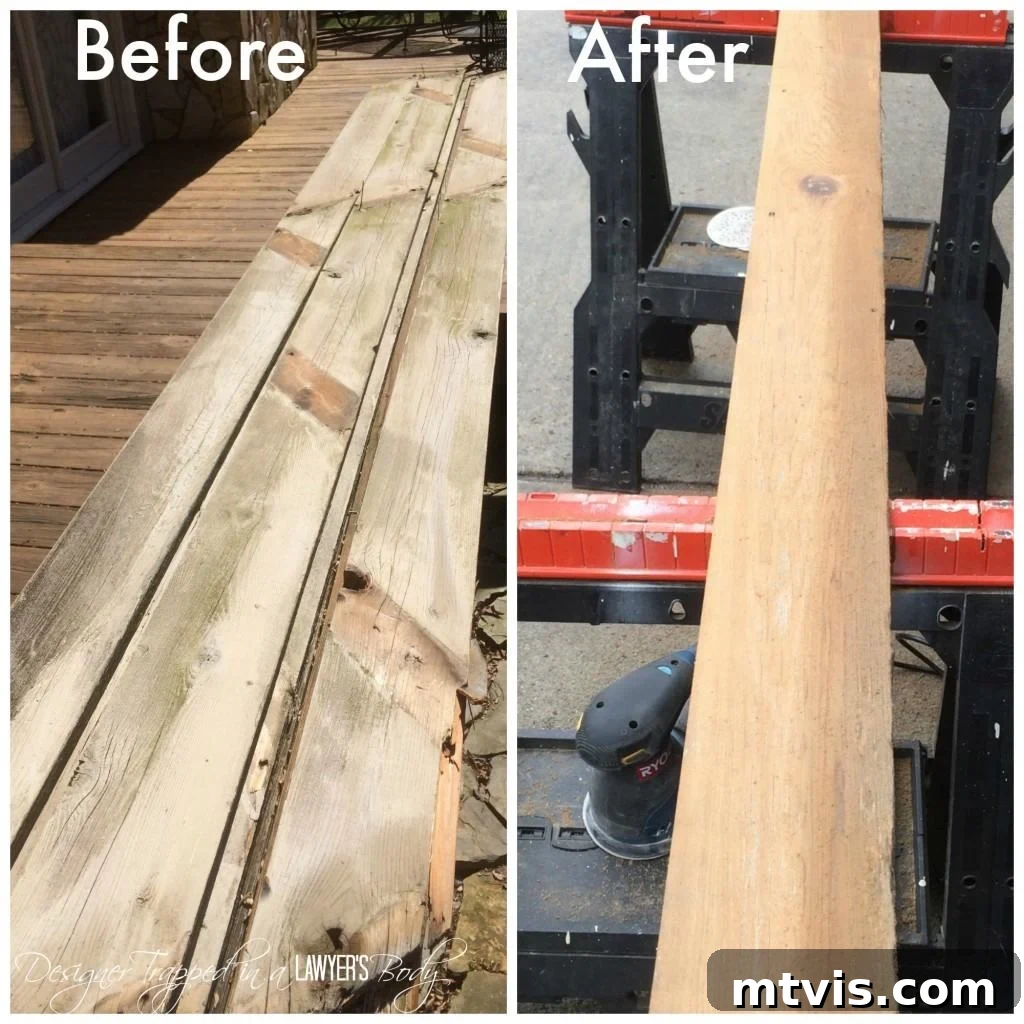
The transformation of the old fence boards into stunning wall planks was a labor of love, but incredibly rewarding. Joe began the meticulous process of carefully removing the boards from the privacy fence, ensuring they remained as intact as possible. Once detached, each board underwent a thorough cleaning to remove dirt, loose debris, and any lingering signs of its outdoor life. This initial cleaning is crucial for proper sanding and finishing.
Next came the sanding. This was, admittedly, a messy and dusty job, but absolutely essential for revealing the hidden beauty beneath. Using an orbital sander, Joe worked through various grits, starting with a coarser grit to strip away layers of old paint, green algae, and weathered graying, gradually moving to finer grits for a smooth finish. It was a delightful surprise to discover that beneath the grime and age, the boards were composed of gorgeous, aromatic cedar. The natural grain and warm tones of the cedar instantly made us confident in our material choice.
With the boards sanded and their natural beauty exposed, we moved on to selecting the perfect finish. We experimented with several stains and sealants, testing them on scrap pieces to visualize the final look. Our goal was to enhance the wood’s character without overpowering it, aiming for a “perfectly imperfect” aesthetic that celebrated the reclaimed nature of the wood. After some deliberation, we settled on a simple yet effective combination: a coat of tung oil for natural protection and a subtle sheen, followed by a very, very light dry brushing of grey paint. This technique allowed the rich cedar tones to show through while adding a faint, washed-out grey layer that provided depth and a touch of modern rustic charm.
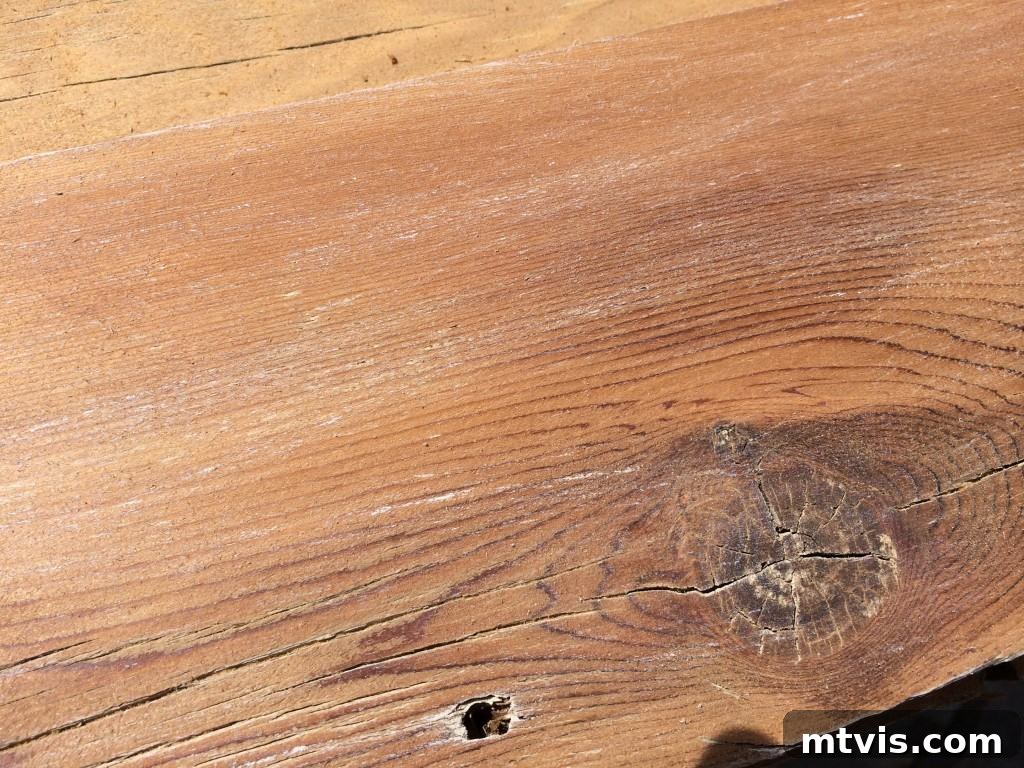
Once our wood planks achieved their desired “perfectly imperfect” finish, reflecting years of natural wear softened by our careful preparation, we turned our attention to planning the actual wall application. Honestly, this was the part that initially had us scratching our heads. Figuring out the exact starting point and execution for a herringbone pattern on a wall felt daunting. However, through trial, error, and a fair bit of deliberation, we successfully cracked the code. Now, you can bypass all our initial confusion and benefit directly from our experience!
Understanding the Herringbone Pattern
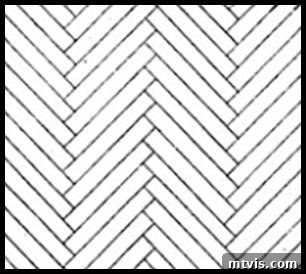
Before diving into the installation, let’s quickly demystify the herringbone pattern itself. Originating from ancient Roman road construction and popular in various forms of art, textiles, and flooring, the herringbone pattern is characterized by its distinctive V-shape arrangement. It’s created by laying rectangular pieces at a 45-degree angle to a central axis, with the end of one plank butting up against the side of another. Unlike a chevron pattern, where planks are cut at an angle to meet perfectly at a point, in a herringbone pattern, the ends are straight cuts that meet at a 90-degree angle, creating a series of broken zigzags. This interlocking arrangement gives a dynamic yet organized visual appeal.
The beauty of the herringbone for a DIY project lies in its relative simplicity of cuts. Most of your wood planks will be cut to the exact same length with straight ends. The only angled cuts you’ll primarily contend with are those necessary to fit the planks neatly against the edges of your wall or into corners. This consistency in cutting makes the process more manageable than you might initially imagine. Here is a diagram that clearly illustrates the basic structure of a herringbone pattern:
This post contains some affiliate links for your convenience. Click here to read my full disclosure policy.
DIY Herringbone Plank Wall Tutorial: Step-by-Step
Materials and Tools Needed to Create a Herringbone Plank Wall:
- Compound Miter Saw (essential for precise, clean cuts, especially for those corner angles. A circular saw with a speed square can be an alternative, but a miter saw offers greater accuracy and ease.)
- Nail Gun (a brad nailer is ideal for speed and minimal nail head visibility, making the installation much quicker and professional-looking.)
- 24-Inch Level (critical for ensuring your initial lines and subsequent planks are perfectly straight and plumb, which is vital for the entire pattern.)
- Speed Square (your best friend for quickly and accurately verifying 90-degree angles and marking cuts.)
- Measuring Tape (for all your measurement needs, from plank length to wall dimensions.)
- Chalk Line (or a long straightedge with a marker – for creating clear, precise reference lines on your wall.)
- **Reclaimed Wood Planks** (prepared as described above, or purchased pre-finished. Ensure you have enough material, typically an extra 10-15% for cuts and waste.)
Installation Steps:
1) Establish Your Centerline: The Foundation of Your Herringbone Pattern
The first and most crucial step is to accurately find the center of your wall. This centerline will serve as your primary guide, ensuring that your herringbone pattern remains symmetrical and balanced throughout the entire installation. Use a reliable measuring tape to determine the exact midpoint of your wall’s width. Once found, use a long, sturdy 24-inch level to draw a perfectly vertical line from the ceiling down to the floor. A chalk line is ideal for creating a crisp, straight line across the entire height of the wall, but a marker and a long straightedge will also work. Take your time with this step, as any deviation here will impact the entire pattern.
2) Laying Your First Pair of Planks: Setting the Angle
Now, grab your first two prepared wood planks. Remember, for the main body of the pattern, almost all your planks (with the exception of those needing custom cuts for wall edges or obstacles) will be cut to the exact same length and have straight ends. Our planks were cut to a versatile 28 inches long, which worked perfectly for our wall dimensions. Take two of these identical planks and butt their ends together tightly to form a precise 90-degree angle. This is the cornerstone of the herringbone design.
Carefully align these two joined planks along the vertical centerline you marked on your wall. The centerline should ideally intersect the precise middle point where the two boards meet. Refer to the illustration below for a clear visual representation; the grey line denotes your drawn centerline. To confirm the accuracy of your 90-degree angle, place your speed square snugly into the corner formed by the two boards. If the angle is perfect, the speed square will fit without any gaps or wobbling. This verification is essential for a clean and professional-looking pattern.
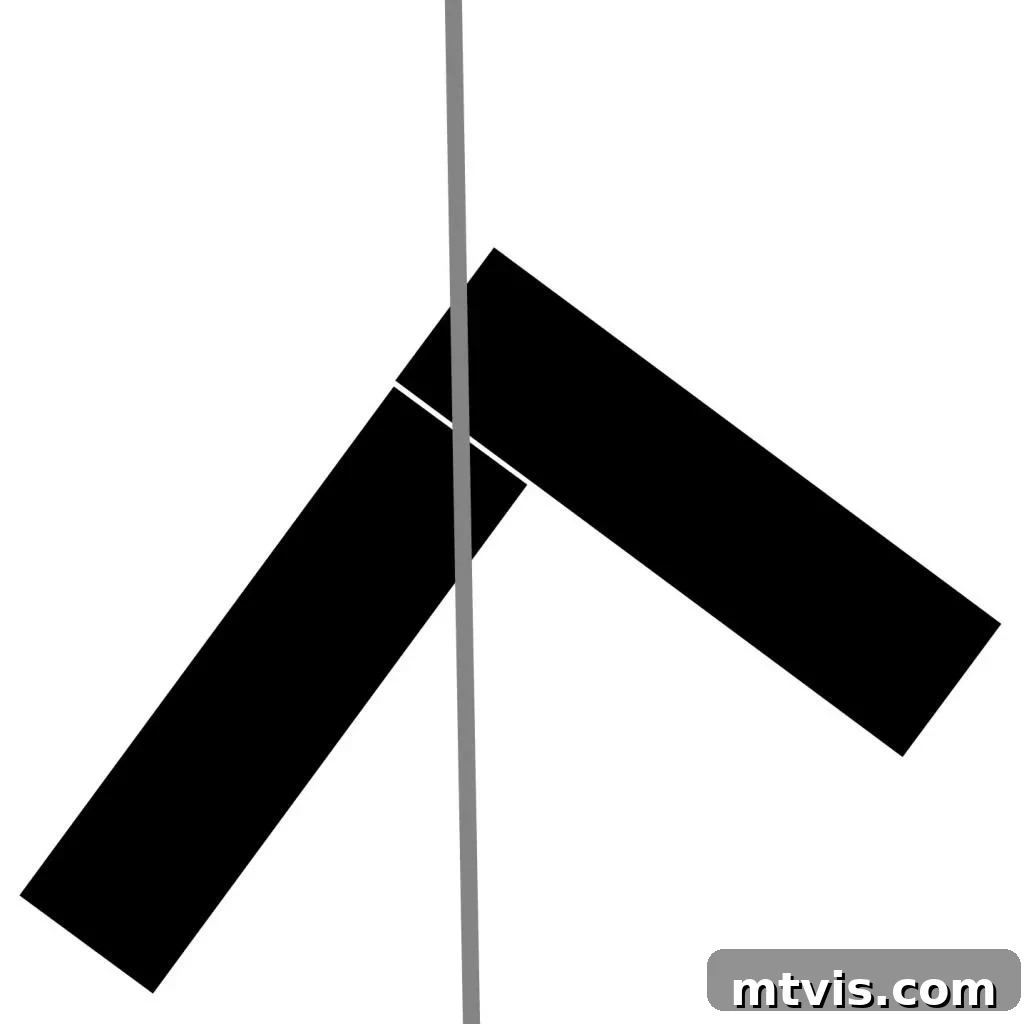
Once you are absolutely certain that your angle and alignment are perfect, use your nail gun to securely fasten the boards into place. If you don’t have a nail gun, you can use a hammer and finish nails, but a nail gun significantly speeds up the process and leaves smaller, less noticeable holes. For maximum stability and longevity, always try to locate and nail into wall studs. A stud finder is an invaluable tool for this. Aim for at least one nail per board into a stud, supplementing with additional nails into the drywall for firm attachment. This ensures your beautiful new plank wall will be robust and secure for years to come.
3) Continuing the Pattern: Flow and Precision
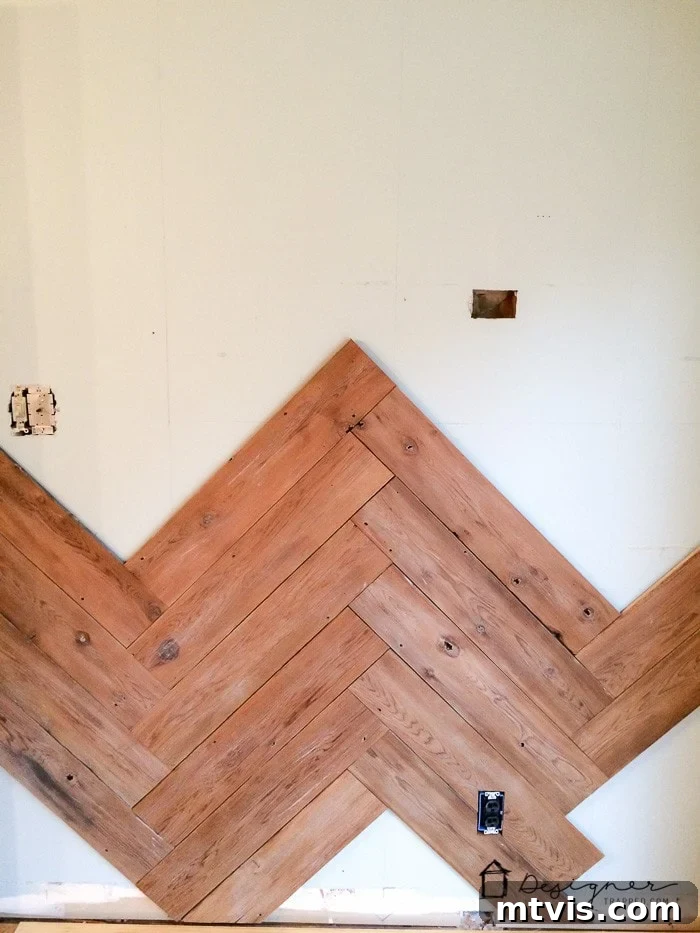
With your initial pair of planks firmly in place, you can now continue to build out your herringbone pattern. This process typically moves along quite quickly once you get into a rhythm. Take your next two planks, butt them together at a 90-degree angle, and place them adjacent to the first pair, ensuring a tight fit. Before nailing, always double-check your angles with the speed square and ensure each board is level. Consistency is key here to maintain the integrity of the pattern.
As you work your way across and up the wall, you’ll inevitably encounter obstacles like electrical outlets, light switches, or wall edges. These will require special cuts. For outlets and switches, carefully measure the dimensions and position of the obstacle on the plank, then use a jigsaw or oscillating tool to cut out the precise shape. Always turn off the power to the circuit before working near electrical boxes for safety. For edges, you’ll need to cut your planks at an angle to fit snugly against the adjacent wall or trim. Measure each custom cut precisely and use your miter saw for clean, accurate angles. Don’t rush these custom cuts; they are crucial for a professional, finished appearance. Continue this process, systematically adding planks and confirming your angles, until your entire wall is transformed.
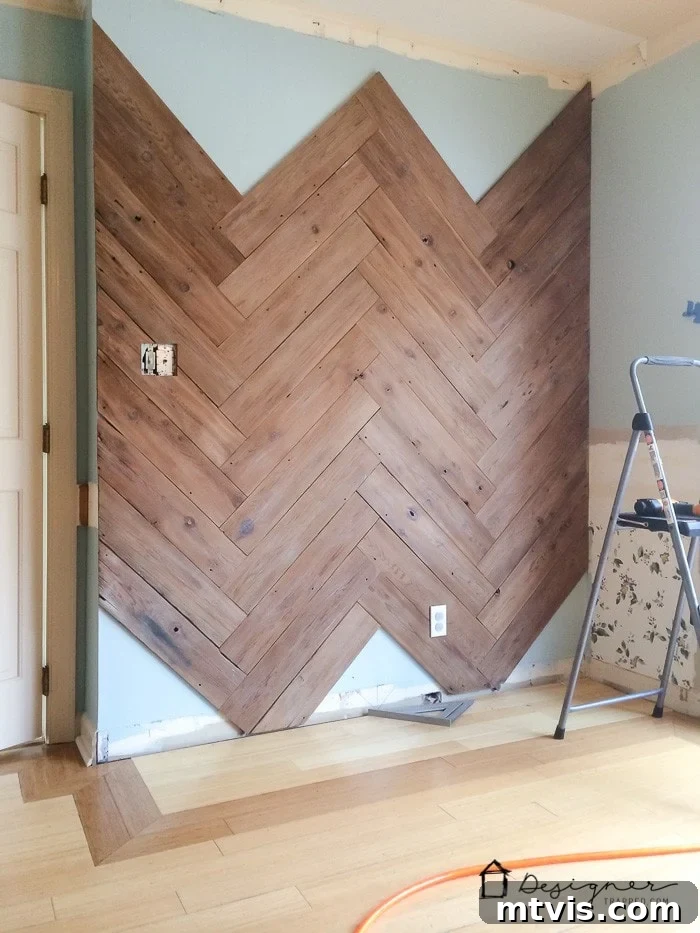
And here it is—the magnificent finished product! We absolutely adore this DIY herringbone plank wall. Its warm, textured presence instantly became the perfect backdrop for our casual sitting area within our newly renovated kitchen. For many years prior, it beautifully framed our kitchen table, serving as a charming focal point. With our recent renovation, we’ve integrated island seating and opened the kitchen to our dining room, eliminating the need for a separate kitchen table, yet the wall’s aesthetic appeal remains undiminished. It truly showcases the transformative power of reclaimed wood and a thoughtful DIY approach.
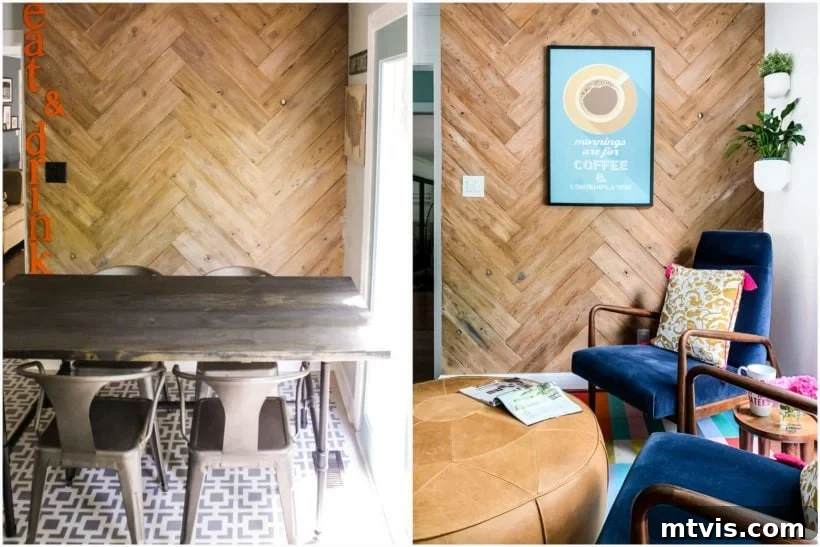
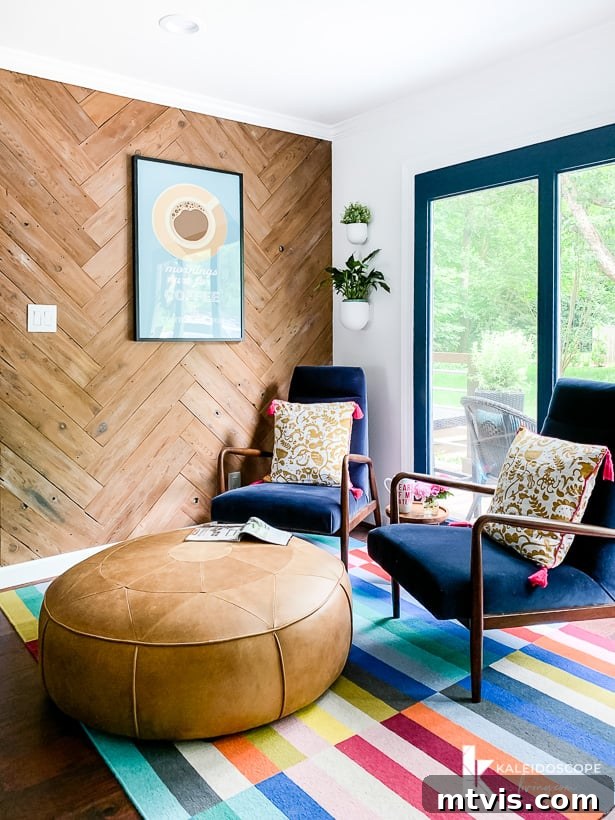
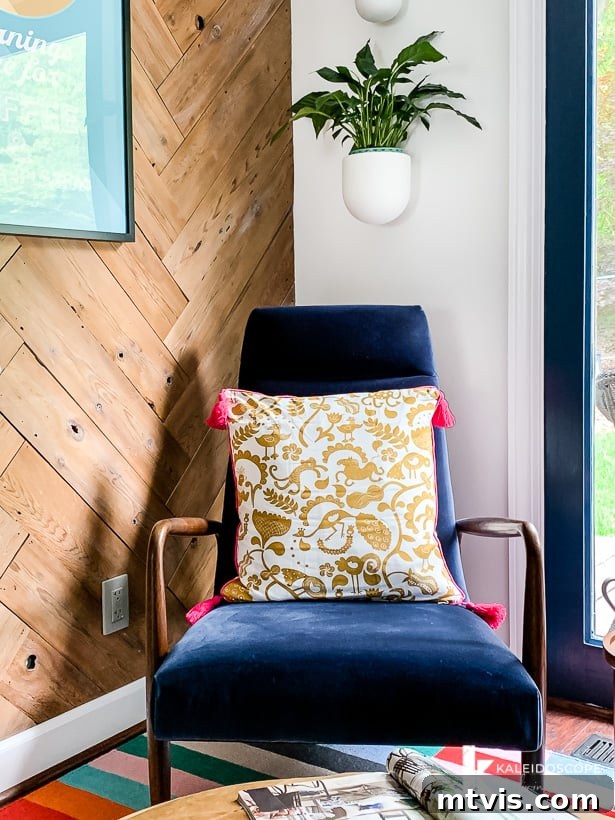
This awesome herringbone plank wall is more than just a wall treatment; it’s a dynamic and engaging focal point that injects incredible character into any room. It remains one of my personal favorite accent wall ideas we’ve ever implemented. Remember, while a statement wall draws the eye, don’t forget the importance of harmonizing it with the rest of your space to create a cohesive and inviting atmosphere!
Other posts you may enjoy for further inspiration and DIY guidance:
- The Easiest Board & Batten Accent Wall Tutorial
- DIY Wood Plank Wall
- Modern DIY Plank Wall Tutorial
- How to Paint Kitchen Cabinets Without Sanding or Priming!
- How to Choose Paint Colors for Your Home: 6 Simple Tips to Follow
- 8 Interior Design Mistakes You Don’t Even Know You are Making (and How to Fix Them)
Curious about my personal approach to transforming rooms and spaces in our home, from concept to completion? Dive deeper into my process with Designer in a Binder®, my comprehensive guide to confident home decorating.
And if you’re eager for exclusive content, behind-the-scenes sneak peeks, and fresh DIY and design inspiration delivered straight to your inbox, be sure to subscribe before you go! Join our community of home creators and never miss an update.