
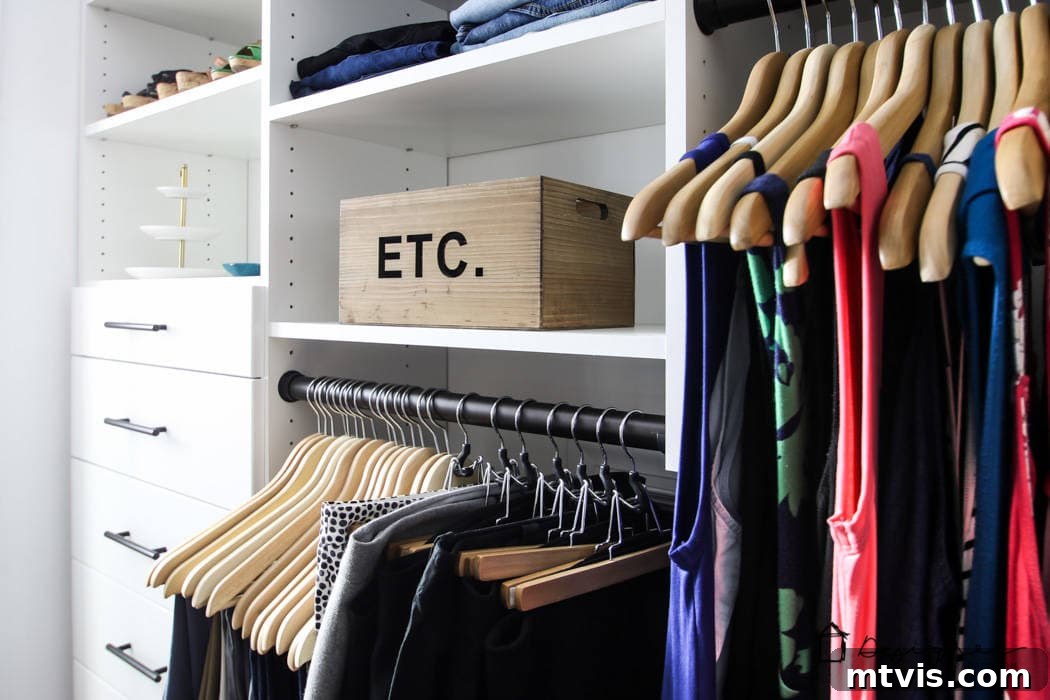
There are few home renovation projects as rewarding as transforming a cluttered, chaotic space into an organized, beautiful, and highly functional one. We’ve just completed such a transformation in our master bedroom, and the results are truly spectacular. What was once an underutilized, frustrating closet has been reborn as a master closet masterpiece, all thanks to an incredible DIY closet system from EasyClosets. If you’ve been dreaming of a closet makeover that combines luxury with practicality, and is achievable for the dedicated DIY enthusiast, then you’re in the right place. Join us as we walk through the journey from our old, inefficient storage to our gloriously organized new space, detailing every step of the installation process.
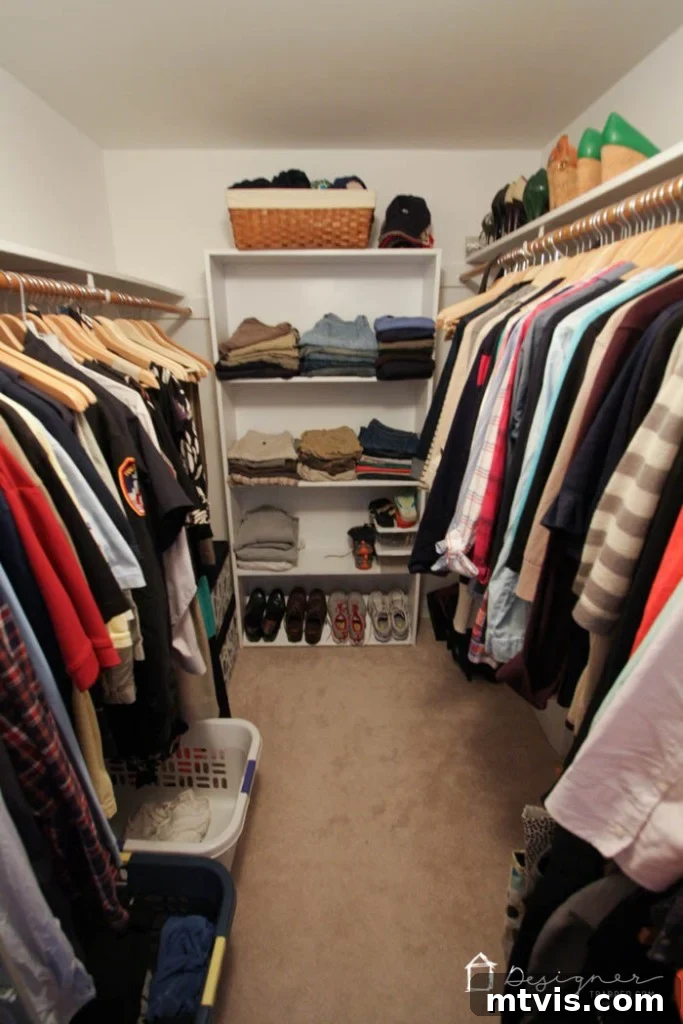
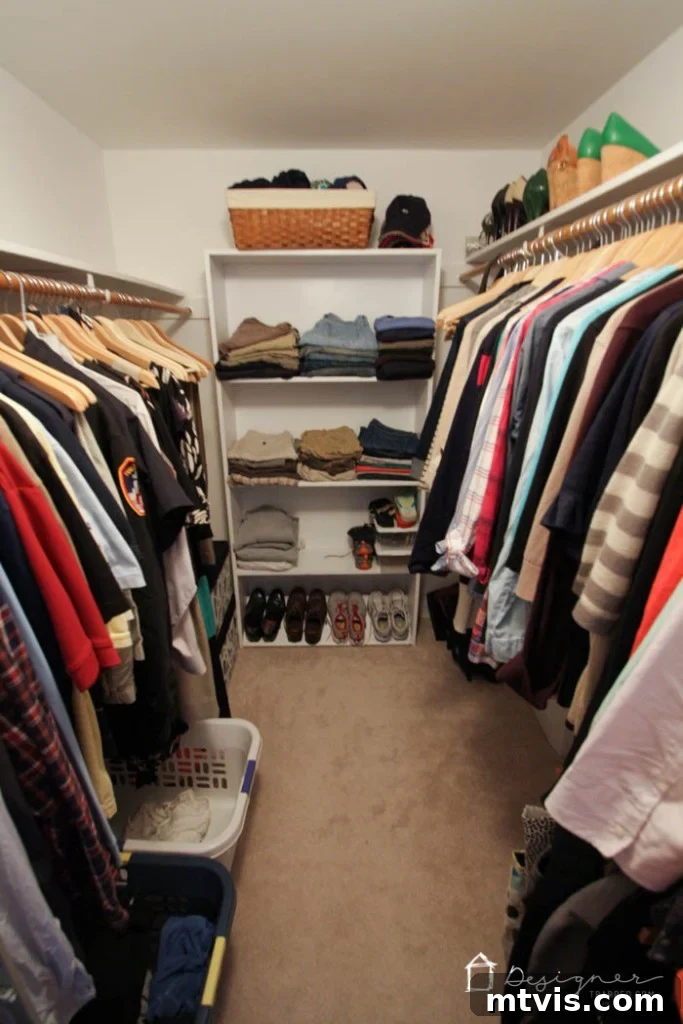
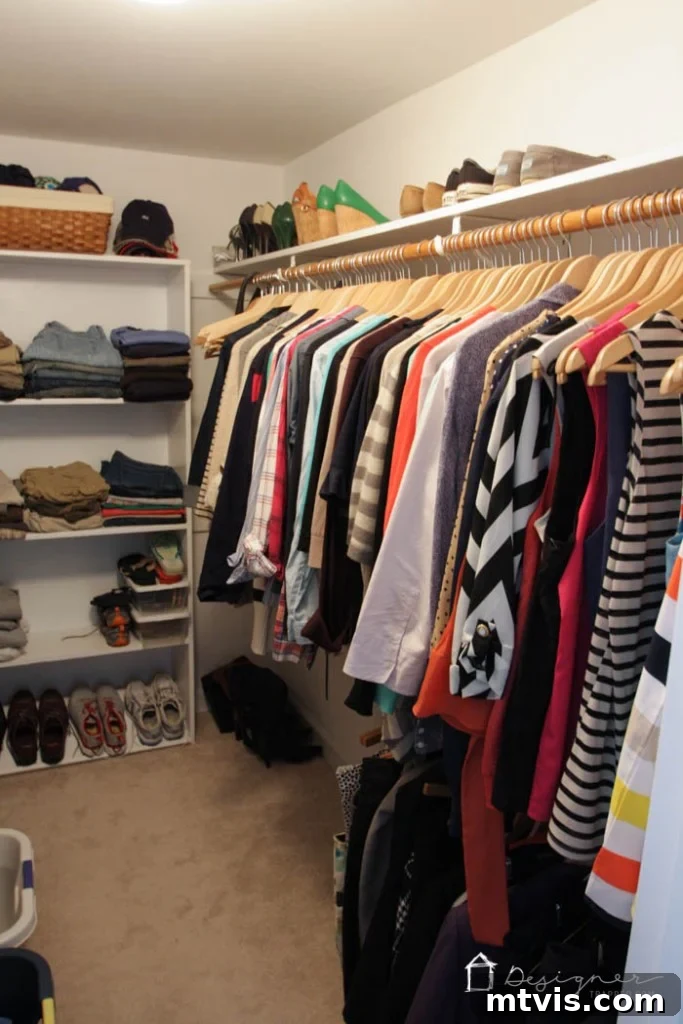
For the past three years, our master closet has been a source of constant frustration. Despite its generous size, we knew we weren’t harnessing its full potential. Clothing was crammed, accessories were misplaced, and the general disarray made getting ready a daily challenge. The thought of transforming it was daunting, primarily because we didn’t want the extensive commitment of building a custom closet from scratch. As avid DIYers, our plate was already full with numerous other home renovation projects, leaving little time for such an intricate undertaking. This led us to explore various DIY closet system options, searching for a solution that offered both customization and ease of installation.
After extensive research and careful consideration, one name consistently stood out for its reputation in providing high-quality, customizable, and relatively easy-to-install closet solutions: EasyClosets. Their comprehensive design tools and wide array of options allowed us to envision a truly personalized system that would perfectly suit our needs and maximize every inch of our space. The decision felt right, promising the custom look we desired without the prohibitive cost and complexity of a fully bespoke build. For an in-depth look at our initial design process and the specific plans we laid out for our master closet, you can refer to our dedicated post: Designing Our Dream Closet: The EasyClosets Planning Guide.
Seamless DIY Closet System Installation: A Step-by-Step Guide
Embarking on any major home improvement project invariably begins with preparation, and our DIY closet system installation was no exception. We kicked off the transformation by meticulously ripping out the existing, antiquated closet storage. This initial demolition phase, while messy, was absolutely crucial, leaving us with a blank canvas. The process created numerous holes and imperfections on the walls, necessitating extensive patching and meticulous sanding to ensure a perfectly smooth surface for painting. We opted for a fresh coat of light, bright paint, which not only revitalized the space but also made it feel larger and more inviting. Beyond the walls, we made another significant upgrade by replacing the worn carpeting with the same durable and aesthetically pleasing laminate flooring we installed in our master bedroom, ensuring a cohesive and sophisticated look. To enhance functionality and ambiance, we also installed new recessed can lights in the ceiling, greatly improving visibility within the newly designed closet. This prep work, though undeniably time-consuming and somewhat arduous, laid a pristine foundation for our impending closet organization system.
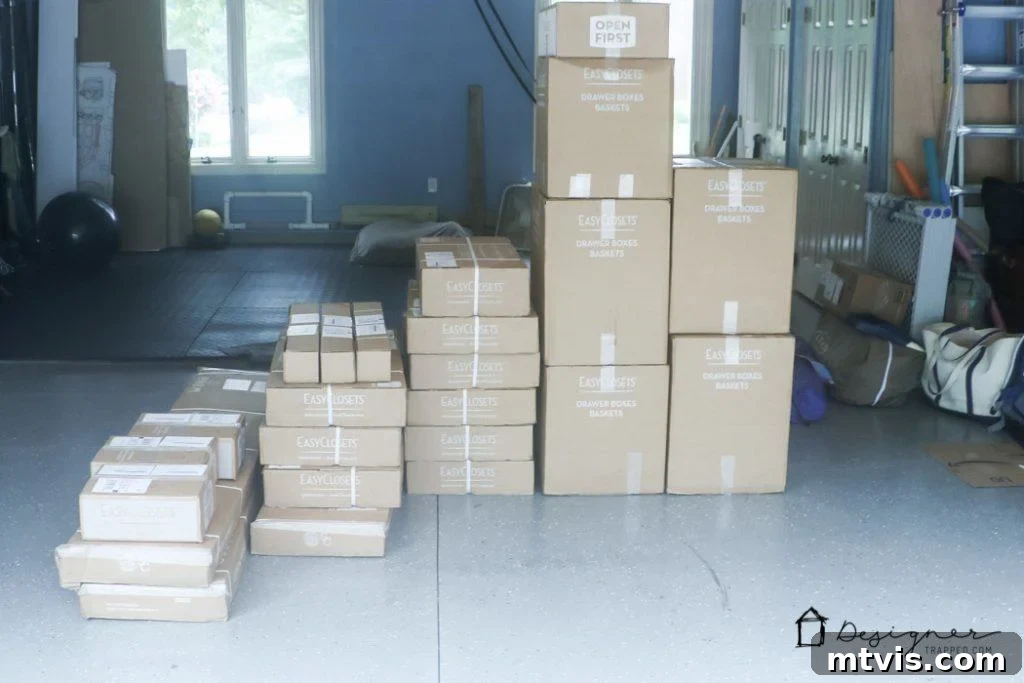
As the UPS truck pulled up, brimming with what seemed like an endless parade of boxes, a slight wave of panic washed over us. The sheer volume of packages suggested a complex and lengthy assembly process for our new EasyClosets system. However, our apprehension quickly dissolved once we started unpacking and reviewing the installation instructions. Unlike many ready-to-assemble furniture pieces we’ve encountered, which often come with vague, minimalist diagrams (sometimes resembling stick-figure drawings), the EasyClosets instructions were a breath of fresh air. They were remarkably detailed, clear, and comprehensive, providing every bit of guidance we could possibly need in an easy-to-understand format. This meticulous approach to instructions significantly boosted our confidence and set a positive tone for the installation ahead.
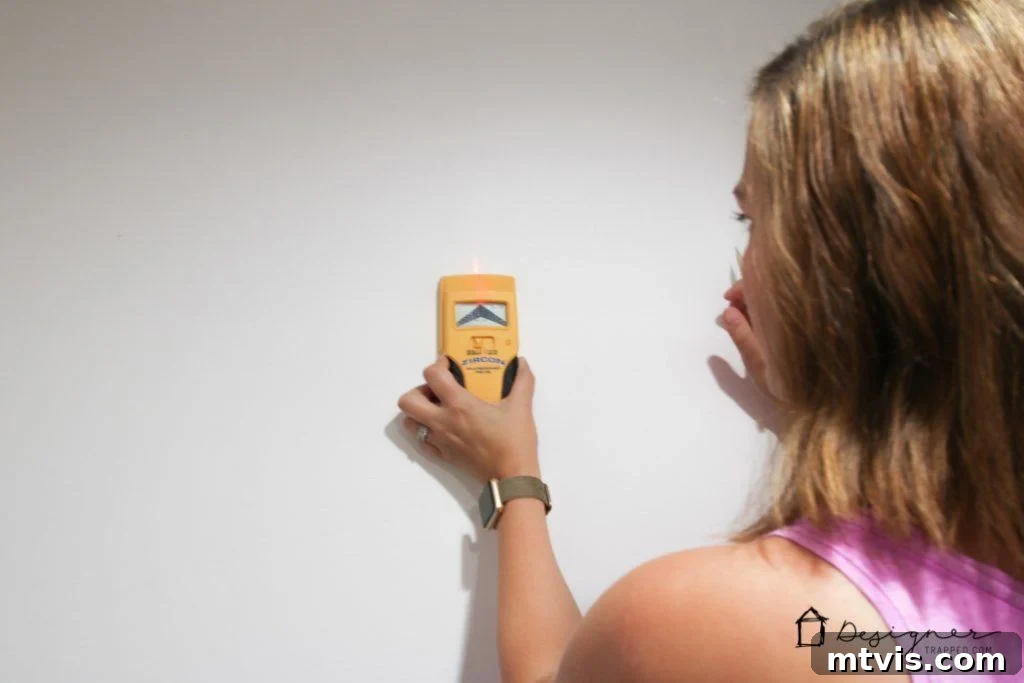
The actual DIY closet system installation process unfolded far more swiftly and smoothly than we had dared to imagine. The brilliance of the EasyClosets design lies in its foundational steel rail system. This robust rail is the backbone of the entire closet, securely mounted at the appropriate height, and from it, all other components elegantly suspend. Attaching this crucial rail was surprisingly straightforward. We diligently followed the provided instructions, beginning by accurately marking the studs in our closet walls. This step is paramount for ensuring maximum support and stability for the entire system, a key element in achieving a durable and professional-grade closet makeover.
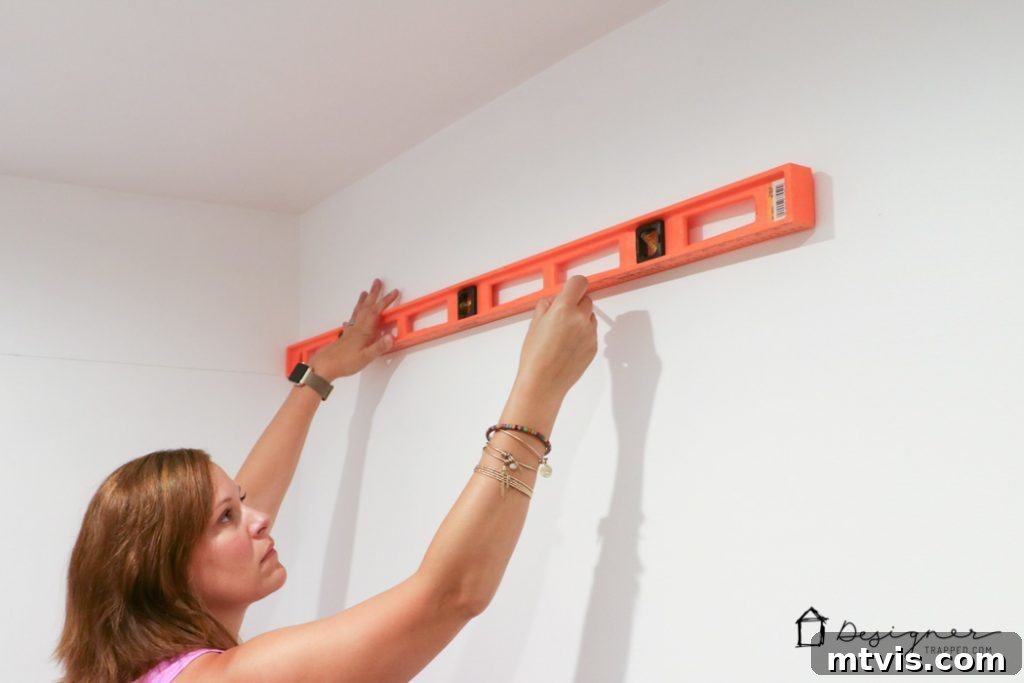
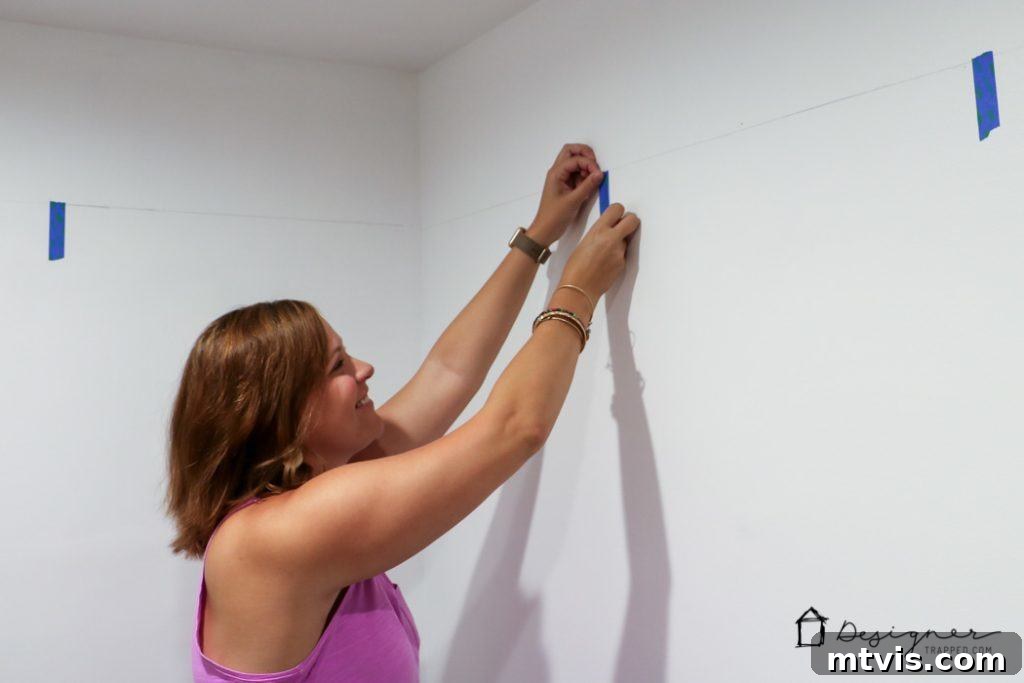
With the studs located and marked, our next step was to determine the precise height for the steel rail. Using a reliable level, we drew a perfectly straight, horizontal line across the wall where the rail would be securely fastened. Maintaining a level line is absolutely critical for the aesthetic appeal and structural integrity of the entire closet system, ensuring that all shelves, drawers, and hanging rods will be perfectly aligned. Following this, we used painter’s tape to clearly mark the intended locations of our vertical support panels. This seemingly small detail proved immensely helpful, as it allowed us to visualize the layout and, more importantly, identify any areas where a vertical panel might not directly align with a wall stud. In such cases, the system wisely accounts for this by providing special E-Z Toggle bolts. These innovative bolts, supplied by EasyClosets, are designed to provide robust support for the rail even when not directly anchored into a stud, guaranteeing the entire structure remains adequately supported and safe for long-term use.
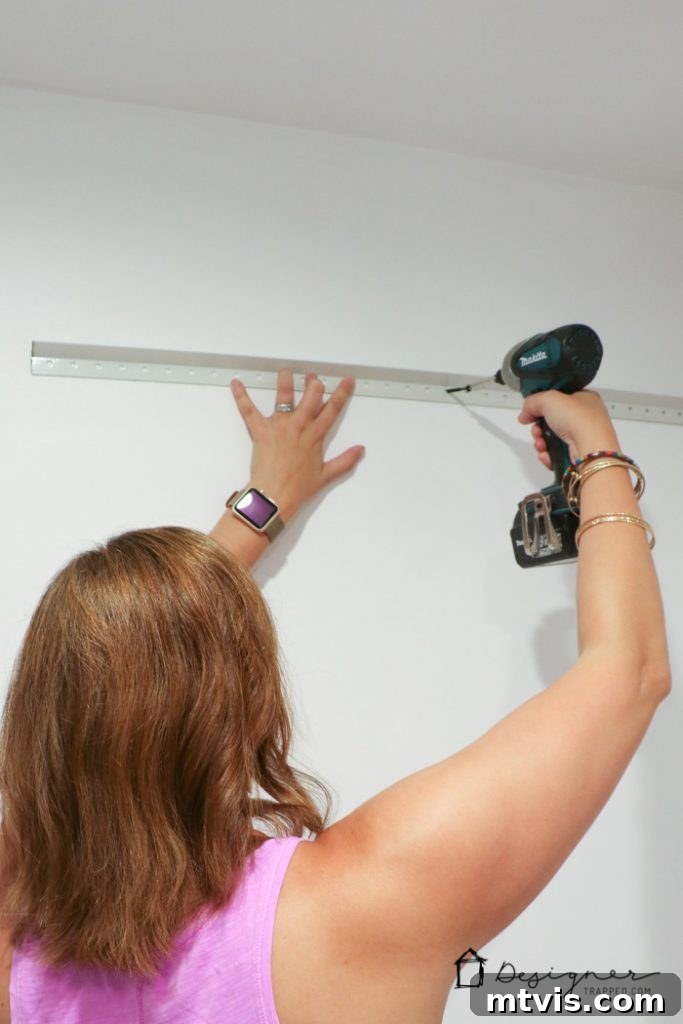
Once all necessary E-Z Toggle bolts were inserted and secured, we moved on to customizing the steel rails. We carefully cut them to the precise lengths required for each section of our closet, a straightforward task with the right tools. With the rails cut and prepared, we then meticulously secured them to the wall, ensuring they were perfectly level and firmly anchored. This established the foundational framework upon which our entire closet system would be built, providing a solid and reliable base for all the components to follow.
From this point onward, the assembly process advanced with remarkable speed. One of the most significant time-savers and a truly appreciated feature of the EasyClosets system is that the drawers arrived fully assembled. This eliminated what is often the most tedious and intricate part of furniture assembly, allowing us to simply slide them into place. In total, the entire EasyClosets installation process, from hauling all the boxes upstairs to the final placement of the last shelf, took us an incredibly efficient 6 to 7 hours. Considering the comprehensive transformation and the custom-like quality achieved, this was undeniably one of the most worthwhile and impactful projects we’ve undertaken in a long time. The result is a beautifully organized, highly functional, and perfectly tailored master closet that meets our every need.
Our Master Closet System Reveal: Organization Meets Elegance
The moment you’ve been waiting for is finally here! We are absolutely thrilled to share the stunning reveal of our DIY master closet system. Before you feast your eyes on the beautiful still images, consider taking a quick video tour (it will play after a short advertisement) to experience the full scope of this incredible transformation.
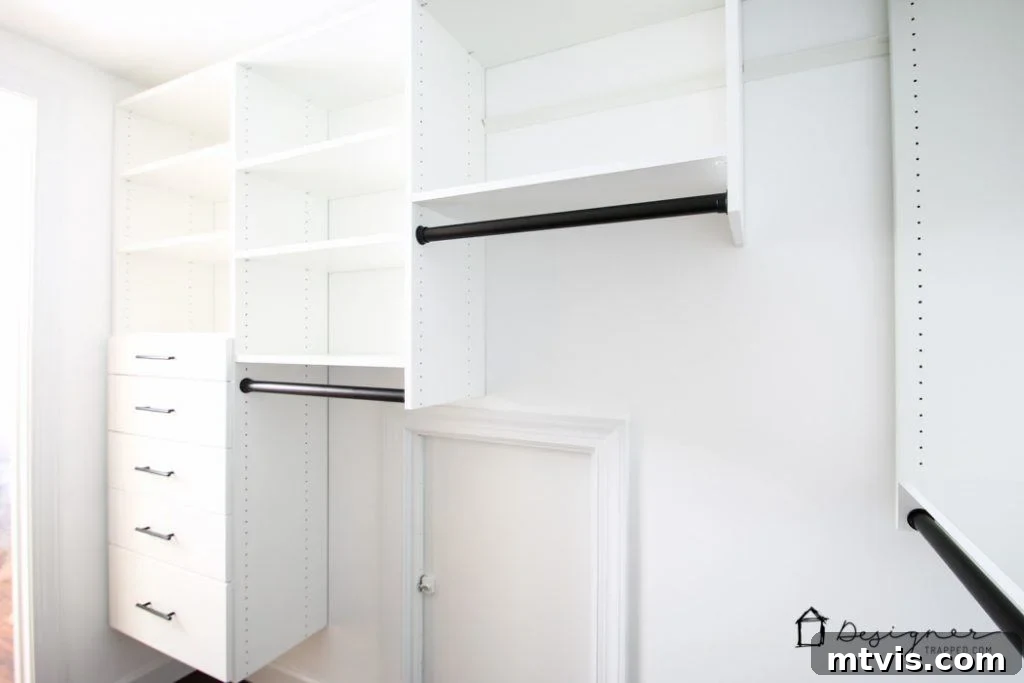
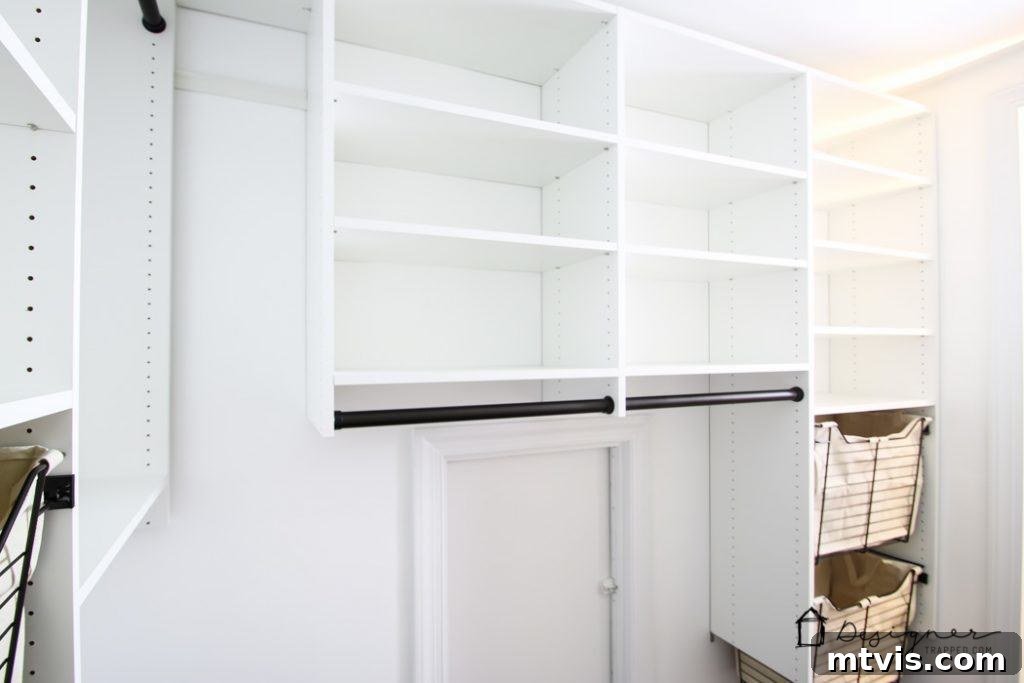
For those who prefer to soak in every detail through still photographs, prepare to be amazed by our brand new closet. These initial photos showcase the completed system immediately after installation, before we meticulously moved all our belongings back in. Given the incredibly reasonable price point of EasyClosets, we admit we weren’t entirely sure what to expect in terms of material quality and overall finish. However, let me assure you, the quality is truly exceptional and surpasses all expectations! The robust construction, smooth finishes, and sturdy components speak volumes about the value offered. We are genuinely astounded by the premium feel and durability of the system, proving that an affordable closet solution doesn’t have to compromise on quality.
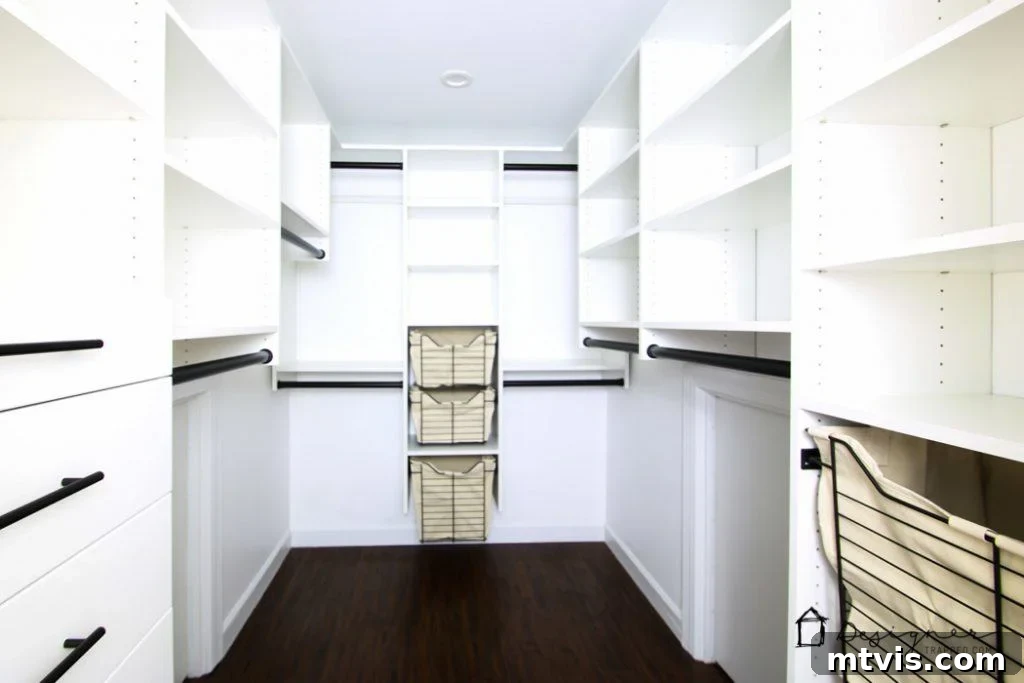
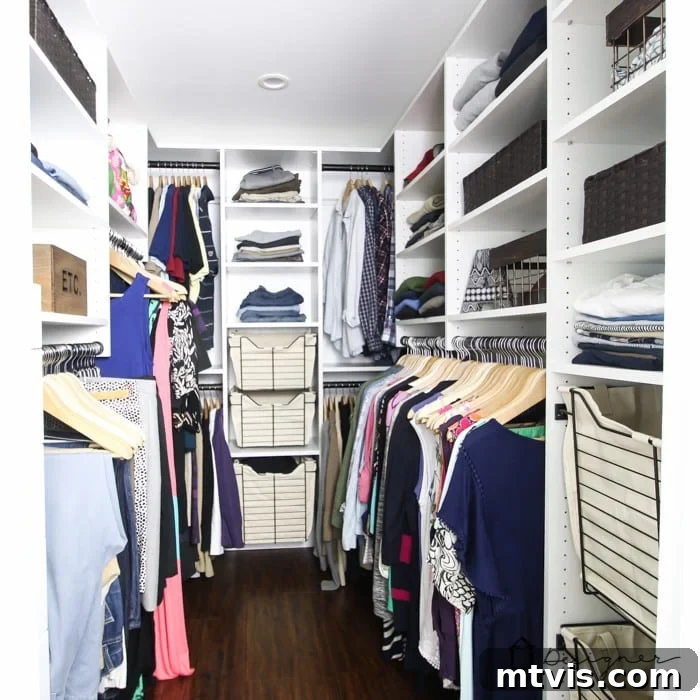
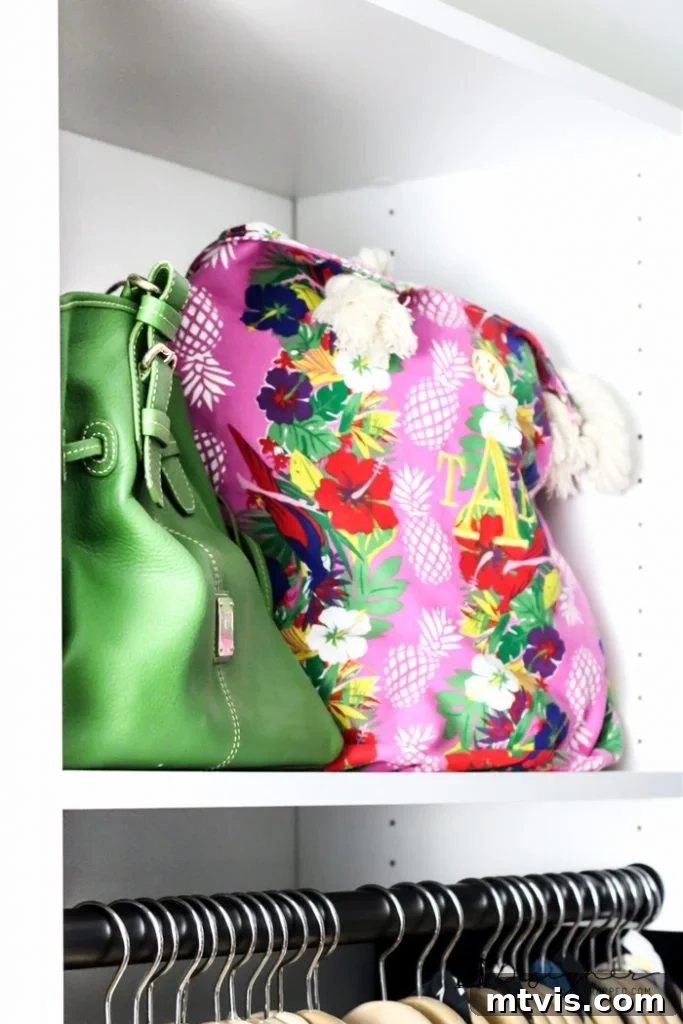
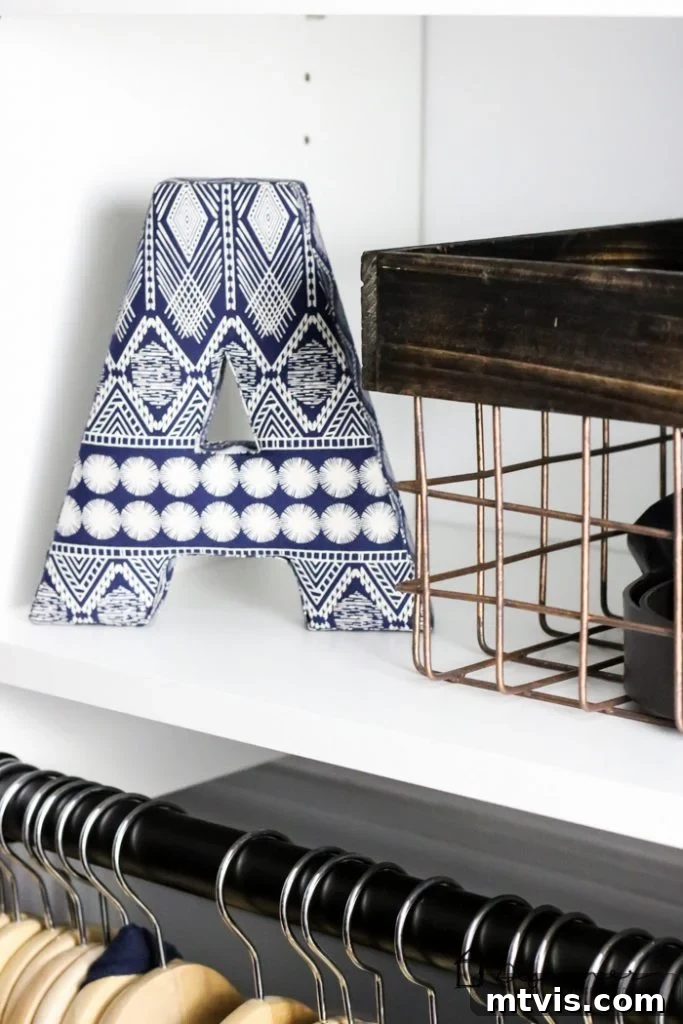
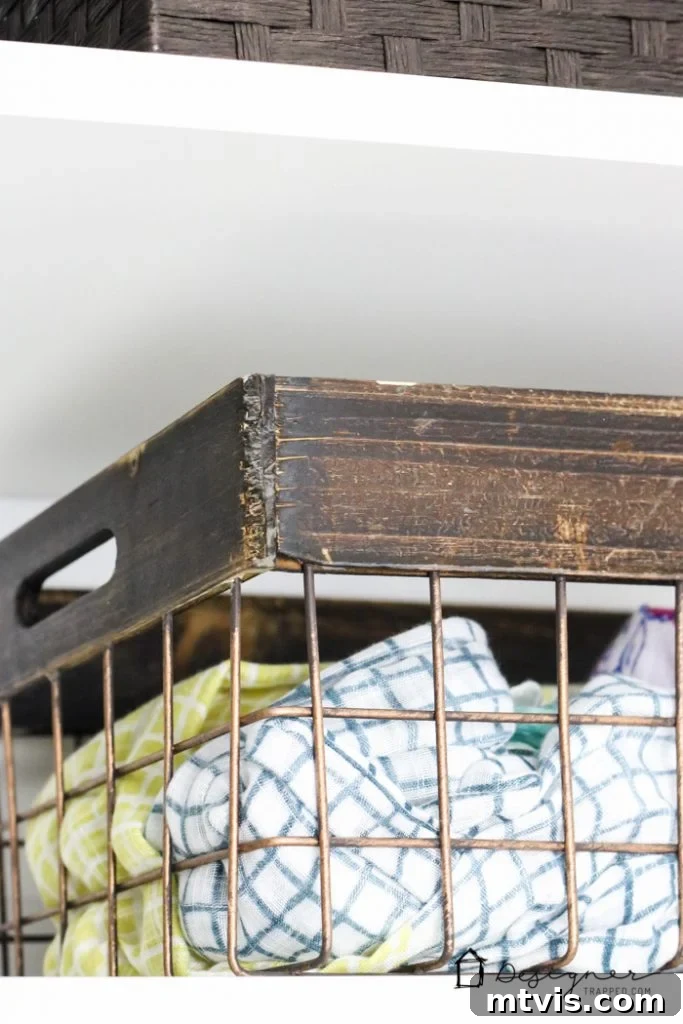
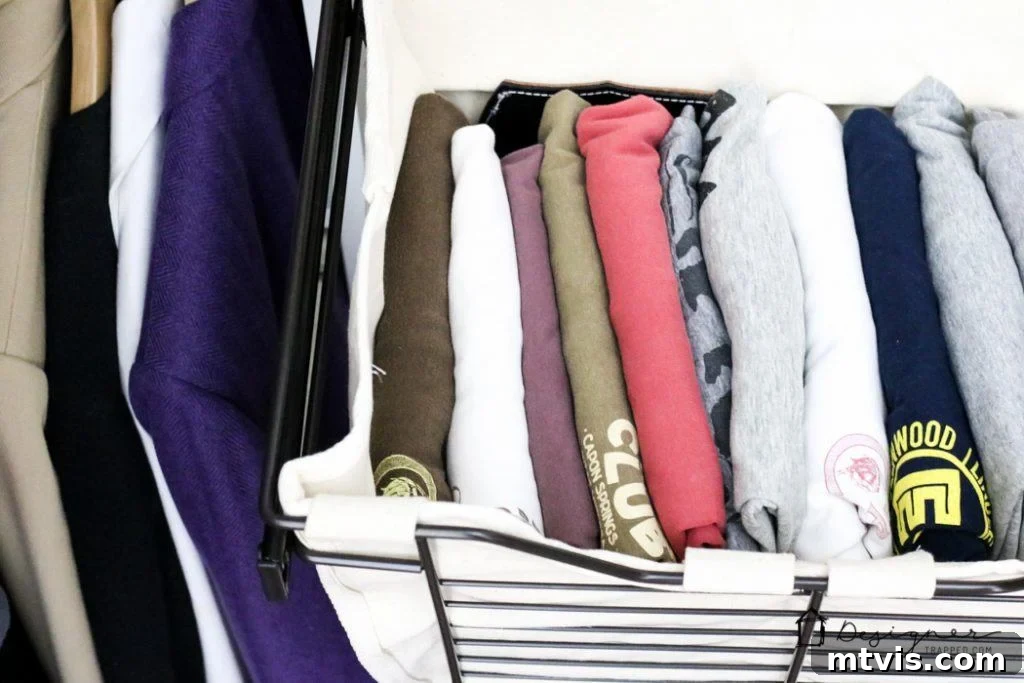
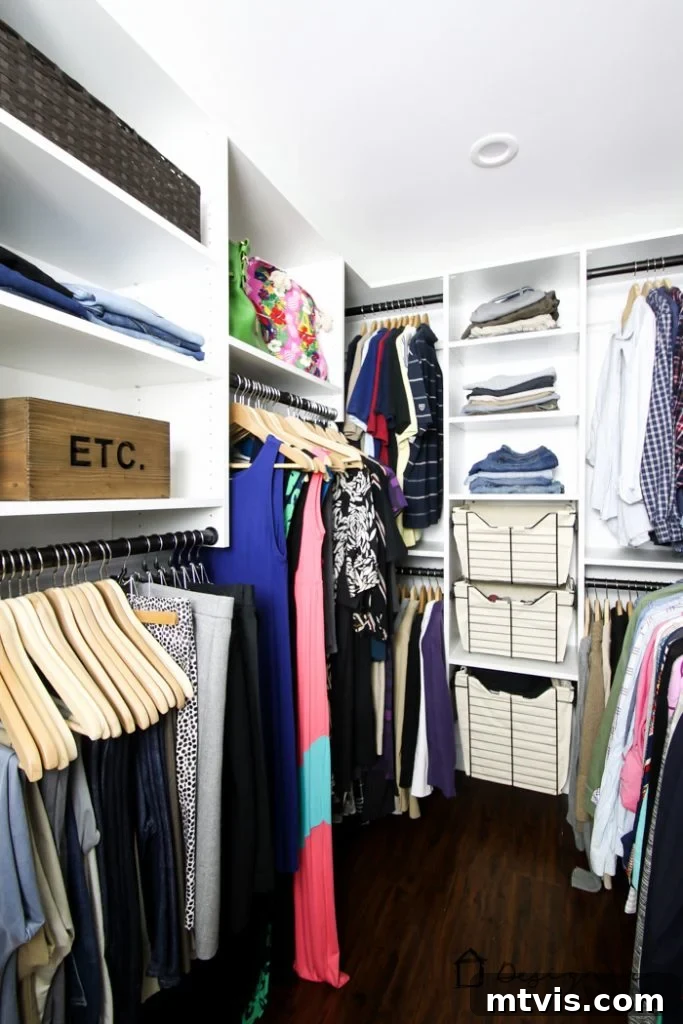
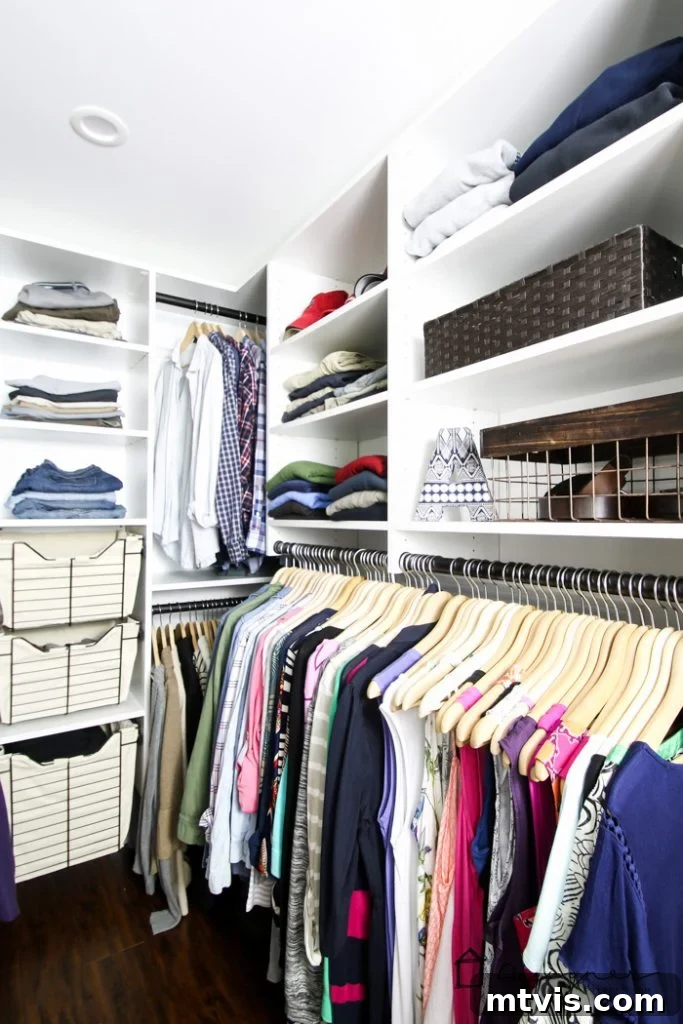
What you see in these next images is our closet in its authentic, everyday glory – no staging, no editing down of items for presentation. We carefully moved every single piece of clothing, every pair of shoes, and all our accessories back into this magnificent new system. The transformation in organization is remarkable. All our shoes, belts, scarves, and other smaller items are now neatly stored in attractive baskets or sit directly on the ample, easily accessible shelving. This thoughtful design ensures that everything has its designated place, making it incredibly simple to find what we need and maintain a tidy space day in and day out. It’s truly a testament to how a well-designed DIY closet system can revolutionize daily routines.
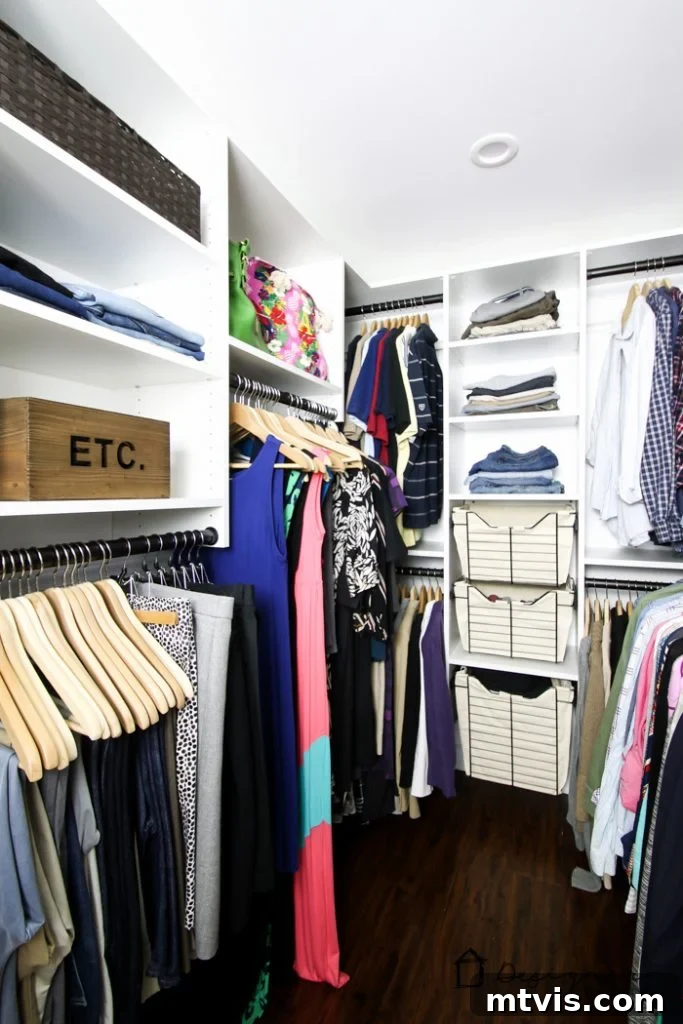
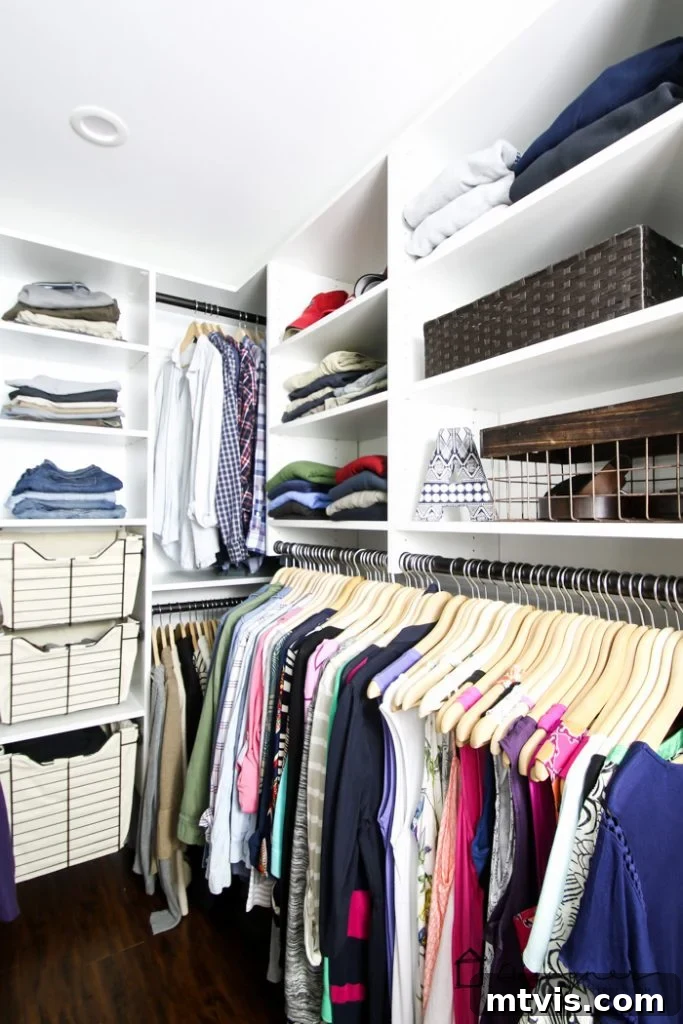
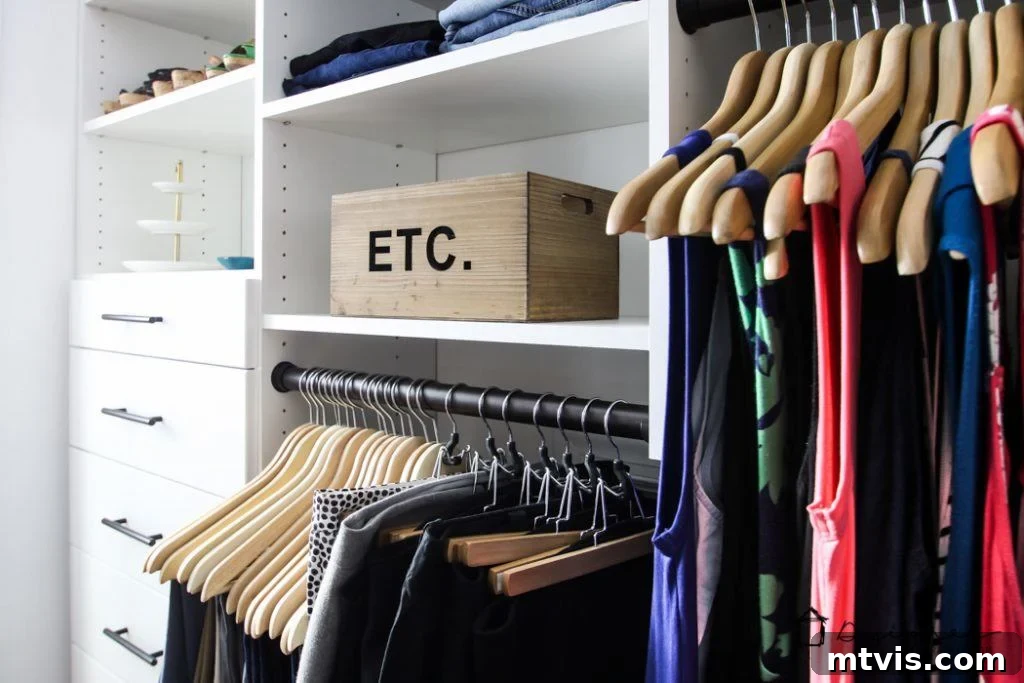
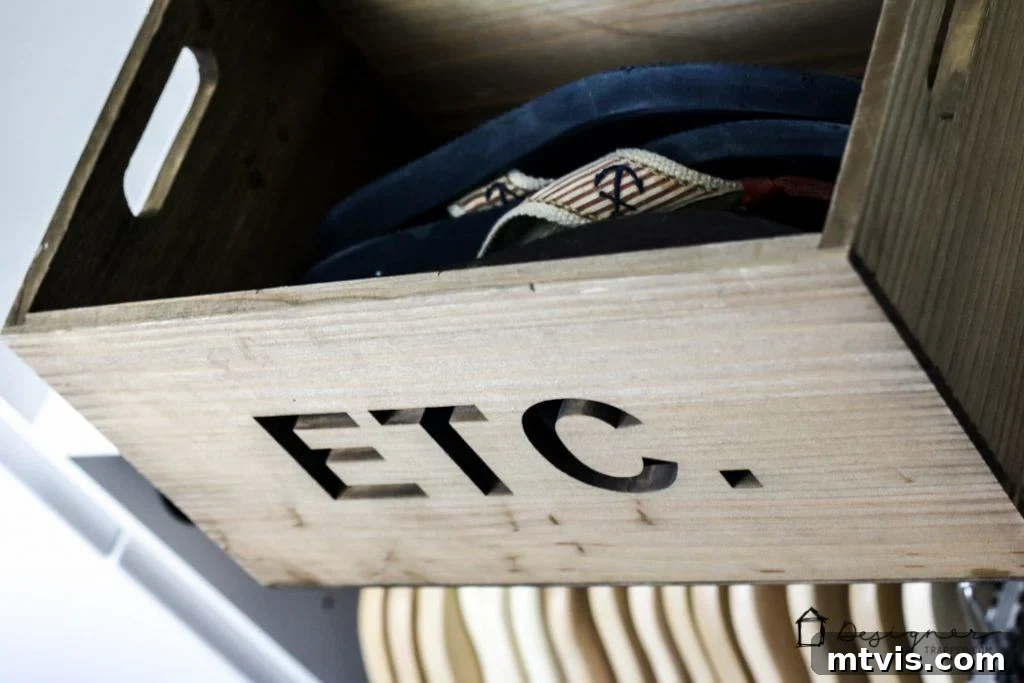
Beyond its incredible functionality, we also had the pleasure of adding a few decorative touches to personalize the space and elevate its aesthetic appeal even further. These small additions, from elegant storage boxes to a touch of greenery, transform the closet from a mere storage area into a luxurious extension of our master bedroom, making it a joy to step into each day.
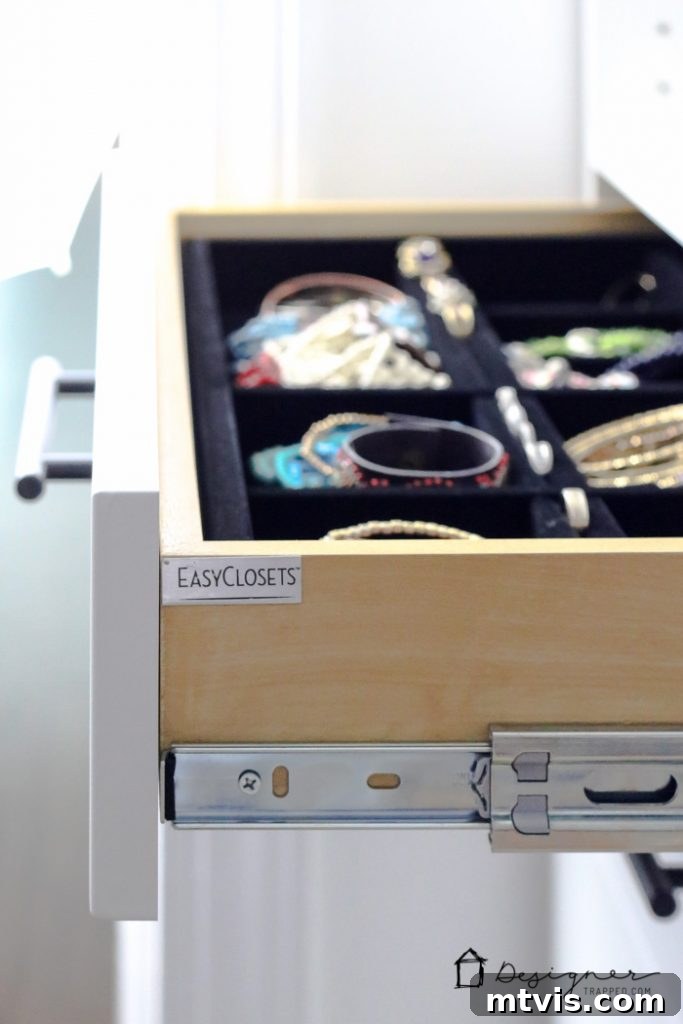
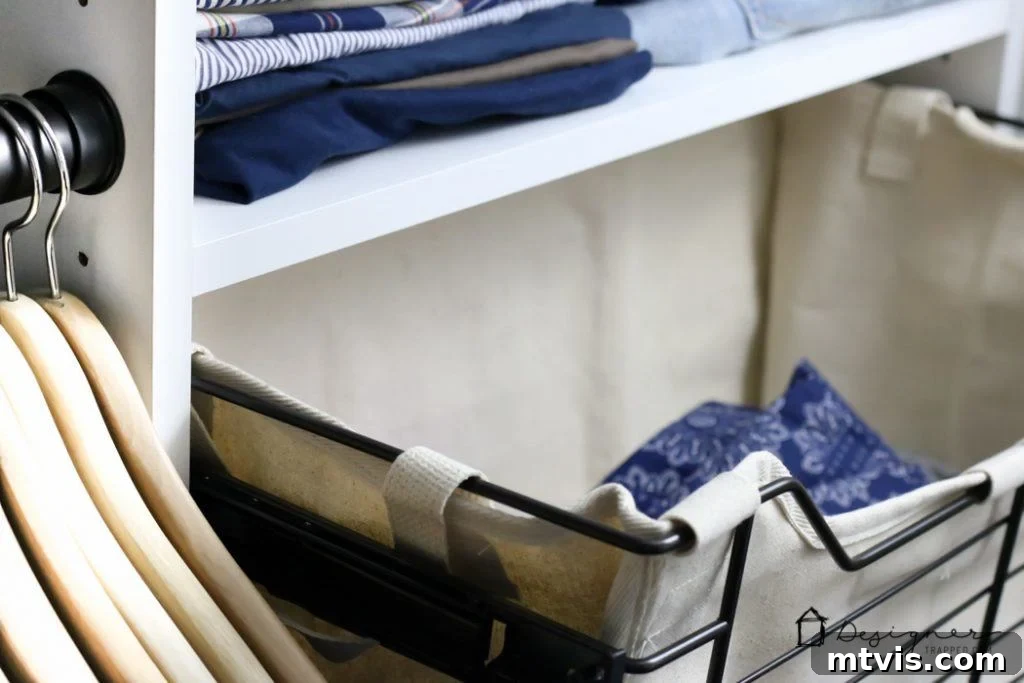
Among the many thoughtful features integrated into our EasyClosets system, two quickly rose to the top of our favorites list: the plush, velvet-lined jewelry organizer and the sophisticated soft-close drawers. The jewelry organizer provides a dedicated, protected home for our treasured pieces, preventing tangles and damage, while the soft-close drawers offer a touch of everyday luxury, gliding silently and smoothly shut. These details not only enhance the user experience but also speak to the high-quality craftsmanship of the system. And for sheer practical impact, the built-in laundry hampers have become our new best friends. The days of unsightly, cheap plastic laundry baskets cluttering our floor, remnants from our college days, are thankfully a thing of the past. These integrated hampers maintain a clean, streamlined look, making laundry day a much more organized affair.
Words can only convey so much; let these additional images allow you to fully immerse yourself in the beauty and functionality of our completed DIY closet system reveal. Observe the thoughtful design, the ample storage, and the seamless integration of various components that create an unparalleled organization solution for our master bedroom.
No closet system reveal would be complete without the powerful visual impact of a side-by-side comparison. Witnessing the stark contrast between the “before” and “after” truly underscores the remarkable transformation we achieved with our DIY closet system. Prepare to be inspired by how a well-planned and executed project can dramatically enhance both the functionality and beauty of a vital space in your home.
 |
 |
 |
 |
Our journey to a perfectly organized master closet with EasyClosets has been nothing short of phenomenal. The blend of custom design flexibility, ease of installation, and exceptional quality makes this DIY closet system a standout choice for anyone looking to reclaim their closet space. It’s more than just storage; it’s an investment in daily efficiency, a calm start to each day, and a touch of luxury in our home. We wholeheartedly recommend EasyClosets for their innovative approach to home organization and their commitment to customer satisfaction. If a master closet makeover is on your horizon, this is a solution well worth exploring.
We were fortunate to be provided with free product from EasyClosets for this post. We did not receive any financial compensation and as always, my opinions are 100% my own! I would never recommend something I do not truly love!