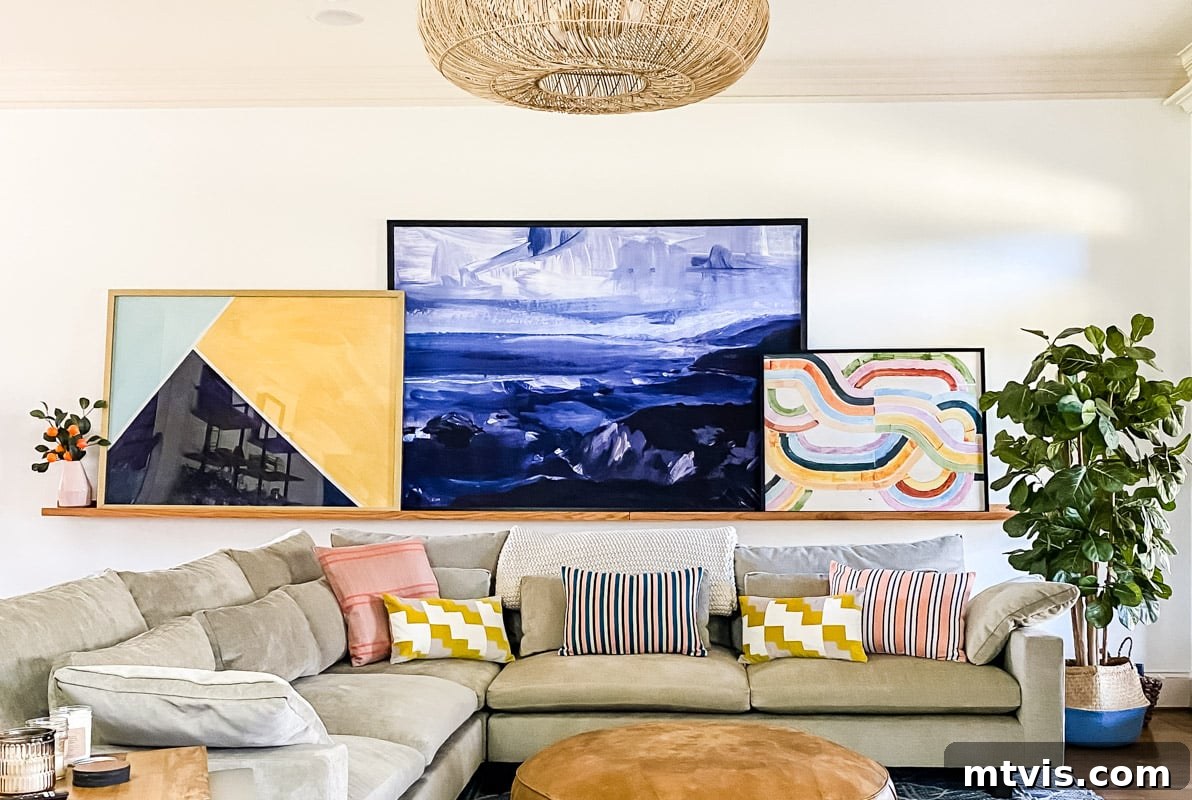
Transform Your Space: The Ultimate Guide to Building a Stylish DIY Art Ledge for Large & Oversized Art
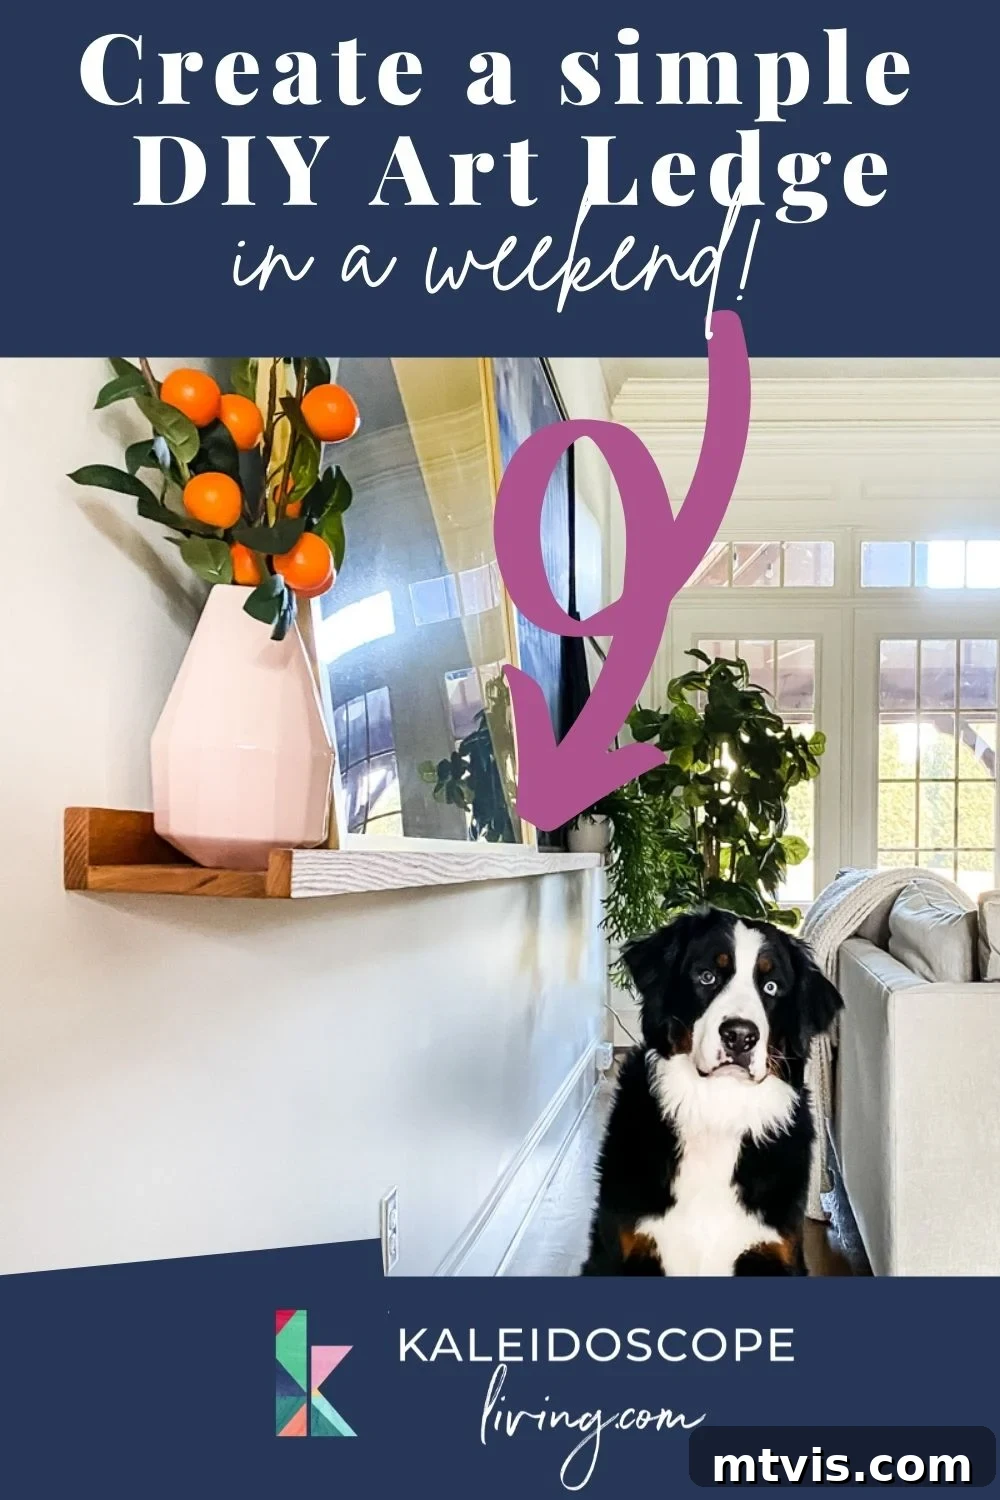
In the nine years since I embarked on this blogging journey, I’ve tackled countless DIY projects, but few have garnered as much attention and inquiry as this stunning DIY art ledge. Often, the question comes in the form of, “Where did you buy that amazing art ledge?!” My answer invariably surprises people: you can’t buy an art ledge this extensive or perfectly tailored to your space, which is precisely why we crafted our own. And the best part? It’s one of the most straightforward and rewarding DIY endeavors we’ve ever undertaken, proving that custom, impactful home decor doesn’t have to be complicated or expensive. In fact, to make it even simpler, you can often have the wood cut to your desired lengths right at your local home improvement store.
For years, I struggled to find the perfect art display solution for the expansive wall in our family room. Various arrangements and decor ideas always felt a bit “off” or failed to make the grand statement I envisioned. I was also determined to avoid spending a fortune on custom framing or oversized art pieces that might not stand the test of time or my evolving taste. This led me to brainstorm innovative DIY wall decor ideas, and that’s when the concept of this magnificent DIY art ledge was born. While I adored the pipe and reclaimed hanging frames we created for our previous family room, I desired an even bolder, more flexible way to display large-scale art.
This post contains some affiliate links for your convenience. Click here to read my full disclosure policy.
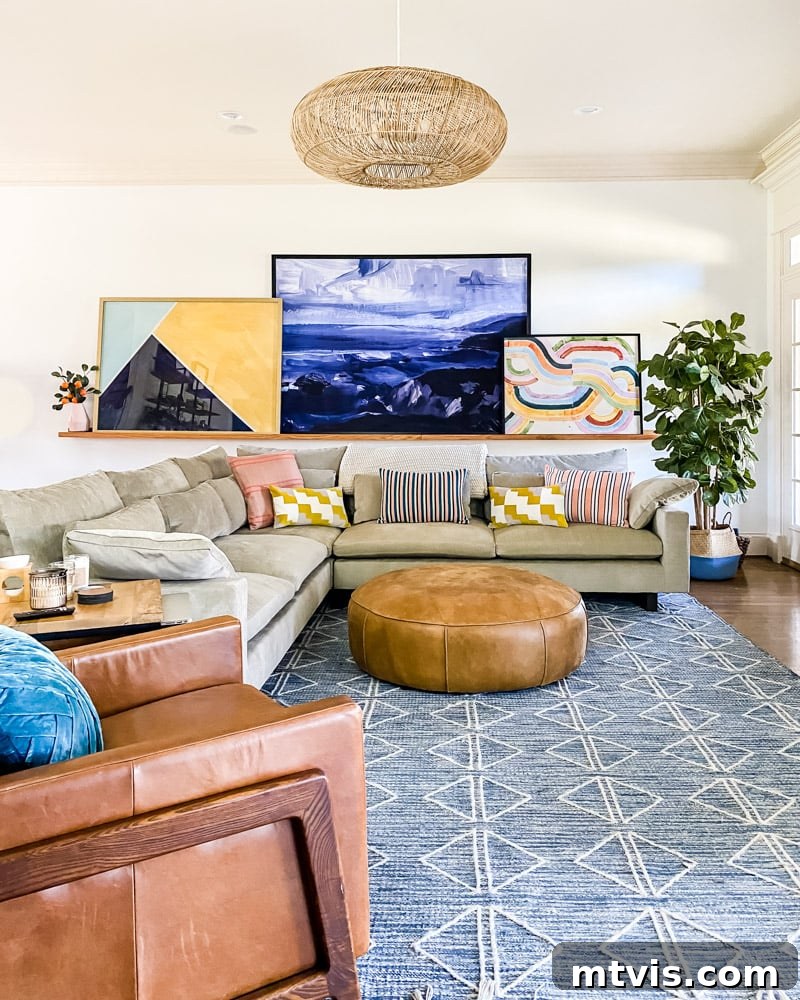
The art ledge we meticulously designed and built proved to be the ultimate solution. Its ability to span the entire length of the wall creates an undeniable visual impact, instantly transforming the space. What I love most is the incredible flexibility it offers: I can effortlessly switch out art pieces to refresh the room’s aesthetic without ever having to put new holes in the wall. Currently, I’m absolutely captivated by the gorgeous selections from Minted and Juniper Print Shop, which beautifully adorn our ledge. This project was not only simple to design and construct but also incredibly easy to customize, ensuring it perfectly fit our unique space and style requirements. You, too, can readily adapt this straightforward DIY project to complement any room in your home.
Such was our affection for this art ledge that when we relocated to our new house, it was one of the first pieces we brought with us, finding its new home once again in the family room. After some delightful experimentation with various arrangements, I settled on a display that I absolutely adore. The true magic of this art ledge lies in its ability to facilitate effortless changes and rearrangements of artwork, all while preserving the integrity of your walls—no more unsightly nail holes!
How to Build Your Own DIY Art Ledge: A Step-by-Step Guide
When planning our art ledge, we made the conscious decision to extend it across the entire length of the wall, and I couldn’t be happier with that choice. Initially, we constructed it to be approximately 13 feet long. However, once it was mounted and I saw it in context, I realized it would be far more impactful if it spanned the full distance of the wall. Without hesitation, we took it down and expanded its length. The good news is that for an 18-foot span, we would have had to join shorter lengths of wood regardless, so no materials or effort were wasted in making this adjustment. This flexibility is one of the many advantages of a DIY approach!
Essential Supplies for Crafting Your Custom Art Ledge
- Wood of your choice: We opted for red oak for its beautiful grain and durability, but you can select any wood that complements your home’s aesthetic and budget (e.g., pine, poplar, maple).
- For the structural components, we used:
- 1 x 4s (actual dimensions approximately 3/4″ x 3.5″) for the back piece, which attaches directly to the wall.
- 1 x 6s (actual dimensions approximately 3/4″ x 5.5″) for the bottom shelf, providing ample depth for displaying various art sizes.
- 1 x 2s (actual dimensions approximately 3/4″ x 1.5″) for the front lip, which securely holds your artwork in place.
- Pro Tip: To simplify the process, many hardware stores offer wood cutting services. Have all your pieces cut to your desired length at the store to save time and effort.
- For the structural components, we used:
- Danish oil or hemp oil: Essential for finishing and protecting your wood, enhancing its natural beauty.
- Wood glue: For strong, durable joints.
- Clamps: These are the clamps we use, highly recommended for securing pieces while the glue sets and screws are driven.
- Screws and drill driver: For robust assembly and wall mounting.
- Handsaw or electric saw: If you plan to cut the wood yourself, a miter saw or circular saw will make precise cuts.
- Finishing nails and nail gun (optional but recommended): For attaching the front lip with minimal visible fasteners.
- Stud finder: Crucial for safely mounting your ledge to wall studs.
- Level: To ensure your art ledge is perfectly straight.
Detailed Steps to Construct Your DIY Art Ledge
Step 1: Measure Your Space for the Perfect Fit
The very first and most critical step is to accurately measure the intended length for your picture rail. For our family room, the wall spanned 15 feet and 7 inches. Carefully consider the dimensions of your wall and how you want the ledge to integrate into the overall design of your room. Do you want it to run wall-to-wall for a grand statement, or would a shorter, more focal point ledge better suit your aesthetic?
Step 2: Source Your Materials and Understand Wood Dimensions
With your measurements in hand, head to your local home improvement store or lumber yard to select your wood. As previously mentioned, we chose red oak for its rich appearance and longevity. Since 18-foot lengths of wood were unavailable, we purchased a combination of 12-foot and 6-foot lengths for each required size. This allowed us to effectively build two separate, shorter ledges that would then be hung side-by-side to achieve the desired overall length.
To reiterate the specific wood dimensions and their roles:
- 1 x 4s: These form the back piece of the ledge, which will be directly affixed to your wall. Remember that a “1×4” board typically measures approximately 3/4 inch thick by 3.5 inches wide, offering a sturdy base for attachment.
- 1 x 6s: These pieces create the main bottom shelf of the ledge. A “1×6” measures about 3/4 inch thick by 5.5 inches wide, providing a generous depth for displaying various sizes of artwork and decorative objects.
- 1 x 2s: This smaller piece forms the front lip of the ledge, which is essential for preventing your art from sliding off. A “1×2” measures approximately 3/4 inch thick by 1.5 inches wide, offering just enough of a barrier to keep your treasured pieces secure.
Step 3: Precisely Cut Your Wood Pieces
Once you have your lumber, it’s time for cutting. Using a handsaw or an electric saw (like a miter saw for clean, straight cuts), cut all your wood pieces to the exact same length you determined in Step 1. As a convenient alternative, don’t hesitate to utilize the wood cutting services offered at most hardware stores; this can save you significant time and ensure highly accurate cuts.
Step 4: Finish Your Wood to Enhance Its Natural Beauty
Before assembly, apply your chosen finish to the wood. We aimed to preserve and enhance the natural beauty of the red oak, so we opted for Danish oil. Danish oil penetrates the wood, providing a durable, water-resistant finish that highlights the grain without creating a thick, plastic-like coating. Hemp oil is another excellent choice for a natural, eco-friendly finish. Alternatively, you could stain the wood to match existing decor, paint it for a bold statement, or apply a clear sealant for maximum protection. Ensure you follow the manufacturer’s instructions for application and drying times for the best results.
Step 5: Assemble the Back and Bottom Pieces
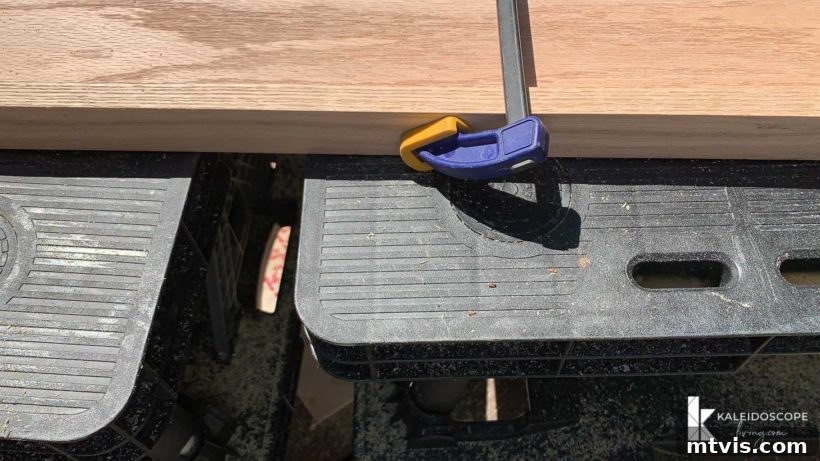
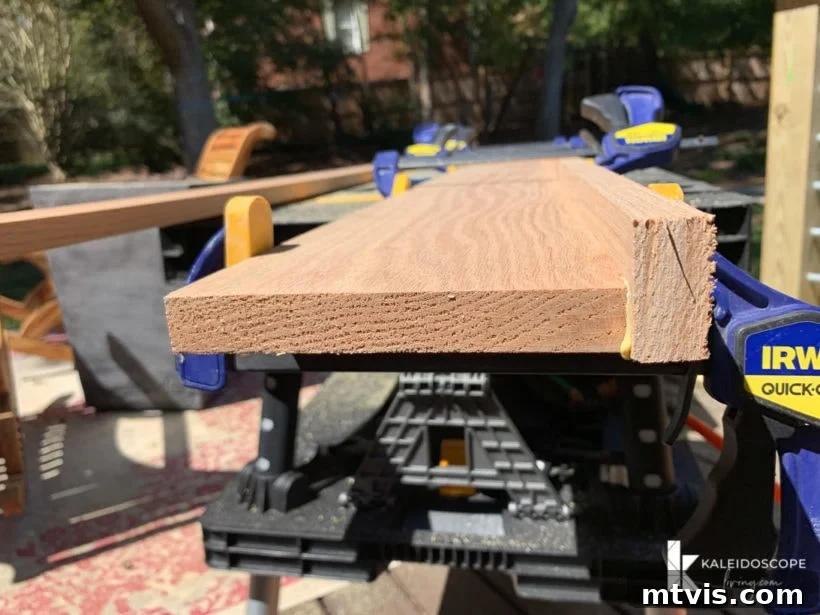
Now, it’s time to begin assembling the ledge. Take your 1×4 (back piece) and your 1×6 (bottom piece). Apply a generous, even bead of wood glue along the edge of the 1×4 where it will meet the 1×6. Align the two pieces, ensuring they form a perfect “L” shape. Clamp the pieces together firmly. While clamped, drive screws through the back of the 1×4 into the edge of the 1×6. Space your screws approximately every 12-18 inches for a strong, secure bond. Pre-drilling pilot holes can prevent the wood from splitting, especially with harder woods.
Step 6: Attach the Front Lip for Art Security
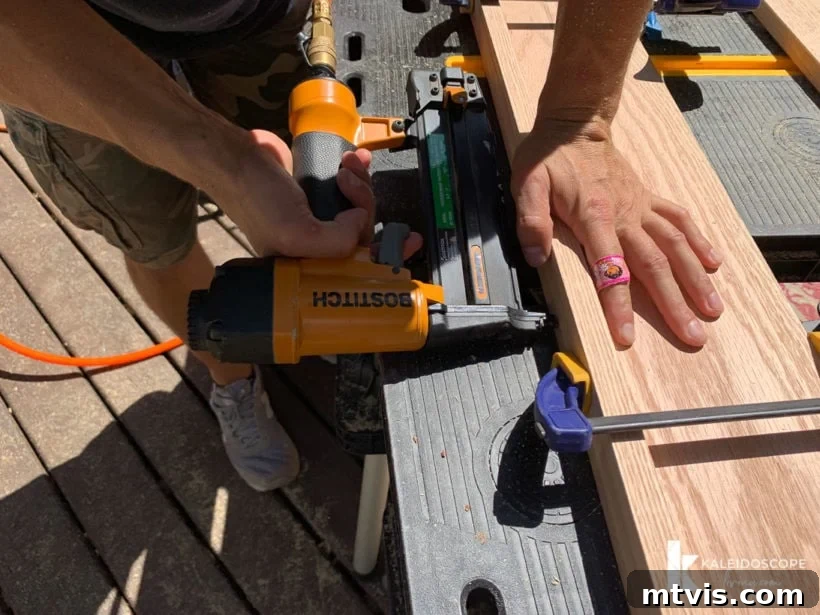
Next, attach the 1×2 (front lip) to the assembled back and bottom pieces. Apply wood glue along the front edge of the 1×6. Position the 1×2 flush with the top edge of the 1×6, creating a small lip that will hold your art in place. For this step, I highly recommend using finishing nails instead of screws. Finishing nails are smaller and can be driven in with a nail gun or hammer, leaving much less noticeable holes that can be easily filled and disguised, ensuring a clean, professional finish. Again, clamp the pieces to maintain alignment while securing.
Step 7: Mount Your Art Ledge Securely to the Wall
With your art ledge (or ledges, if you’ve built multiple sections) fully assembled, it’s time for installation. First, use a reliable stud finder to locate the studs in your wall. Attaching your ledge directly into studs is crucial for stability and safety, especially when displaying heavier artwork. Mark the stud locations clearly. Using a level, position your ledge against the wall at your desired height and mark where the screws will go through the back of the 1×4 and into the studs. Drive appropriate screws (typically construction screws or lag screws for heavier loads) through the back piece of the ledge directly into the studs.
For our nearly 16-foot span, we simply hung our two assembled ledge sections side-by-side on the wall without physically joining them together. The seam where they meet is practically invisible unless you examine it very closely, a testament to careful measurement and installation. If you’re creating a particularly long ledge, ensure each section is adequately supported by studs. If you cannot hit a stud for every screw point, use heavy-duty wall anchors designed for the weight of your ledge and art.
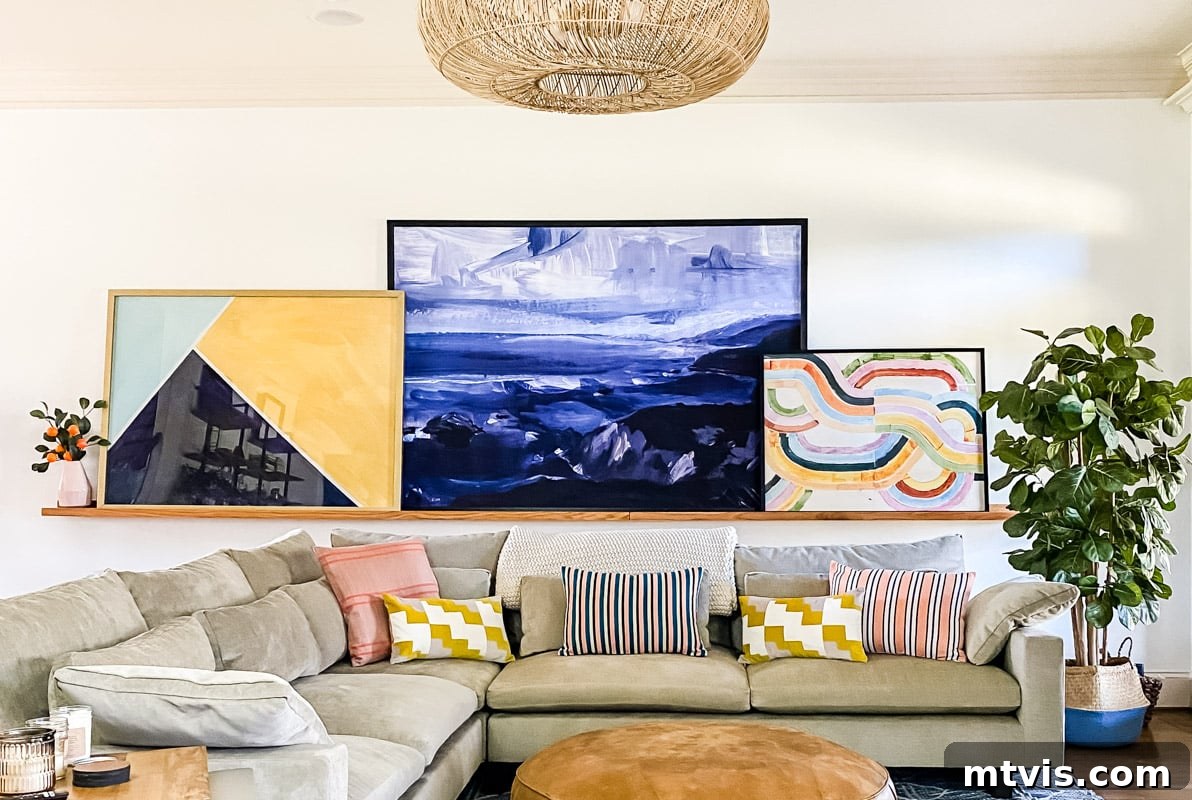
That’s it! You’ve successfully built a beautiful and functional art ledge. We genuinely couldn’t be more thrilled with this picture rail. Having a large, windowless wall presented a unique decorating challenge, and our love for oversized art made it even more complex. This DIY art ledge provides the ideal platform to introduce vibrant color and art of an appropriate scale to this expansive space. It truly is shocking how simple yet impactful this project is!
This is such an accessible DIY project; you can absolutely complete it quickly and easily for your own home. Whether it’s for a living room, bedroom, hallway, or office, just customize the length and finish to your liking, then gather some beautiful art and cherished pictures to create a dynamic and ever-evolving display. Enjoy the freedom of changing your art on a whim, all without ever reaching for a hammer or patching another hole!
Beyond the Ledge: More Design Inspiration
If you’re looking for more ways to elevate your home’s aesthetic, explore these other helpful posts:
- 8 Interior Design Mistakes You Don’t Even Know You are Making (and How to Fix Them)
- How to Display Art On Any Smart TV + Affordable TV Update
- 16 Gallery Wall Ideas (and Tips) To Inspire You
- How to Choose Art that Flows: Tour Our Colorful Artwork
- Living Room Art: Top Designer Picks
- Why You Need Big Wall Art (and where to find it!)
- Stylish Family Photo Wall Display Ideas
Curious about my personal approach to transforming rooms and spaces in our home? Be sure to check out Designer in a Binder® – your comprehensive guide to decorating with confidence.
And for exclusive content, behind-the-scenes sneak peeks, and fresh DIY inspiration delivered straight to your inbox, be sure to subscribe before you go!