Transforming Your Home: The Essential Guide to Exterior House Painting Preparation for Lasting Beauty and Protection
After years of dreaming and meticulous planning, the day has finally arrived! We are thrilled to announce that our home’s exterior is finally getting its much-anticipated fresh coat of paint. This project has been a long time coming, a journey I’ve been sharing daily with our wonderful community on Instagram stories.
For over seven years, we’ve called this house our home, yet its exterior aesthetic has never quite resonated with us. However, justifying the significant expense of an exterior paint job purely for visual appeal was a challenge we couldn’t overcome. Our focus, time, and budget were primarily directed towards countless interior projects that truly transformed our living spaces. So, we patiently waited, knowing the right time would come.
That time presented itself a few months ago when we began noticing undeniable signs of the exterior paint peeling and deteriorating. Initially, we considered tackling the monumental task of painting the entire exterior ourselves. As avid DIY enthusiasts, the thought was tempting. However, after obtaining several quotes, we ultimately decided that the scale and complexity of the job warranted the expertise of a professional crew. Let’s be clear: exterior home painting is a substantial investment. Our particular project came with a price tag of $6,200 – a gasp-worthy sum, but one we believe is well worth it for the quality and longevity we expect.
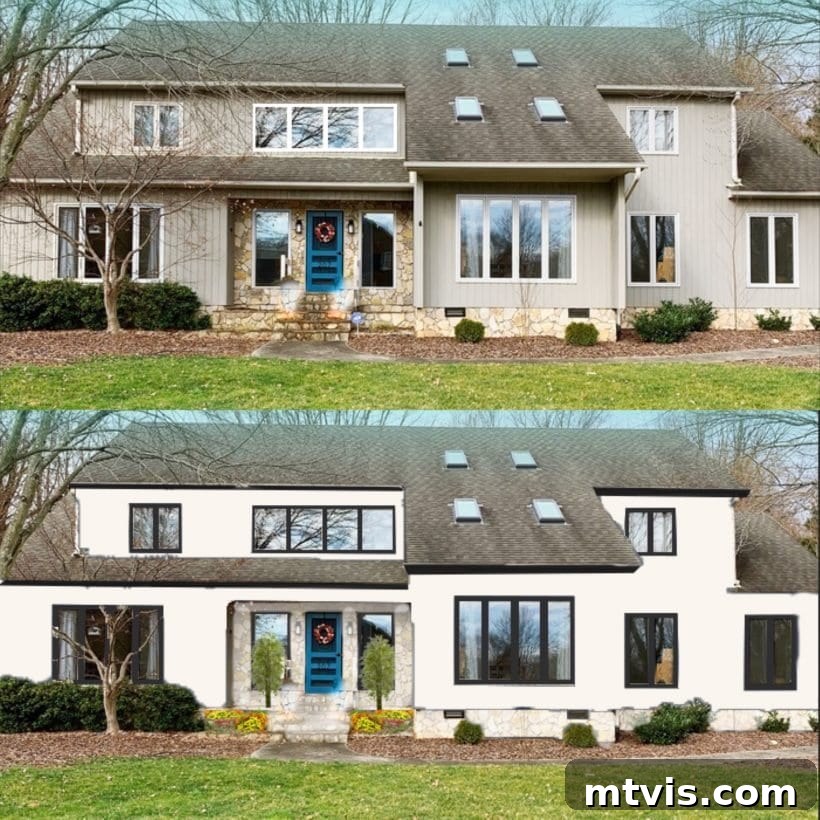
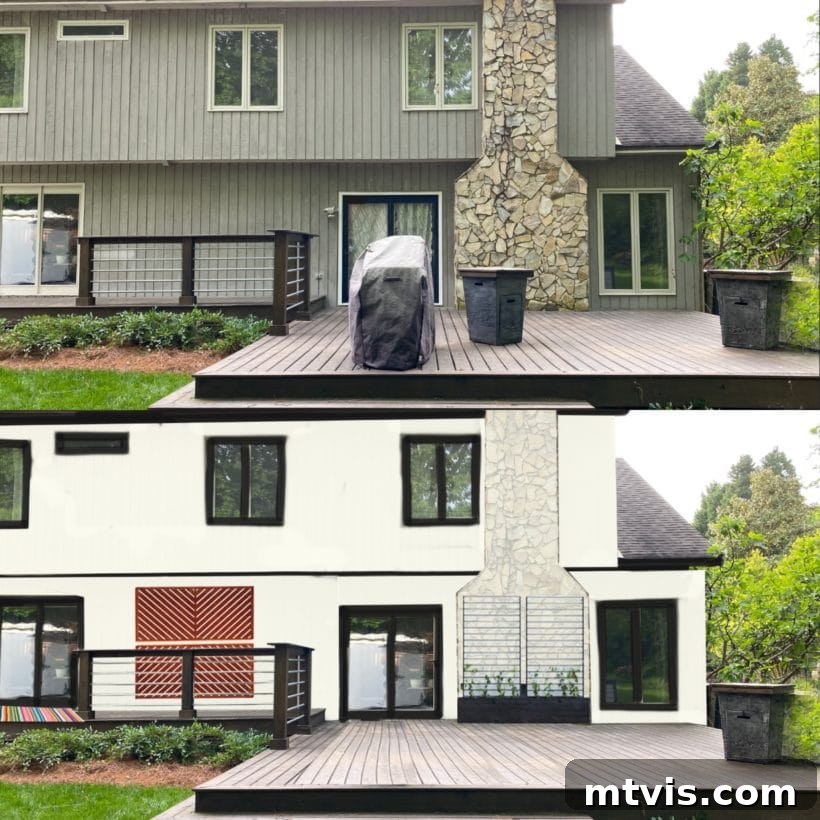
Below, you can witness the significant transformation we’re envisioning. The top images showcase our home’s appearance over the past seven years, while the lower images, thanks to the magic of Photoshop, illustrate the stunning potential of its forthcoming new look. This visual promise fuels our excitement and reinforces our commitment to ensuring this paint job is nothing short of perfect and enduring.
Considering the significant financial and emotional investment, it’s absolutely paramount that this paint job stands the test of time, looking vibrant and fresh for as many years as possible. This unwavering goal made one thing abundantly clear: proper preparation would be absolutely CRUCIAL. In fact, professional painters often assert that nearly half of the entire exterior painting process is dedicated solely to preparation. It’s the unsung hero that guarantees a beautiful, long-lasting finish.
Ignoring the preparation phase is akin to building a house on a shaky foundation; the results, no matter how good the paint, will inevitably be disappointing and short-lived. A meticulously prepared surface ensures optimal paint adhesion, prevents premature peeling, and provides a uniform, professional appearance. We’ve compiled five essential steps that will not only guarantee your exterior paint job looks stunning upon completion but will also significantly extend its lifespan, protecting your home for years to come.
This post is proudly sponsored by DAP, a brand we trust for quality home improvement products. Please note that this article contains some affiliate links for your convenience. Your support through these links helps us continue to create valuable content. For full transparency, please read our complete disclosure policy here.
The Ultimate 5-Step Guide to Preparing Your Home for Exterior Painting Success
Embarking on an exterior painting project for your home is an exciting venture that promises to rejuvenate its curb appeal and protect it from the elements. However, the secret to a truly successful and long-lasting paint job lies not in the application itself, but in the thoroughness of your preparation. Neglecting these foundational steps can lead to frustrating issues like peeling, cracking, and a premature need for repainting. Follow our comprehensive five-step guide to ensure your home is perfectly prepped, allowing your new paint to adhere flawlessly and deliver a beautiful, durable finish for years to come.
Step 1: Thoroughly Clean the Entire Exterior of Your Home
Before any paint can touch your home’s surface, a pristine canvas is absolutely essential. The very first and arguably most critical step in preparing your house for exterior painting is a comprehensive top-to-bottom cleaning. Over time, your home accumulates a myriad of contaminants: dirt, grime, dust, pollen, cobwebs, mold, mildew, and even loose paint chips. These elements create a barrier that prevents new paint from properly adhering, leading to blistering, peeling, and a significantly shortened lifespan for your investment.
Our professional painting crew tackled this task with impressive efficiency, utilizing pressure washing combined with a bleach solution. This potent combination not only blasted away surface debris but also eradicated stubborn mold and mildew, which are common culprits behind paint adhesion issues and unsightly discoloration. This was no small feat; it took an entire day with multiple team members dedicated solely to this cleaning process. The result was a squeaky-clean surface that felt almost brand new, maximizing the paint’s ability to bond securely to the siding and trim.
Once cleaned, it’s crucial to allow your home to dry completely for at least a full day, or even longer in humid conditions, before proceeding to the next step. Painting over a damp surface can trap moisture, leading to bubbles, peeling, and mildew growth beneath the new paint. If you’re considering taking on the pressure washing yourself, ensure you invest in a quality machine and understand proper safety procedures. For those looking for a recommendation, this is the pressure washer we personally own and absolutely love for its power and reliability.
Step 2: Scrape and Sand Away All Loose and Peeling Paint
Once your home’s exterior is completely dry and free of surface contaminants, the next vital step is to address any existing loose or peeling paint. Skipping this stage is a common mistake that guarantees the new paint will also fail prematurely, mirroring the imperfections of the old. The goal here is to create a smooth, stable surface that the new paint can bond to effectively.
Our expert painting crew meticulously handled this laborious but crucial task. They used a combination of specialized scraping tools to remove all flaking, bubbling, or peeling paint. This process isn’t just about removing the obvious; it’s about systematically checking every square inch of the exterior for paint that has lost its adhesion. Following the scraping, any bare spots or uneven edges left behind were carefully sanded. Sanding helps feather the edges of the remaining old paint into the bare wood or siding, creating a seamless transition. This eliminates unsightly ridges and provides a smoother, more uniform surface for the new coat of paint, ensuring a professional and durable finish. Investing time in thorough scraping and sanding will pay dividends in the longevity and aesthetic appeal of your newly painted home.
Step 3: Caulk Gaps, Cracks, and Fill All Holes
With the surface clean and smooth, it’s time to seal and perfect it. This step is not just about aesthetics; it’s crucial for protecting your home from moisture intrusion, drafts, and even pests. This was also a fantastic opportunity for us to contribute to the project ourselves, helping to reduce labor costs where possible – a true DIYer at heart simply can’t resist!
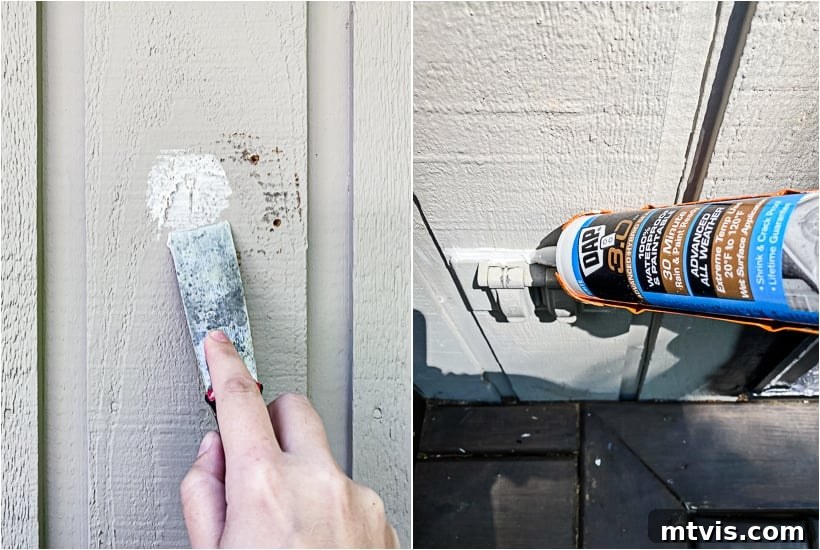
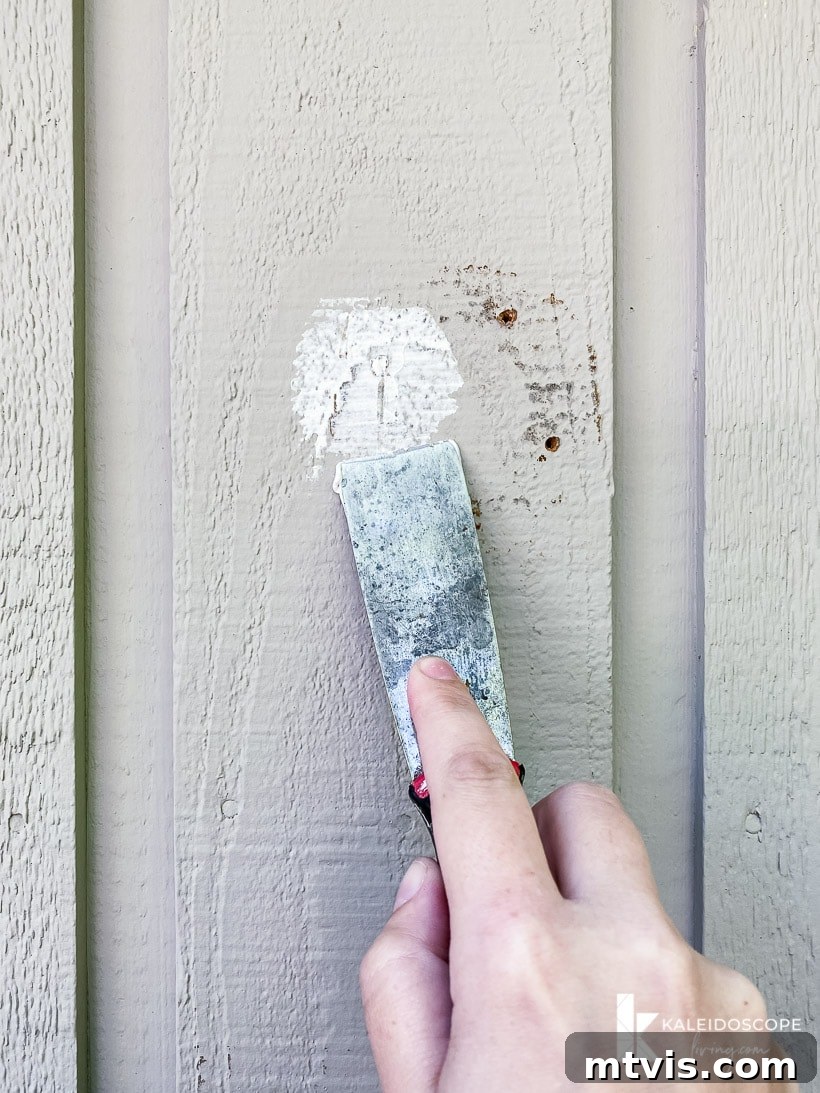
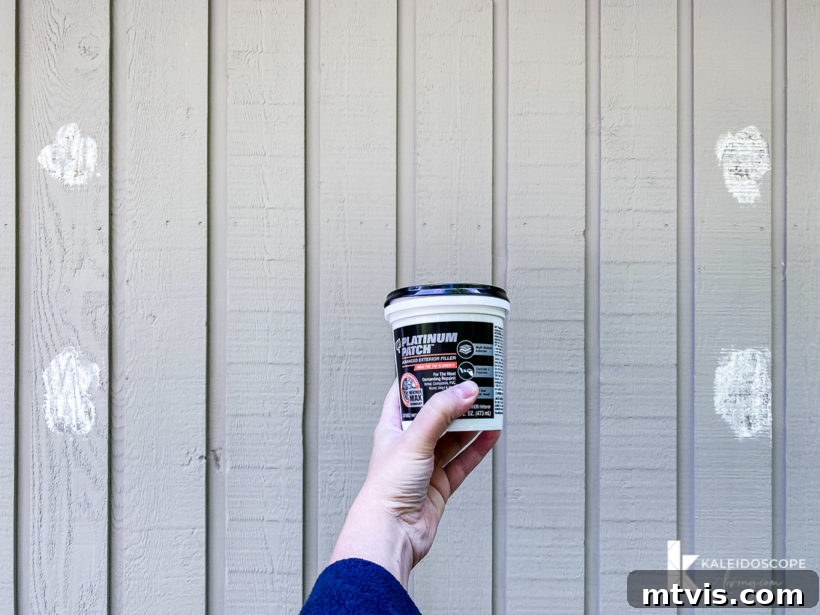
For filling holes, particularly those left by decorative shelves and an outdoor chalkboard previously adorning our back deck, we opted for DAP Platinum Patch™ Advanced Exterior Filler. This product is a powerhouse, specifically formulated with advanced Weathermax technology. This innovative feature provides unparalleled weatherproof protection, actively preventing common issues like discoloration, cracking, and crumbling that often plague exterior repairs. It delivers a truly waterproof repair that remains stable – resisting swelling, softening, blistering, or breaking down over time. Furthermore, its mold, mildew, and algae-resistant properties make it an ideal choice for any outdoor repairs where moisture is a concern, ensuring your repairs last as long as your new paint.
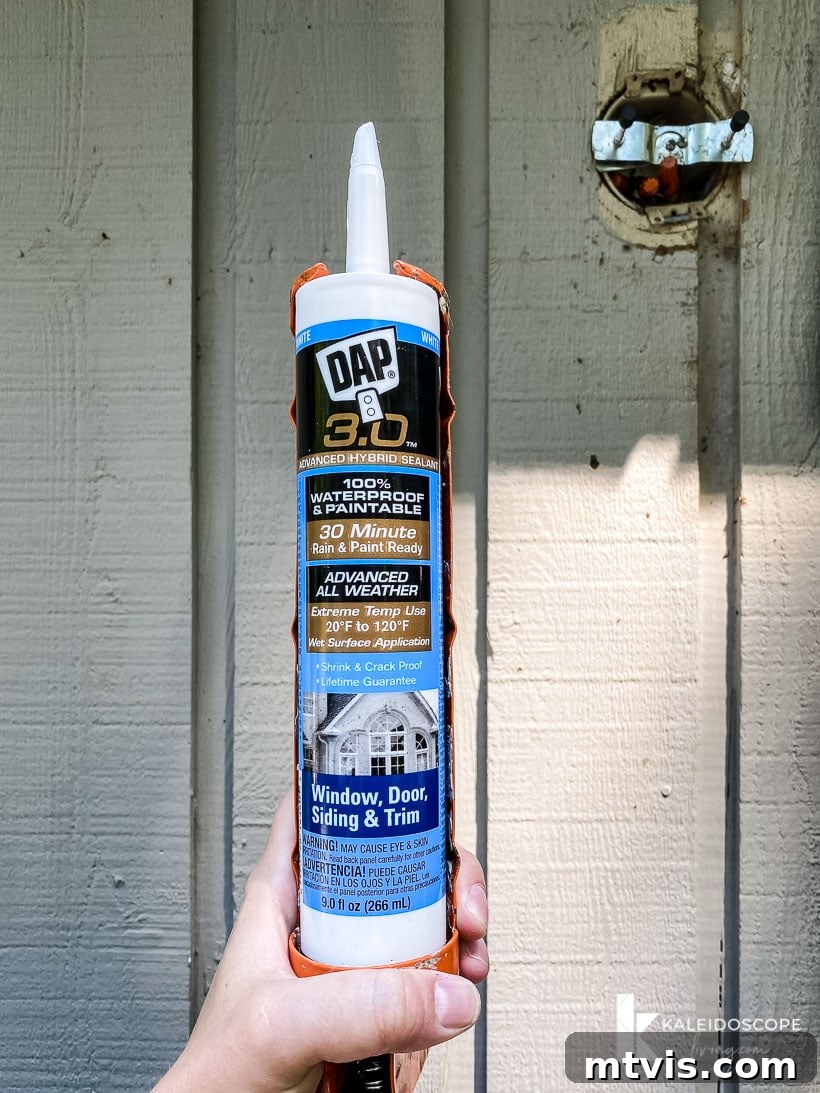
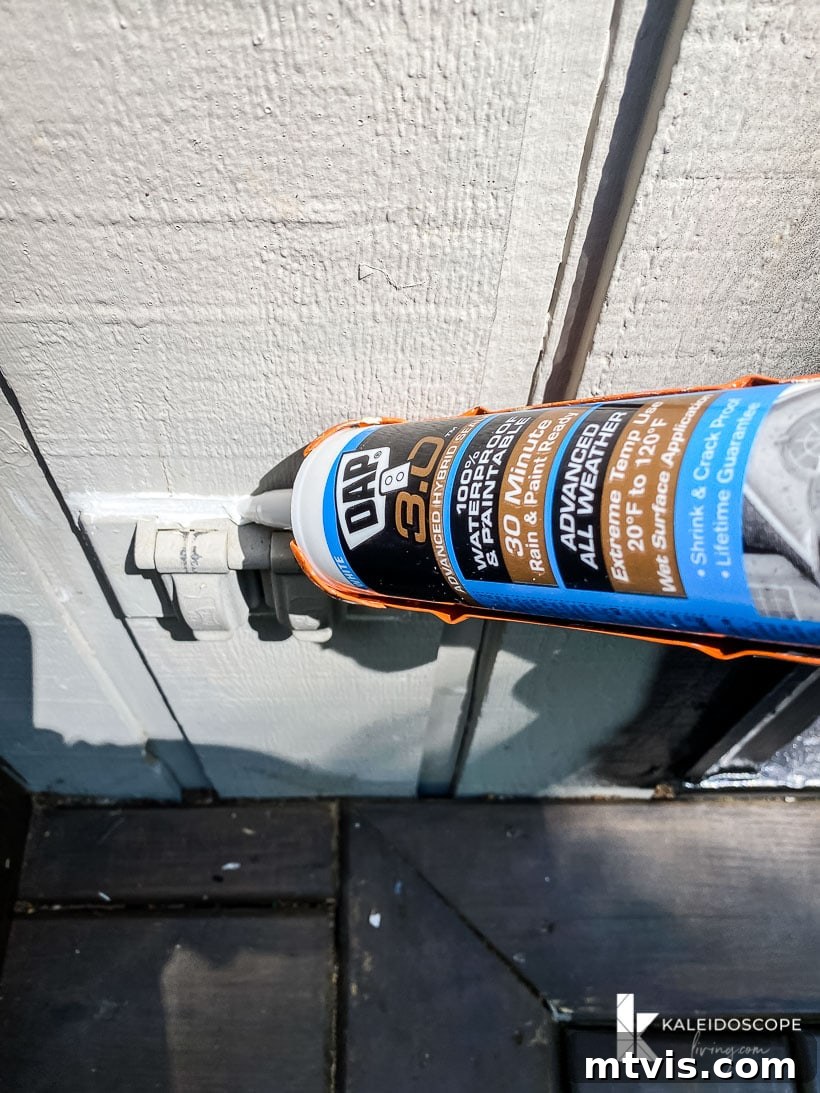
Following the hole filling, we moved on to sealing the inevitable gaps and cracks around our windows, doors, and even outdoor electrical outlets. For this, we relied on DAP®3.0™ Window, Door, Trim & Siding High-Performance Sealant. This high-performance sealant boasts 100% waterproof protection and an impressive water-resistant cure time of just 30 minutes. This rapid curing capability proved incredibly advantageous, especially given the unpredictable rain showers we experienced throughout this project. It meant we could quickly seal up vulnerable areas with confidence, knowing they would be protected even if rain was just around the corner. Proper caulking not only improves the longevity of your paint by preventing moisture from seeping underneath but also significantly enhances your home’s energy efficiency and overall appearance, creating a seamless and polished finish.
Step 4: Trim Back Landscaping and Clear Obstructions
This particular step might not be the most glamorous part of the preparation process, but it is undeniably necessary for a successful and comprehensive paint job. Landscaping, while beautiful and important for curb appeal, can often obstruct access to your home’s exterior, making it incredibly difficult for painters to work efficiently and achieve a uniform finish. Overgrown shrubs, climbing vines, and even certain trees can prevent proper paint application and even lead to paint splatters on your beloved plants.
To provide our painting crew with unrestricted access, we had to make the tough decision to significantly prune the shrubs lining the side of our house. While it felt a bit like “butchering” them at the time, we are optimistic that they will rebound and grow back healthier than ever. The key is to trim enough to create a working clearance of at least 12-18 inches from the house, allowing painters to move freely with their equipment and sprayers. This not only ensures a better paint job but also protects your plants from accidental overspray.
A specific challenge involved our prized fig tree. We were genuinely concerned we’d have to undertake severe pruning. Fortunately, my husband, Joe, devised a clever solution: he carefully tied up its branches and gently pulled them away from the house. This temporary measure created enough space for the painters to access the wall behind it without harming the tree. For larger or more established trees, consider using protective tarps or plastic sheeting to shield them, or consult with an arborist if significant trimming is required. This forethought ensures that your beautiful landscaping remains intact while your home gets the facelift it deserves.
Step 5: Prime Any Bare or Exposed Areas
The final and equally critical step before the main event—the actual painting—is to prime any bare or exposed areas on your home’s exterior. Priming is not merely an optional extra; it is a foundational layer that performs several vital functions, ensuring the longevity and quality of your new paint finish.
When you’ve scraped away old paint, filled holes, or sanded rough patches, you’re often left with areas of exposed siding or bare wood. These surfaces are typically porous and will absorb paint unevenly, leading to a splotchy finish and requiring more coats of paint. Primer acts as a sealer, creating a uniform, non-porous surface that allows the topcoat to adhere smoothly and evenly. It effectively “seals” the bare wood, protecting it from moisture and preventing potential issues like tannin bleed (where natural oils or stains from the wood seep through the topcoat, causing discoloration).
Additionally, primer provides an excellent bonding surface for the paint. It significantly enhances paint adhesion, which is crucial for preventing future peeling and chipping, especially in areas exposed to harsh weather conditions. Different types of primers are available, including oil-based, water-based (latex), and stain-blocking options, each suited for specific needs. Choosing the right primer for your specific bare spots will maximize paint durability and ensure a professional-grade finish. Apply primer diligently to all patched areas, exposed wood, or any surface where the old paint has been completely removed. This diligent application ensures that when the final paint goes on, it will look its best and last for years to come.
And there you have it – the comprehensive guide to preparing your home’s exterior for painting! Yes, it’s a significant amount of work, and it demands patience and attention to detail. If you opt to hire a professional painting crew, they will likely manage the vast majority of this prep work, with the notable exception of trimming landscaping as needed. However, as dedicated DIYers at heart, we couldn’t resist tackling some of the patching and caulking ourselves. Not only did it allow us to be hands-on with our home’s transformation, but it also helped to marginally reduce the overall cost of the project.
The bottom line remains: meticulously preparing the exterior of your house before applying paint is the single most important factor for achieving a beautiful, durable finish that will withstand the elements and maintain its curb appeal for as long as possible. Don’t underestimate the power of proper prep!
Explore more home improvement and decorating inspiration from our blog:
- Refreshing Porch Decorating Ideas and Expert Designer Tips
- A Simple 4-Step Guide to Restoring Teak Furniture
- Screened-In Porch REVEAL + Practical Outdoor Decorating Tips
- How to Craft Your Own Stunning DIY Outdoor Chandelier
- Creative DIY Utility Box Cover that Offers Easy Access
- Inspiring DIY Fire Pit Ideas + Convenient Buying Options for Non-DIYers
Curious about how I approach transforming rooms and spaces within our home, from concept to completion? Discover the comprehensive strategies and tools within Designer in a Binder® – your ultimate guide to affordable and stylish home decorating.
For exclusive content, behind-the-scenes glimpses into our projects, and early access to our latest insights, make sure to subscribe to our newsletter before you go!