
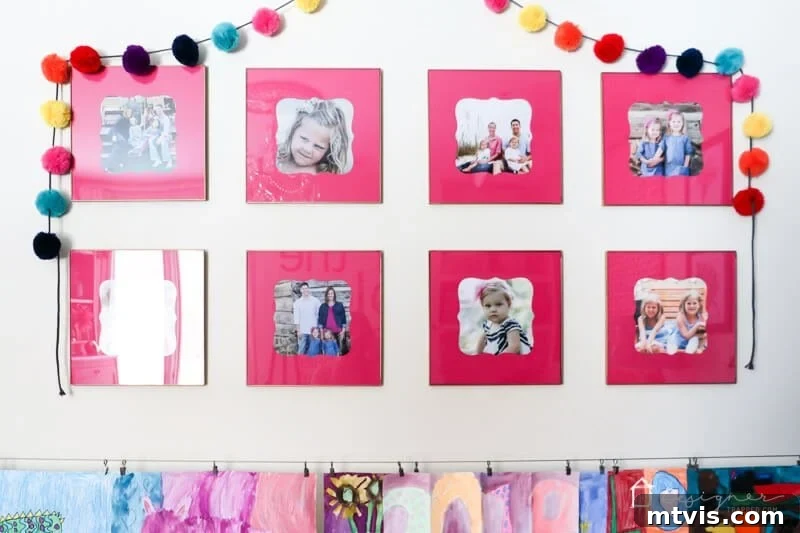
Transform Your Space: The Ultimate Guide to DIY Picture Mats – Affordable, Custom, and Easy!
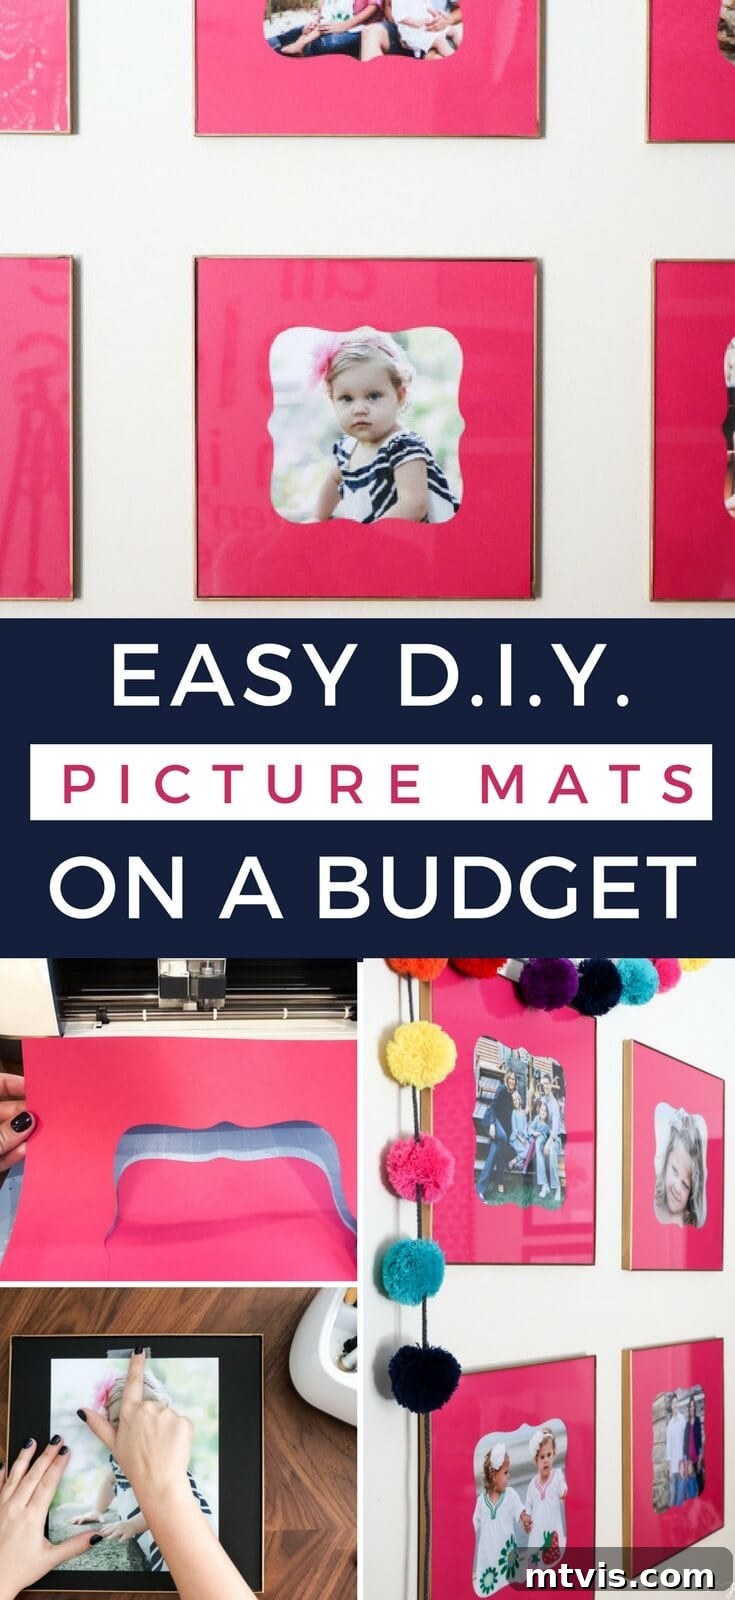
Hey there, creative friends! Have you ever found yourself searching high and low for the perfect picture mats, only to be met with exorbitant prices, limited sizes, or a complete lack of custom options? It’s a common dilemma for anyone looking to add a personal touch to their home decor. Off-the-shelf mats rarely fit unique frame sizes or specific aesthetic visions, and bespoke cutting can quickly drain your budget. But what if you could create stunning, custom-fit picture mats for just a few dollars, perfectly tailored to your style and frame dimensions? Get ready to discover how to achieve just that with this comprehensive DIY tutorial!
Recently, a minor snowfall in North Carolina brought a delightful “snow day” that, while impacting my work schedule, gave me the perfect opportunity to tackle a long-overdue home project. For months, Attley’s room, one of our twin girls, had been stuck in a state of 75% completion. A particular wall vexed me; it was a jumble of random items that lacked cohesion and charm. The final push came when Attley innocently asked why her room didn’t feature any family photos, unlike her sister Avery’s, where I had created beautiful DIY photo canvases. Her question hit home, solidifying my resolve to create a warm, inviting photo gallery just for her.
My vision for Attley’s gallery wall included square frames complemented by photo mats that exuded a playful “little girl flare.” This specific style, however, proved elusive in stores. Custom cutting services were out of the question due to budget constraints – I wasn’t about to spend a fortune on this heartfelt project. So, embracing my usual DIY spirit, I devised a brilliant method to craft these custom picture mats myself, spending an astonishingly low total of $4.00. This project was a huge win in terms of both cost and creative satisfaction! While I initially tried to persuade Attley to choose a color other than pink, her heart was set on it, and as any parent knows, sometimes you just have to embrace their preferences. She truly is a pink girl through and through, and the results were absolutely delightful.
This post is proudly sponsored by Cricut, a brand that empowers countless DIY enthusiasts like myself to bring their creative visions to life. Please note that this article also contains affiliate links for your convenience. This means that if you make a purchase after clicking on one of these links, I may earn a small commission, but rest assured, it won’t cost you a penny more! For a complete understanding of my disclosure policy, please click here.
Unlock Your Creativity: A Step-by-Step Guide to Making DIY Picture Mats
Essential Materials You’ll Need:
- 12 x 12 Inch Cardstock: The foundation of your custom mats. I found mine at Joann’s during a fantastic sale, bringing the cost down to an incredible $.47 per sheet. When selecting cardstock, consider the thickness and color. Thicker cardstock (65-80 lb) offers better durability and a more professional feel. Choose colors that complement your photos and room decor – remember, variety is key if you’re making multiple mats for a gallery wall, or stick to a single hue for a cohesive look.
- A Reliable Cutting Machine (e.g., Cricut Maker or Explore series):
- For unparalleled precision and ease, a cutting machine is highly recommended. I utilized my Cricut Maker for this project, a versatile tool capable of cutting a vast array of materials from delicate crepe paper to thick leather. However, since this project primarily involves cutting cardstock, any of the Cricut Explore machines (like the Explore Air 2 or Explore 3) would also work beautifully, as they don’t require the rotary blade’s specialized capabilities. If you’re curious about the full potential of this amazing machine, I encourage you to read my detailed review of the Cricut Maker here.
- No Cutting Machine? No Problem!: Don’t let the absence of a cutting machine deter you from this project! You can still create stunning DIY picture mats with a little patience and a steady hand. Start by cutting a precise template out of sturdy cardboard or chipboard. This will serve as your guide. Then, using a sharp craft knife (or X-Acto knife) and a self-healing cutting mat, carefully trace and cut the inner and outer dimensions onto your cardstock. Always use a metal ruler to ensure straight lines and cut against it for safety.
- Curious about cutting machines in general? To help you decide which machine might be right for your crafting needs, you can read my comparison of Silhouette vs. Cricut in this post.
- Discover a plethora of creative applications for your cutting machine by exploring the LOADS of projects I’ve made here.
- 12 x 12 Inch Square Photo Frames: These frames will house your beautiful photos and custom mats. The 12×12 size is ideal for showcasing 8×10 prints with a generous border, creating a professional and polished look. I’ll soon share more details on the specific frames I purchased and how I added a touch of extra flair to them.
- 8 x 10 Inch Photo Prints: The stars of your gallery wall! Choose high-quality prints of your favorite memories. I’ve been incredibly impressed with this printer that I’ve owned for about a year; it consistently delivers crisp, vibrant prints. Consider printing black and white photos for a classic, timeless aesthetic, or full-color for a lively, energetic display.
The Simple Steps to Craft Your Custom Picture Mats:
For those who prefer a visual demonstration, here’s a helpful video overview of this project:
QUICK TIP FOR CARDSTOCK: When purchasing 12 x 12 inch cardstock from retail stores, you’ll often find that it’s slightly oversized due to the printed barcode along one edge. For precise cuts with your machine or template, it’s essential to trim this excess off, ensuring your cardstock truly measures 12×12 inches before you begin. A paper trimmer or sharp scissors will do the trick.
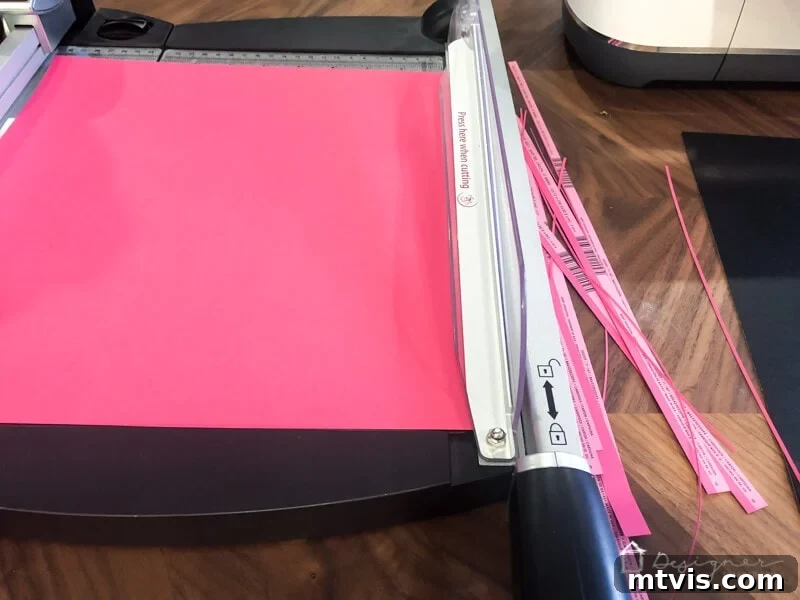
1) Design Your Custom Cut File (For Cutting Machine Users): If you’re using a cutting machine, the first step is to create your design in its accompanying software. For Cricut users, this means diving into Cricut Design Space. You’ll want to create a 12×12 inch square shape to represent your cardstock, and then an 8×10 inch rectangle (or your desired photo size) to represent the inner cutout. Center the smaller rectangle precisely within the larger square to create a perfectly even mat border. For those looking for a quick start, you can access my ready-made cut file by clicking here, which is specifically designed for 8×10 photos in 12×12 frames. Feel free to customize this design with decorative edges or unique inner shapes to truly make it your own!
2) Verify and Center Your Design: Before you commit to cutting, always double-check your design within the software’s cutting preview. This crucial step ensures that your design is perfectly centered on the digital representation of your cutting mat. Misalignment here could lead to an uneven mat or wasted material. Take a moment to visually confirm that the inner cutout is equidistant from all edges of the outer mat.
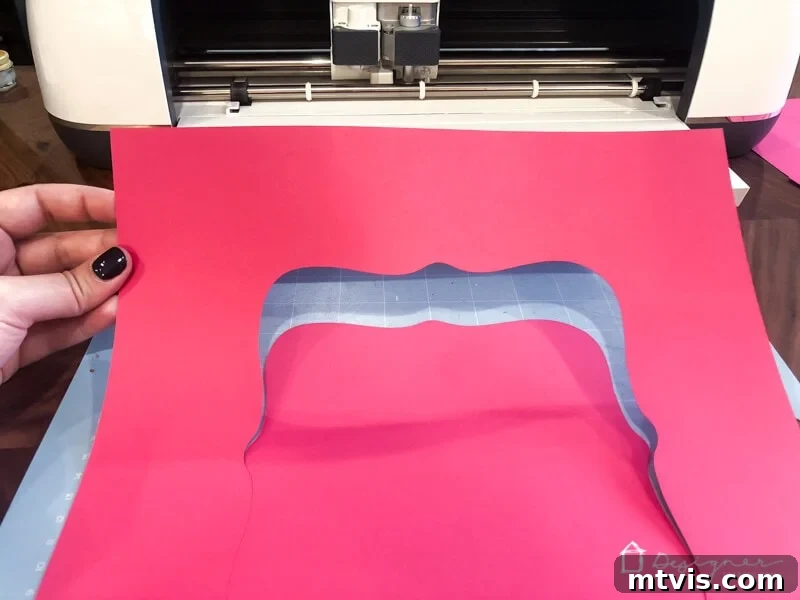
3) Prepare Your Cardstock and Cutting Machine: Carefully place one sheet of your trimmed 12×12 inch cardstock onto your cutting mat. Ensure it’s securely adhered to prevent any shifting during the cutting process. Next, in your cutting machine’s software, select the appropriate material setting. Because the cardstock I used was on the thicker side, I found that the “heavy cardstock” setting worked flawlessly, providing a clean, crisp cut every time. Always test a small scrap piece first if you’re unsure about the best setting for your specific cardstock weight.
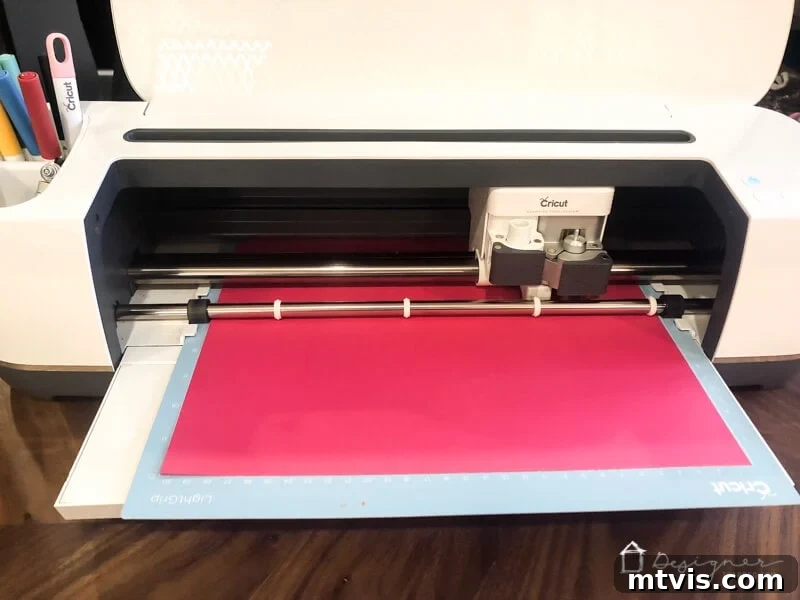
4) Execute the Cut and Repeat: Once your material is set and your design is centered, initiate the cutting process. Watch as your machine precisely cuts the inner opening for your photo mat. After the cut is complete, carefully remove the cardstock from the mat. Repeat steps 1 through 3 for each DIY photo mat you need to create. For Attley’s gallery wall, I made eight mats, each adding a vibrant splash of pink. This batch cutting process is incredibly efficient and allows you to create a cohesive set of mats in a short amount of time.
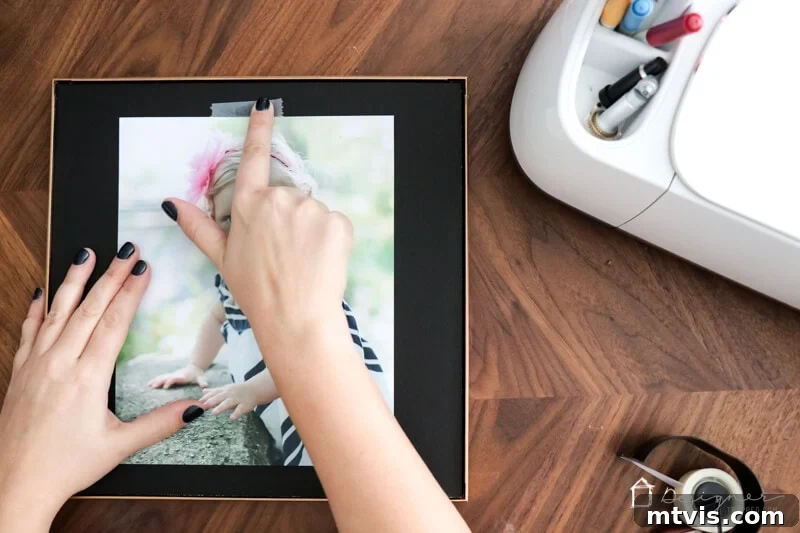
5) Assemble and Frame Your Masterpiece: With your custom mats ready, it’s time to bring your photos to life! Gently center your 8 x 10 inch photo print behind the mat’s opening. To secure the photo in place, use small pieces of acid-free artist’s tape or painter’s tape on the back of the mat, adhering it to the photo. This ensures the photo remains perfectly positioned without damaging the print over time. Once secured, carefully insert the matted photo into your 12 x 12 inch frame. Ensure it’s snug and centered before closing the frame back. Take a step back and admire your handiwork – a professional-looking, custom-designed piece of art, created entirely by you!
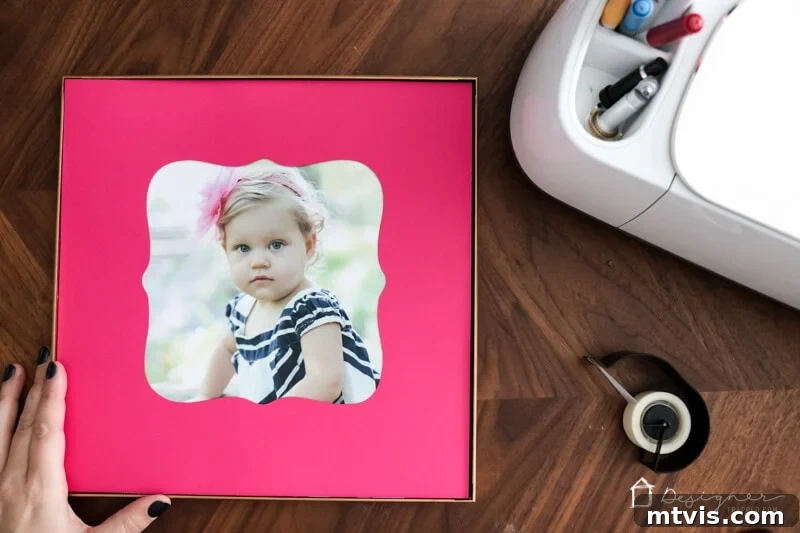
The Stunning Results: An Affordable and Personalized Photo Gallery!
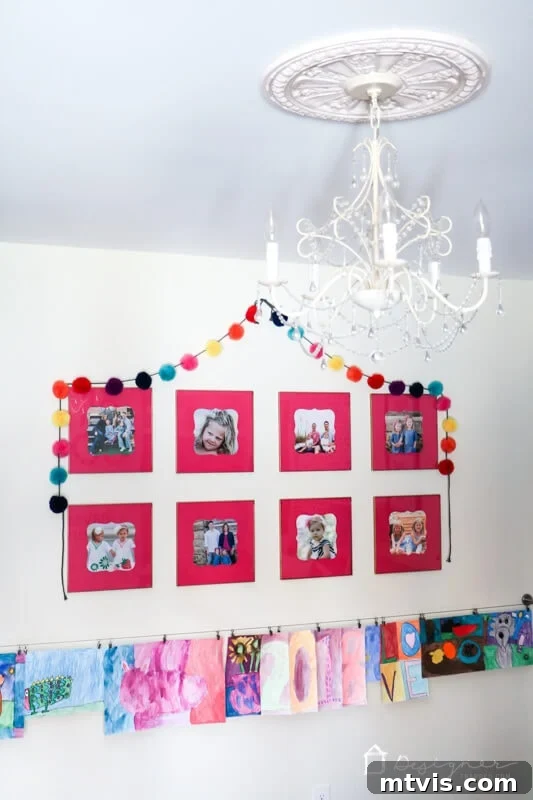
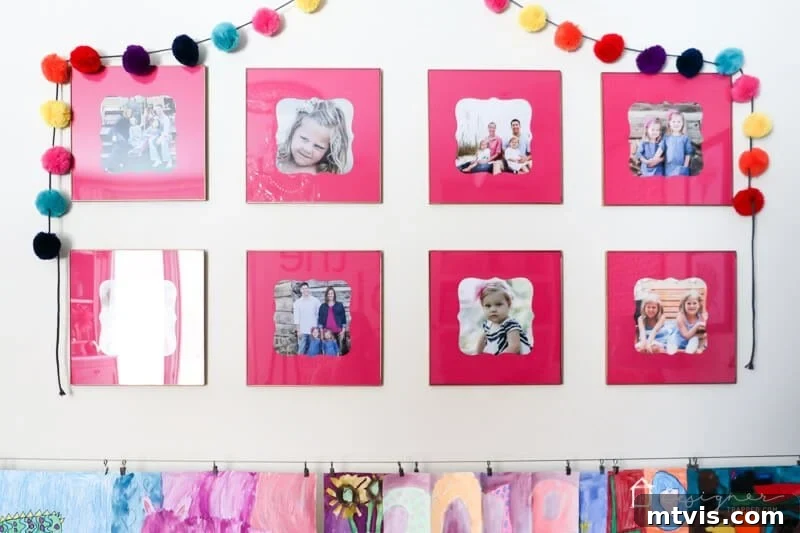
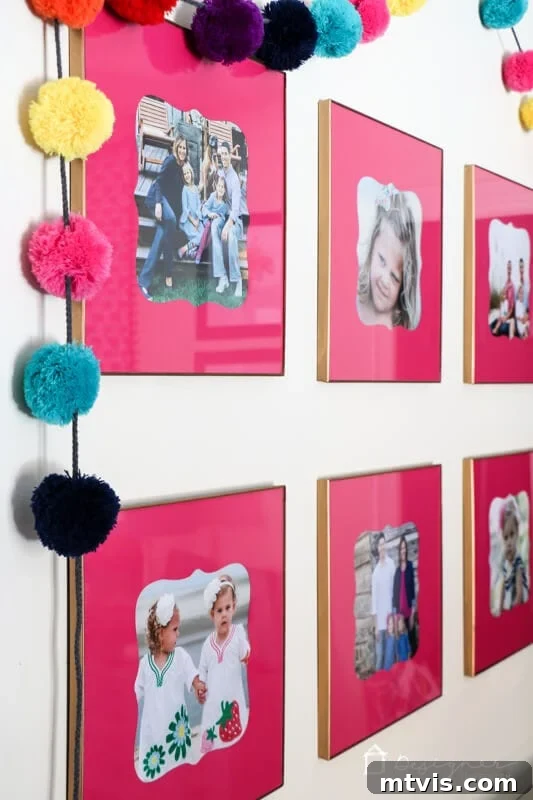
VOILA! Just look at that photo gallery wall – it turned out to be incredibly affordable and wonderfully personal. Between the clever, inexpensive frame solution I discovered (more on that coming soon!) and these charming DIY photo mats, the entire project came in at around $65.00. That’s a huge impact for such a low price, and it truly showcases the power of DIY. I absolutely love how Attley’s room now features even more of her favorite pink, alongside a heartwarming collection of family photos. This project transformed her space into a personal sanctuary filled with cherished memories, proving that custom decor doesn’t have to break the bank. The sense of accomplishment and the joy it brought to Attley made every moment spent on this project incredibly worthwhile.
This post was brought to you as a sponsored conversation with Cricut. The opinions, text, and creative ideas expressed here are entirely my own, reflecting my genuine experience and passion for DIY projects enabled by their fantastic products.
Looking for more creative inspiration? Explore a wide array of DIY home decor projects to personalize every corner of your living space!
