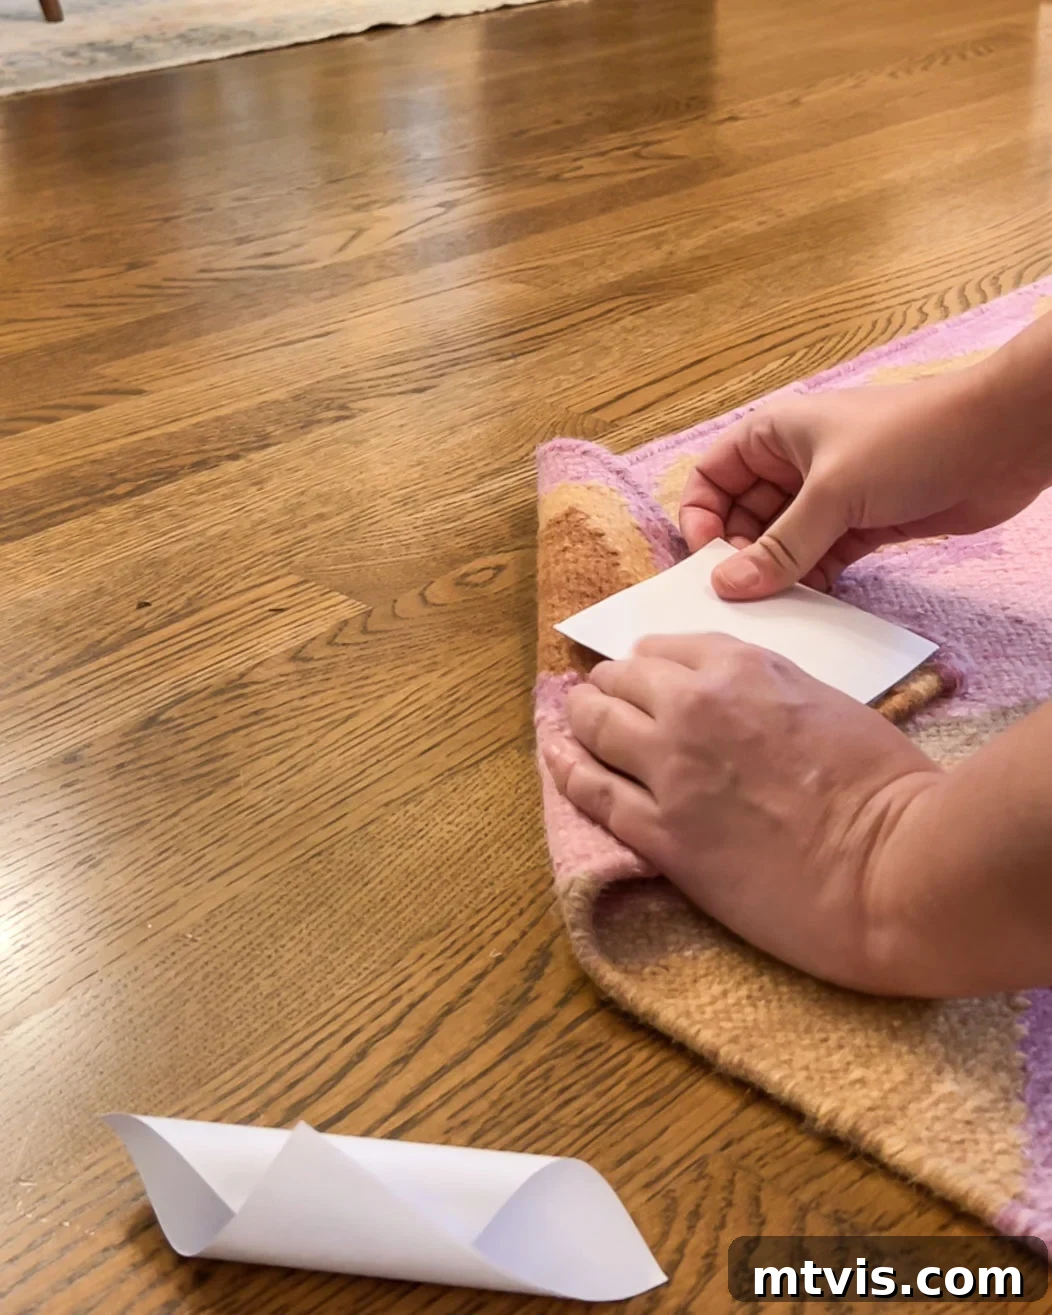
There’s a universally frustrating moment many homeowners encounter: you unroll a beautiful new area rug, eager to enhance your space, only to find its corners stubbornly refuse to lie flat. Despite efforts to weigh them down, those persistent curls create unsightly bumps and, worse, dangerous tripping hazards. If you’ve been wondering how to keep rug corners down and achieve that perfectly smooth, elegant look, you’ve come to the right place. This comprehensive guide will equip you with the best tips, tricks, and ingenious solutions to flatten even the most stubborn rug corners on any floor type, ensuring your home is both stylish and safe.
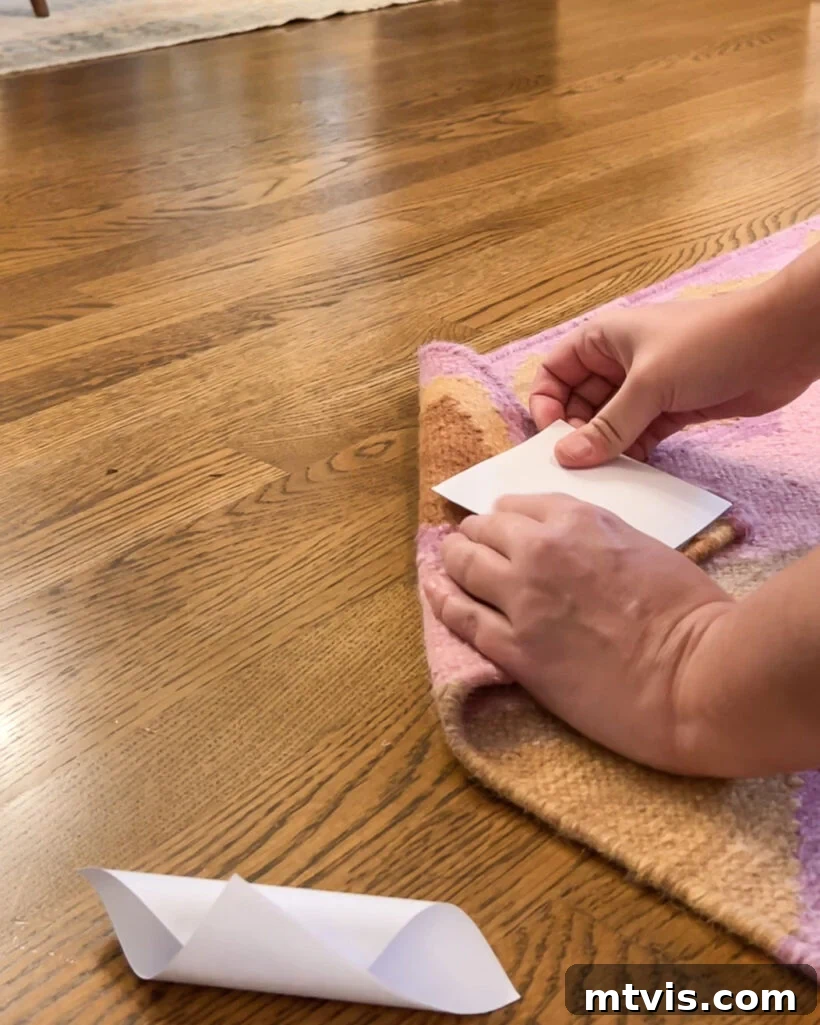
Table of Contents
Understanding Why Rugs Curl
Before diving into solutions, it’s helpful to understand why rug corners curl in the first place. This common issue isn’t just an annoyance; it’s a symptom of underlying factors related to how rugs are made, stored, and used. Knowing the cause can often guide you to the most effective fix for keeping your rug corners flat.
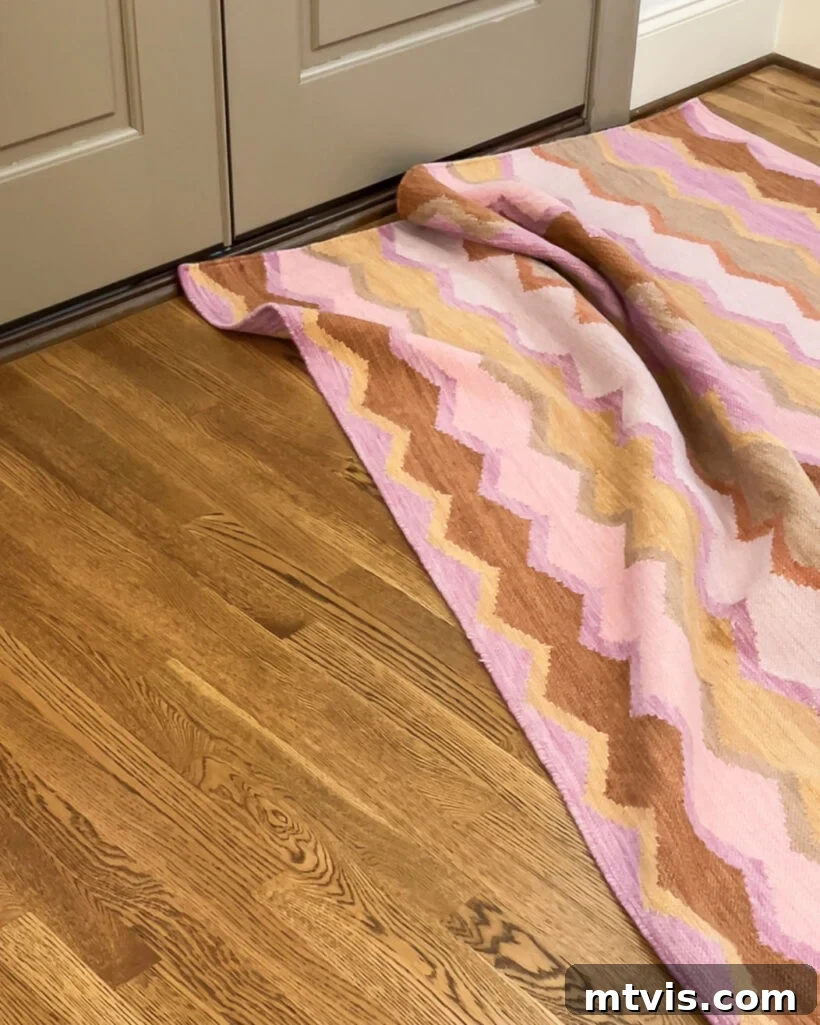
One of the primary culprits is material memory. When a rug is rolled tightly for shipping and storage, especially for extended periods, its fibers and backing ‘remember’ that curled position. Upon unrolling, the edges naturally want to return to that state, leading to those frustrating upward flips. This is particularly common with newer rugs or those that have been in transit for a long time.
Another significant factor is foot traffic and furniture movement. In high-traffic areas, constant shuffling feet can catch and lift rug corners, exacerbating the curling. Similarly, if a rug isn’t properly anchored, furniture being moved or adjusted can snag the edges, causing them to crumple or curl. The friction between the rug and the floor, or even between the rug and an unsuitable rug pad, can also contribute to shifting and corner issues.
Finally, environmental conditions like humidity or temperature changes can affect rug materials, causing them to expand or contract slightly, which may contribute to curling. Certain rug materials, particularly those with less flexible backings or stiff synthetic fibers, are more prone to this problem than others. Understanding these reasons will empower you to choose the right strategy to keep those rug corners down effectively and permanently.
The Foundation: Choose and Prepare Your Rug
Choose the Right Size Rug
The journey to perfectly flat rug corners begins long before you even consider grippers or tape. The initial and most crucial step is selecting an area rug that is appropriately sized for your living space. An incorrectly sized rug is a common but often overlooked reason for persistent curling and shifting corners. If your rug is too small for the room or the furniture arrangement, it will inevitably move around more, making its corners far more susceptible to lifting and curling.
Conversely, a rug that is excessively large can also pose problems, leading to awkward overlaps or sections that don’t lie flat due to insufficient tension or uneven pressure. A rug should complement your room, not overwhelm it or appear lost within it. The key to avoiding these issues is meticulous measurement and thoughtful placement. Ensure the rug extends far enough under key furniture pieces, like sofas or beds, so that their weight naturally anchors the edges. This strategic placement often means problematic corners are either held firmly in place or completely concealed from view.
To achieve the perfect fit and prevent shifting corners:
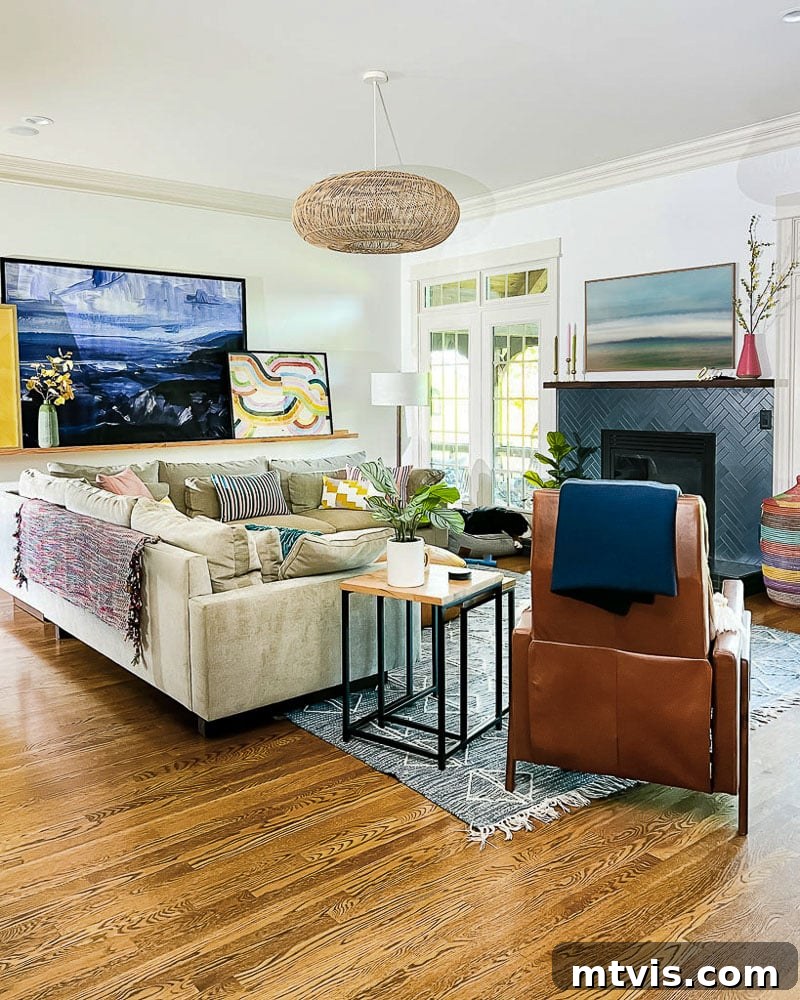
- Living Room: Ideally, all four legs of your main seating furniture (sofa, armchairs) should rest on the rug. If that’s not feasible, at least the front two legs of all major pieces should sit comfortably on the rug. This anchors the rug and creates a cohesive look. For more in-depth guidance, check out: How To Choose The Right Rug Size For Your Living Room or Family Room.
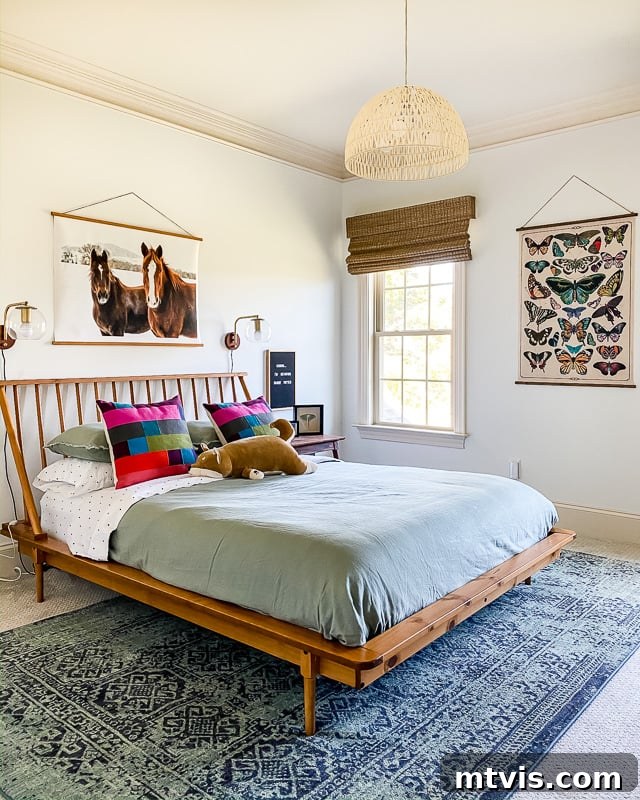
- Bedroom: The rug should extend beyond the sides of your bed by at least 18-24 inches, providing a soft landing when you step out of bed. For a queen-sized bed, a 8×10 or 9×12 rug often works well. Learn more here: Bedroom Rug Size & Placement: Everything You Need to Know.
- Dining Room: The rug should be large enough to accommodate your dining table and chairs, with the chairs remaining on the rug even when pulled out. This prevents chairs from catching on the rug’s edge and causing damage or curling.
By investing time in choosing the correct size, you establish a strong foundation that significantly reduces the likelihood of future corner-curling headaches.
Get Your Rug As Flat As Possible
Once you’ve chosen the perfect size, the next step is to physically coax your new rug into its intended flat state. Many rugs arrive tightly rolled, and their fibers need a little help to relax and lose that shipping-induced curl. These initial flattening techniques are often all that’s needed for minor curling issues.
Roll the Rug Up the Opposite Way
One of the most effective and simplest methods to counteract stubborn curls from packaging is to reverse the roll. If your rug has been rolled for days, weeks, or even months in one direction, its fibers develop a memory. To break this memory and encourage flatness, simply roll the rug up tightly in the exact opposite direction. Lay the rug flat on the floor, then starting from one end, roll it towards the other end, ensuring the previously curled edges are now bending downwards. Secure it with twine or rubber bands and leave it rolled for several hours, or even a few days for particularly stubborn rugs. This gentle yet firm counter-pressure helps to realign the carpet fibers and backing, allowing the rug to relax into a flat position when unrolled again. Patience is key here; don’t expect instant results, especially for thick or heavily packed rugs.
Sit Your Rug Out in the Sun
Harnessing the power of natural warmth can work wonders for a new, curled rug. On a warm, sunny day, take your rug outdoors and spread it flat on a clean, dry surface, ideally a patio or driveway. The sun’s gentle warmth acts much like an iron, causing the rug’s fibers and backing to soften and relax. This can miraculously ease out kinks, bumps, and especially those persistent curling corners. For best results, allow it to sit for a few hours, then flip it to expose the other side if needed. However, exercise caution: avoid extreme heat, as synthetic fibers or rubber backings could potentially melt or degrade. Also, be mindful of direct, intense sunlight for prolonged periods, which can cause colors to fade, especially on darker or natural fiber rugs. Always supervise your rug while it’s sunbathing.
Apply Even Weight
If the above methods aren’t quite enough, strategically applying weight can help. Once your rug is laid as flat as possible, place heavy, flat objects directly on the curled corners and edges. Large books, stacks of magazines, or even small, flat pieces of furniture can be effective. Distribute the weight evenly and leave these items in place for at least 24 to 48 hours. The consistent downward pressure helps to compress the fibers and flatten the backing against the floor. For optimal results, ensure the weight is spread over the entire curled section, not just the very tip of the corner, to prevent new creases from forming. This method works well in conjunction with rolling the rug in reverse, providing an extra push towards perfect flatness.
This post contains affiliate links for your convenience. Click here for my full disclosure policy.
Advanced Solutions for Stubborn Rug Corners
Sometimes, despite your best efforts with initial flattening techniques, certain rug corners simply refuse to cooperate. For these truly stubborn situations, a more direct approach is needed. Fortunately, there are several effective products and methods designed to tackle even the most persistent curling, ensuring your rug remains a beautiful and safe addition to your home.
Manually Roll or Fold the Corners
For persistent, localized curling, a targeted manual intervention can often do the trick. This technique involves taking the curled corner and carefully bending it in the opposite direction, essentially creating a reverse curl, and then tucking it under itself. The goal is to apply enough counter-pressure to flatten the fibers without creating a new, sharp crease. Hold it in this reversed or folded position firmly for about 30 seconds, then release. You may need to repeat this several times. For an extended effect, you can gently fold the corner underneath the rug and place a heavy object on top for 24 hours. The trick is to apply pressure just enough to flatten the curl, not to sharply crease the rug in the opposite direction, which could damage the rug and create an even more noticeable bump. This method is particularly useful for smaller, less severe curls and when you need a quick fix before guests arrive.
Apply Double-sided Rug Tape
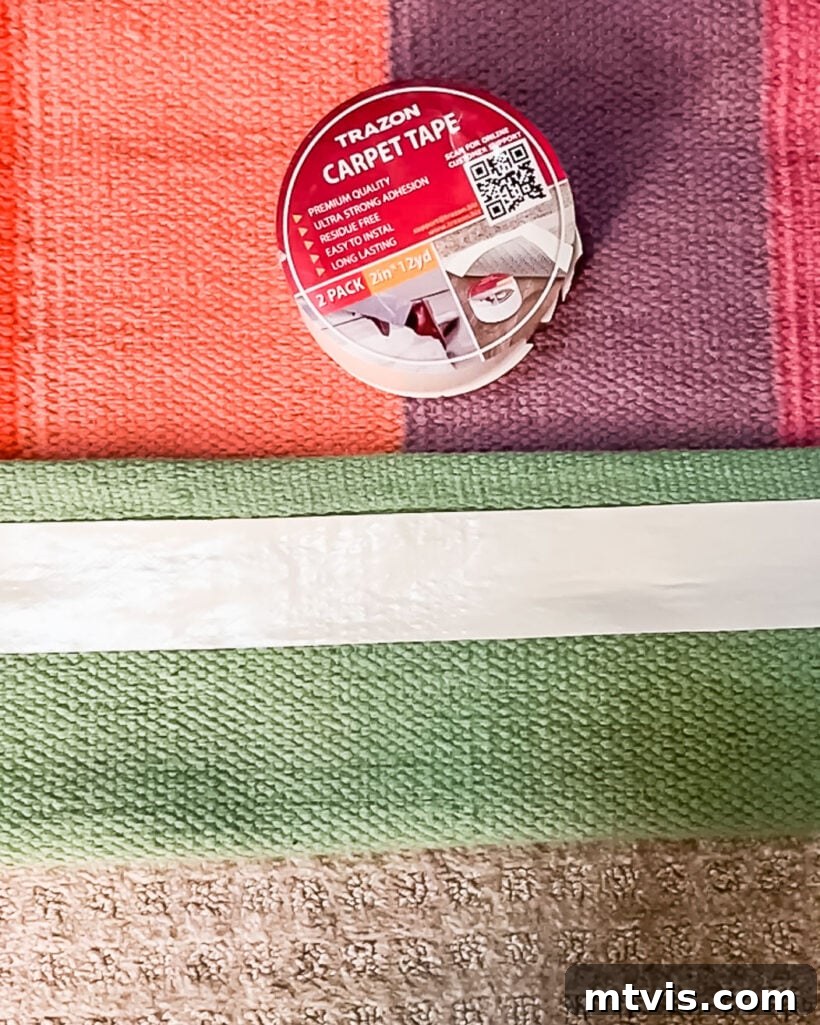
Double-sided rug tape is a fantastic and versatile quick fix for keeping rug corners, and even entire rug edges, firmly in place. This strong adhesive tape creates a secure bond between your rug and the floor, preventing corners from lifting and reducing general rug movement. It’s incredibly effective on both hardwood floors and existing carpeting. When applying, ensure the floor surface is clean and dry for optimal adhesion. Simply cut strips of tape to size, peel off one side of the backing, apply it to the underside of the rug corner, then peel off the second backing and firmly press the rug corner onto the floor. I’ve found high-quality double-sided tape to be residue-free on most surfaces, but if you have delicate flooring or concerns about potential damage, it’s always wise to perform a discreet spot test in an inconspicuous area first. This method is affordable, easy to apply, and offers an immediate solution to those pesky curling edges.
Use Rug Pads or Grippers
For a more comprehensive and long-term solution to both curling corners and overall rug stability, a combination of a quality rug pad and dedicated corner grippers is often the best approach. A well-chosen rug pad performs multiple functions: it adds a layer of cushioning, protects your flooring, extends the life of your rug, and crucially, prevents the rug from sliding, bunching, and shifting. For combating corner curls specifically, a pad with a good grip on both sides (floor and rug) can make a significant difference. My personal favorite is the Mohawk Home pad, known for its excellent anti-slip properties on various floor types.
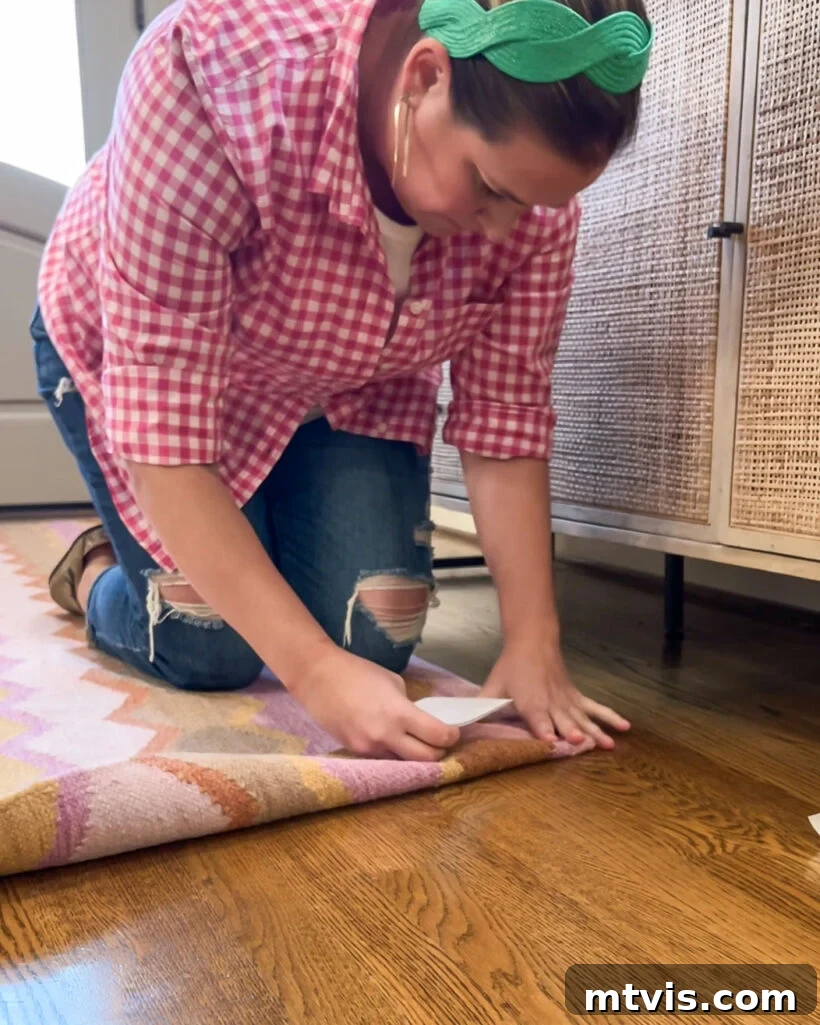
However, if a rug pad alone isn’t sufficient to tackle particularly stubborn corners, that’s where dedicated rug corner grippers or anchors come into play. These are specifically designed to target and secure the edges that resist flattening. They work in tandem with a rug pad, not as a replacement, providing extra adhesion precisely where it’s needed most. Whether your area rug is on top of carpet or a hard surface like hardwood, tile, or laminate, grippers can provide the necessary hold.
My top recommendation for corner grippers are Hook and Loop Rug Anchors. These are highly versatile, often coming in convenient multi-packs. They are reusable, washable, and incredibly easy to apply, providing a strong, temporary bond. They can also be used along the rug edges if the entire rug tends to shift.
Other popular options include corner grippers that utilize tiny suction cups to create a vacuum seal with the floor. While I haven’t personally tested these specific corner grippers, they consistently receive high ratings for their effectiveness on hard surfaces like tile and hardwood. It’s important to note that suction-cup style grippers are generally not suitable for carpeted floors, as they require a smooth, non-porous surface to form a seal. Always choose grippers that are compatible with your specific flooring type for the best results.
The Last Resort: Use Screws
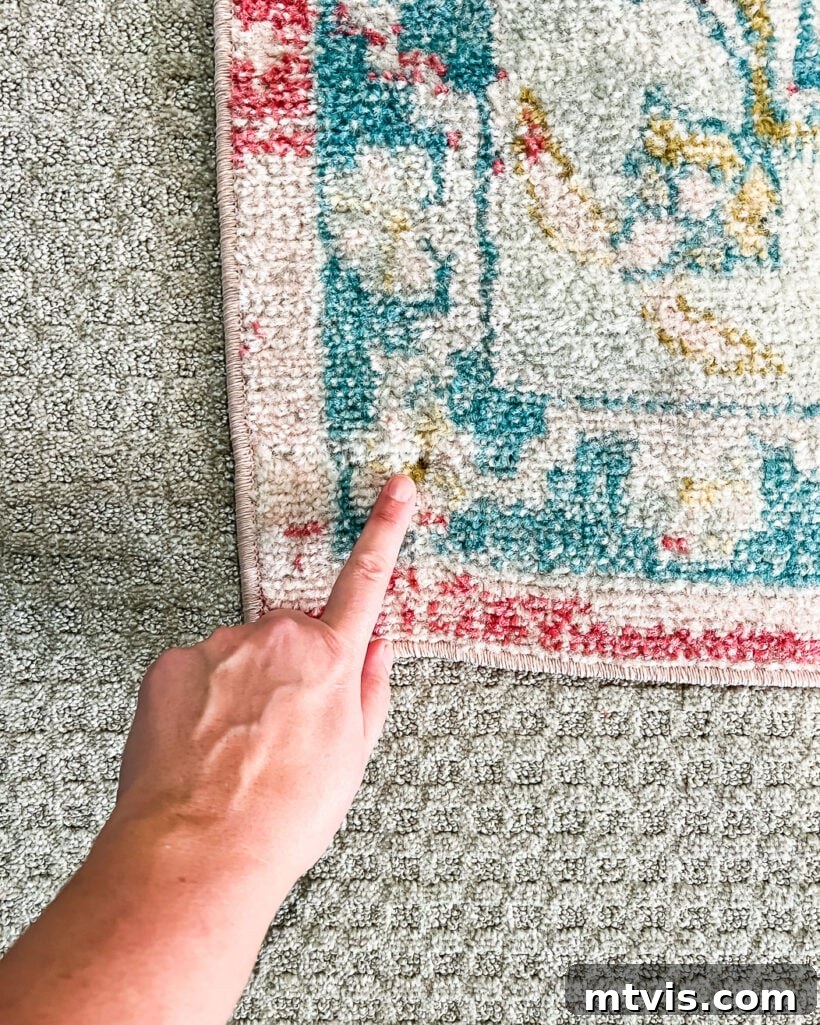
For those truly high-traffic areas where all other methods fail, and you have a rug laid over carpet and a subfloor, a radical but incredibly effective solution is to carefully screw the rug corners down. I know, it sounds a bit extreme, but this has been my secret weapon for persistently flipping rug corners in areas like our upstairs hallway. In such heavily trafficked zones, double-sided tape or even grippers can lose their adhesion over time due to constant friction and movement. By driving a small screw through the corner of the area rug and the underlying carpet, directly into the subfloor, you create an incredibly secure anchor that guarantees the corner will stay flat.
This method is not for the faint of heart, and it’s certainly a last-case scenario, but it offers unparalleled stability. When implementing this, choose small, flat-head screws that can be countersunk slightly into the rug pile to minimize visibility and prevent snagging. This technique is typically suitable for rugs laid over carpet with a wooden subfloor underneath. I have used it successfully multiple times with area rugs on top of carpet. However, a major and critical caveat: never screw a rug directly into hardwood floors or other finished hard surfaces. Doing so would cause permanent and irreversible damage, creating holes that are extremely difficult and costly to repair. This solution is exclusively for situations where carpet conceals the subfloor, making the intervention discreet and practical.
Maintenance and Prevention
Once you’ve successfully flattened your rug corners, ongoing maintenance and preventative measures are essential to keep them that way. Regular care can prevent new curls from forming and extend the life of your rug. Periodically rotate your rug, especially in high-traffic areas, to distribute wear evenly and prevent specific corners from experiencing constant stress. When vacuuming, be mindful around the edges; avoid aggressively pushing the vacuum head into the corners, which can lift and damage them. If you notice a slight curl beginning to form, address it immediately with one of the simpler methods like reversing the roll or applying weight before it becomes a major problem. Keeping your rug clean and dry also contributes to its overall stability and ability to lie flat, preventing moisture-induced warping. By integrating these simple habits into your routine, you can enjoy perfectly flat and beautiful rugs for years to come, ensuring a safer and more aesthetically pleasing home environment.
Keeping your rug corners down is not just about aesthetics; it’s about creating a safe and welcoming home environment free from tripping hazards. With the right tools and techniques, you can easily tackle even the most stubborn curling rug corners. Whether you choose to reverse roll, harness the sun’s warmth, apply tape, or invest in rug pads and grippers, there’s a solution tailored to every rug and every floor type. Implement these simple ideas, and you’ll say goodbye to curling corners and hello to beautifully flat rugs that enhance your home’s style and safety. What’s your go-to method for keeping those rug corners perfectly flat?
More Rug Resources
SEE ALL rug POSTS
-
Designer Tips for Choosing Perfect Kitchen Rug Runners
-
How to Choose the Best Rug Size for Your Living Room
-
How to Install a Stair Runner: A Step-by-Step Tutorial
-
How to Keep Rug Corners Down – Tips and Tricks for Every Homeowner
-
The Best Places to Shop for Affordable Rugs
-
The Rug Pad Guide: What You Need to Know Before You Buy
Wondering how I approach transforming rooms and spaces in our home? Check out Designer in a Binder®.
And if you want exclusive content and behind-the-scenes sneak peeks, be sure to subscribe before you head out!