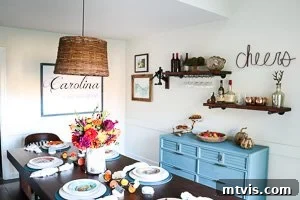
Master the Art of DIY Pipe Shelves: An Easy Guide to Industrial Chic Decor
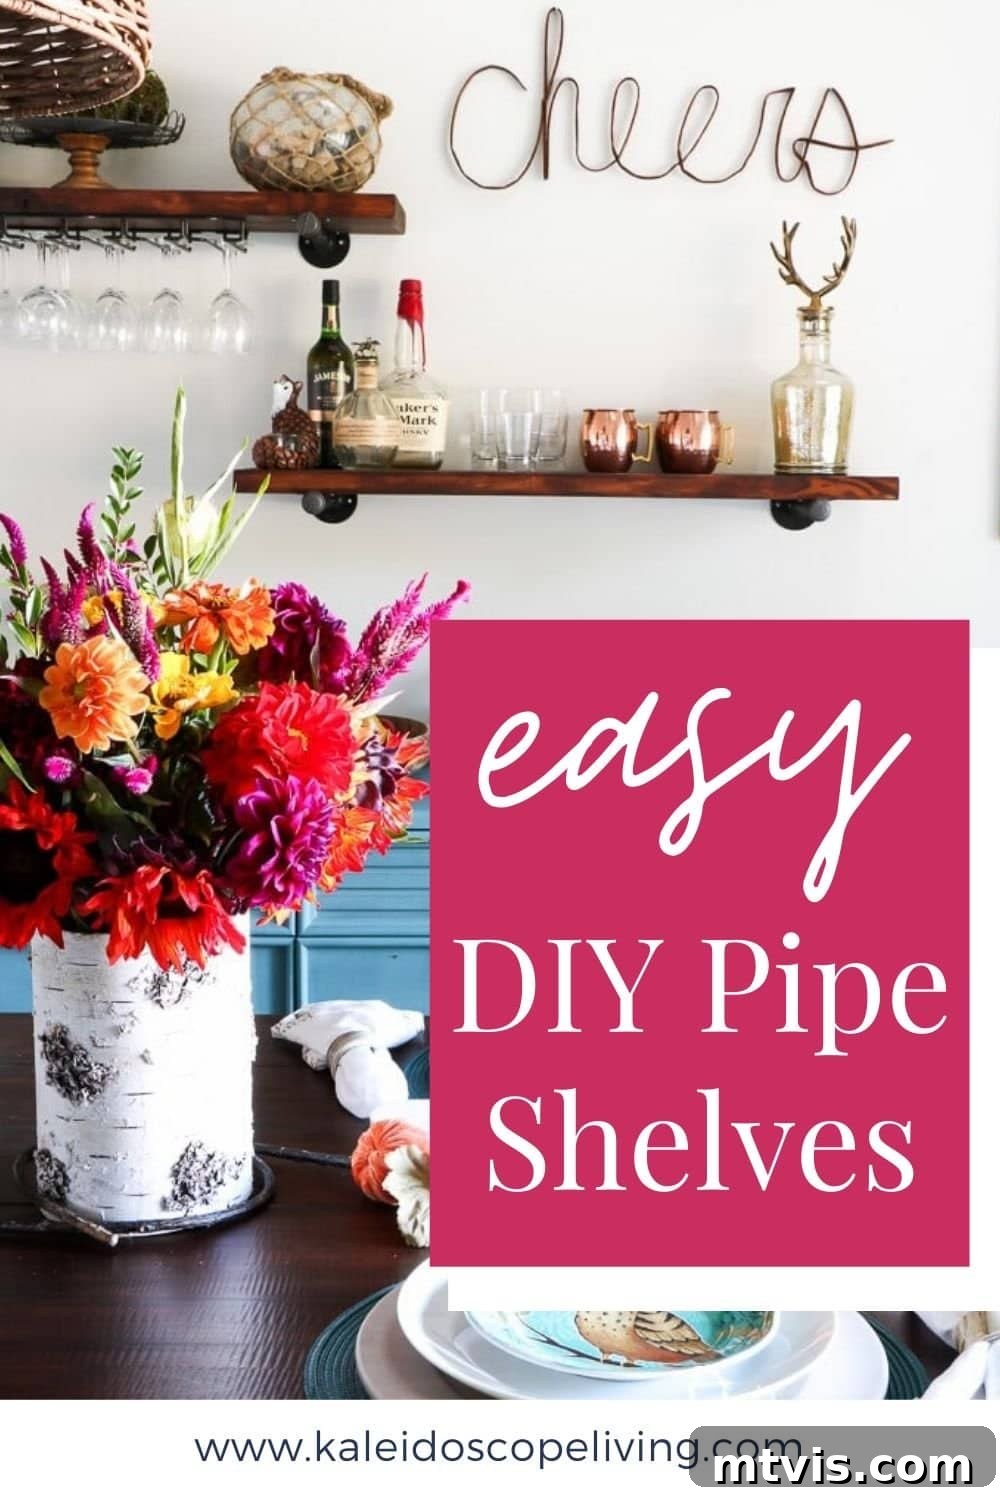
Are you searching for an affordable, stylish, and incredibly sturdy shelving solution to elevate your home decor? Look no further than the timeless appeal of DIY pipe shelves! These industrial-inspired units are not only super chic but also surprisingly simple to construct, even for beginner DIY enthusiasts. If you’ve been dreaming of adding functional storage with a unique aesthetic, this comprehensive tutorial will guide you through every step of creating your very own custom pipe shelving system.
We initially crafted these fabulous industrial pipe shelves for our dining room nearly two years ago, and we’re thrilled to finally share the detailed guide you’ve been asking for. We understand the anticipation, and we promise it’s worth the wait! Two years on, we can confidently report that our DIY pipe shelves are still a beloved feature in our home, holding up perfectly and continuing to draw compliments. Their durability and enduring style are a testament to the simplicity and strength of this project.
For those who adore the concept of custom shelving but perhaps prefer a different style, our blog offers a diverse range of tutorials for various DIY shelves to inspire your next project. However, if industrial chic is your calling, this pipe shelving project truly stands out as one of the most straightforward endeavors you can undertake. The most challenging part might just be cutting your wood to the desired length – a task that friendly staff at most home improvement stores are often happy to assist with. Beyond that, the installation process is incredibly simple and rewarding, allowing you to create beautiful, functional storage that reflects your personal style.
This post contains some affiliate links for your convenience. Click here to read my full disclosure policy.
DIY Industrial Pipe Shelves: The Complete Tutorial
Embarking on a DIY project offers immense satisfaction, and crafting your own industrial pipe shelves is no exception. These shelves seamlessly blend rustic charm with modern industrial aesthetics, making them a versatile addition to any room – from a bustling kitchen to a cozy living room, or even a functional home office. Let’s gather the necessary components and dive into the creation process.
Materials Needed for Your Custom Pipe Shelves:
- 2 x 12 Pine Boards: These will form the shelves themselves. Choose a length that perfectly suits your space and storage needs. Pine is an excellent choice for its affordability and ease of working with.
- 3/4 inch Gas Pipe: The core of your industrial aesthetic. We opted for gas pipe because it typically comes pre-finished in black, saving an extra step. NOTE: Consistency is key! If you decide to use a different pipe diameter, ensure ALL your fittings (flanges, nipples, caps) match that exact diameter for proper assembly and safety.
- Floor Flanges: You’ll need two per shelf. These crucial components attach the pipe brackets to your wall. If black flanges aren’t readily available, a quick coat of black spray paint will achieve the desired industrial look.
- 12 inch Steel Nipples: These are the straight sections of pipe that connect the flanges to the end caps, forming the “arms” of your shelf brackets. Two per shelf are required.
- 3/4 inch Caps: These decorative caps finish off the ends of your steel nipples, adding to the authentic industrial feel. You’ll need two per shelf.
- 3/4 inch Steel Two-Hole Pipe Straps: These straps are vital for securely fastening your wooden shelves to the pipe brackets. We recommend spray painting these black to match the pipe for a cohesive look.
- Wall Anchors: Selecting the correct anchors is paramount for safety and stability. Choose anchors appropriate for your wall construction (e.g., drywall, plaster, masonry) and capable of supporting the combined weight of your shelves and anything you plan to place on them.
- Screws: Similar to anchors, choose screws that are compatible with your wall construction and strong enough to bear the weight. Ensure the screw heads are large enough to fit snugly and securely within the holes of your floor flanges.
- Wood Stain: To enhance the natural beauty of your pine boards and achieve your desired aesthetic. We personally love and recommend Brown Mahogany gel stain for its rich, deep finish.
- Protective Top Coat: Essential for protecting your stained wood from wear and tear. We used this reliable water-based High Performance Top Coat in a Satin finish for a durable yet elegant result.
- Wine Glass Rack: An optional but fantastic addition, especially if your pipe shelves will serve as a bar area or in a kitchen.
Before we dive into the assembly, a quick note for those curious about the decor: the awesome scrap iron Cheers sign featured in our dining room photos can be sourced online. You’ll also find a comprehensive list of all other items and DIY projects in the room towards the end of this post, so you can recreate the entire look if you wish!
Step-by-Step Guide to Assembling Your Pipe Shelves:
Creating these industrial shelves is a straightforward process that yields impressive results. Follow these steps carefully to ensure a sturdy and stylish outcome.
1) Prepare Your Pine Boards: Cut, Stain, and Seal for Lasting Beauty
Begin by cutting your 2 x 12 pine boards to the precise length you desire for each shelf. Accuracy here ensures a professional finish. Once cut, thoroughly sand the boards to achieve a smooth surface, then apply your chosen wood stain according to the product instructions. Allow it to dry completely. Finally, apply several coats of your protective top coat, sanding lightly between coats if recommended, to seal and protect the wood from moisture and wear. This preparation is crucial for both aesthetics and longevity.
2) Assemble Your Robust Pipe Brackets: The Foundation of Your Shelves
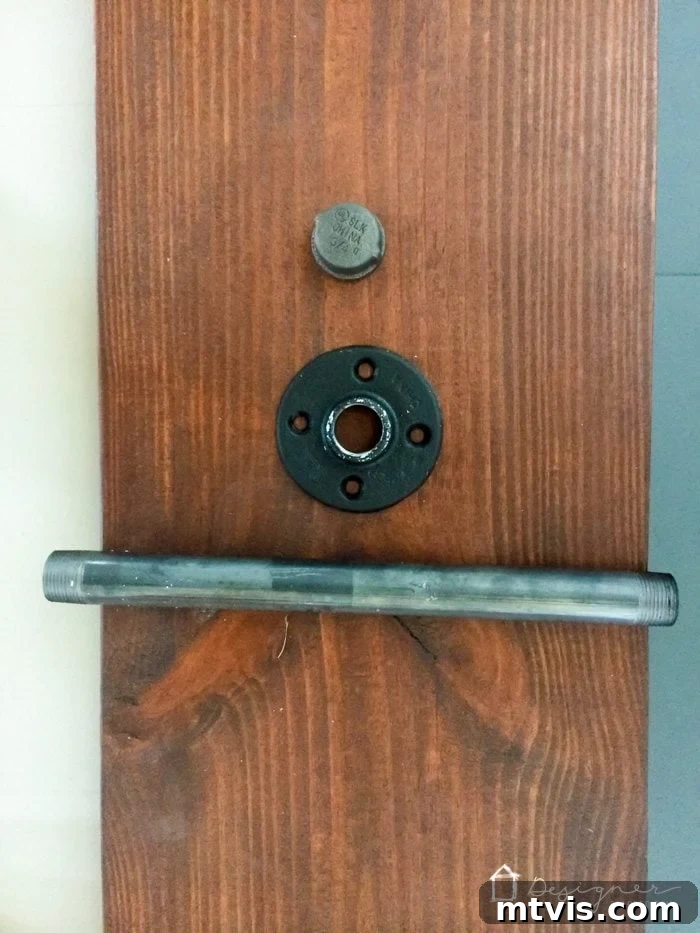
This step involves constructing the foundational brackets that will support your shelves. For each bracket, take one 12-inch steel nipple. Screw one end securely into a floor flange and the other end into a 3/4 inch cap. Twist them tightly to ensure a snug fit. You will need at least two of these fully assembled brackets per shelf. For shelves longer than approximately four feet, or if you plan to store heavy items, we highly recommend adding additional support brackets along the length of the shelf to prevent sagging and ensure maximum stability.
3) Securely Mount Your Assembled Brackets to the Wall: Precision is Key
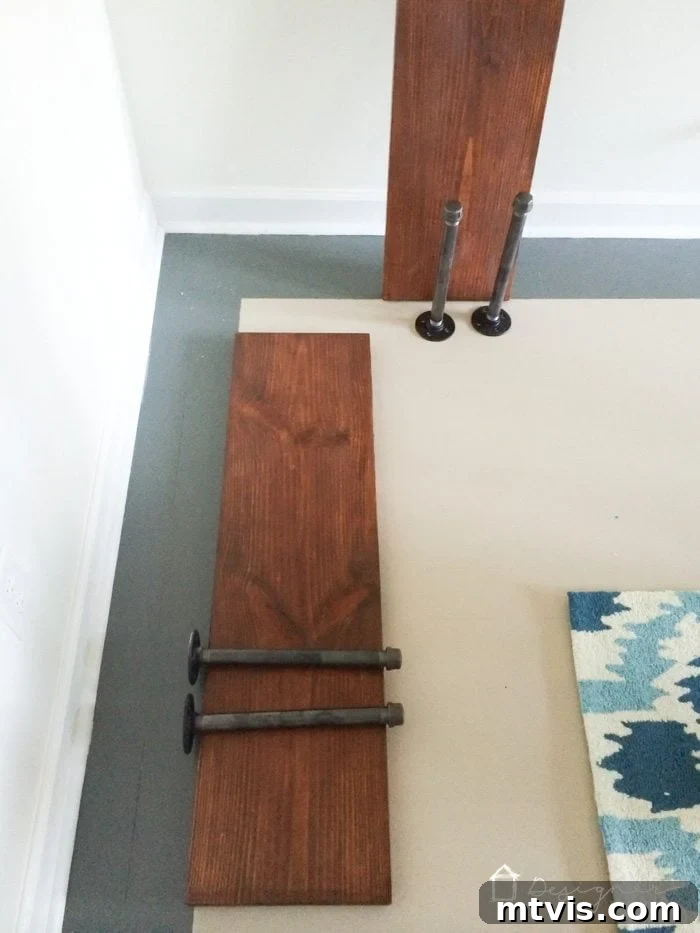
With your brackets ready, it’s time to attach them to your wall. Carefully determine the placement of your shelves, ensuring they are level and spaced appropriately. Mark the drill points for your floor flanges. If drilling into drywall, install your chosen wall anchors first. Then, align each floor flange with the marked points and secure it firmly to the wall using appropriate screws/fasteners. It’s essential to select screws with a head large enough to completely fill the holes on the floor flange, ensuring a strong, unyielding hold. Use a level extensively during this step to ensure your shelves will be perfectly horizontal.
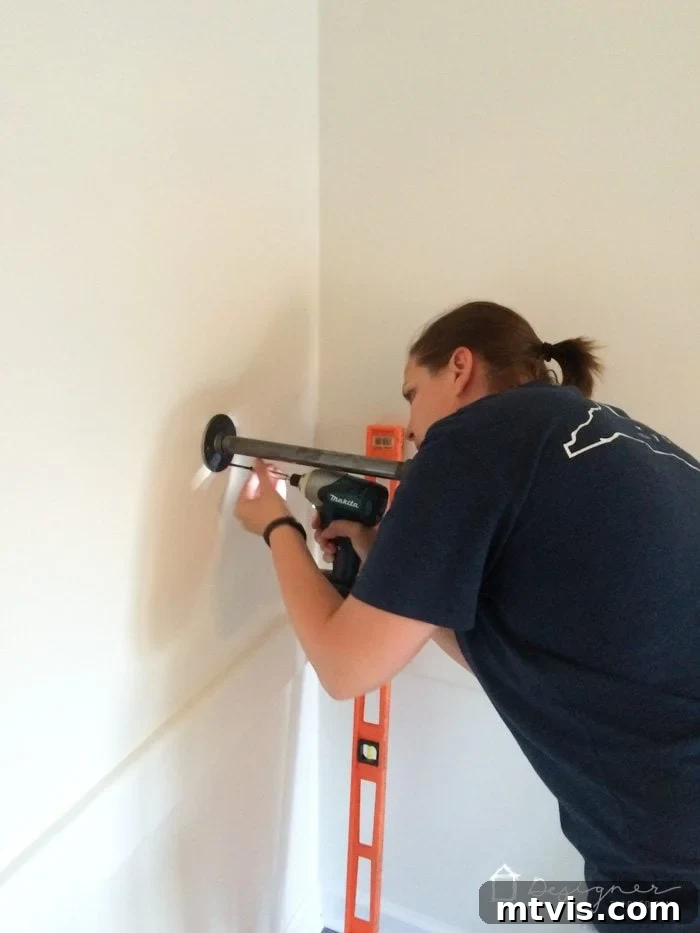
4) Affix Your Wooden Boards to the Brackets: Stability and Style Combined
Once all your pipe brackets are securely mounted to the wall, carefully place your stained and sealed wooden boards on top of them. Position each board centered and flush with the pipe brackets. Now, use the 3/4 inch steel two-hole pipe straps to firmly secure the boards to the brackets. We recommend using two straps per bracket – one towards the front edge of the board and one towards the back – for a total of four straps per shelf. This method serves two critical purposes: 1) It significantly enhances safety, especially in homes with children, preventing accidental dislodging of the shelves. 2) Inexpensive pine boards can sometimes have slight imperfections or tendencies to warp; these straps help to hold the boards flat and straight, correcting any minor warping and ensuring a level surface for your decor.
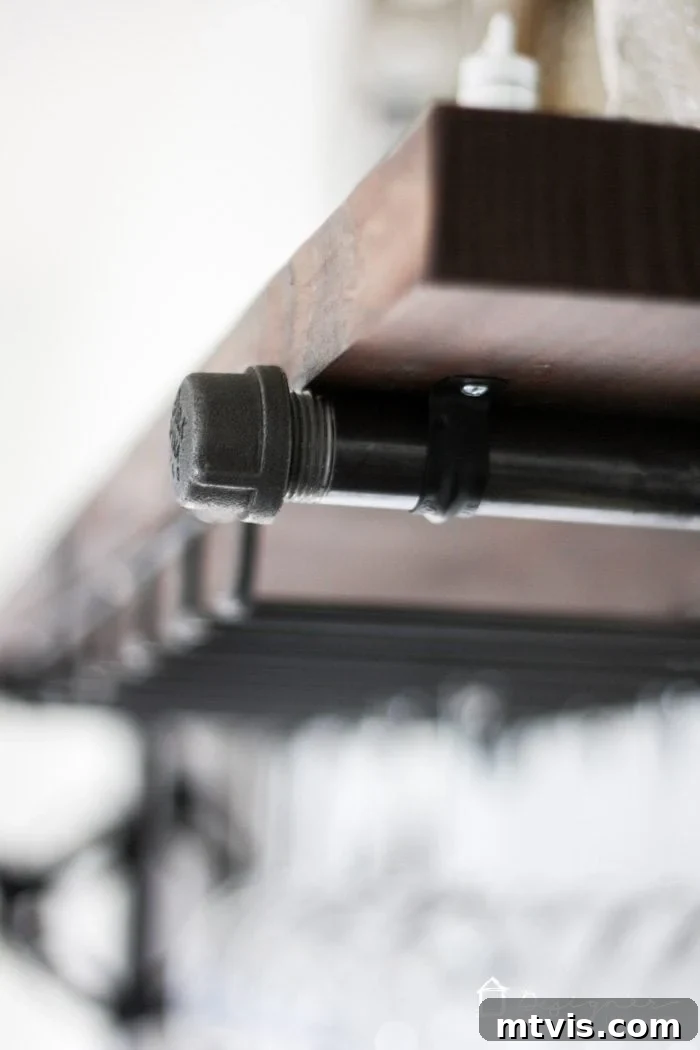
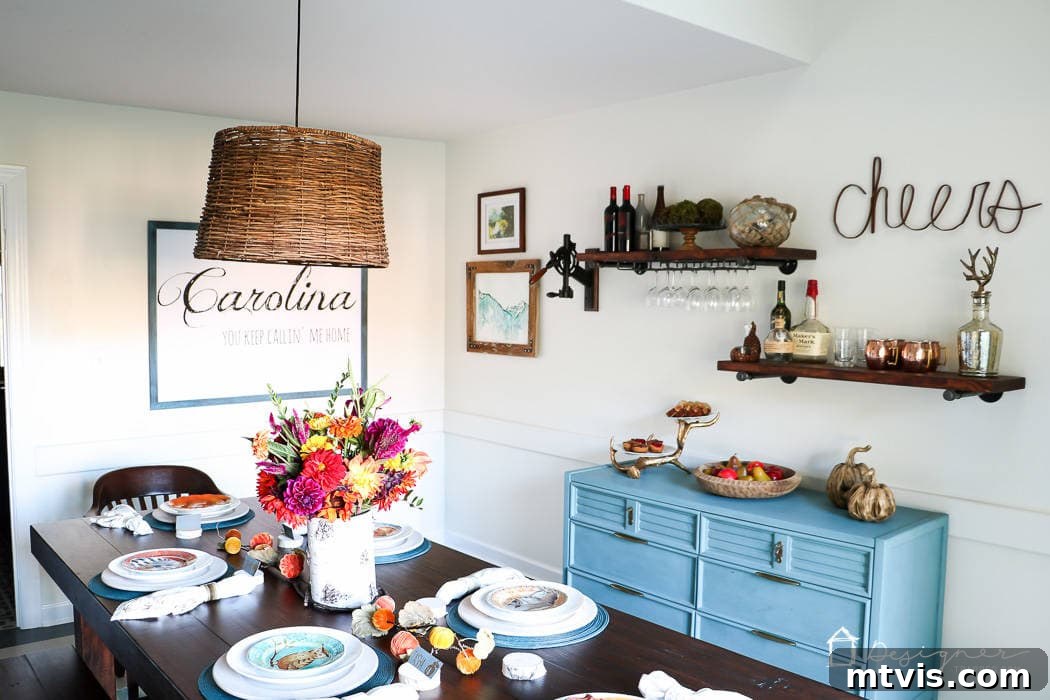
That’s it! Incredibly simple, yet the impact these DIY industrial pipe shelves have brought to our dining room is truly immense! To enhance functionality and capitalize on our dining area serving as a bar, we easily added one of these simple wine glass holders (which we also spray painted black to match the pipes) beneath one of the shelves. This small addition provides perfect storage for stemware, keeping it within easy reach while maintaining the cohesive industrial aesthetic.
We absolutely adore our finished DIY pipe shelves in the dining room and are confident you’ll love yours too. They offer the perfect blend of practical storage and a distinctive decorative element, transforming any wall into a focal point.
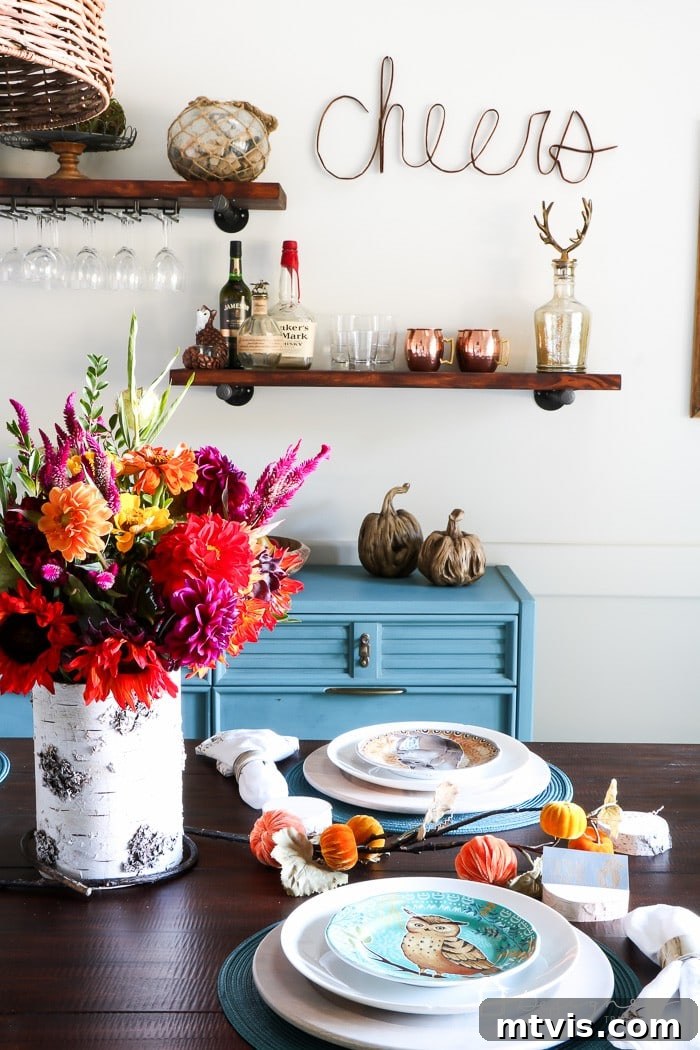
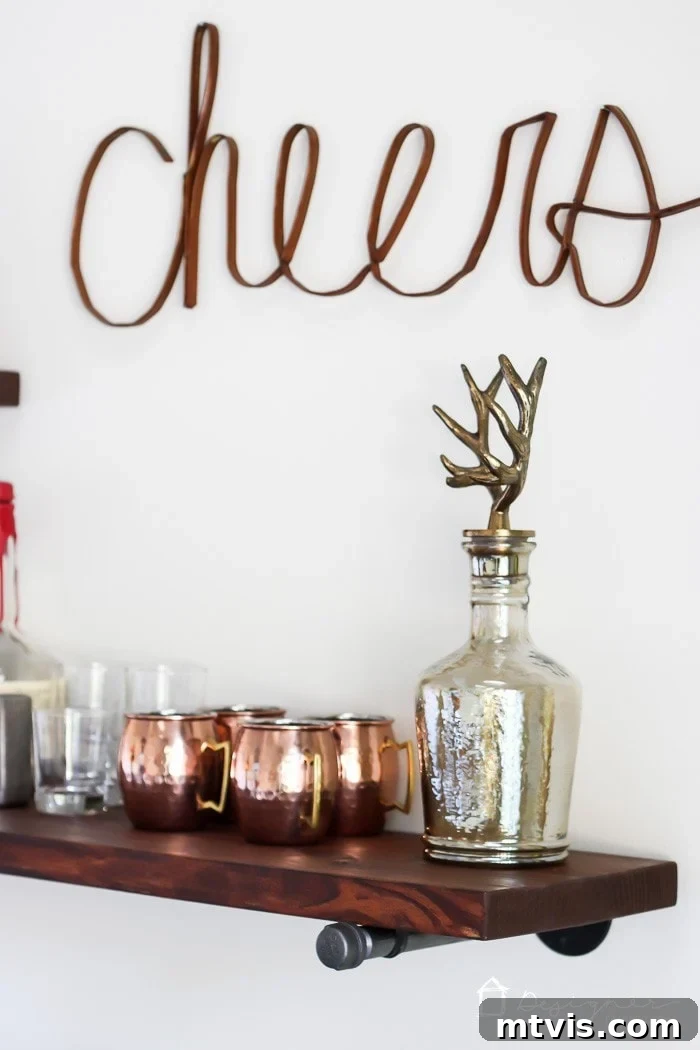
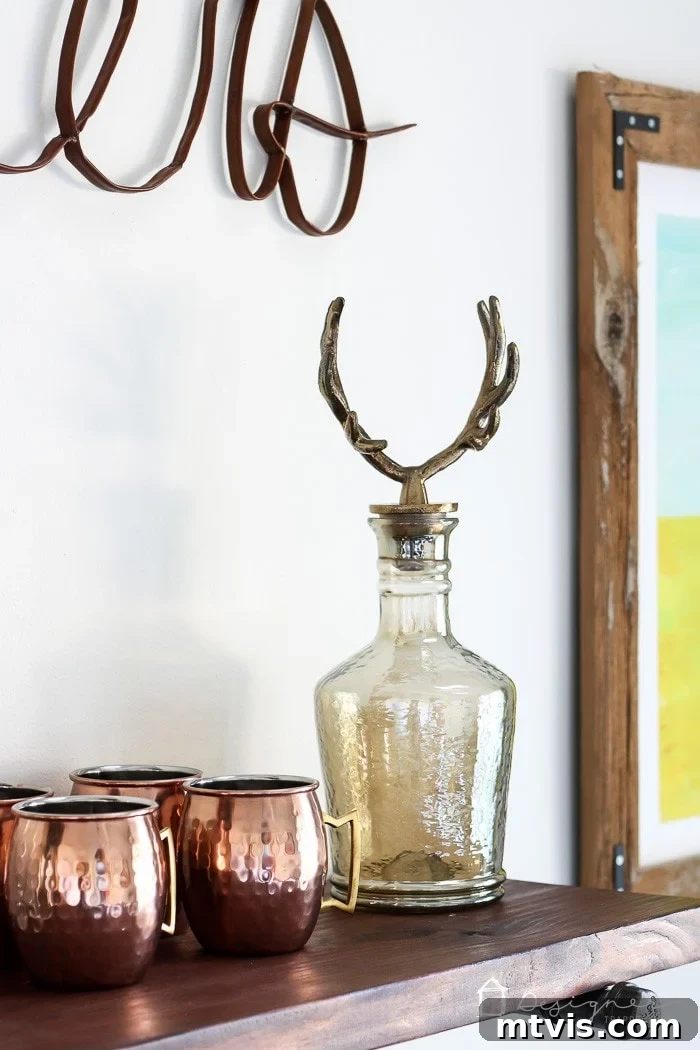
Design Inspiration: Styling Your New Industrial Shelves
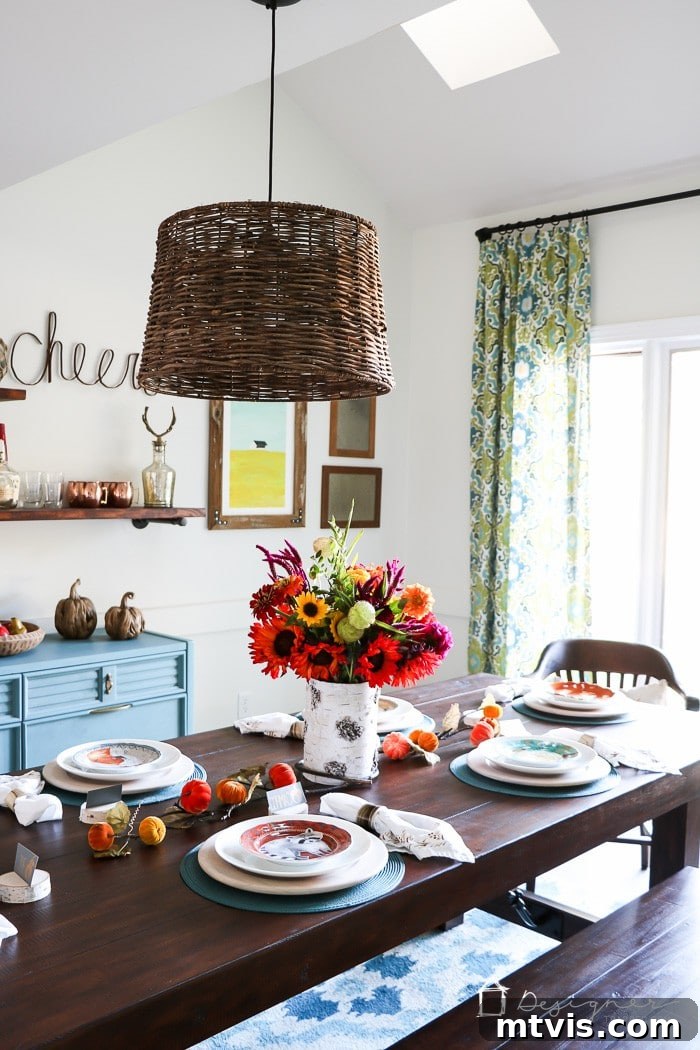
Now that your stunning new pipe shelves are installed, the fun part begins: styling them! Their industrial aesthetic provides a versatile backdrop for a wide range of decor items. In our dining room, they elegantly display copper mugs, stylish glassware, and decorative elements that complement the room’s vibrant color scheme. Consider these ideas to make your shelves truly shine:
- Kitchen: Showcase your favorite cookbooks, jars of dry goods, beautiful ceramics, or even small potted herbs. The pipe shelves offer a practical yet chic alternative to upper cabinets.
- Living Room: Arrange a curated collection of books, framed photos, small plants, and art pieces. The open design creates an airy feel, perfect for displaying treasured items.
- Home Office: Keep essential documents organized in stylish binders, display inspiring decor, or house a collection of desk accessories. The industrial look can inspire focus and creativity.
- Bathroom: Store rolled towels, scented candles, decorative soaps, or small storage baskets for toiletries. Ensure items are waterproof or in appropriate containers in high-humidity environments.
- Bar Area: As seen in our example, adding a wine glass rack transforms a section into a functional and inviting home bar. Display your favorite spirits, cocktail shakers, and elegant glassware.
Remember to balance functionality with aesthetics. Mix decorative items with practical storage solutions to create a dynamic and appealing display. The beauty of these shelves lies in their adaptability, allowing you to continually refresh your decor with ease.
Source List for Our Dining Room Decor and DIY Projects:
Achieving a cohesive and stylish interior often involves a mix of DIY creativity and carefully chosen pieces. Here’s a breakdown of the elements that complete our dining room, allowing you to draw inspiration for your own space.
Wall Paint:
Opal White by Clark+Kensington, eggshell finish. This crisp, clean white provides a perfect backdrop, allowing other elements in the room to truly pop.
Other DIY Projects Featured:
Our dining room is a testament to the power of DIY, featuring several handcrafted elements that add unique charm and personal touch:
- DIY Pendant Light: A simple yet impactful lighting solution.
- DIY Birch Place Card Holders: Perfect for adding a natural, personalized touch to your table settings.
- DIY Blue Painted Dresser: A repurposed piece that adds a beautiful splash of color and storage.
- DIY Reclaimed Wood Art Frames: Adding rustic elegance to our wall art.
- DIY Large Scale “Carolina” Art: A custom piece that brings local pride and artistic flair.
- DIY Curtains: Custom-made to fit our windows perfectly and enhance the room’s aesthetic.
- DIY Curtain Rod: A simple project that complements our custom curtains beautifully.
Purchased Decor Items:
These carefully selected pieces complement our DIY efforts, rounding out the room’s design:
- Scrap Iron Cheers Sign: A fun and rustic touch above the shelves.
- Eastwood Table and Benches: Providing a solid and stylish foundation for our dining space.
- Confetti Art Print: Adding a playful burst of color.
- Rural Midwest Art Print: Bringing a serene, natural element to the wall.
- Mountain Escape Art Print: Evoking a sense of adventure and tranquility.
- Curtain Fabric from Joann Fabric: The base for our custom window treatments.
- Wall Mounted Wine Bottle Opener: A convenient and stylish addition to our bar area.
- Ikat Rug: Grounding the dining space with pattern and texture.
Need more dining room design ideas or inspiration for transforming other areas of your home? Explore our updated dining room reveal, which underwent a complete makeover. This transformation was part of a larger renovation alongside our stunning kitchen remodel reveal last year. Discover how cohesive design choices and strategic DIY projects can create a home you truly love.
Before you leave, don’t miss out on becoming a VIP! Sign up today to gain exclusive access to all my design guides, printable instructions for various projects, and much more, all conveniently located in one easy-to-access place. Elevate your DIY game and transform your living space with expert tips and resources!