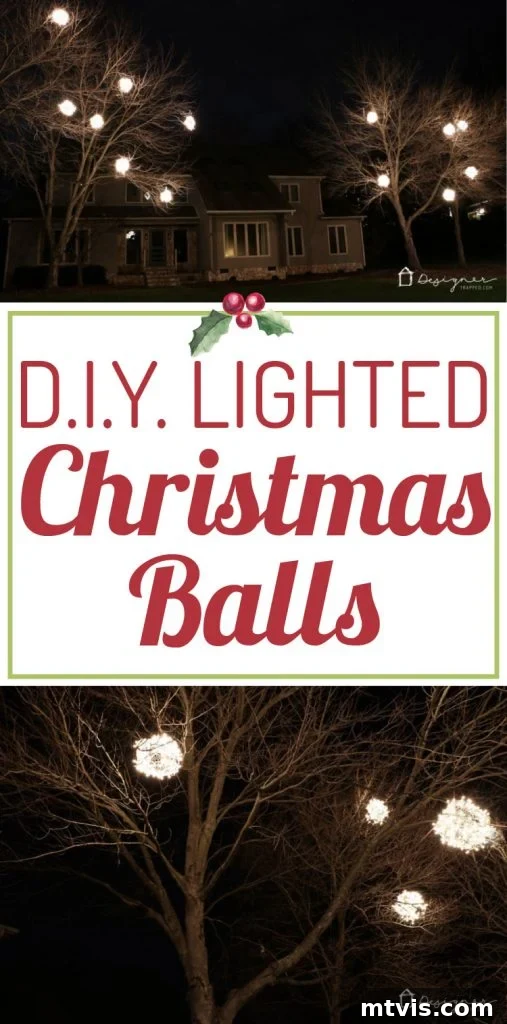
Get ready to be utterly captivated! Today, I am beyond thrilled to share with you a truly unique and enchanting Christmas tradition that brings unparalleled magic to the holiday season. If you’ve been a long-time reader of my blog, you’ll know that I call Greensboro, North Carolina, my home. And one of the many reasons I adore Greensboro, especially during December, is its spectacular and heartwarming tradition of **lighted Christmas balls**. These aren’t just any decorations; they are glowing, ethereal orbs that transform neighborhoods into breathtaking winter wonderlands.
Imagine strolling through streets where hundreds, even thousands, of luminous spheres hang gracefully from trees, casting a soft, magical glow that makes the entire area feel like something out of a fairy tale. This incredible tradition began in the beloved Sunset Hills neighborhood, and I’m ecstatic to report that it’s now beginning to spread to our own community! This phenomenon isn’t just for Greensboro; it’s a wonderfully accessible and impactful way to add festive cheer to your own locale. Why not be the pioneer to ignite this beautiful tradition right in your own backyard or neighborhood?
To truly grasp the breathtaking scale and impact of these magical lighted Christmas balls, especially when an entire community embraces them, take a moment to watch this short video. It offers a glimpse into how these simple yet stunning decorations create an unforgettable spectacle of light and joy. Every twinkling dot you see in the distance represents one of these magnificent, glowing spheres!
Why Create Your Own DIY Lighted Christmas Balls?
Beyond the sheer beauty, there are countless reasons to embark on this DIY project. Making your own lighted Christmas balls allows for incredible customization to match your personal style and existing outdoor decor. It’s also a fantastic way to involve the entire family in a fun and rewarding holiday craft, creating cherished memories that last a lifetime. Furthermore, crafting these orbs yourself can be significantly more cost-effective than purchasing elaborate pre-made outdoor decorations, letting you achieve a grand display without breaking the bank. The satisfaction of seeing your handmade creations illuminate your home and neighborhood is truly immense. We knew we wanted to contribute to this luminous tradition at our house this year, so we gathered our supplies shortly after Thanksgiving, eager to bring this glowing vision to life!
How to Make Lighted Christmas Balls: A Step-by-Step Guide
Creating these dazzling lighted spheres is surprisingly simple and requires only a few basic materials. The process is straightforward, making it an ideal project for DIY enthusiasts of all skill levels. Let’s gather everything you’ll need before diving into the creative process.
Materials Needed to Make Your Own Lighted Christmas Balls:
- Chicken Wire: Essential for forming the spherical structure. We recommend a roll that allows for easy cutting and shaping.
- 100-Count Mini-Light Strands: These are the heart of your glowing balls. For optimal brightness and coverage, we suggest using at least two strands per ball, especially for larger sizes. Consider warm white lights for a classic look or multi-colored strands for a vibrant display.
- Outdoor-Rated Extension Cords: Crucial for safely powering your lighted balls, especially when hanging multiple orbs. Ensure they are suitable for outdoor use.
- Duct Tape: Your best friend for securing electrical connections and ensuring they remain waterproof and intact, particularly when hoisting the balls into place.
- Durable String or Fishing Line: For hanging the completed balls from tree branches. Choose a material that is strong, weather-resistant, and discreet.
- Work Gloves: A must-have for protecting your hands from the sharp edges of chicken wire. Do not skip this!
Essential Tools for the Project:
- Wire Cutters: For precise and easy cutting of the chicken wire.
- Pliers: Useful for twisting wires securely and refining the shape of your balls.
- Measuring Tape: To ensure accurate sizing of your chicken wire pieces.
Now, let’s get started on transforming these simple materials into magnificent lighted Christmas balls!
Step-by-Step Instructions:
1) Preparing Your Chicken Wire for Shaping
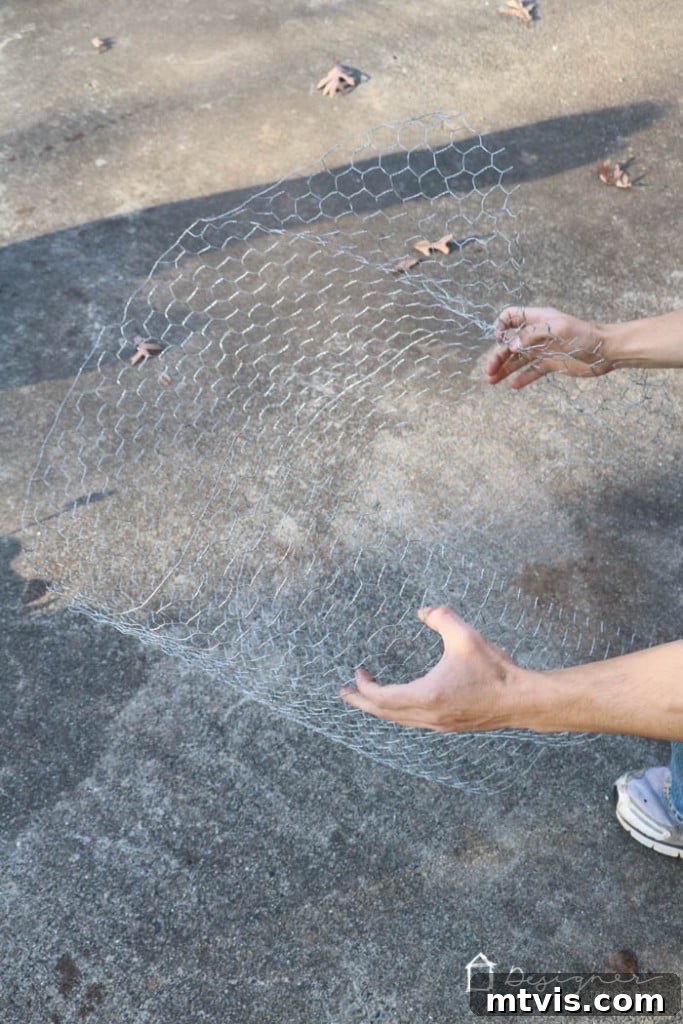
Safety first! Before you begin, always put on your protective work gloves—chicken wire can be quite sharp and cause nicks or scratches. Once gloved, take your wire cutters and cut your chicken wire into rectangular shapes. The key to creating a nicely rounded sphere is to cut your chicken wire so that it is roughly twice as long as it is wide. For instance, we found that working with chicken wire pieces approximately 2 feet by 4 feet yielded a good size for our lighted balls. This ratio provides ample material to form a robust and symmetrical orb.
2) Forming the Cylindrical Base
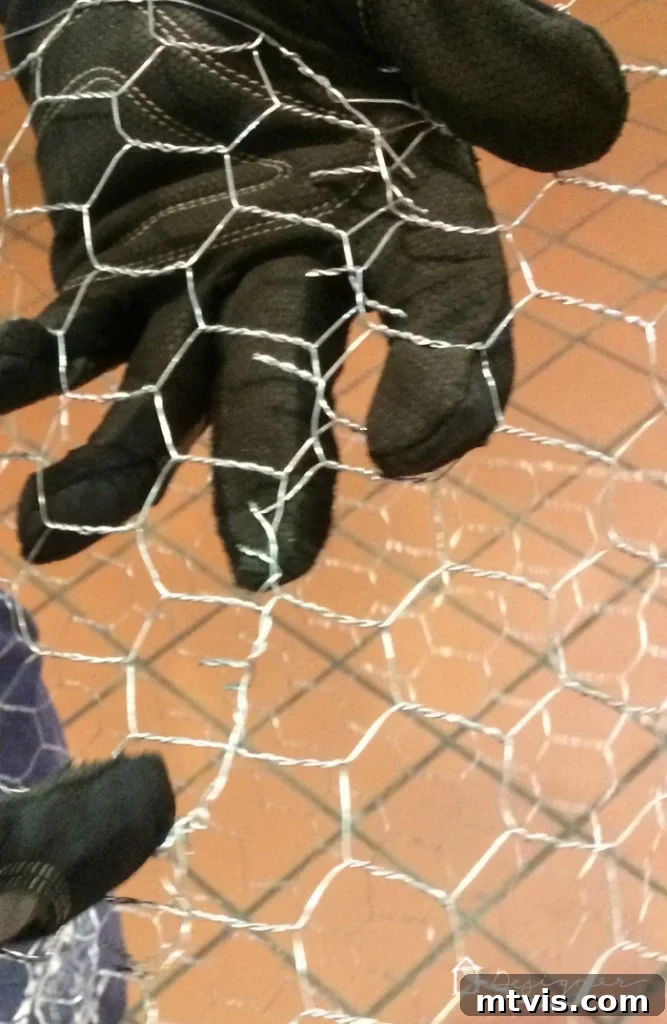
With your rectangular chicken wire piece cut, bring the two shorter cut sides together. Connect them by twisting the individual wire ends around each other, effectively creating a seam. Spend a few moments ensuring these connections are secure and tight, as this will form the sturdy backbone of your Christmas ball. At this stage, you will have created a tube or cylinder shape with open ends.
3) Sculpting the Sphere: The “Pleating” Method
Now comes the fun part: shaping! Begin by gently pushing the open ends of the “tube” inward towards the center. As you do this, you’ll need to twist and pleat the chicken wire, gradually coaxing it into a more rounded, spherical form. Imagine gently gathering fabric and cinching it in the middle – that’s the kind of movement you’re aiming for with the wire. Work slowly and methodically, twisting the wires together to hold the new shape as you compress the tube into a ball.
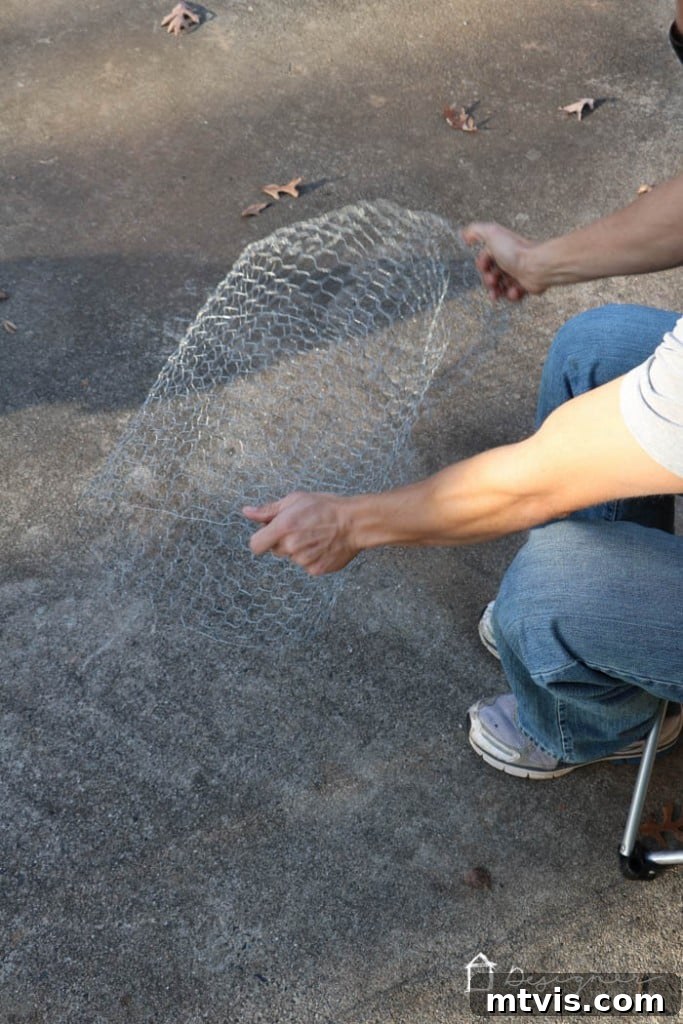
4) Refining the Shape for Optimal Display
Continue sculpting and manipulating the chicken wire until your ball shape is as round as possible. Don’t worry about achieving absolute perfection at this stage; they tend to look significantly more spherical and impressive once they are illuminated and hanging among the branches. Focus on creating a generally uniform shape. A little imperfection only adds to their handmade charm. Remember, the ultimate effect comes from the glow, not surgical precision in shape.
5) Weaving in the Lights: Bringing Your Orb to Life
Once your chicken wire ball has taken its desired form, it’s time to add the magic! Take two strands of 100 mini-lights and begin wrapping them around and through the chicken wire structure. Start by securing one end of the first light strand to the wire, then meticulously weave the lights in and out, ensuring they are securely attached and evenly distributed across the entire surface of the ball. This weaving technique prevents the lights from shifting and helps maintain a uniform glow. Crucially, make sure to leave the male end of the plug from your second strand of lights exposed and easily accessible. This will be the point where you connect your lighted Christmas ball to an extension cord for power. Distribute the lights thoughtfully to avoid bare spots and achieve a brilliant, consistent illumination.
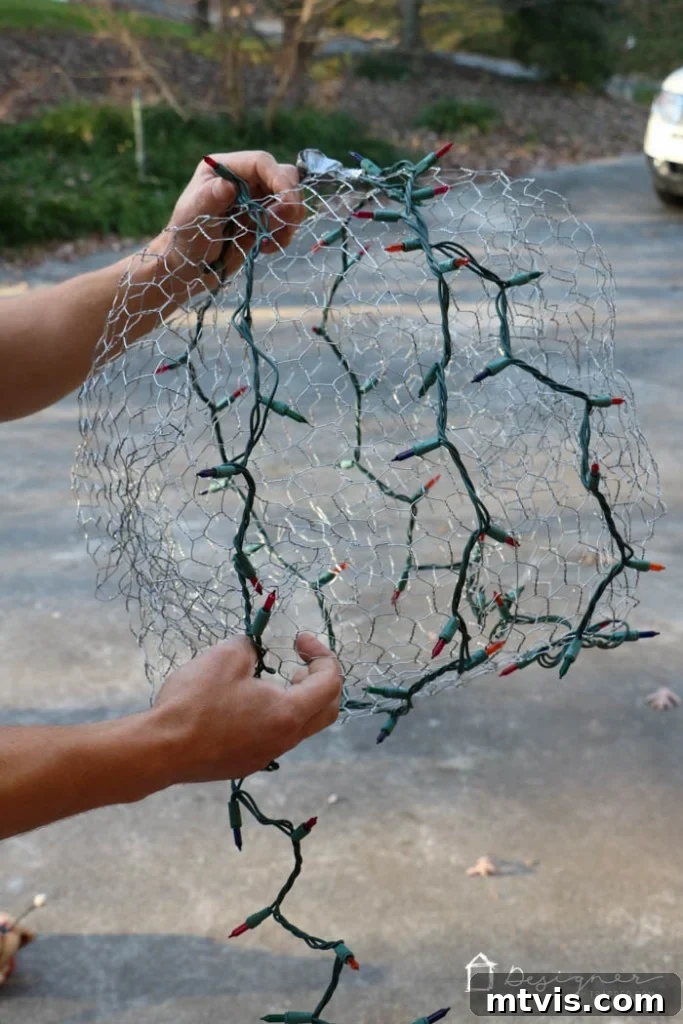
A Family Affair: Crafting Memories Together
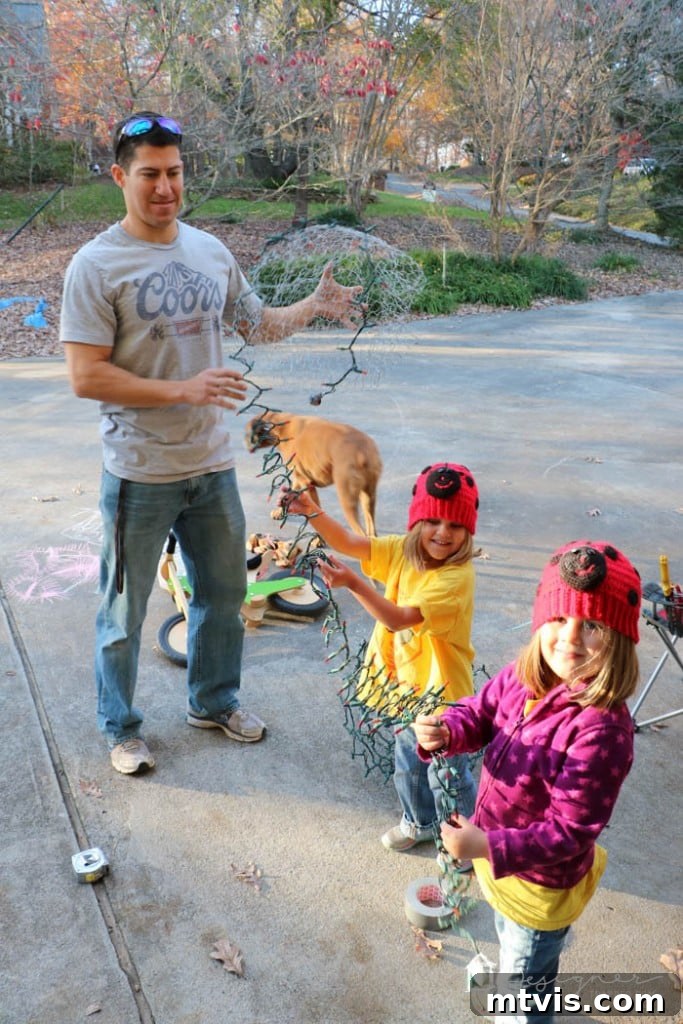
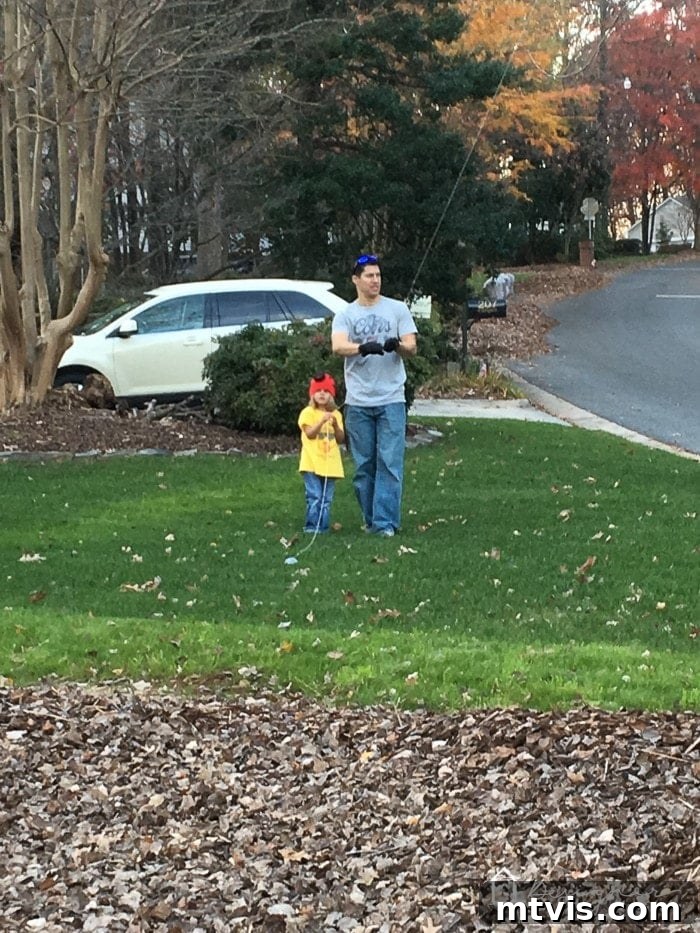
Making these lighted Christmas balls quickly became a cherished family activity in our home. It’s a wonderful opportunity for everyone to pitch in and feel the holiday spirit, even if our attire might not always be “photo-ready” during the creative process! Just look at this candid snapshot: Joe, my ever-resourceful husband, managed to dress our girls (let’s just say #dadfashion was in full swing!), and he himself was sporting a classic Coors Light t-shirt. Pure class, I tell you! But honestly, these moments of laughter and collaboration are what make the holidays so special. We may not have looked like we stepped out of a catalog, but we certainly had an incredible amount of fun together, creating something beautiful for our home.
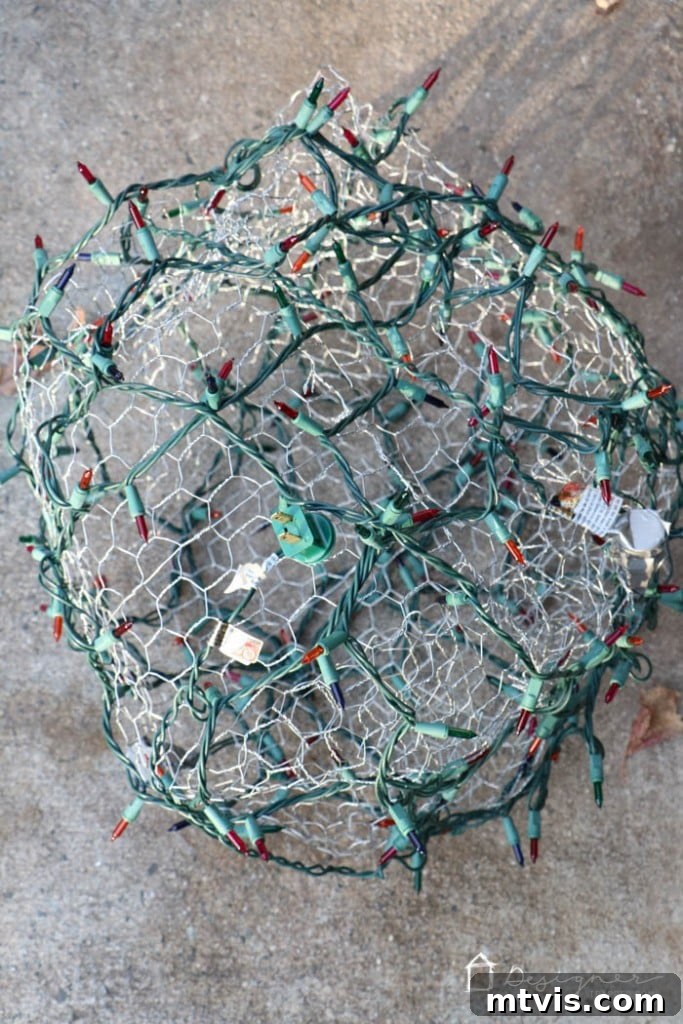
Hanging Your Radiant Creations: Tips for a Dazzling Display
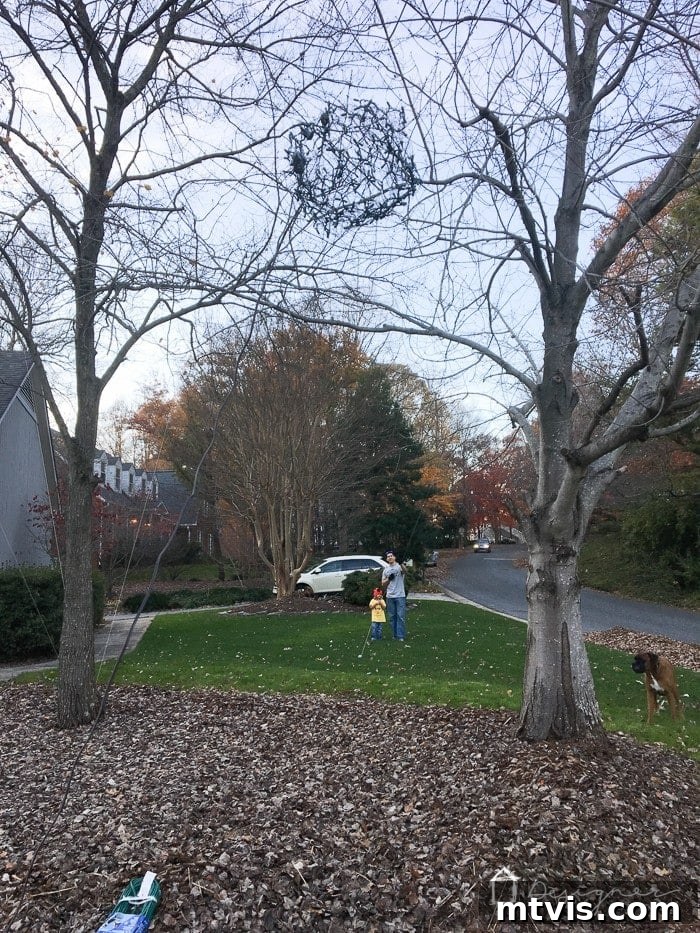
Once your gorgeous lighted balls are complete, it’s time for the final, exciting step: hanging them! There are numerous creative methods to get these glowing orbs into your trees, from the surprisingly effective (like potato guns or specialized fishing poles) to the more traditional. For our project, Joe ingeniously used a lacrosse stick to launch a lacrosse ball with a string tied to it over the desired tree branch. Once the lacrosse ball successfully cleared the branch, we would carefully lower the string, detach the lacrosse ball, and then securely attach our finished lighted Christmas ball to the string.
Crucial Safety Tip: Before raising any lighted ball into position, make sure it is already plugged into an outdoor-rated extension cord. This prevents awkward fumbling with electrical connections while the ball is suspended. We also highly recommend securing all electrical connections with duct tape. This extra step ensures they remain watertight and won’t come loose as you hoist the balls into their final positions, protecting both your display and your electrical system.
Securing Your Display and End-of-Season Removal
After your lighted ball is perfectly positioned and glowing, tie the excess string securely around a garden stake and firmly push the stake into the ground. This ensures your display remains stable even in windy conditions. When the holiday season comes to an end and it’s time to take down your beautiful decorations, the removal process is just as simple: just cut your strings, and watch them safely fall to the ground for easy collection and storage until next year.
Illuminating the Night: The Dazzling Results!
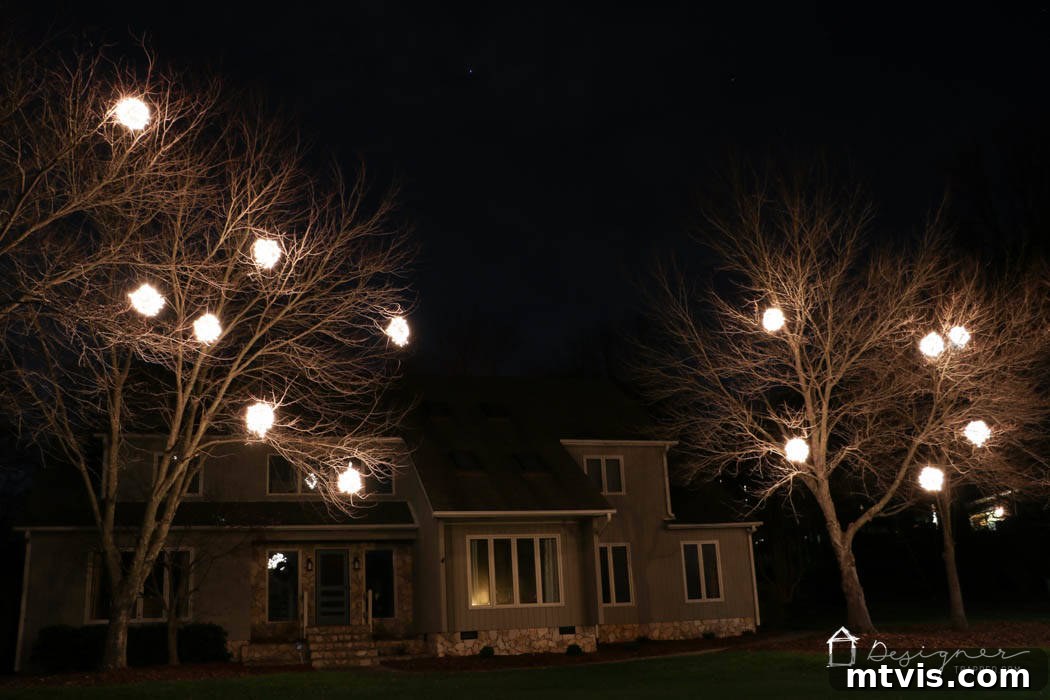
Are you ready to witness the spectacular finished project, glowing brilliantly against the night sky? Believe me when I say that while these lighted balls are incredibly difficult to capture accurately in photographs or videos, they are exponentially more brilliant, vibrant, and utterly beautiful in person! Despite the photographic challenges, I did my absolute best to capture the essence of our display, and I truly hope these images inspire you to create your very own magical Christmas light show. The way they transform the ordinary into the extraordinary is simply breathtaking.
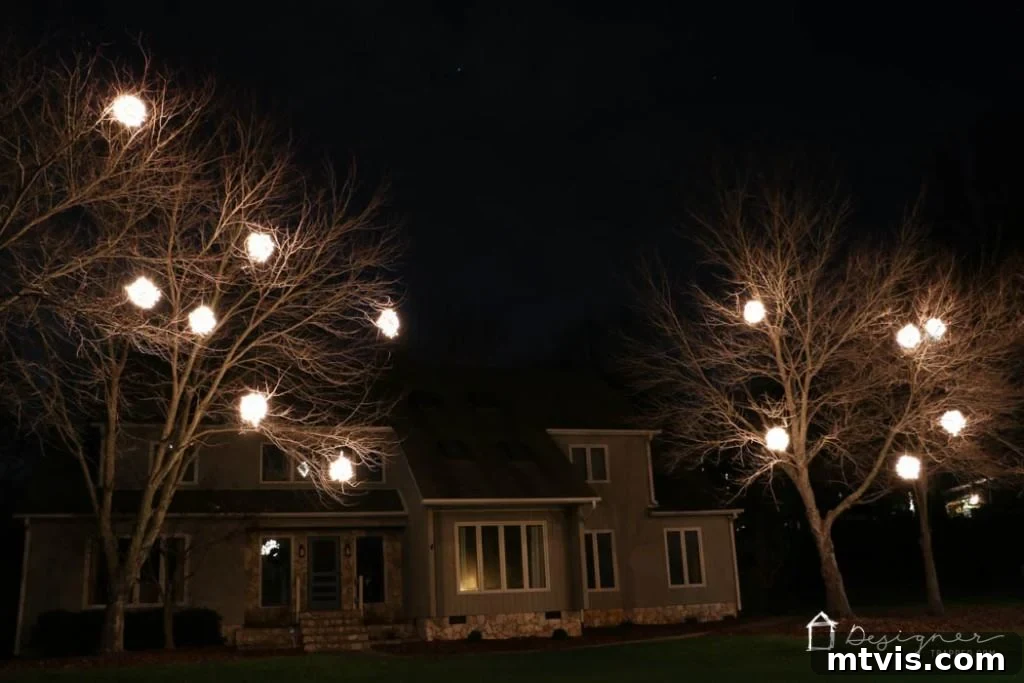
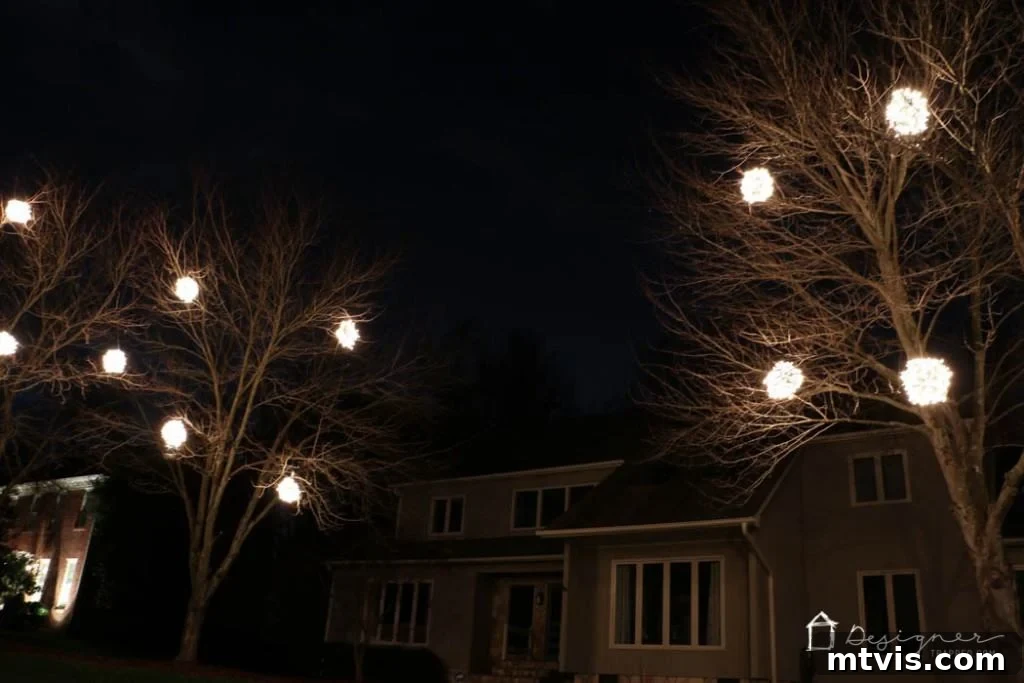
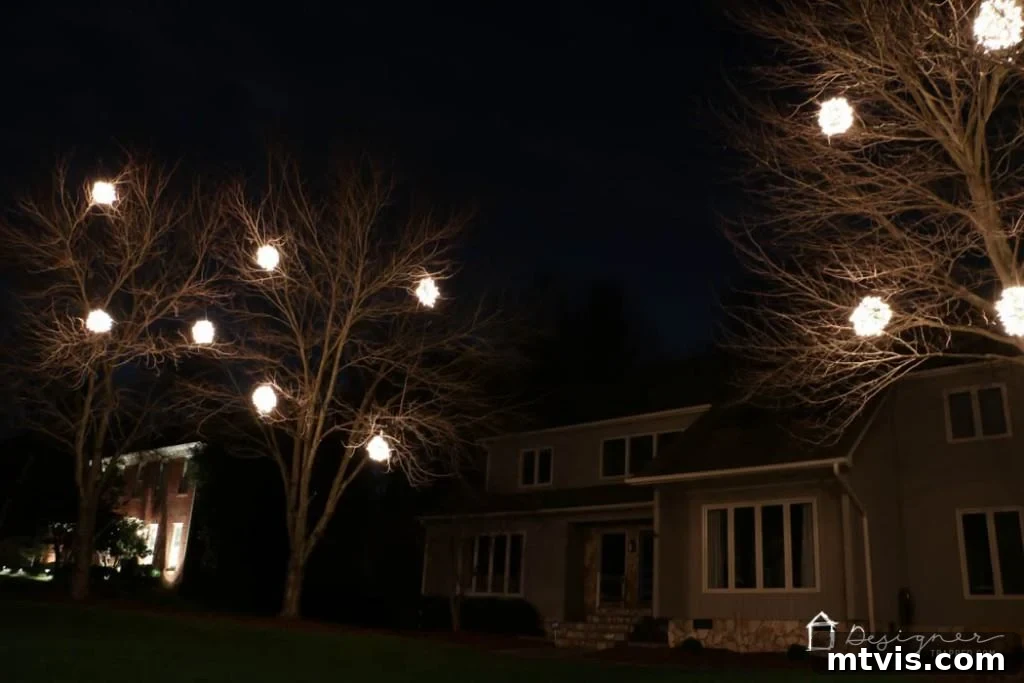
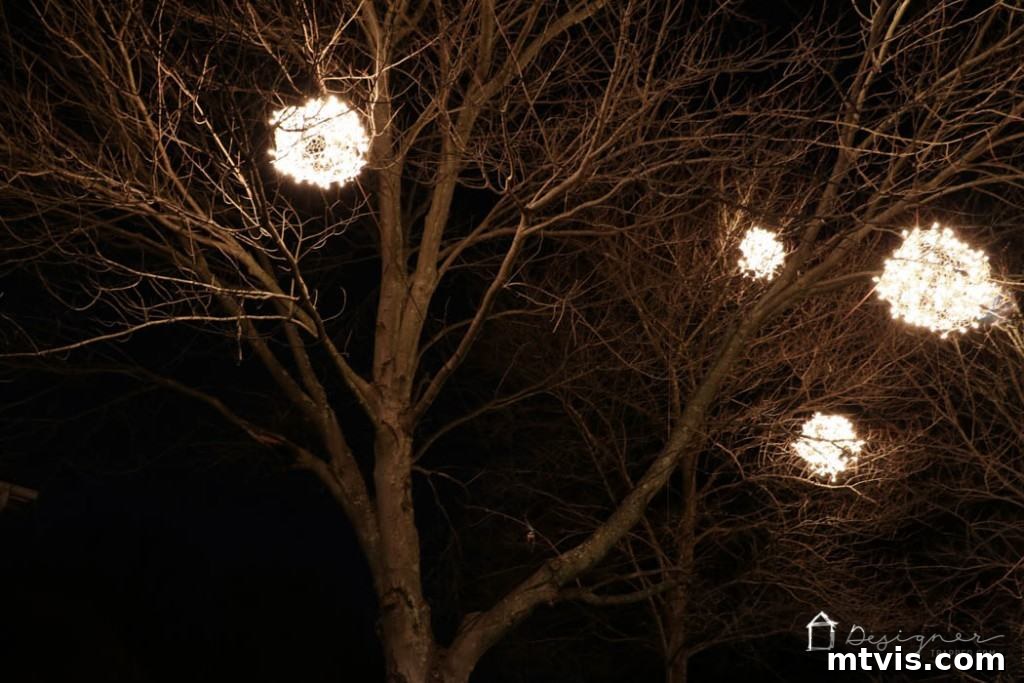
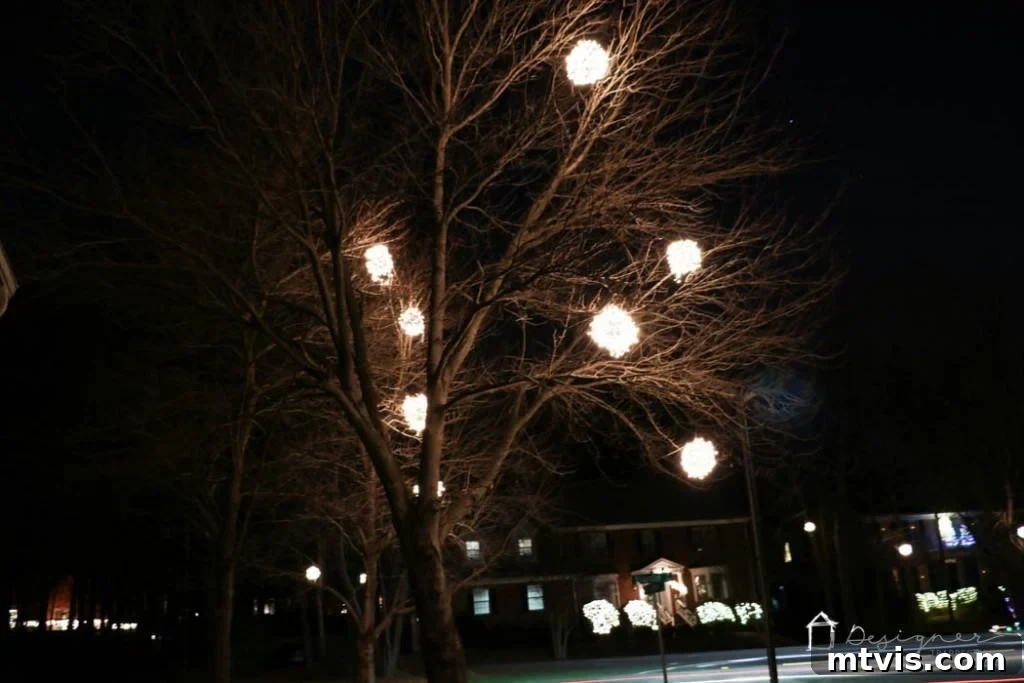
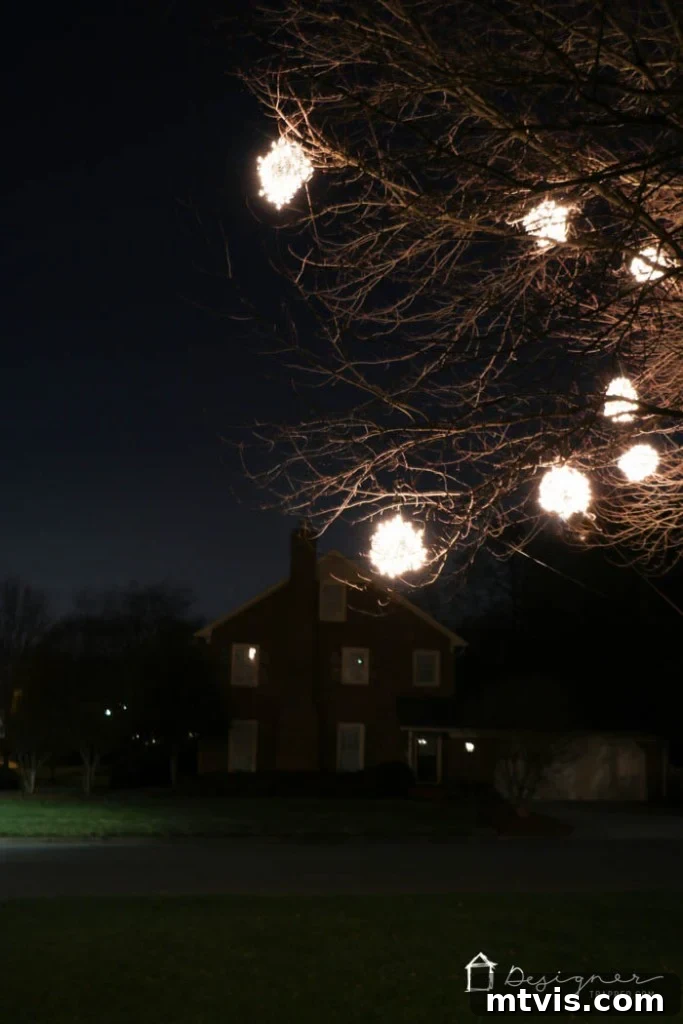
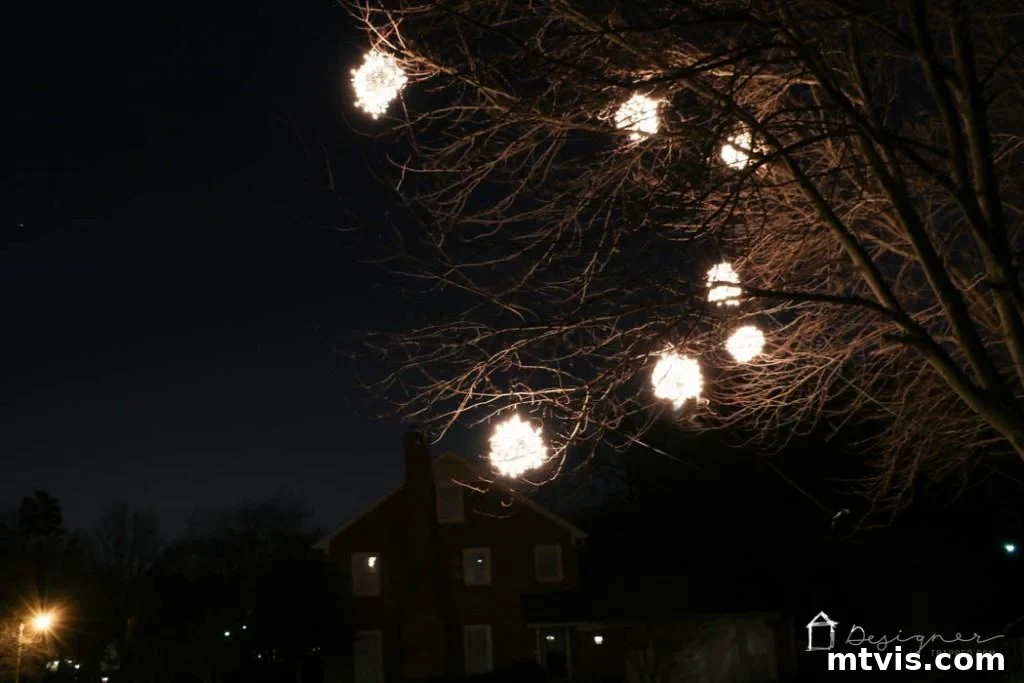
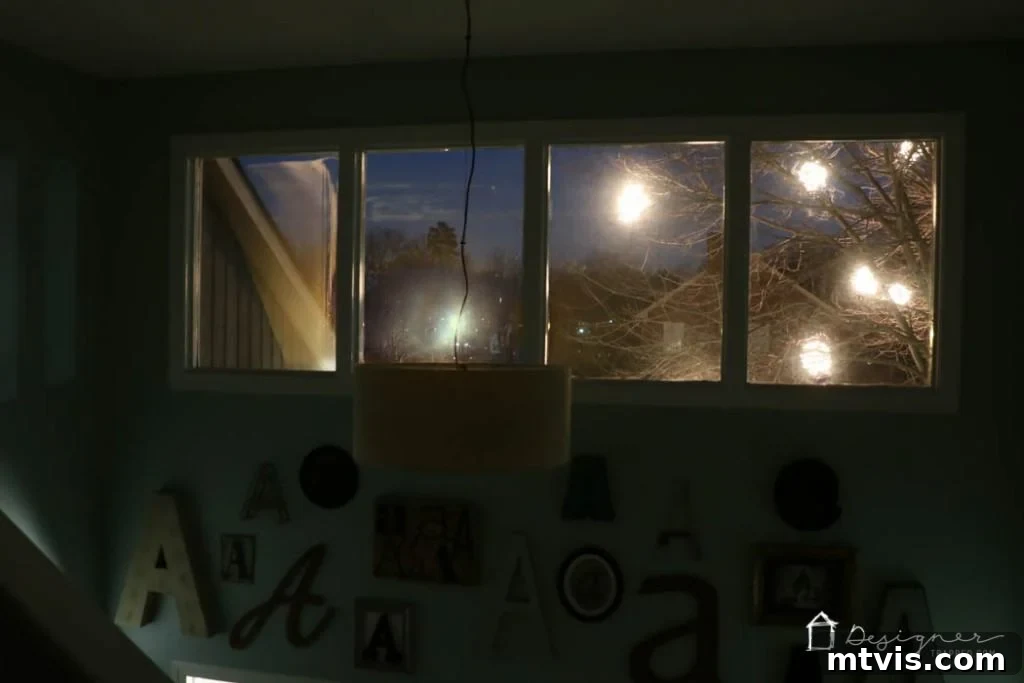
The enchanting glow extends even into our home; we can admire our creations from the upstairs hallway, a view I absolutely adore. It truly extends the holiday cheer into every corner of our living space.
While our front yard boasts a spectacular display of classic all-white lights, which is my personal favorite for its elegant and timeless appeal, we also hung some vibrant “rainbow” balls in our backyard. Our girls absolutely begged for them, and it was a fun way to add a playful touch to a less visible area. I didn’t get a chance to photograph those, but they certainly add a burst of color! The versatility of these DIY outdoor Christmas lights means you can customize them to suit any aesthetic.
Customization and Creative Touches
The beauty of making your own lighted Christmas balls lies in the freedom to personalize them. While classic warm white lights offer a sophisticated glow, don’t hesitate to experiment with different colored light strands to create a unique mood. Imagine red and green for a traditional feel, or cool blue for a wintry ice effect. You could also vary the sizes of your chicken wire balls to create a dynamic display, hanging smaller ones higher and larger ones lower for depth. For an extra touch of sparkle, consider lightly misting your finished balls with spray adhesive and dusting them with glitter before wrapping the lights, creating an even more dazzling effect when illuminated.
Maintaining Your Lighted Christmas Balls
To ensure your beautiful creations last for many holiday seasons, proper care and storage are key. After the holidays, carefully remove the balls from the trees. Disconnect the light strands from extension cords and gently untangle any major knots. Store your lighted Christmas balls in a dry, protected area, such as a garage or shed. Large plastic storage bins are ideal for keeping them safe from dust and damage. With a little care, these magical orbs will be ready to enchant your home year after year, becoming a cherished part of your family’s Christmas tradition.
Join the Tradition!
Aren’t these DIY lighted Christmas balls absolutely wonderful? I sincerely hope this detailed tutorial has left you feeling inspired and ready to create some for your own home and neighborhood! It’s an incredibly rewarding project that yields truly stunning results, turning ordinary trees into extraordinary beacons of holiday joy. If you’re planning to tackle this project, be sure to pin this post to your Christmas decor board so you can easily refer back to it when you’re ready to start. And while you’re here, don’t forget to check out my other festive Christmas posts for more ideas and inspiration to make your holiday season bright and beautiful!