Cricut Maker Review: Can It Really Cut Delicate Crepe Paper? Plus, a DIY Crepe Paper Succulent Tutorial!
Hello, fellow crafters and home decor enthusiasts! Do you find yourself drawn to the beauty of lush greenery but cursed with a “black thumb” like mine? Or perhaps you’re tired of the hefty price tag associated with realistic artificial plants that often fall short of expectations. I know the feeling! That’s why I was absolutely thrilled to discover a way to create stunning, lifelike succulents from crepe paper right in the comfort of my home, for a mere fraction of the cost. The secret? My incredible Cricut Maker machine.
In this comprehensive review, we’ll delve into the burning question: can the Cricut Maker truly handle the delicate nature of crepe paper and other intricate materials without tearing? Prepare to be amazed! Following my in-depth review, I’ll share a step-by-step tutorial so you can craft your very own adorable DIY crepe paper succulents. Let’s transform your home with maintenance-free botanical beauty!
Disclosure: This post is proudly sponsored by Cricut. Rest assured, all opinions shared are entirely my own and brutally honest, reflecting only products I genuinely recommend to my dearest friends and family. Additionally, this post contains affiliate links for your convenience. If you choose to make a purchase through these links, I may earn a small commission at no extra cost to you. For full transparency, please refer to my disclosure policy.
Cricut Maker Cutting Performance Review: Crepe Paper and Delicate Materials
Let’s get straight to the heart of the matter: my experience with the Cricut Maker cutting crepe paper. To be perfectly candid, I approached this task with a high degree of skepticism. Crepe paper is notoriously fragile, known for its tendency to rip, stretch unevenly, and generally be a pain to cut with any precision, especially intricate shapes. My confidence levels were almost non-existent for two main reasons:
- I doubted the Cricut Maker could cut crepe paper without causing frustrating tears and imperfections.
- Even if it did manage a clean cut, I was convinced the delicate pieces would adhere too strongly to the cutting mat, resulting in irreparable damage upon removal.
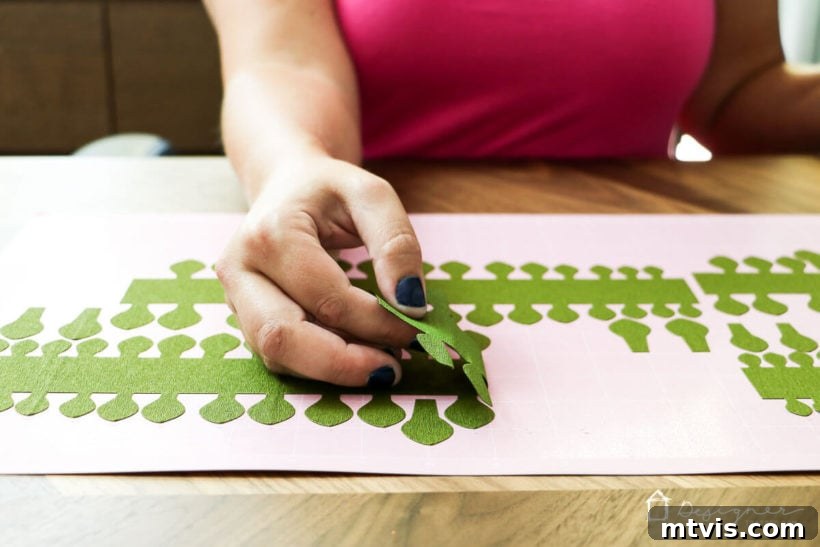
Therefore, to say I was pleasantly surprised by the results would be a massive understatement. The Cricut Maker not only cut my crepe paper with astonishing precision, producing not a single tear, but the intricate pieces also lifted from the cutting mat effortlessly and perfectly intact. It was truly a moment of awe and excitement. Don’t just take my word for it – observe the flawless results for yourself in the image below.
The Secret Weapon: The Cricut Rotary Blade
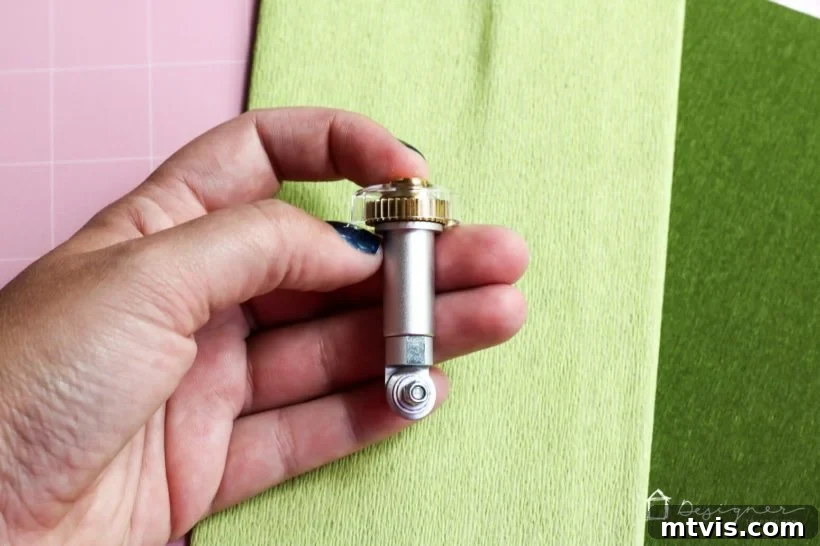
This phenomenal cutting capability for delicate and flexible materials is made possible by one of the Cricut Maker’s most revolutionary tools: the Rotary Blade. Unlike traditional drag blades that require material to be backed or stiffened, the Rotary Blade brings unparalleled precision fabric cutting to the home crafting world. Its unique gliding, rolling action effectively slices through a vast array of materials, much like a tiny, motorized pizza cutter for fabric.
The Rotary Blade truly excels with delicate materials like crepe paper and tissue paper, delivering crisp, clean edges without any pulling or snagging. But its versatility doesn’t stop there. It empowers crafters to cut a huge variety of unbacked fabrics with incredible accuracy, including:
- Cotton: Perfect for quilting pieces, apparel, or small fabric projects.
- Felt: Ideal for intricate appliques, plush toys, and decorative elements (I’ve personally used it to cut felt many times with fantastic results, which you can see in my projects here, here, and here).
- Fleece: Great for cozy blankets, hats, and other soft crafts.
- Denim: Enables precise cuts for patches, embellishments, or upcycling projects.
- Silk & Chiffon: Previously impossible for home machines, now within reach for delicate garments and accessories.
- Leather (Thin): For small intricate leather designs.
The Rotary Blade smoothly glides over these materials, ensuring every cut is sharp and exactly as designed, which is crucial when working with intricate patterns or small details, as we’ll see with our succulent petals. This innovation eliminates the need for stabilizers or cumbersome backing, saving crafters time, effort, and material waste.
My experiments with the Cricut Maker’s cutting capabilities, particularly with crepe paper, have left me incredibly impressed. It truly opens up a world of possibilities for crafting with materials that were once deemed too challenging for a home cutting machine. For anyone serious about expanding their crafting horizons, the Cricut Maker, paired with its Rotary Blade, is an indispensable tool.
Why DIY Crepe Paper Succulents Are a Game-Changer
Beyond the sheer joy of crafting, making your own crepe paper succulents offers numerous benefits. They are:
- Budget-Friendly: High-quality artificial plants can be surprisingly expensive. Crepe paper is incredibly affordable, allowing you to create a lush display for a fraction of the cost.
- Maintenance-Free: Forget watering, sunlight requirements, or pest control. These succulents stay vibrant and beautiful year-round, no green thumb required.
- Customizable: Choose any colors, shapes, and sizes to perfectly match your home decor or personal aesthetic.
- Long-Lasting: Unlike fresh flowers or even real succulents, these paper creations will maintain their beauty indefinitely.
- Creative Outlet: There’s immense satisfaction in crafting something beautiful with your own hands, especially when the results are so lifelike.
DIY Crepe Paper Succulents: Step-by-Step Tutorial
Now that we’ve established the Cricut Maker’s prowess with delicate materials, let’s dive into creating these charming crepe paper succulents. This project is not only rewarding but also surprisingly simple thanks to the precision of your Cricut machine.
Materials You’ll Need:
- High-Quality Crepe Paper: I highly recommend this specific crepe paper for its excellent texture and dual-tone shading on each side, which adds an authentic, natural depth to your succulents. The subtle variations in green create a more realistic appearance.
- Cricut Maker Cutting Machine: As discussed, this is the star of our show, essential for precise, tear-free cuts on delicate paper.
- For a deeper dive into its capabilities, you can read my full review of the Cricut Maker and its amazing features in this post. It truly cuts a wide range of materials, from fabric to wood and thick leather.
- If you’re still weighing your options for a cutting machine, my detailed comparison of Silhouette vs. Cricut in this post might be helpful.
- Cricut Rotary Blade: This blade is specifically designed for fabric and delicate materials, ensuring clean cuts without tearing. Ensure it’s correctly installed in your Maker.
- Cricut FabricGrip Mat (purple mat): This mat offers stronger adhesion, essential for holding crepe paper securely during the cutting process without damaging it upon removal.
- Cricut Cut File for Succulents: You can find the exact project file I used on Cricut Design Space by clicking here.
- Cricut Tweezers: These are invaluable for handling delicate paper pieces and for the rolling process.
- Floral Tape: To secure the base of your succulents. Green is ideal for blending in.
Steps to Create Your Crepe Paper Succulents:
While a video can provide a visual overview, here’s a detailed breakdown to guide you through each stage of creating your beautiful paper succulents.
1. Prepare Your Design and Cut with Cricut Maker:
Open the succulent cut file in Cricut Design Space. Each image within the file is designed to create one full succulent. To create a varied and realistic display, I highly recommend duplicating the image multiple times on your canvas to cut several succulents at once. For added realism, vary the size of your succulents. You can easily do this by selecting an image and adjusting its dimensions in Design Space; for instance, I made some smaller ones by reducing the length of the image to approximately 9 inches. This will give your arrangement a more natural, organic feel.
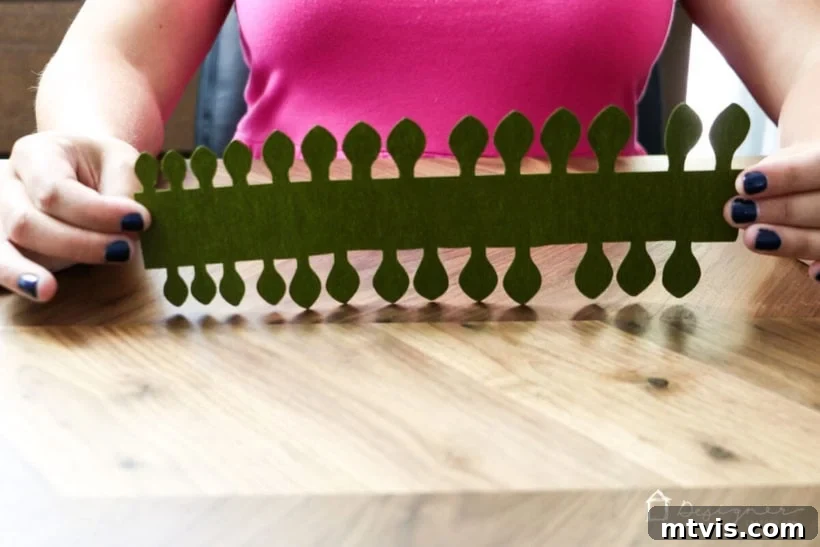
Place your chosen crepe paper onto the Cricut FabricGrip Mat. Ensure it adheres smoothly without wrinkles. Select “Crepe Paper” as your material setting in Design Space, and confirm that your Cricut Maker has the Rotary Blade installed. Begin your cut. You will be amazed at how cleanly the intricate petals are cut! Once complete, carefully peel the mat away from the crepe paper (rather than peeling the paper off the mat) to prevent tearing. This is what your cut-out succulent piece will look like – a long strip of varying petal sizes. You’ll also notice some extra, individual petals included with each cut. These are optional and can be used to fill in any sparse areas of your succulent after assembly, if you feel it needs more fullness (I didn’t find the need for them in my project, but they’re there if you want them!).
2. Fold and Pinch the Base:
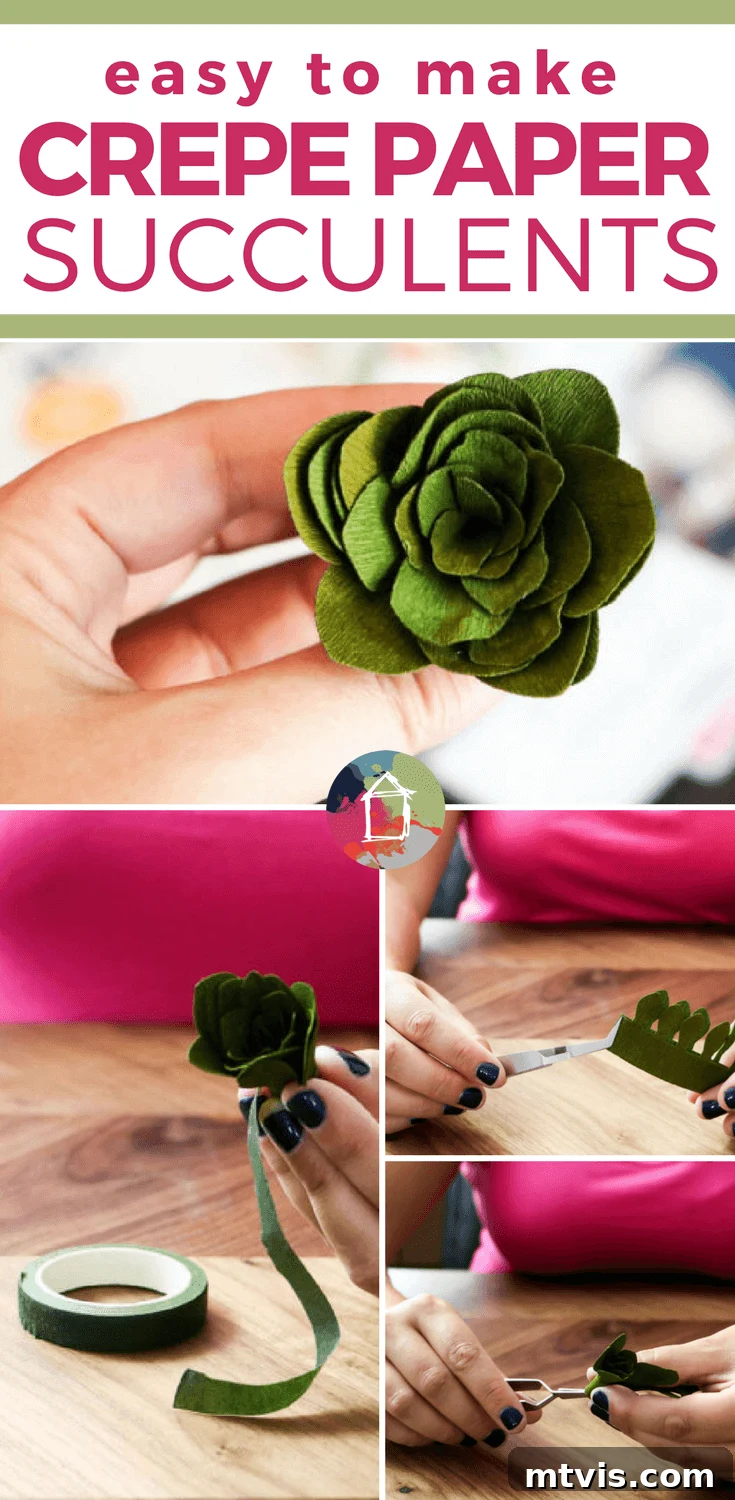
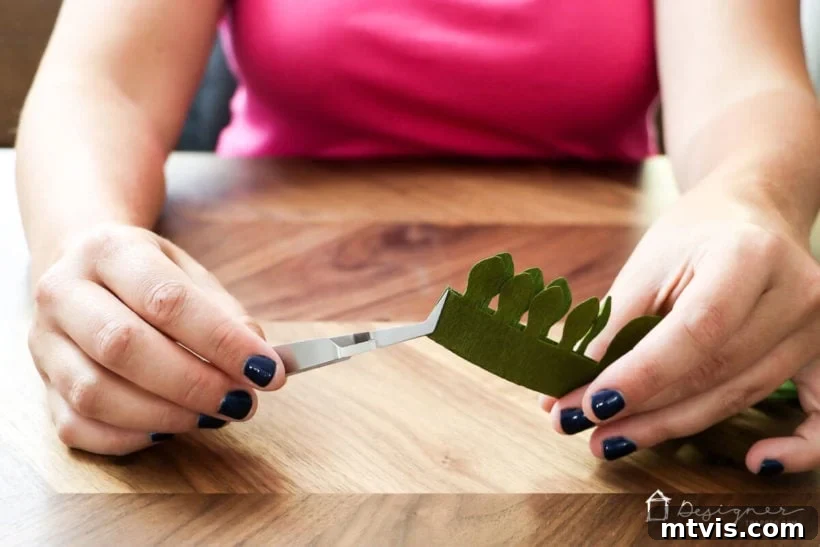
Take your freshly cut crepe paper strip and fold it in half horizontally. This creates a more robust base for rolling and ensures the succulent will have a natural thickness. Next, using your Cricut Tweezers, firmly pinch the very end of the folded strip where the smallest petals are located. This pinched end will form the tight, central core of your succulent, essential for its realistic appearance.
3. Tightly Roll Your Crepe Paper:
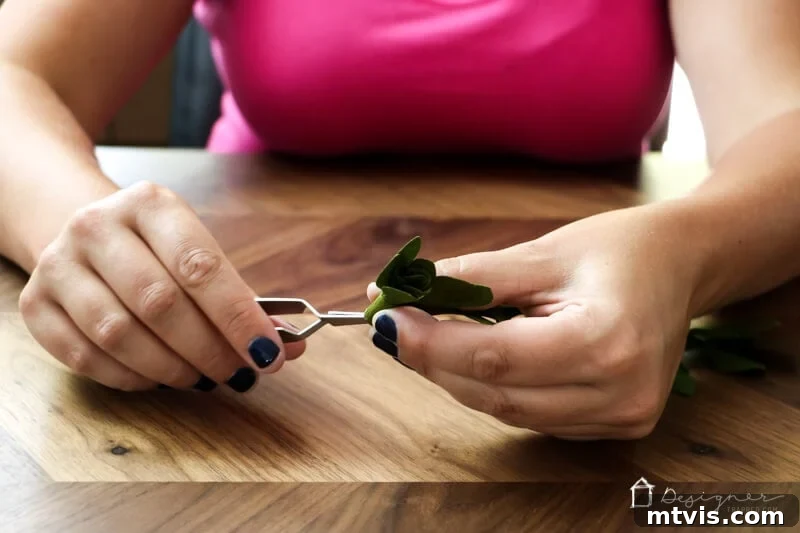
Maintaining a firm grip with your tweezers on the pinched end, begin to tightly roll the crepe paper strip around the tweezers. Work slowly and methodically, ensuring the roll is snug and even. The goal here is to create a compact, spiral core that gradually expands into the larger petals, mimicking the natural growth pattern of a succulent. The tighter you roll the initial layers, the more realistic and well-formed your succulent will appear.
4. Secure the Base with Floral Tape:
Once you’ve rolled the entire strip, gently pull out the tweezers from the center. The rolled paper will maintain its shape. To permanently secure the base and prevent it from unraveling, firmly wrap floral tape around the bottom stem of your newly formed succulent. Floral tape is ideal because it’s sticky and flexible, conforming perfectly to the shape and providing a neat finish that blends seamlessly with the paper’s green tones. You can gently shape the outer petals at this stage, fanning them out slightly for a more open, natural look if desired.
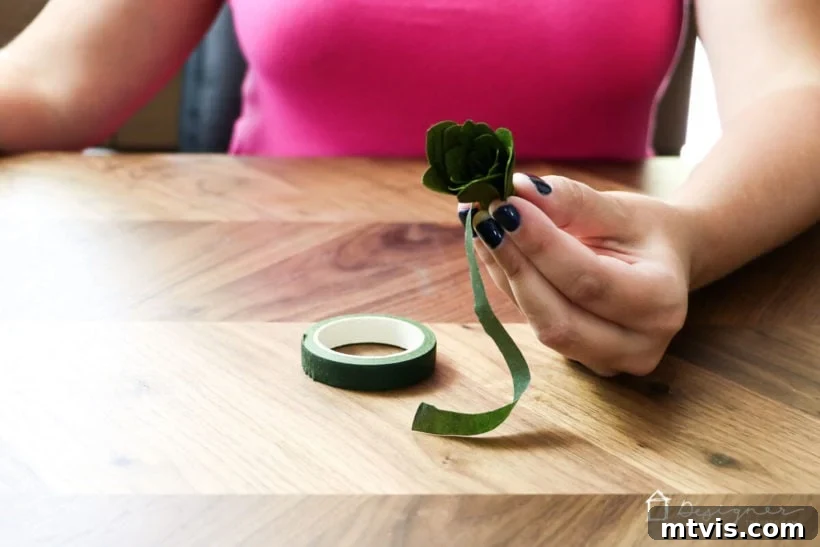
And there you have it! Witness the magic as your intricate crepe paper pieces transform into unbelievably cute and realistic succulents. The satisfaction of crafting these beauties is truly unmatched!
Showcasing Your Handcrafted Crepe Paper Succulents
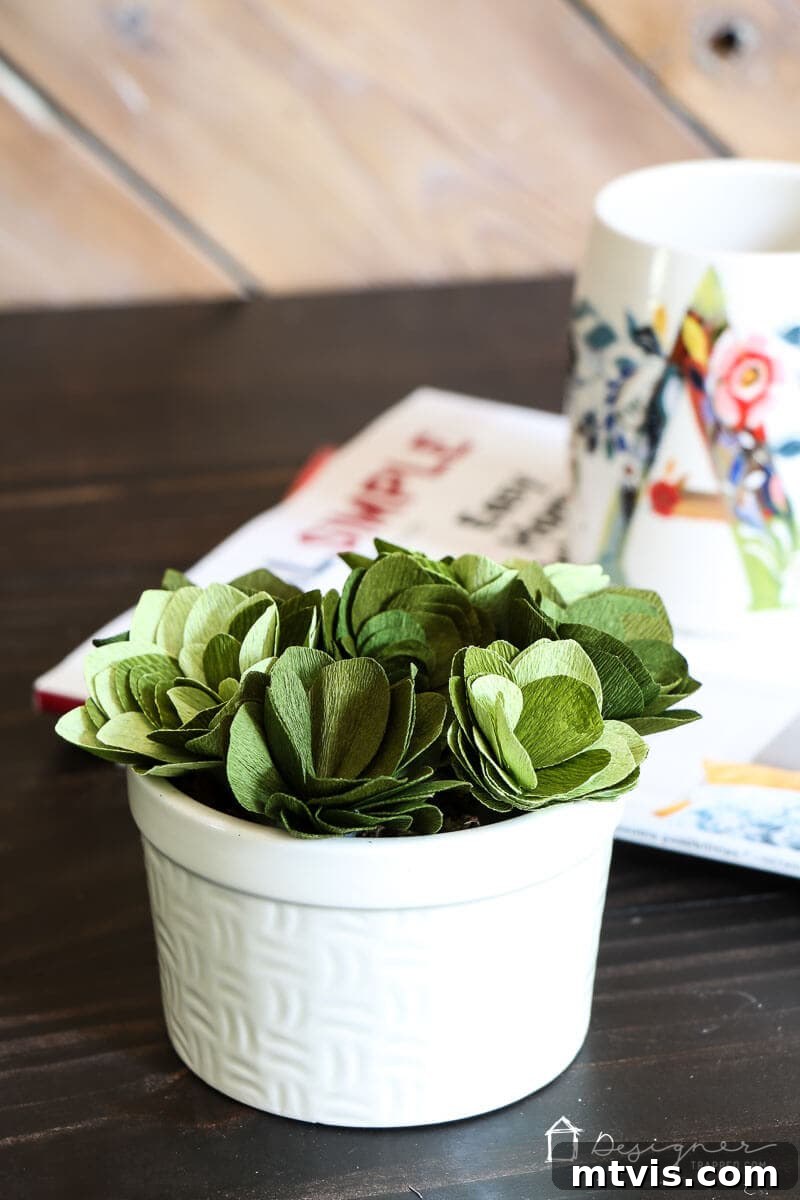
The beauty of these DIY crepe paper succulents lies not just in their creation, but also in their endless display possibilities. They add a refreshing touch of greenery to any space without the commitment of live plants. Here’s a glimpse at how charming they can look:
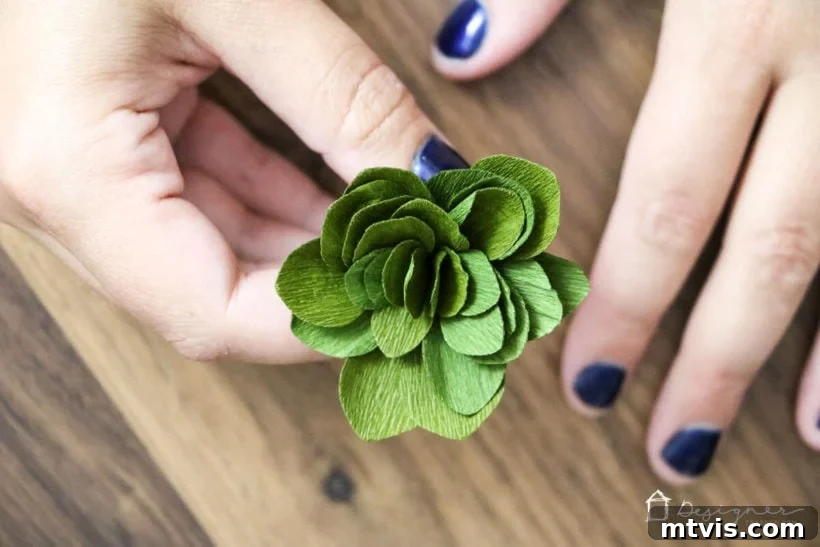
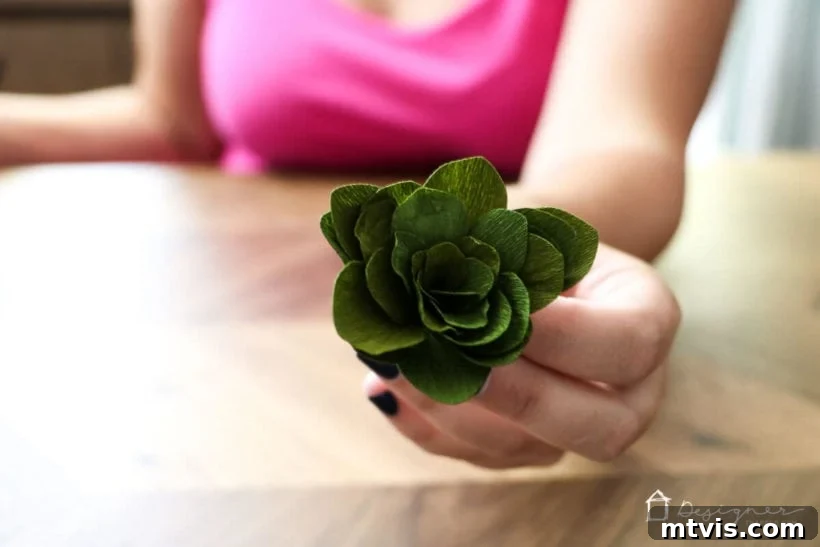
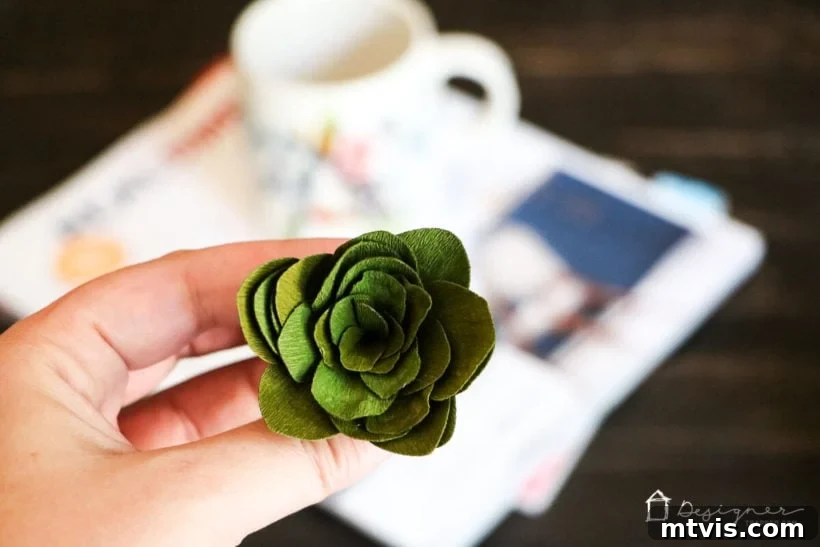
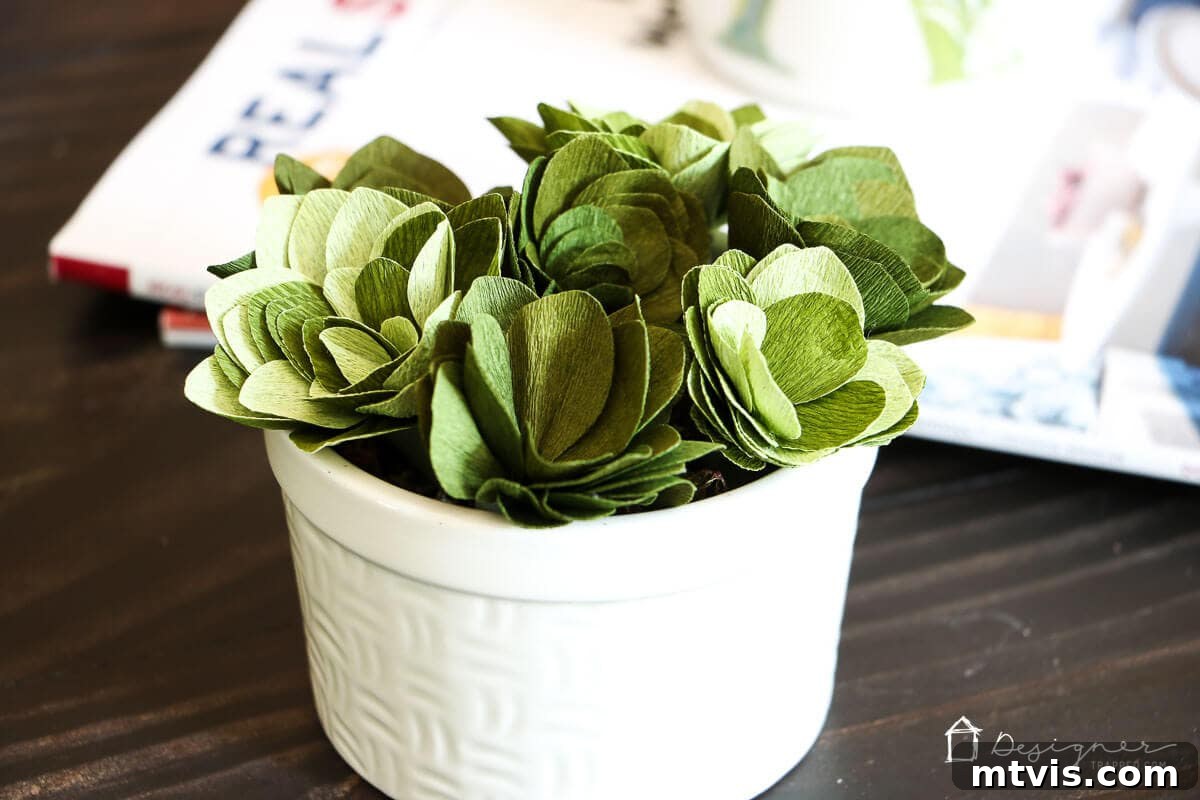
For my display, I gathered a collection of these beauties and arranged them in a sweet little ceramic ramekin I discovered at the Target Dollar Spot some time ago. The result is an absolutely adorable arrangement, perfect for adding a pop of color and rich texture to a stack of books, a mantelpiece, or a bathroom shelf. The best part? You never have to worry about watering them or ensuring they get enough sunlight. These succulents are eternally vibrant and fresh, bringing joy without the effort.
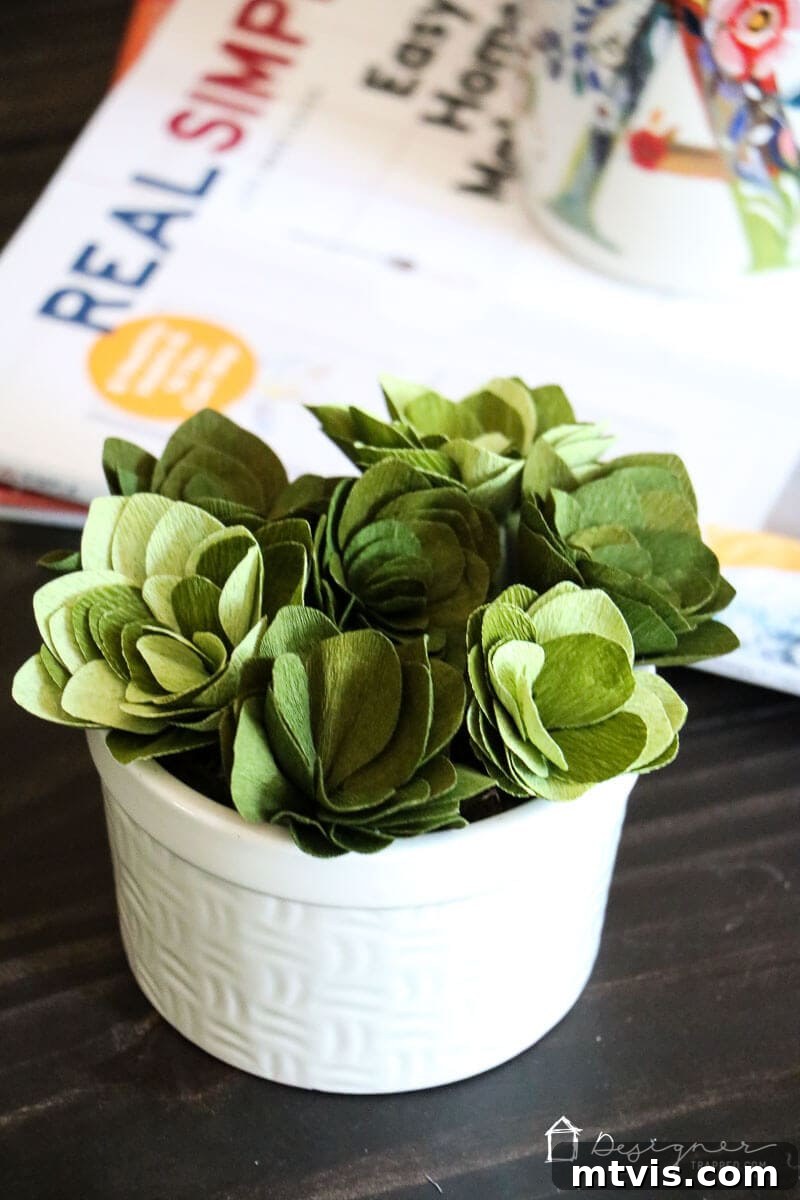
Crafting these crepe paper succulents with the Cricut Maker has been an incredibly rewarding experience. It’s truly amazing to see how effortlessly this machine handles such delicate materials, opening up a world of creative possibilities for crafters of all levels. If you’ve been on the fence about investing in a Cricut Maker, especially for fabric or paper crafts, I hope this review has convinced you of its incredible value and precision.
This comprehensive content and tutorial were made possible by Cricut’s generous sponsorship. The views and creative expressions remain authentically my own.
Explore More Cricut & Crafting Inspiration
If you’re eager to delve deeper into the world of Cricut crafting and home decor, explore these additional resources:
- Which Cricut Machine Is Right for You?
- How to Use Cricut Iron On Vinyl on Stretchy Fabrics
- Personalized Gifts With Cricut Infusible Ink
- Silhouette & Cricut Projects for Your Home and Life
- Silhouette vs. Cricut – My Unbiased Review
Curious about my unique approach to transforming rooms and spaces within our home? Discover the secrets and strategies shared in Designer in a Binder®. It’s an affordable and straightforward guide to decorating your dream home.
For exclusive content, behind-the-scenes glimpses, and the latest crafting tips delivered straight to your inbox, be sure to subscribe before you leave!