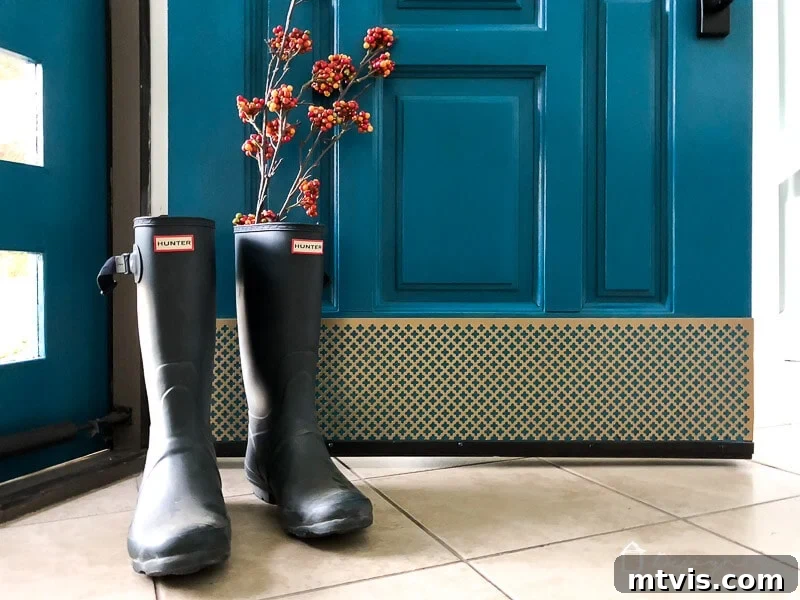
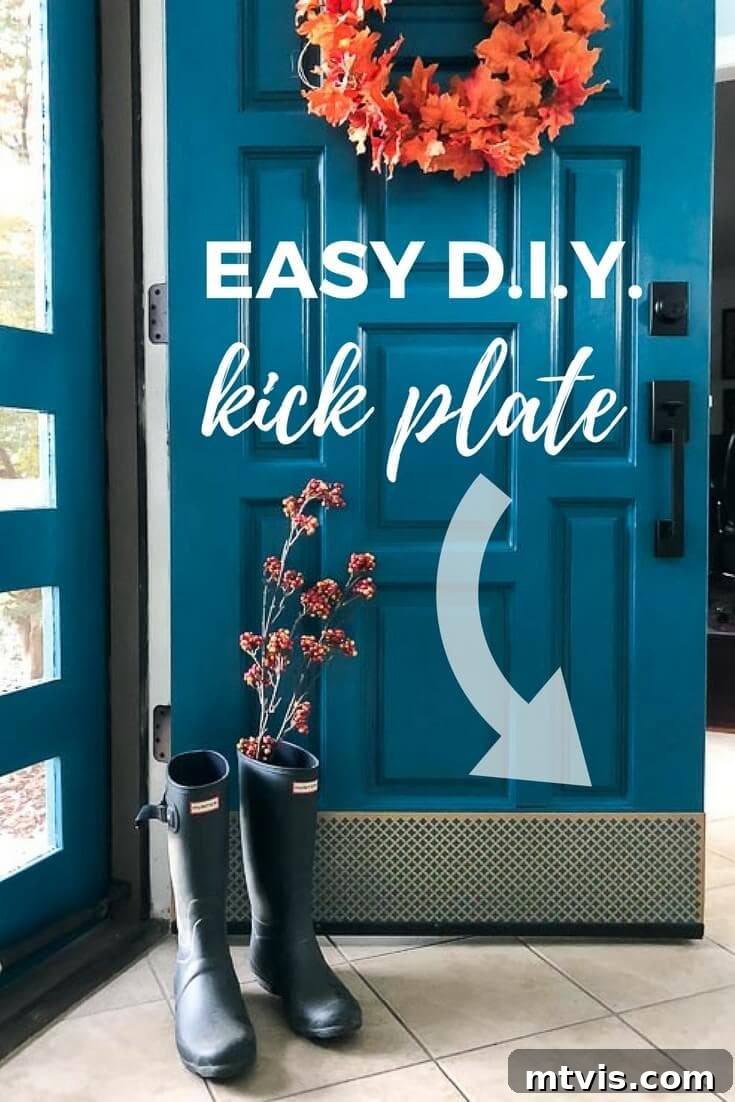
Transforming your home’s entrance often involves more than just a fresh coat of paint or new hardware. While these upgrades certainly make a statement, there’s a crucial element that’s often overlooked: the humble door kick plate. Traditionally, these protective shields were purely utilitarian, serving as a barrier against scuffs, scratches, and damage caused by everyday wear and tear – especially when you’re navigating with your hands full. However, many homeowners find standard kick plates to be a bit bland, or worse, an eyesore due to visible screws and generic designs. But what if you could have the best of both worlds? What if your door’s kick plate could be both highly functional and strikingly beautiful, seamlessly integrating with your aesthetic vision without compromising your door’s pristine appearance?
We extend our sincere gratitude to DAP Products for their sponsorship of this informative post!
Revolutionize Your Entryway: The Secret to a Stunning, Screw-Free DIY Door Kick Plate
A few months ago, we embarked on a refreshing makeover for our front door, a project that left us absolutely smitten with its vibrant new hue and modern hardware. We meticulously selected Valspar’s ‘Velvet Curtains’ for its rich, inviting shade and installed sleek, contemporary door hardware. Yet, amidst our satisfaction, one detail continued to nag at us: the absence of a suitable door kick plate. It felt like an unfinished symphony, a missing piece in our carefully curated entrance.
Our initial attempt involved purchasing a conventional kick plate from a local hardware store. We began the installation process alongside the new door hardware, only to halt in our tracks. The pre-drilled holes on the new kick plate simply didn’t align with the existing holes from our previous one. Had we proceeded, our beautiful, freshly painted door would have been marred by a bewildering constellation of approximately 50 screw holes – a thought that sent shivers down our spines. Beyond the hole alignment fiasco, we also realized that the exposed screw heads detracted significantly from the clean, elegant aesthetic we were striving for. It was a deal-breaker. Consequently, the kick plate was promptly returned, leaving our front door exposed and longing for its protective yet stylish counterpart.
This setback, however, sparked an exciting idea. Why settle for conventional when innovation could deliver a far superior, screw-free solution? I envisioned a kick plate that wouldn’t just protect our door, but would also enhance its beauty with a seamless, custom look. My husband, Joe, admittedly gave me a skeptical glance when I first proposed my ambitious plan, and to be entirely honest, I wasn’t 100% certain how my cutting endeavors would pan out. But the results, as you’ll soon discover, were nothing short of perfect! Join us as we unveil the simple steps to craft your own DIY door kick plate, a project that promises a level of sophistication and customization far beyond what any store-bought option can offer.
This post contains affiliate links for your convenience. Click here for my full disclosure policy.
Why Go DIY and Screw-Free for Your Door Kick Plate?
Choosing to create your own door kick plate, especially one that attaches without screws, comes with a multitude of benefits that extend beyond simple protection. This approach allows for unparalleled customization, aesthetic appeal, and long-term door integrity. Firstly, the elimination of visible screws provides an incredibly clean, modern, and sophisticated finish that elevates the entire look of your door. No more unsightly hardware detracting from your carefully chosen paint color or door style.
Secondly, a screw-free installation means preserving the structural integrity and appearance of your door. Drilling holes into a new or expensive door can feel counterintuitive, and this method completely bypasses that concern. It’s particularly beneficial for renters or those who frequently update their home decor, as it minimizes permanent alterations. Furthermore, the DIY route offers a vast array of material and design choices. Instead of being limited to generic, mass-produced options, you can select a decorative metal sheet that perfectly complements your home’s architectural style, existing hardware, and personal taste. From a subtle brushed finish to an ornate pattern, the possibilities for personalization are endless, ensuring your kick plate is a true reflection of your unique style.
Finally, this DIY project is surprisingly affordable. By sourcing your own materials and investing a little bit of time, you can achieve a high-end, custom look for a fraction of the cost of bespoke or specialty kick plates. It’s an empowering way to infuse personality and elegance into your home while maintaining essential door protection against scuffs, dents, and the inevitable wear from busy hands (or feet!).
How to Craft and Secure a DIY Door Kick Plate Without Screws
Embarking on this project is simpler than you might imagine, and the satisfaction of seeing your custom, screw-free kick plate installed is immense. Here’s what you’ll need to get started:
Materials Needed
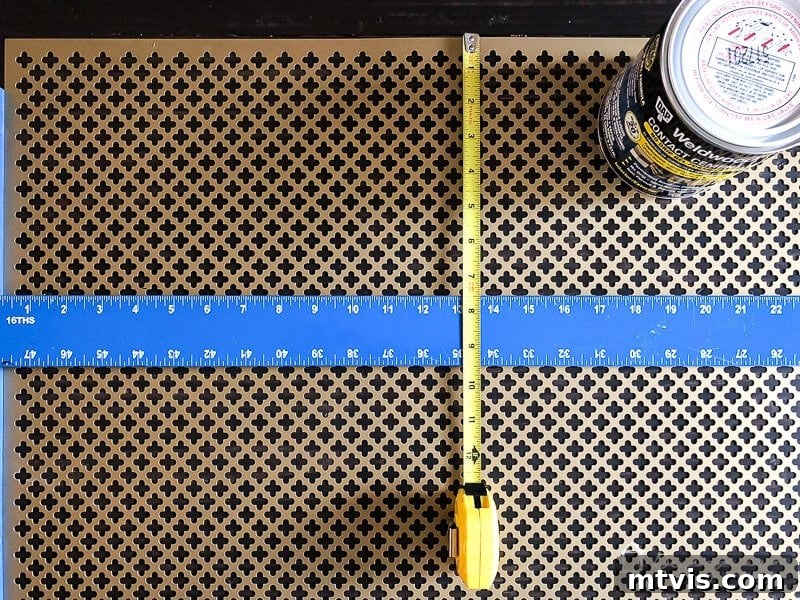
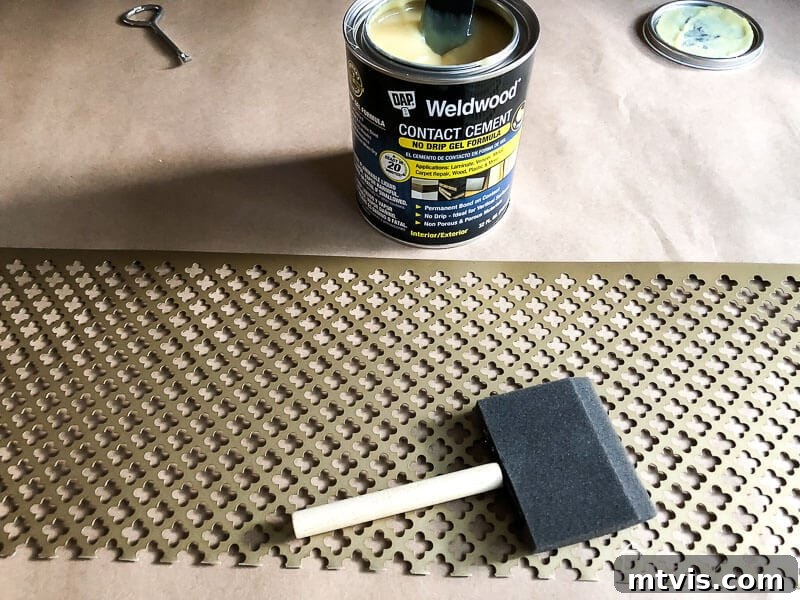
- Decorative Aluminum Sheet: Ensure it’s at least as wide as your door. For our project, we utilized this exact aluminum sheet, which serendipitously we had leftover from a previous home improvement endeavor. Choosing a decorative sheet allows for a unique pattern or texture, transforming a simple protective element into a stylish design feature.
- DAP Gel Contact Cement: This adhesive is crucial for a strong, permanent, and screw-free bond. Its gel formulation helps prevent drips and allows for a cleaner application.
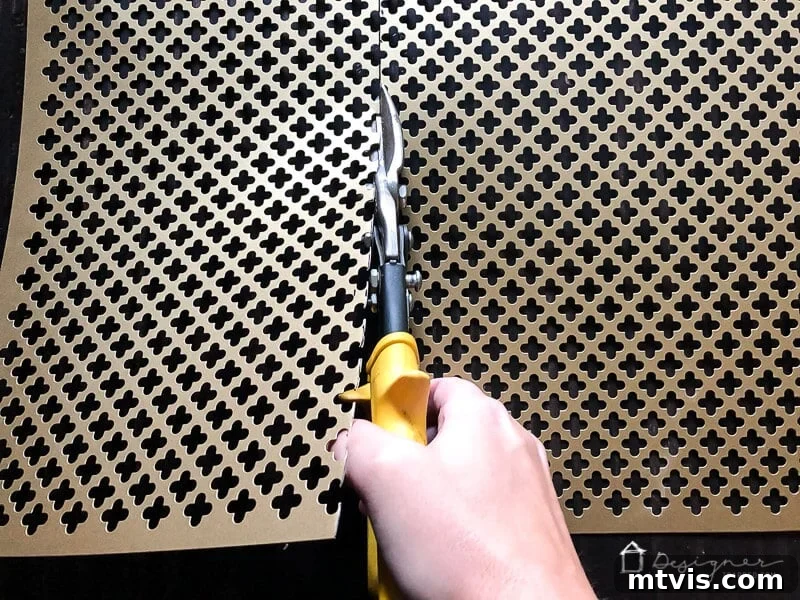
- Tin Snips (also known as metal snips): These specialized shears are essential for cleanly and accurately cutting your aluminum sheet to size. Don’t be intimidated; they make cutting metal much easier than it sounds.
- Foam Paint Brush: Ideal for applying the contact cement evenly and thinly to both surfaces.
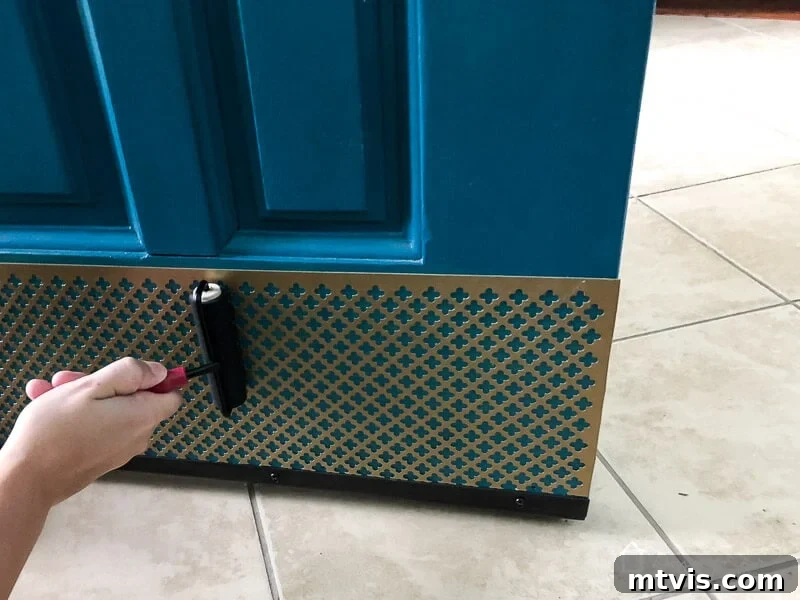
- Rigid Brayer: This tool is vital for applying firm, even pressure across the entire surface of the kick plate once it’s adhered, ensuring maximum contact and a robust bond.
Steps for Your DIY Door Kick Plate Installation
For those who prefer a visual guide, a short video overview of this project is often helpful. While the exact player isn’t here, imagine a concise tutorial showcasing these steps in action!
Time needed: 1 hour
Discover the straightforward process of creating and installing your own custom door kick plate. It’s an elegant upgrade that offers both protective functionality and captivating aesthetics!
-
Step 1: Precisely Measure and Prepare Your Door Surface.
Begin by carefully measuring the specific area on the bottom of your door where the kick plate will be installed. Standard kick plate measurements typically match the full width of the door or are slightly narrower, allowing for a 0.5 to 1-inch reveal on each side. For instance, if your door measures 36 inches wide, a kick plate between 34 and 36 inches wide would be appropriate. In terms of height, exterior door kick plates commonly range from 6 to 8 inches tall, providing ample protection. Once your measurements are finalized, thoroughly clean this designated area on your door. Any dust, grime, or residue can compromise the adhesive bond, so ensure it is impeccably clean and completely dry before proceeding to the next stage. For our 36-inch wide door, we opted for a 7.5-inch tall kick plate, which beautifully preserved the existing banding around the door’s edges. A critical tip: ALWAYS perform a dry fit with your cut material before applying any adhesive. This allows you to double-check your measurements and make any necessary adjustments for a perfect, custom fit.

-
Step 2: Mark and Cut Your Decorative Aluminum Sheet with Precision.
With your door measurements in hand, transfer these dimensions accurately onto your decorative aluminum sheet. Use a permanent marker and a straight edge to draw clear, precise cut lines. Now, armed with your tin snips (or metal shears), carefully cut along these lines. You might be surprised at how manageable cutting aluminum sheet metal is with the right tools; it’s far less daunting than it appears. Work slowly and steadily to achieve clean, straight edges. If desired, you can gently sand or file any rough edges for a smoother finish, though with careful cutting, this may not be necessary.
-
Step 3: Apply DAP Gel Contact Cement to Both Surfaces.
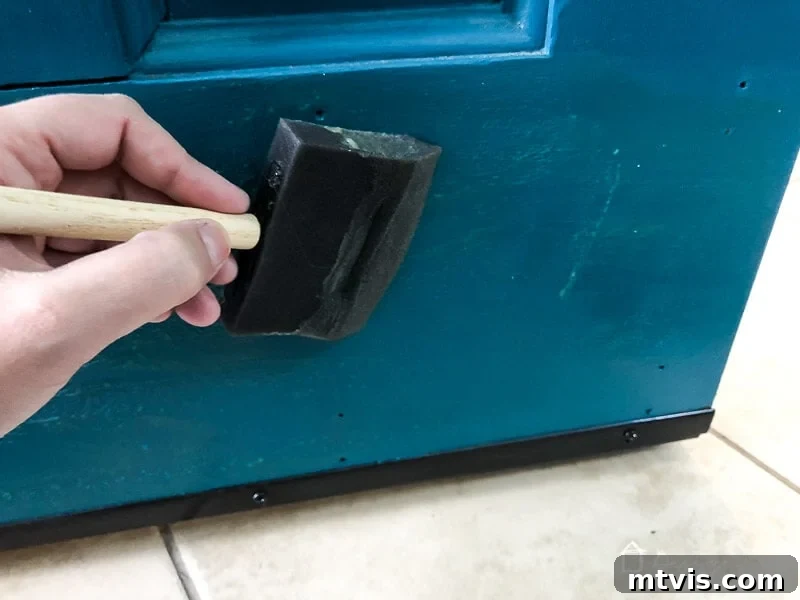
This is a crucial step for achieving a strong, lasting bond. Using a foam paint brush, apply a thin, even coat of DAP Gel Contact Cement to the entire back surface of your cut aluminum sheet. Immediately after, apply an equally thin and even coat to the corresponding area on your door. Contact cement works by bonding to itself, so ensuring both surfaces are covered is paramount. Carefully read and adhere to the instructions provided on the contact cement can, paying close attention to the recommended drying time before joining the surfaces. This ‘tack-up’ time allows the solvents to evaporate, leaving a tacky film that creates an instant, powerful bond upon contact. Also, be mindful of any temperature requirements for optimal adhesion; extreme temperatures can affect curing performance. Patience here will pay dividends in the longevity of your kick plate.
-
Step 4: Carefully Position and Attach Your Door Kick Plate.
Once both surfaces have reached the appropriate tackiness according to the contact cement instructions, it’s time for the critical attachment step. Precision is key here, as contact cement forms an immediate, permanent bond upon contact, leaving little to no room for repositioning. We highly recommend having a helper for this stage to ensure perfect alignment. Hold the aluminum kick plate perpendicular to the door, aligning its bottom edge with your desired placement marks on both corners. With your helper ensuring stability, slowly and deliberately pivot the kick plate upwards, allowing the entire sheet to make full contact with the door surface. The bond will form instantly, so ensure it is level and perfectly positioned before allowing full contact. We focused intensely on this step, which is why we don’t have photos, but trust us – two sets of hands make all the difference in achieving a flawless, permanent adhesion.
-
Step 5: Firmly Press Your Door Kick Plate into Place.
With the kick plate now adhered to the door, the final step is to ensure an incredibly strong and even bond across the entire surface. This is where your rigid brayer comes into play. Starting from the center and working your way outwards, use the brayer to apply substantial, firm pressure across every inch of the kick plate. This action helps to eliminate any trapped air bubbles and ensures maximum contact between the two adhesive-coated surfaces, strengthening the bond considerably. For even greater pressure, we had Joe stand behind the door, providing counter-pressure while I rolled the brayer with all my might. This dedicated effort guarantees that your DIY kick plate will remain firmly in place, offering durable protection for years to come.
Beyond Installation: Enjoying Your Enhanced Entryway
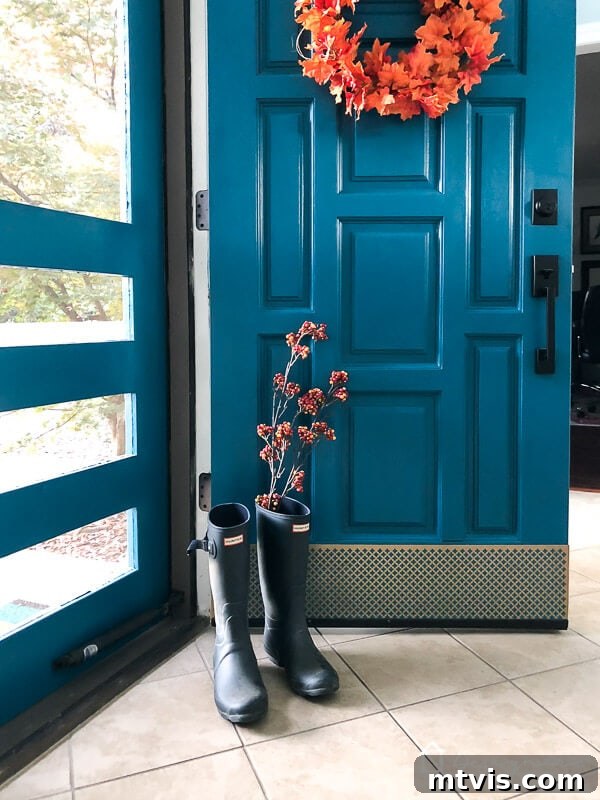
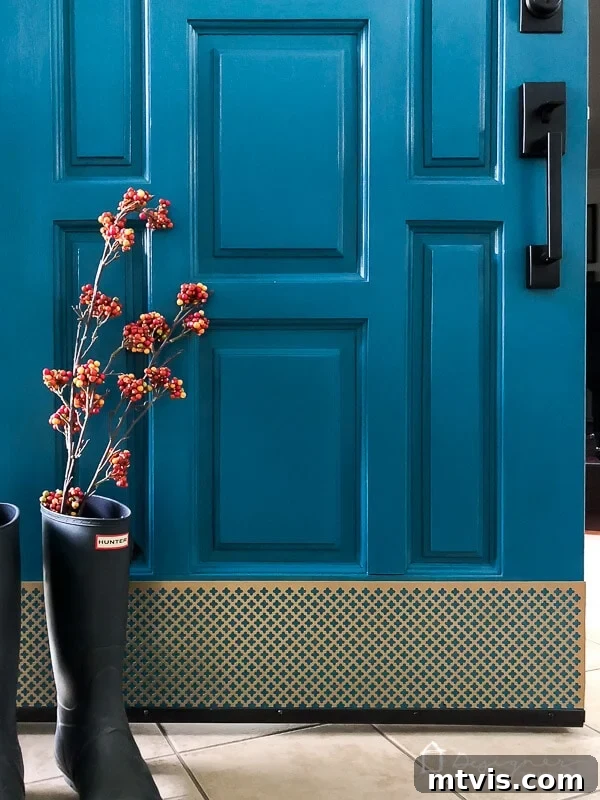
And there you have it! The transformation is complete, and we couldn’t be more ecstatic with the outcome. The seamless integration of the decorative gold kick plate on our front door adds an unexpected touch of luxury and visual interest. It perfectly complements the deep blue hue of the door, creating a sophisticated and welcoming entrance that truly reflects our personal style. This project proves that practical home improvements can also be stunning design statements, elevating everyday elements into focal points of beauty.
Maintaining Your Decorative Kick Plate
Once installed, your new decorative kick plate will require minimal maintenance. For aluminum, a simple wipe-down with a soft, damp cloth and mild soap is usually sufficient to remove dust and smudges. Avoid abrasive cleaners or harsh chemicals, as these can damage the finish. Regular cleaning will keep your kick plate looking pristine and continue to protect your door effectively.
Other posts you may enjoy:
- How to Fill Holes in Doors When You Replace Door Hardware
- DIY Door Repair That’s Easy and Fast
- An Easy (but Dramatic) Front Door Update
- How to Fix a Door That Won’t Close
Curious about my unique approach to transforming rooms and spaces throughout our home? Be sure to explore Designer in a Binder® – your ultimate guide to affordable and stylish home decoration.
For exclusive content, behind-the-scenes glimpses, and early access to our latest projects and tips, don’t forget to subscribe to our newsletter before you depart!