
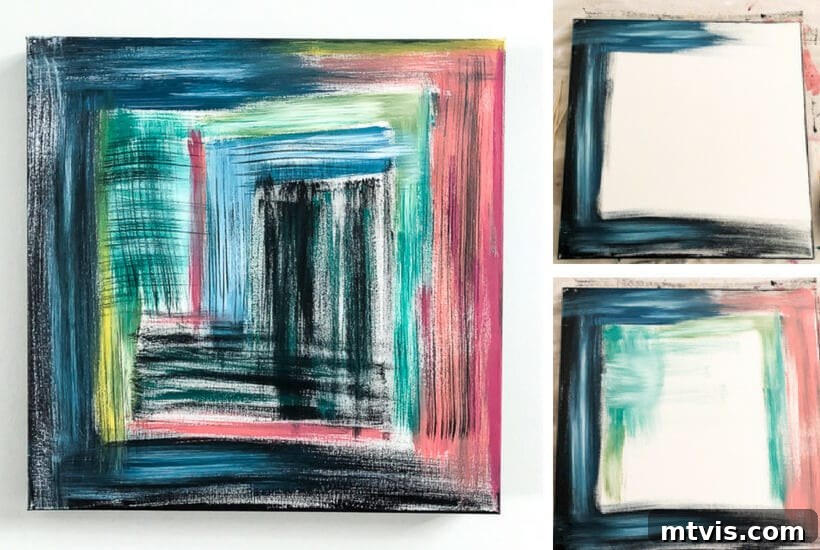
Unleash Your Inner Artist: Create Stunning DIY Abstract Canvas Art in Under 20 Minutes
No artistic skills? No problem! Follow this simple, step-by-step tutorial to craft your own beautiful DIY abstract canvas art and elevate your home decor in less than 20 minutes.
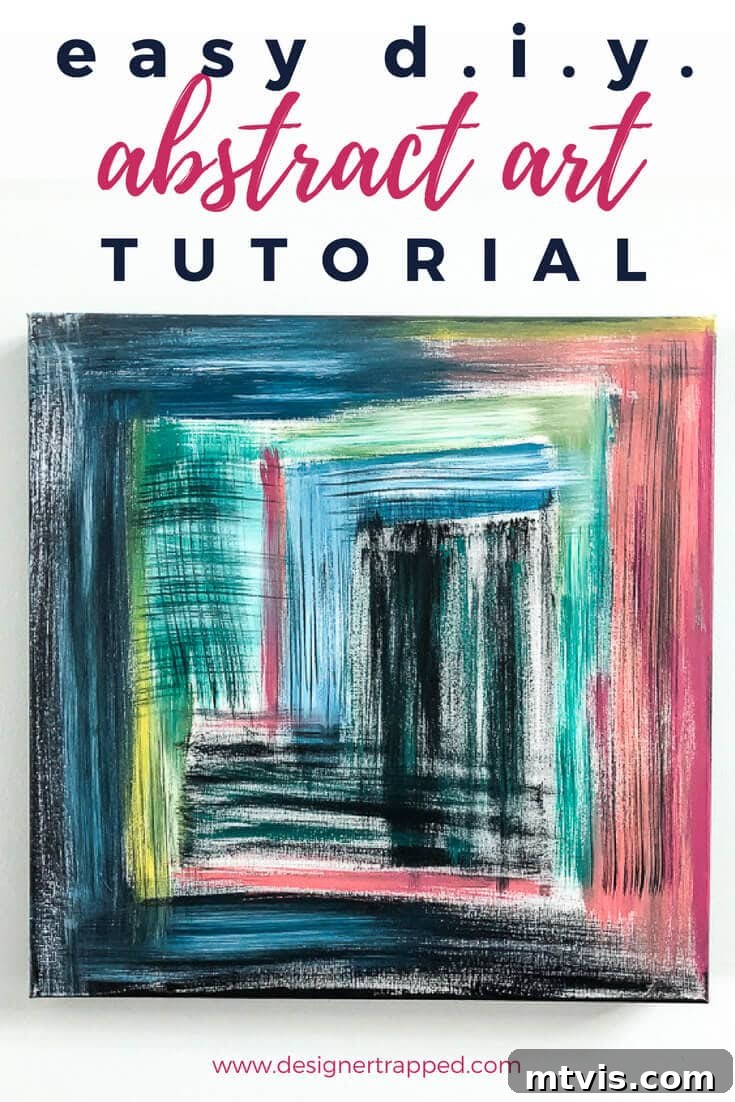
Do you frequently find yourself scrolling through Instagram, captivated by the vibrant hues and intriguing forms of abstract canvas art? You’re not alone! I, too, am a big admirer of the incredible talent displayed by many artists online. My feed is often filled with inspiring abstract paintings and colorful designs, a reflection of my personal aesthetic. Not long ago, I seriously considered investing in an original piece for our home, only to be quickly deterred by the price tags. While I firmly believe these original artworks are worth every penny, and I absolutely plan to acquire pieces from independent artists in the future, our current focus is on saving for a major kitchen renovation. Thus, splurging on high-end artwork simply isn’t feasible right now.
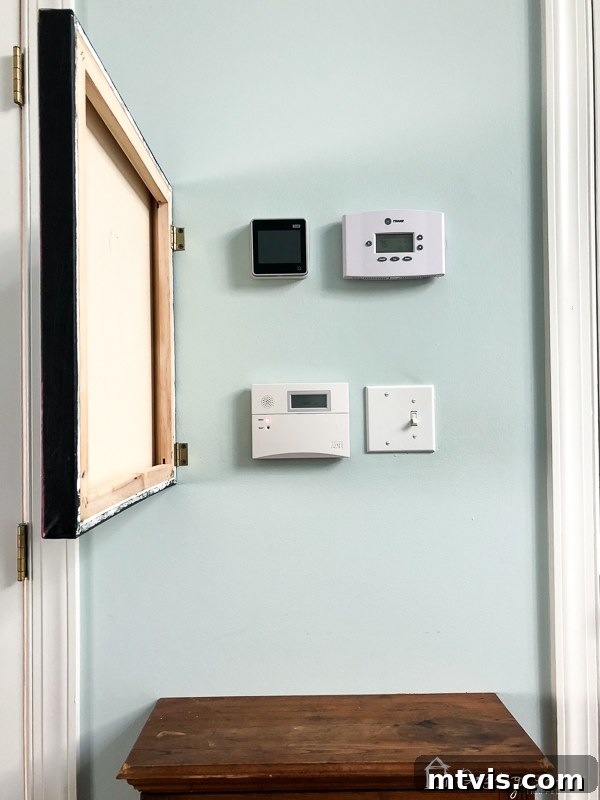
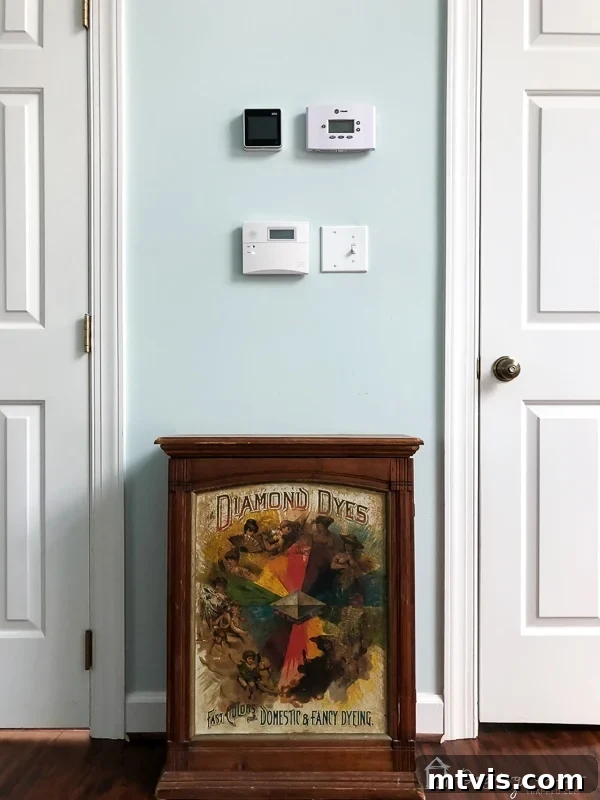
However, a particular spot in our bedroom has been a constant source of frustration. It’s the compact area nestled between our bathroom and the main entrance of our bedroom, which has become the unfortunate home for all sorts of electronic eyesores. Here, we have our alarm control panel, the skylight control unit, and our thermostat—a collection of functional but aesthetically displeasing devices. This cluster of gadgets truly detracted from the serene atmosphere we aim for in our private sanctuary.
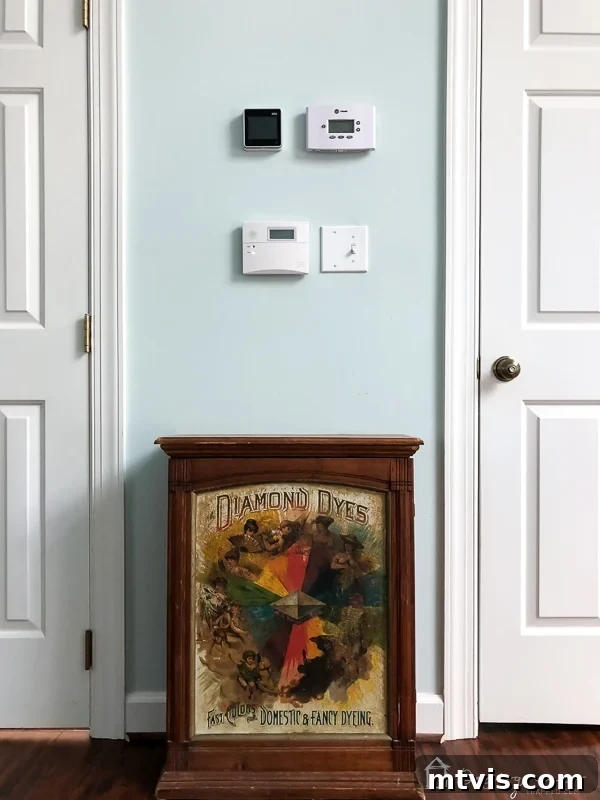
That’s when inspiration struck: why not create my own abstract canvas art and mount it on hinges to cleverly conceal these wall-mounted eyesores? Today, I’m thrilled to share exactly how I accomplished this simple yet impactful DIY project. Believe me when I say this DIY abstract painting is incredibly easy, even if you, like me, possess no formal artistic skills whatsoever. If I can achieve this, so can you! While I’m certain a professional art critic might find a “zillion things wrong” with my creation, what truly matters is that I absolutely adore the final result. That personal satisfaction is, after all, the ultimate goal of any DIY endeavor.
This post contains some affiliate links for your convenience (which means if you make a purchase after clicking a link I will earn a small commission but it won’t cost you a penny more)! Click here to read my full disclosure policy.
DIY Abstract Canvas Art Tutorial: Your Step-by-Step Guide
Embarking on a DIY abstract art project is not only a fantastic way to personalize your living space but also an incredibly rewarding experience. Abstract art, by its very nature, is forgiving and accessible, making it the perfect starting point for beginners. There’s no need to worry about precise representations or perfect symmetry; instead, you get to explore color, texture, and form in a way that’s uniquely yours. This project is designed to be quick, enjoyable, and yield stunning results, regardless of your artistic background.
Essential Materials You’ll Need:
- Acrylic Paint: Opt for a variety of colors that resonate with your home’s aesthetic. While you can always mix paints to fine-tune shades, starting with colors already close to your desired palette will make the process much smoother and more enjoyable. Acrylics are ideal for their quick drying time and vibrant pigmentation.
- A Canvas: Choose a size that perfectly fits your designated space. For hiding protruding wall fixtures like alarm pads or thermostats, a thicker canvas (mine was 1.5 inches deep, 20×10 inches) is essential to ensure full coverage and clearance. If your goal isn’t to conceal anything, a thinner canvas will work just as well. Consider the dimensions of your wall space and what kind of visual impact you want to make.
- Paint Brushes: A selection of sizes will give you more flexibility. I found these inexpensive paint brushes to be perfectly adequate for achieving various strokes and textures. Having brushes ranging from 1 inch to 3 inches allows for both broad sweeps and finer details.
- Paper Plates and Toothpicks: These humble items are indispensable for mixing your paint colors without making a mess. Paper plates offer a disposable palette, and toothpicks are excellent for small adjustments to color mixes.
- Small Hinges: If you plan to mount your artwork to hide wall fixtures, selecting appropriate small hinges that can support the weight of your canvas is crucial.
- Drill (optional but recommended): For creating small holes in the canvas if hiding a thermostat, ensuring proper air circulation and temperature readings.
The Painting Process: Bringing Your Vision to Life
Creating abstract art is about embracing spontaneity and allowing your intuition to guide your brushstrokes. Don’t overthink it; let the colors and textures evolve organically. Here’s how I approached my piece:
Step 1: Preparing the Foundation – The Edges
I began by mixing a rich royal blue with a touch of black to achieve a deep, sophisticated navy blue. This color would serve as a key anchor in my palette. The first crucial step was to paint the edges of my canvas with this navy hue. Painting the edges provides a polished, finished look, making the artwork appear complete from all angles, not just the front. This simple detail elevates the entire piece.
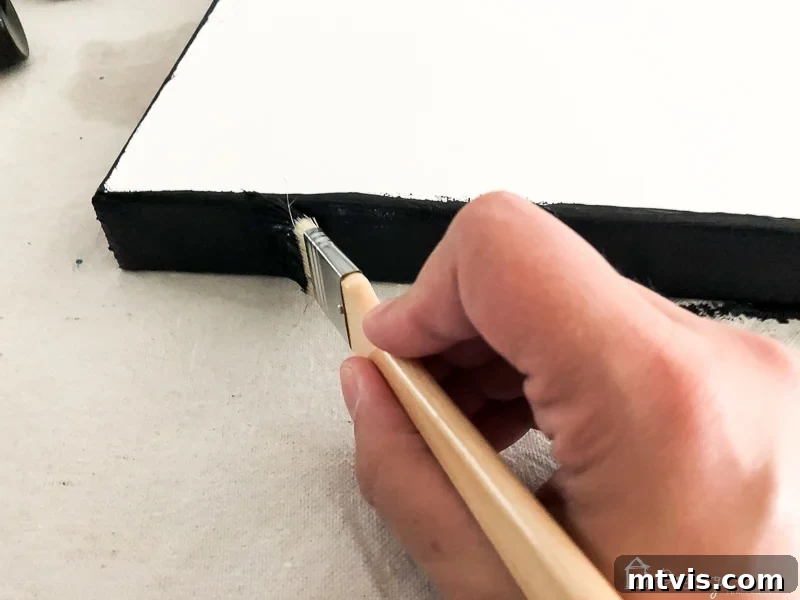
Step 2: Embracing the Abstract – Building Layers and Texture
With the edges painted, I moved to the main surface. Using a 3-inch brush, I applied the same navy paint along two sides of the canvas. This established navy as a dominant color, and its dark tone meant I could easily layer lighter shades over it later. From this point on, I really didn’t have a rigid plan – and that’s the beauty of abstract art! My goal was to create a cohesive look that complemented a print hanging above our bed, so I mixed various colors to align with that existing palette.
I experimented with straight brush strokes and right angles, varying the brush sizes (using 3-inch, 2-inch, and 1-inch brushes) to create different visual effects. A key technique I employed was using a relatively dry brush. This allowed the natural white of the canvas to peek through in places, adding depth and lightness rather than a completely opaque finish. If I ever applied too much paint in one area, a small squirt of white paint worked wonders to lighten it and blend it back into the overall composition. Don’t be afraid to add a little white to your brush and blend directly on the canvas to achieve subtle transitions or lighten a heavy patch.
You can observe the progression of the painting below:
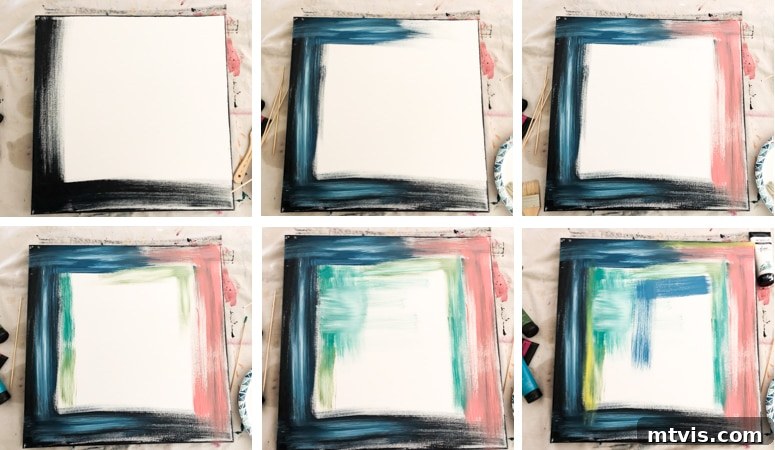
After carefully filling the entire canvas with my chosen colors and strokes, I allowed the piece to dry completely. Patience during this stage is important to ensure layers don’t bleed and colors set properly.
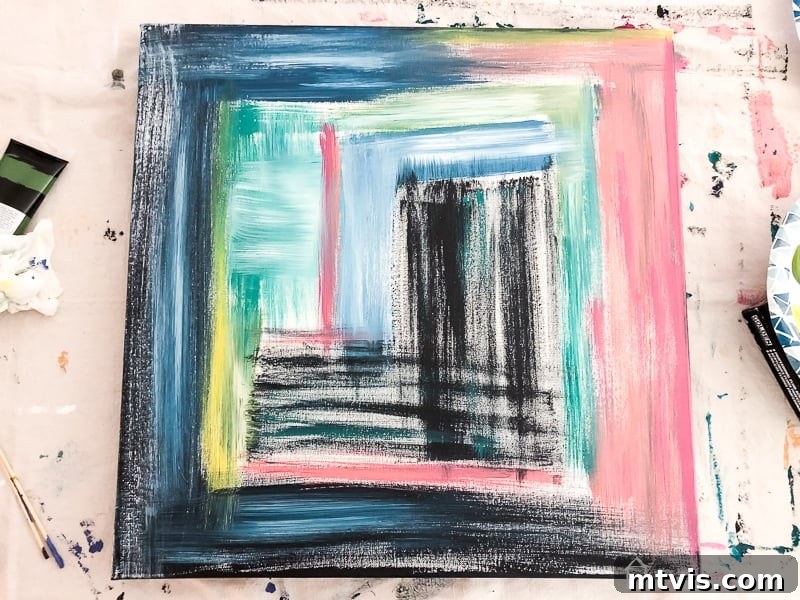
Step 3: Adding Depth and Character – The Final Touches
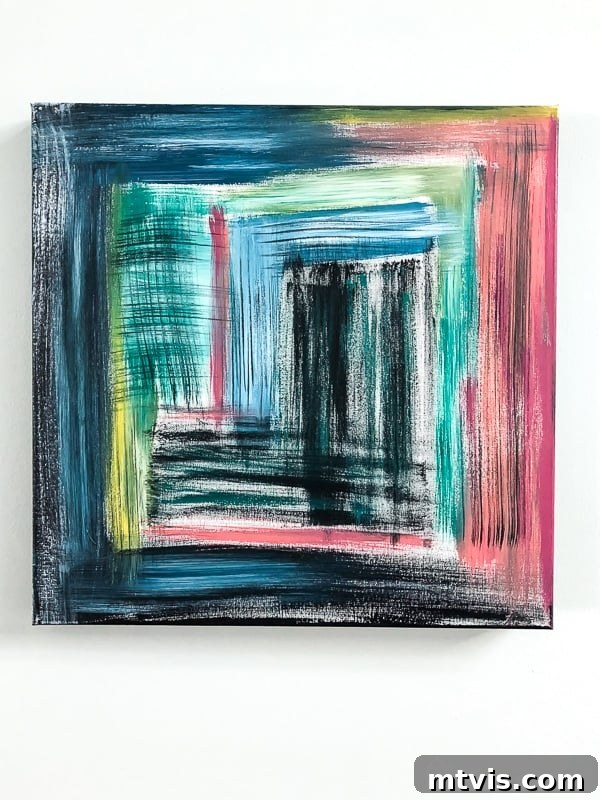
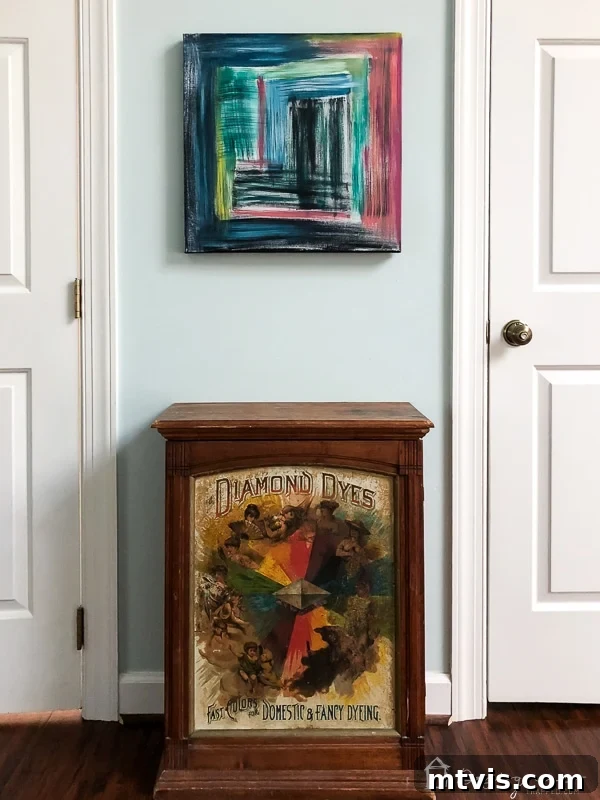
Once the paint was thoroughly dry, I revisited certain sections that felt a bit too stark or “clean.” Using a very dry brush with a small amount of navy paint, I lightly applied strokes to create subtle “cross-hatch” marks and delicate dry brush textures. This technique adds an incredible layer of depth and visual interest, making the painting feel more dynamic and less flat. These subtle additions can truly bring an abstract piece to life. And this is the final result:
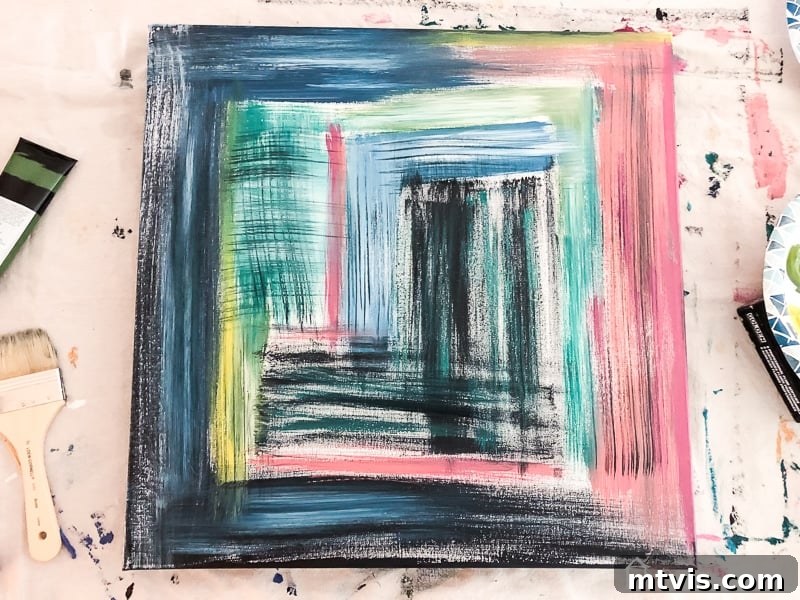
As I mentioned, I’m confident my DIY abstract painting won’t be winning any art awards, but its true triumph lies in how much I love it and how perfectly its custom-mixed colors complement our master bedroom’s color palette. The satisfaction of creating something that perfectly matches your decor is unparalleled.
The Installation: Hiding Those Eyesores with Style
Step 4: The Clever Mount – Attaching Your Art with Hinges
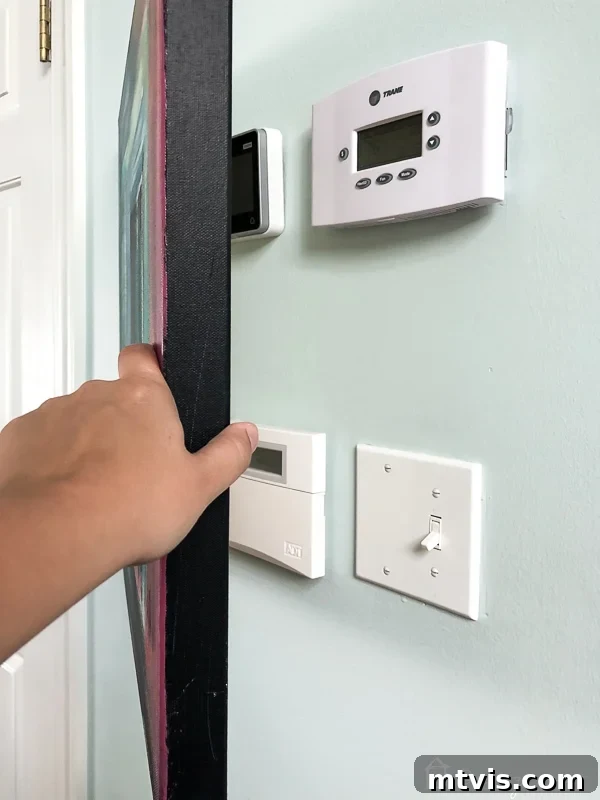
Once my artwork was completely dry, the final, functional step was to attach it to the wall using small hinges. This ingenious method allows the canvas to swing open, providing easy access to the devices behind it whenever needed. It’s a seamless integration of art and utility. To install, mark the hinge placement on both the canvas frame and the wall. Pre-drill small pilot holes to prevent wood splitting, then secure the hinges with screws, ensuring the canvas is level once mounted. Always test the swing mechanism to confirm smooth operation.
**IMPORTANT NOTE FOR THERMOSTAT COVERAGE:** If your canvas is hiding a thermostat, I highly recommend drilling a few small, discreet holes along the top edge and perhaps along the profile of the canvas. This allows for better airflow to the thermostat’s sensors, ensuring it can accurately read the room temperature. Neglecting this step could result in inaccurate temperature readings and inefficient heating/cooling.
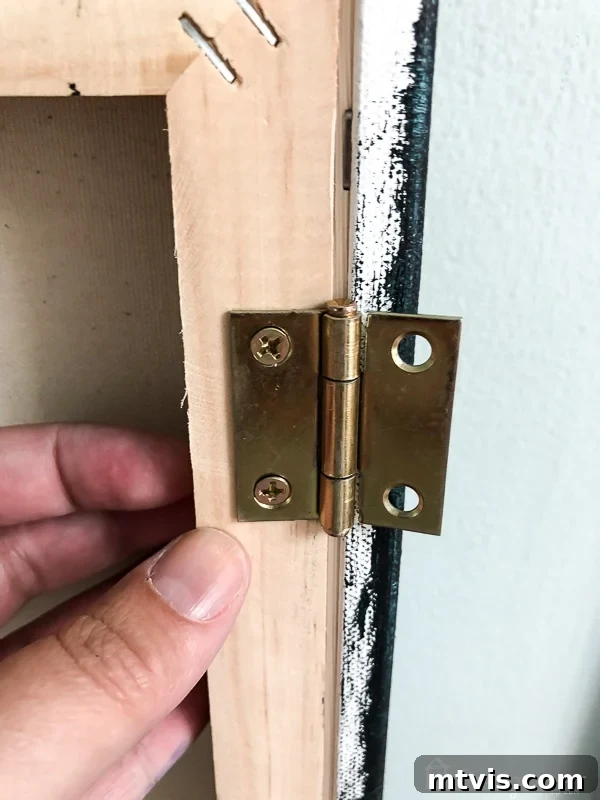
Now, we have a beautiful, personalized abstract canvas gracing our bedroom, and those unsightly electronic devices are cleverly concealed. It’s a double win: enhanced aesthetics and practical functionality. When we need to arm the alarm, open our skylights, or adjust the thermostat, a simple swing of the artwork provides instant access. This solution not only tidied up our wall but also added a unique, handcrafted element to our master bedroom decor.
A significant improvement, wouldn’t you agree? This project proves that you don’t need years of art school or a hefty budget to create truly impactful and beautiful pieces for your home. With a little imagination and some basic supplies, you can transform ordinary frustrations into opportunities for creative expression.
 |
 |
Before you go, make sure to grab my free guide on how to design a room you love. It’s packed with tips and tricks to help you create spaces that truly reflect your style and personality.
