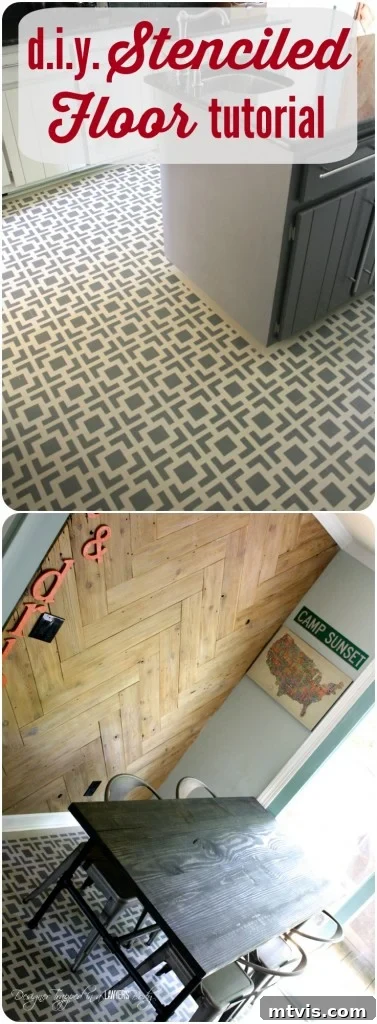
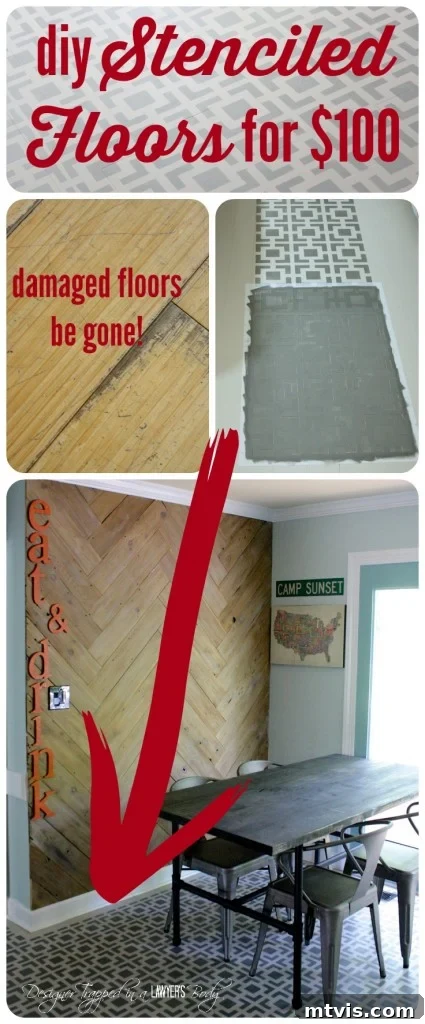
Hello, creative friends and DIY enthusiasts! Today, I’m thrilled to finally share a comprehensive, step-by-step tutorial for transforming your floors with the magic of stenciling. If you’ve been following my journey for a while, you’ll know that I took on the ambitious task of painting and stenciling the heavily damaged bamboo floors in my kitchen. This project, without a doubt, remains one of my all-time favorites. It proved to be surprisingly easy to execute, though it certainly required a good amount of time and patience.
I’ve always admired the charm of painted wood floors, and for us, a full refinishing of our bamboo floors simply wasn’t in the budget. Plus, to be completely honest, bamboo flooring isn’t our preferred aesthetic, so investing heavily in restoring its original look didn’t make sense. Stenciling offered the perfect solution: a cost-effective, stylish, and highly personalized way to breathe new life into an otherwise worn-out space. This technique is especially fantastic for floors that have seen better days but are structurally sound, providing a custom designer look without the hefty price tag of new flooring or professional refinishing. It’s an incredible way to dramatically upgrade your home’s appearance on a budget, making a significant impact with just paint and a stencil.
This post contains some affiliate links. Click here to read my full disclosure policy.
DIY Stenciled Floors: A Complete Transformation Guide
Are your floors looking tired, scratched, or just plain uninspiring? Don’t despair! A DIY stenciled floor project can be the ultimate solution, offering a stunning visual upgrade that looks incredibly professional while being surprisingly affordable. This detailed guide will walk you through every step, ensuring you achieve beautiful, durable, and stylish stenciled floors that will be the envy of your guests.
Materials You’ll Need for Your Stenciled Floor Project:
To embark on this rewarding floor transformation, gather the following essential materials. Using quality products specifically designed for floors will ensure longevity and a beautiful finish.
- Trisodium Phosphate (TSP) Cleaner: This heavy-duty cleaner is crucial for thoroughly degreasing and cleaning your floors, creating the perfect adhesion surface for paint.
- High-Quality Paint Brush: Essential for “cutting in” around baseboards and in tight corners where a roller can’t reach.
- Porch and Floor Paint (Two Colors): This is non-negotiable! You MUST use paint specifically formulated for porches and floors due to its superior durability and resistance to foot traffic and wear. We successfully used Valspar Porch and Floor Latex Paint, tinted to our chosen shades at Lowe’s Home Improvement. Our stunning combination was “Ocean Storm” (base color) and “Weathered Oak” (stencil color) by Valspar, both in a satin finish for a subtle sheen and easy cleaning.
- Latex Primer: A high-quality primer ensures maximum paint adhesion, hides imperfections, and creates a uniform surface for your base coat, preventing paint absorption issues, especially on damaged or porous floors.
- Large Paint Roller Frame, Roller Cover, and Extension Rod: For efficient and even application of primer and the base paint color over large floor areas.
- Small Paint Roller Frame and Dense Foam Roller: Your secret weapon for stenciling! The dense foam roller minimizes paint bleed under the stencil.
- Paint Trays (One Large, One Small): A large tray for your base coat and primer, and a smaller one for your stencil paint.
- Chosen Stencil: Select a design that complements your personal style and home decor. The possibilities are endless!
- Paper Towels: Absolutely essential for offloading excess paint from your stencil roller, crucial for clean lines.
- Cardboard: Used as a surface to roll off excess paint from your stencil roller.
- An Abundance of Patience: This project is a labor of love, and patience will be your most valuable tool for achieving professional results.
Detailed Steps to Achieve Your Dream Stenciled Floors:
Follow these steps meticulously to ensure a durable and visually stunning transformation of your damaged floors.
1) Prepare the Surface Meticulously:
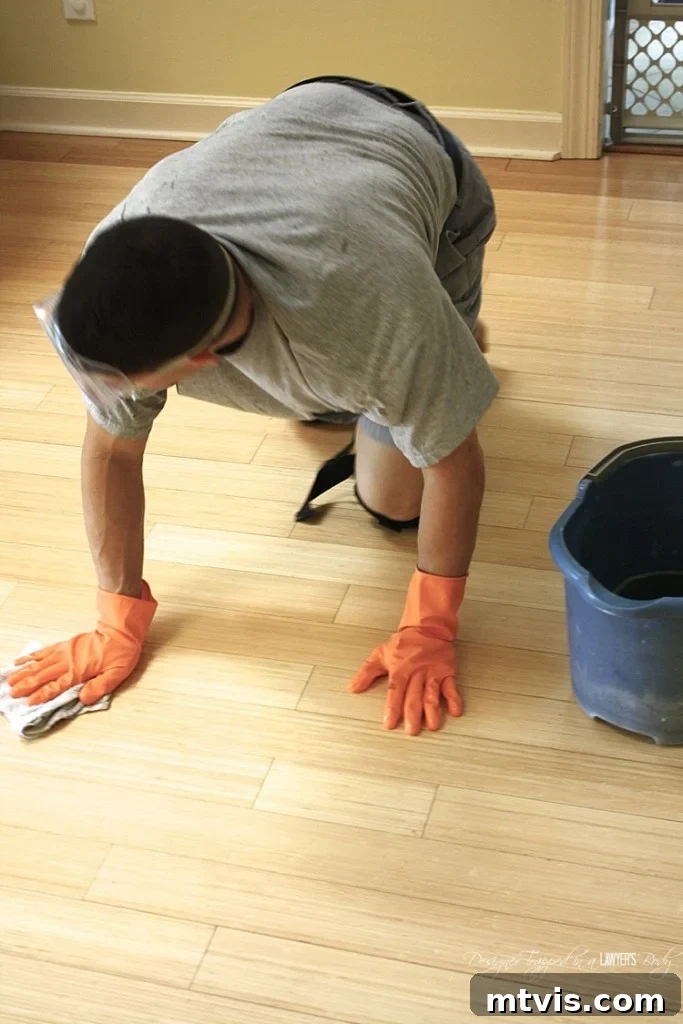
I cannot overemphasize the critical importance of this initial step. Proper surface preparation is the foundation of a long-lasting, beautiful finish. Any dirt, grease, or grime left on the floor will compromise paint adhesion, leading to peeling or cracking down the line. We used Trisodium Phosphate (TSP), mixing it strictly according to the manufacturer’s instructions. This powerful cleaner cuts through grease and heavy soil like no other. We literally got down on our hands and knees, scrubbing every inch of the floor thoroughly, and then meticulously hand-dried it to ensure no residue remained. Rushing this stage is the quickest way to jeopardize the entire project, so dedicate ample time here and do it right. Your future self (and your floors) will thank you.
2) Prime the Entire Floor Evenly:
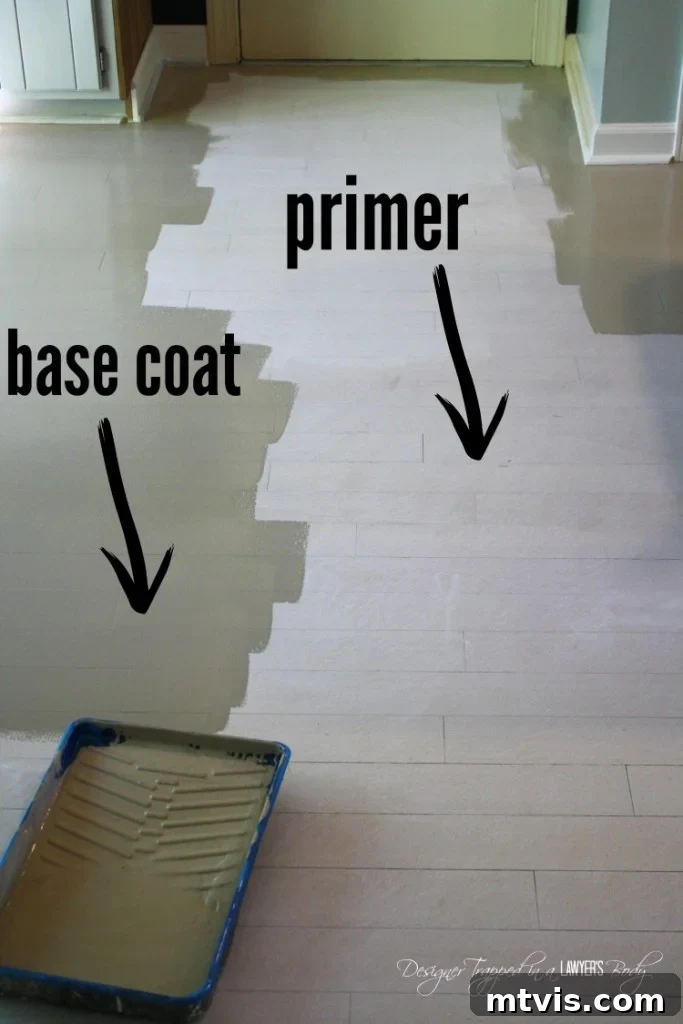
Once your floor is spotlessly clean and dry, it’s time for priming. Using your large paint roller with an extension rod, apply a uniform coat of latex primer across the entire floor. The extension rod will save your back and help achieve an even application. Remember to use a separate paint brush to carefully “cut in” along the baseboards and into any tight corners where the roller cannot reach, ensuring full coverage right to the edges. Primer creates an ideal surface for your base paint to adhere to, seals the existing floor, and helps achieve a consistent final color. We allowed the primer to dry completely overnight, ensuring it was fully cured before moving to the next stage.
3) Apply Your Base Paint Color:
With the primer dry, it’s time to apply your chosen base color. Again, using your large paint roller and extension rod, paint the entire floor with your primary paint color. Aim for smooth, even strokes, working in sections to maintain a wet edge and avoid lap marks. Depending on your chosen colors and the coverage of your paint, you may need to apply a second coat for optimal opacity and color depth. Always allow the first coat to dry thoroughly according to the manufacturer’s instructions before applying the second. For best results and maximum durability, we allowed our base coat to dry completely overnight before proceeding.
4) Define Your Perimeter with Painter’s Tape (Optional but Recommended):
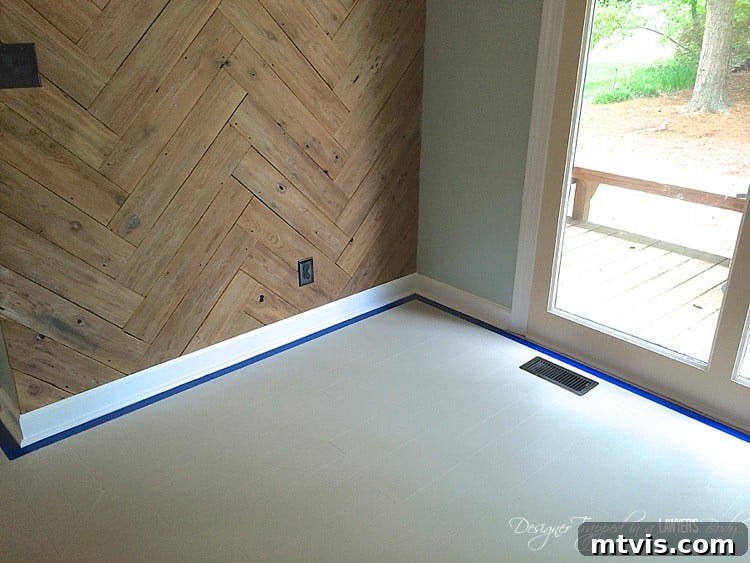
Before stenciling, we opted to tape off the perimeter of our room using 1-inch painter’s tape. This created a clean, subtle border around the stenciled area, adding a polished, framed look to the design. This is entirely a personal aesthetic choice; you can certainly choose to extend your stencil pattern all the way up to your baseboards if that’s your preference. The tape provides a crisp dividing line and helps manage any minor imperfections at the very edge of the room where stenciling can be tricky.
5) The Art of Stenciling Your Floor:
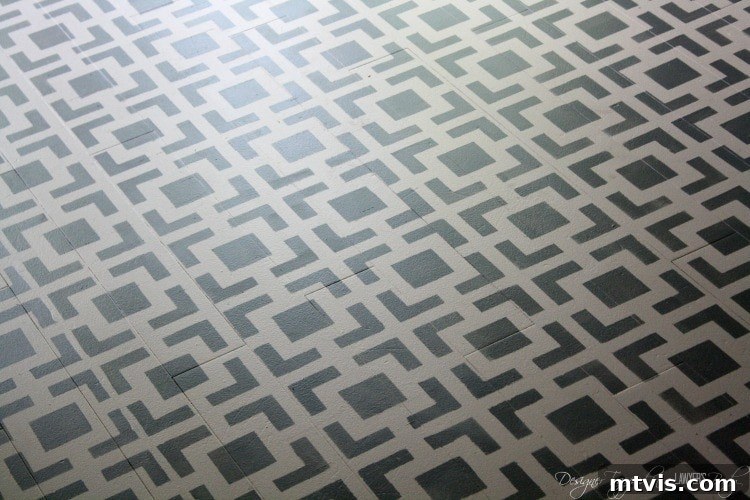
Now for the most exciting, yet most time-consuming, part of the process: stenciling! Let me be upfront – it demands patience, but it is far from difficult. It’s a meditative process, so I highly recommend putting on your favorite audiobook or podcast to accompany you. I personally used the Hollywood Squares stencil by Royal Design Studio, drawn to its modern and contemporary appeal. However, the beauty of stenciling is the endless variety; choose a stencil pattern that truly reflects your personal style, whether it’s traditional, geometric, floral, or abstract!
To begin, gather your stenciling supplies: your small paint roller with a dense foam cover, a stack of paper towels, and a piece of cardboard (an old box works perfectly – don’t worry about being fancy!). Pour a small amount of your secondary paint color into your small paint tray. The key to successful stenciling is to work with an almost totally dry roller. This technique is paramount for preventing paint bleed under the stencil, which can ruin crisp lines. Each time you load your roller with paint, make sure to vigorously roll it over your cardboard and then several layers of paper towels until very little paint transfers. You want just enough paint to cover the stencil, not saturate it.
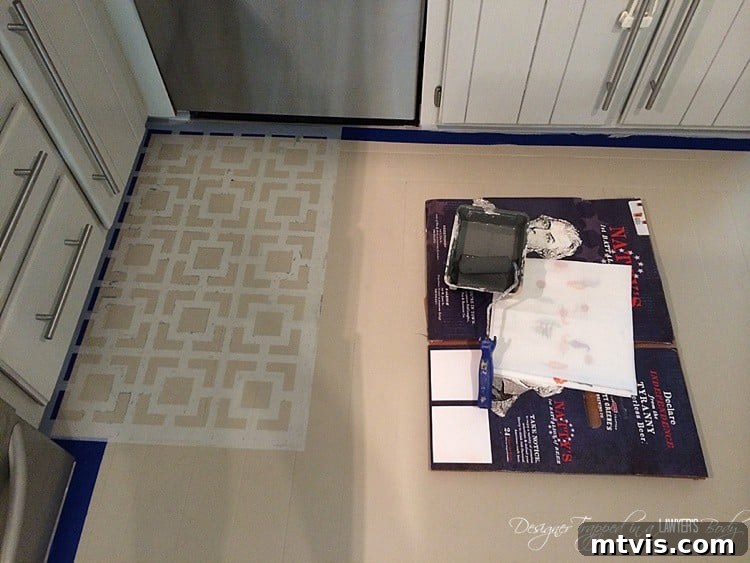
Because you’re working with a minimal amount of paint, you’ll need to make two light passes over the stencil each time you position it. After the first pass, the coverage will appear somewhat sparse, but this is normal. The second pass will build up the color to the desired opacity and ensure a solid, even design. Work slowly and deliberately, applying light to moderate pressure.
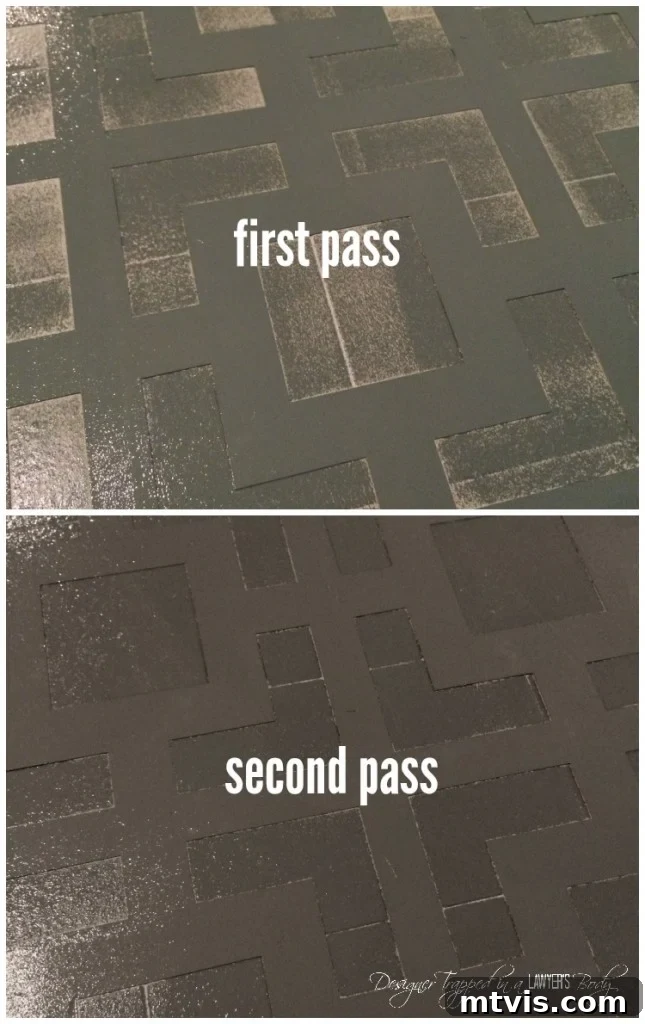
Once you have achieved satisfactory coverage, carefully lift the stencil straight up to avoid smudging, and reposition it to the next spot. Most stencils come with registration marks to help with alignment, ensuring a continuous and seamless pattern. However, if, like me, you find the registration marks obscured by paint over time, you can also align the stencil by carefully matching up the existing pattern. Take your time to get the alignment perfect; small misalignments can become more noticeable over a large area. Repeat this process methodically across your entire floor until every area is covered.
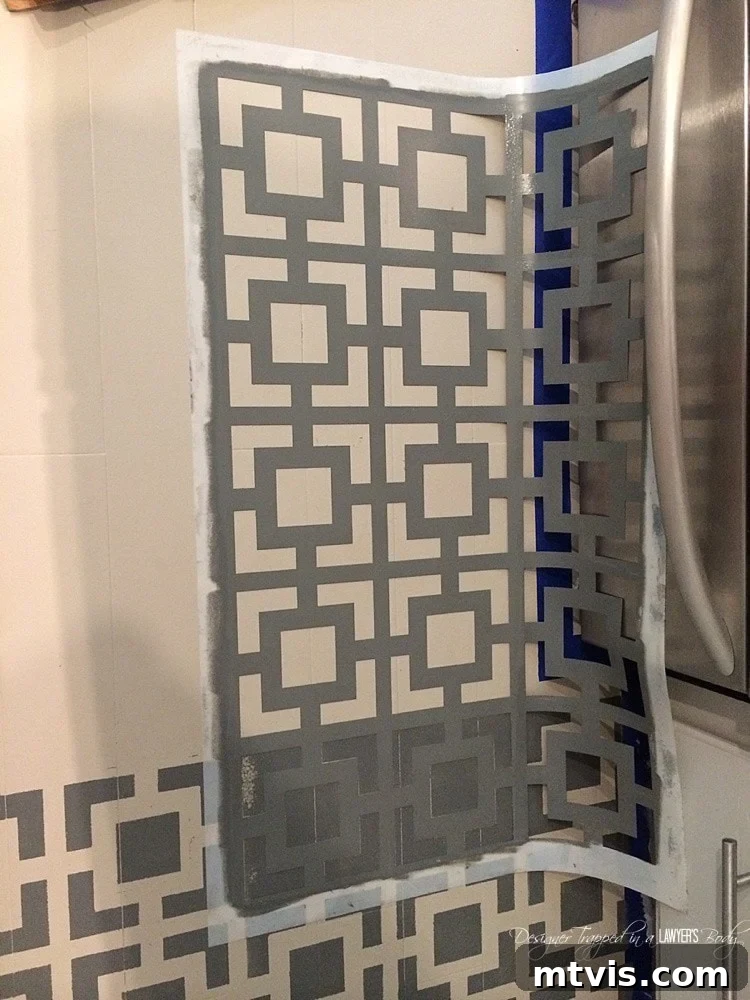
I found it most efficient to stencil the perimeter edges and intricate areas around cabinets or appliances last. These spots require more precise maneuvering and often involve bending or cutting the stencil, making them the most time-consuming. When working around obstacles, gently bend the stencil to fit or use a small brush for tiny areas. The image below illustrates how to effectively position your stencil when navigating these tricky perimeter sections, ensuring a professional and complete look even in challenging spots.
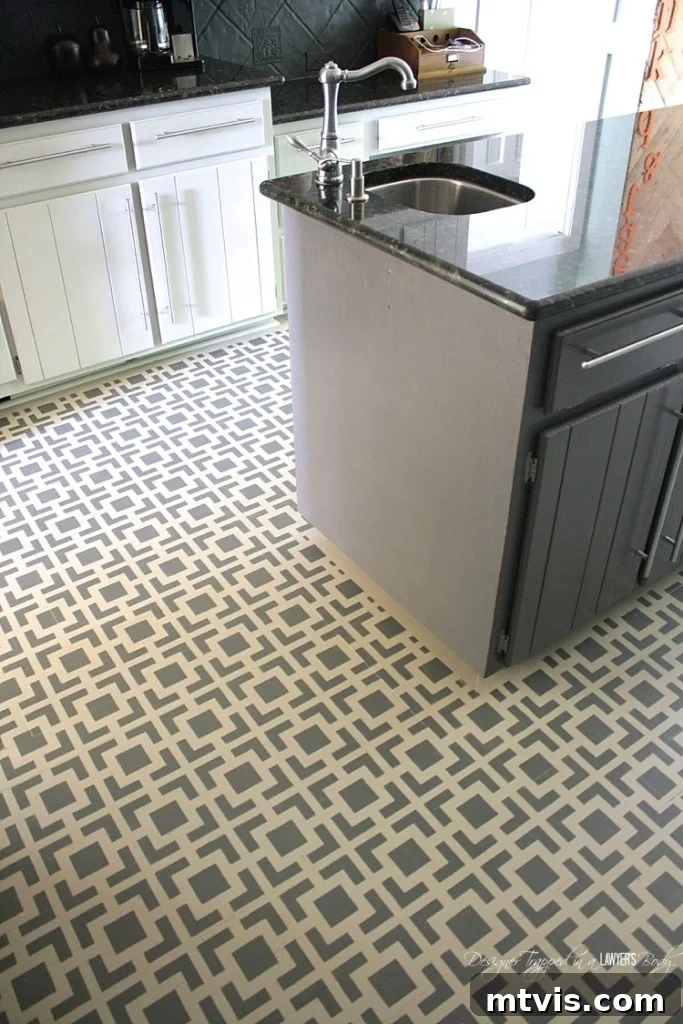
Witness the stunning transformation! The combination of meticulous preparation and careful stenciling culminates in a truly remarkable and custom floor design that breathes new life into your space.
Time and Cost Breakdown for Your DIY Stenciled Floors
One of the most appealing aspects of a DIY stenciled floor project is its incredible affordability. You can achieve this magnificent transformation for approximately $100, though the exact cost will vary based on the size of your room and your choice of materials. For our project, the stencil itself retailed for $45. We purchased two gallons of Valspar Porch and Floor Paint at Lowe’s, costing $27 per gallon (one for the base color and one for the stencil color). This brings the total paint and stencil cost to just under $100, excluding brushes and rollers which you might already own.
While I didn’t meticulously time every minute, I estimate that the stenciling process took me around 5 hours to complete. This was in addition to approximately 2 hours spent on the crucial preparatory steps: cleaning, priming, and applying the base coat. So, in total, you’re looking at about 7 hours of active work. Yes, it’s a time-consuming project, requiring dedication and focus, but the dramatic visual impact and the satisfaction of having custom, designer floors that withstand heavy use make those 7 hours incredibly well spent! It’s an investment of time that yields immense aesthetic and financial returns.
Essential Tips and Key Observations for Stenciled Floor Success
Having completed this project and lived with the results, I’ve gathered some invaluable insights that can make your stenciling experience smoother and more successful. These tips address common challenges and provide guidance for long-term enjoyment of your beautiful new floors.
- Systematic Stenciling: Work Left to Right, Row by Row: While opinions may vary, I strongly recommend approaching your stenciling systematically by completing an entire row from left to right before moving on to the next. Think of it like reading a book: move across the page, then down to the next line. This method helps maintain a consistent pattern, ensures you don’t miss any spots, and allows you to work away from freshly stenciled areas, reducing the risk of accidental smudges or misalignments. It fosters a methodical rhythm that is beneficial for such a repetitive task.
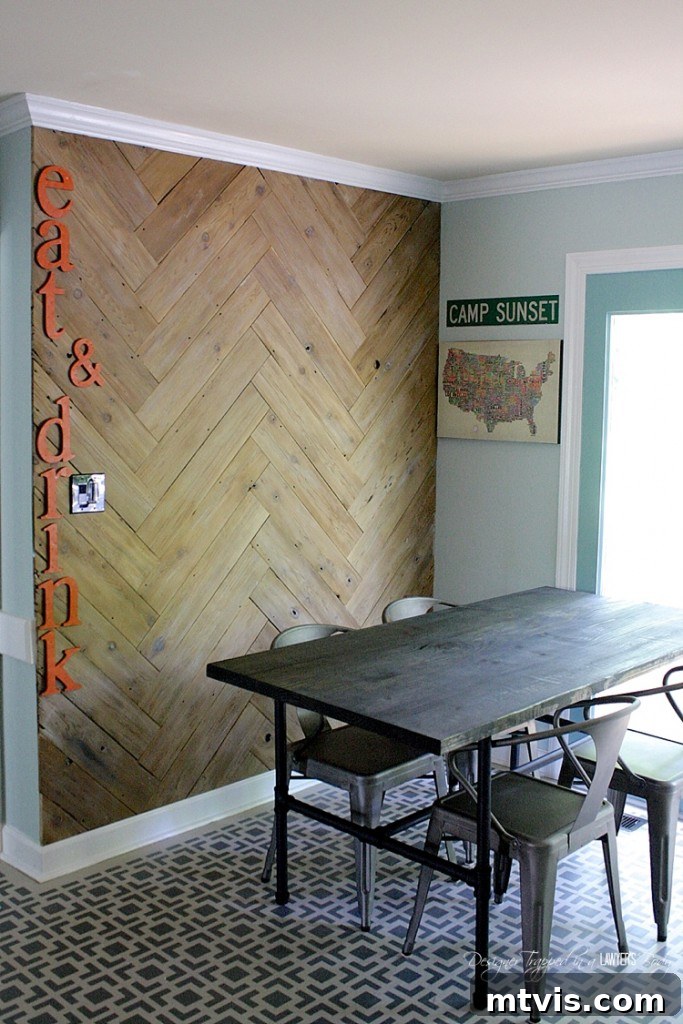
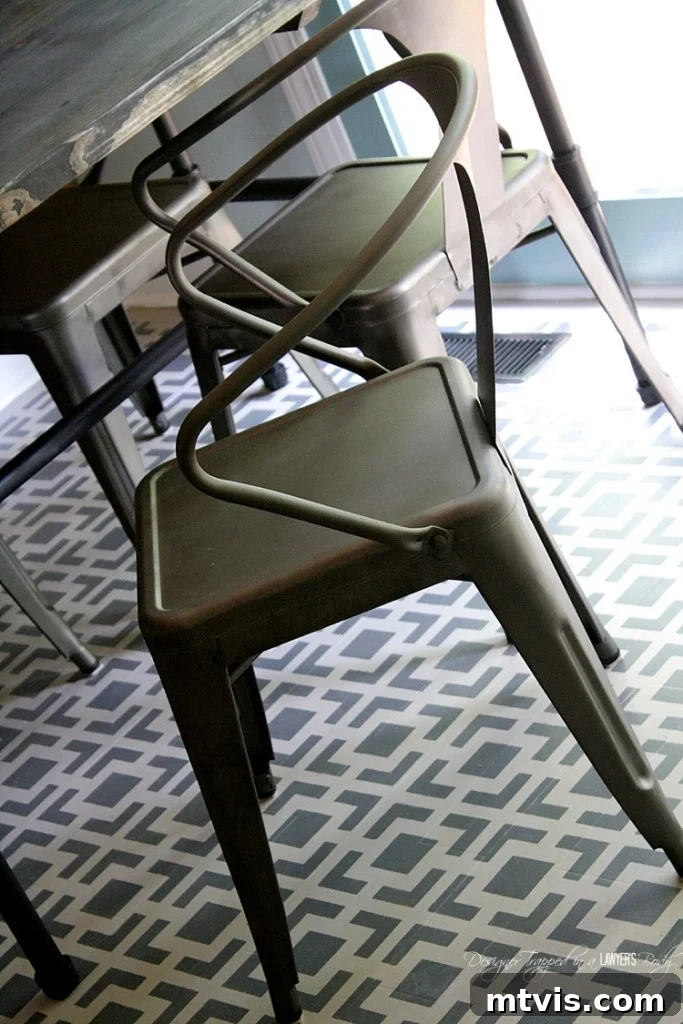
- Embracing Imperfections in Imperfect Rooms (Especially with Geometric Stencils): It’s a rare occurrence to find a perfectly square room, and our kitchen was no exception. When using a geometric stencil, there’s a high probability that at least one corner of your room won’t align perfectly with the repeating pattern. For us, we strategically planned to conclude our stenciling in the eat-in area of our kitchen, knowing that any slight misalignment in that corner would be gracefully concealed by our kitchen table. As it turned out, the stencil was off by a mere 1/4 inch in that particular corner – an incredibly minor imperfection that is completely unnoticeable with our kitchen table and chairs in place. We are perfectly content with this clever solution. However, if you demand absolute perfection without any visible discrepancies, a highly geometric stencil might not be the ideal choice for an irregularly shaped room. Consider more organic or random patterns that are more forgiving of slight variations, or plan strategically for furniture placement to hide problem areas.
- Final Verdict: NO Polyurethane Needed (And Why It’s Best to Skip It): This is a crucial piece of advice, and I stand by it firmly: IT IS NOT NECESSARY, NOR DO I RECOMMEND, adding a polyurethane finish on top of your stenciled floors. There’s a lengthy story behind this, which I promise to share in full detail at some point, but for now, please take my word for it. We completed painting our kitchen floors in April, and they have held up far better than I ever could have anticipated. Our kitchen is a high-traffic zone, subjected to daily heavy use by us, our energetic twin girls, and our playful 90-pound Boxer. Despite this rigorous activity, we have experienced absolutely no scratches or peeling whatsoever. We occasionally notice some black scuff marks from shoes, but these wipe off effortlessly with a magic eraser, leaving the pattern intact.
The reason for this recommendation lies in the very nature of porch and floor paint. These paints are specifically engineered for floors, meaning they are formulated with exceptional durability, abrasion resistance, and adhesion properties to withstand constant foot traffic and wear. Adding an incompatible polyurethane topcoat can sometimes introduce more problems than it solves, potentially leading to issues like poor adhesion between the paint and poly, yellowing over time, or even making future repairs more challenging. Trust the paint itself to do its job. Our personal experience, not only in our kitchen but also in our laundry room with similar painted floors, unequivocally supports the fact that a dedicated porch and floor paint provides ample protection without the need for any additional protective layer.
We absolutely adore the final outcome of our stenciled kitchen floors. If you’re inspired to see the rest of our kitchen’s dramatic transformation, which we completed for under $700, you can explore the details here, in our Budget Kitchen Remodel REVEAL ~ Part 1. You might also be interested in learning how we crafted that unique herringbone plank wall from upcycled materials. And don’t miss out on another one of our most popular projects: our amazing painted laundry room vinyl floors – it’s proof that you can indeed paint almost any floor surface for a fresh, updated look!
If this detailed guide has sparked your inspiration, why not save it for later reference? Pin this tutorial to your favorite DIY or home renovation board and embark on your own floor transformation journey!