
Are you staring at freshly installed laminate or wood floors, admiring their beauty, but sensing something is missing? That crucial final touch often comes in the form of elegant trim molding. This comprehensive guide will walk you through the essential process of installing quarter-round or shoe molding, perfectly bridging the gap between your baseboards and new flooring. Not only will we cover every step of the installation, but we’ll also reveal expert techniques for handling tricky corners and achieving a flawless finish on exposed ends, ensuring your floors look professionally done and stand the test of time.
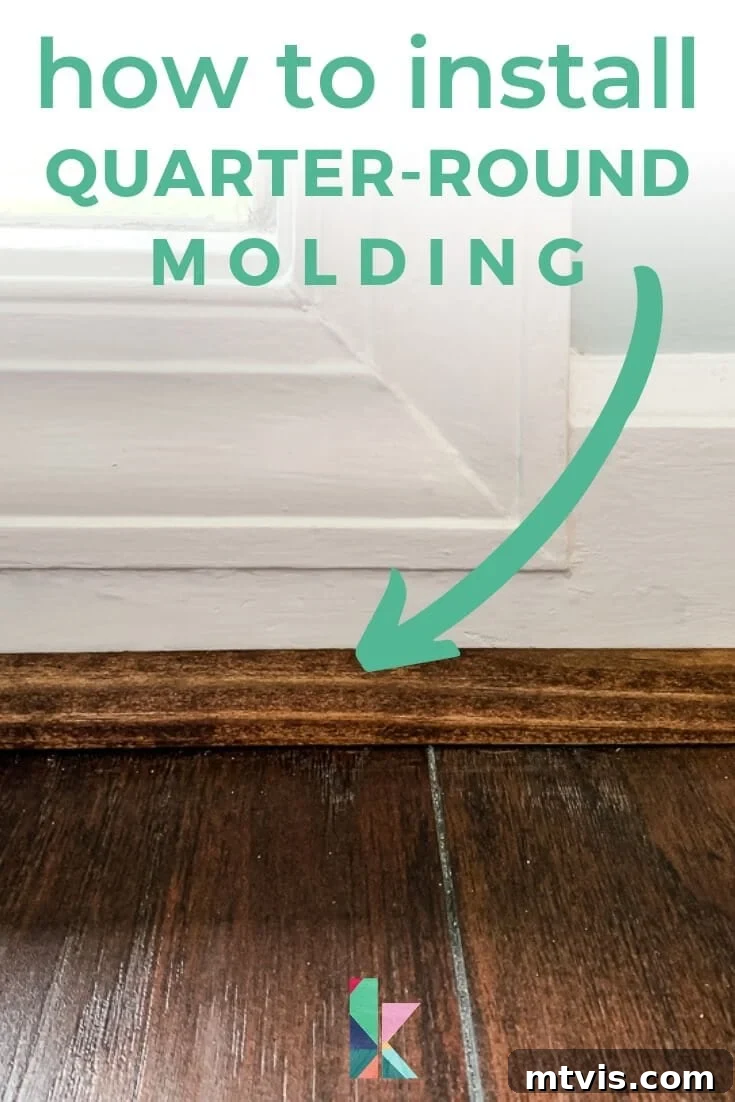
For any homeowner who has undertaken the rewarding task of installing new flooring, the question inevitably arises: “What’s the best way to conceal the necessary expansion gap between my baseboards and the new floor?” The answer, my friends, lies in the elegant simplicity of quarter-round molding (or shoe molding, a distinction we’ll explore shortly). These small, often overlooked pieces of trim are not just aesthetically pleasing; they are vital for protecting your floor, providing a professional finish, and cleverly hiding the expansion gaps required for floating floors like laminate and engineered wood to expand and contract naturally without buckling.
Our own home renovation journeys have seen us install quarter-round molding countless times, from our master bedroom and hallway to the entire downstairs. We consistently choose laminate flooring for its durability and aesthetic appeal, and you can learn more about why we love laminate or explore the pros and cons of various flooring types in our other guides. While new flooring undeniably creates a dramatic impact, it’s the meticulous installation of quarter-round that elevates the entire look from good to absolutely stunning. It’s a small detail that delivers an unexpectedly significant transformation.
Following our recent extensive kitchen remodel, which included installing fresh flooring in the dining room, hallway, and foyer, we accumulated a substantial amount of quarter-round to install. This presented the perfect opportunity to document every step. So, prepare to learn our tried-and-true methods, complete with photos, to help you achieve a flawless trim installation in your own home. This project is surprisingly accessible for DIYers and yields incredibly satisfying results.
We’d like to extend our gratitude to Mohawk Consumer Products for sponsoring this insightful post. Having worked with Mohawk for many years, we’ve consistently been impressed by the quality and performance of their products.
Quarter Round vs. Shoe Molding: Understanding the Distinction
Many people, including myself at one point, assume quarter round and shoe molding are interchangeable terms for the same product. However, there’s a subtle but important difference that can impact your final aesthetic. Shoe molding is typically 1/2 inch wide by 3/4 inch tall, often described as 1/8th of a round dowel. Quarter round, on the other hand, measures 3/4 inch wide by 3/4 inch tall, representing 1/4th of a round dowel. This means quarter round is noticeably larger and offers more coverage than shoe molding.
Both types of molding are readily available at most home improvement stores in the lumber section, sold in long, continuous lengths. These longer pieces are highly advantageous, allowing you to cover significant wall sections with minimal joints, although joining shorter pieces is always an option if necessary. Their inherent flexibility is another key benefit; they easily adapt to minor imperfections, slopes, or dips in your floor, as very few floors are perfectly level. This adaptability ensures a snug fit and a professional appearance even in older homes.
In our experience, we have consistently opted for quarter round. Its slightly larger profile is ideal for concealing the more substantial expansion gaps often required for extensive laminate flooring installations. The size of these gaps can vary depending on the length of your flooring run and manufacturer specifications. However, the ultimate choice between quarter round and shoe molding comes down to personal preference and the specific needs of your project. If you prefer a more delicate, understated look, shoe molding might be your choice. If you need maximum gap coverage or a slightly bolder trim, quarter round is excellent. Rest assured, the step-by-step installation tutorial provided in this guide applies seamlessly to both types of molding.
Mastering Corners and Exposed Ends: The Keys to Professional Trim
The thought of tackling corners and finishing exposed ends (often called “returns”) is a common point of intimidation for many DIYers. However, let me assure you, with the right techniques, these challenging areas can be surprisingly straightforward! In this guide, we’ll demystify the process, demonstrating how to achieve tight, gap-free inside corners by coping. Furthermore, we’ll show you an ingenious method for finishing off any exposed ends of your trim, giving them a clean, polished look without the fuss and frustration of cutting tiny, intricate return pieces.
A Closer Look at Coped Corners: Why They’re Superior
While most DIY enthusiasts are familiar with mitered joints for corners, coped corners offer a significant advantage, particularly in older homes or rooms where walls are rarely perfectly square. In a traditional miter joint, two pieces of molding are cut at complementary angles (typically 45 degrees for a 90-degree corner) and joined together. The problem with miter joints is that if the wall isn’t a perfect 90 degrees, or if there’s any movement in the house over time, the joint can open up, creating an unsightly gap.
A coped corner provides a much more forgiving and durable solution. Here’s how it works: one piece of molding is cut straight on the end and butts directly into the adjacent wall corner. The second piece of molding, which meets the first, receives a “coped” cut. This cut precisely follows the profile of the first molding’s face, allowing it to fit tightly against it. Because the coped piece essentially “hugs” the profile of the first, it maintains a tight fit even if the walls are slightly out of square. This method creates a seamless, professional appearance that stands the test of time, and despite its intimidating reputation, we actually find it easier to execute than perfect mitered corners.
This post may contain affiliate links for your convenience. Click here to read our full disclosure policy.
How to Install Quarter Round Molding: A Step-by-Step Tutorial for a Perfect Finish
Materials and Tools You’ll Need:
- Quarter Round or Shoe Molding: Measure your perimeter carefully, adding 10-15% for waste and mistakes.
- Paint or Stain: Choose a finish that complements your floor or baseboards. We highly recommend staining to match your floors for durability.
- Tape Measure: For accurate measurements.
- Pencil: For precise marking on your molding.
- Compound Miter Saw: Essential for straight and angled cuts. Alternatively, a hand saw and miter box can be used for smaller projects.
- Coping Saw: Inexpensive and indispensable for creating perfectly fitted inside corners.
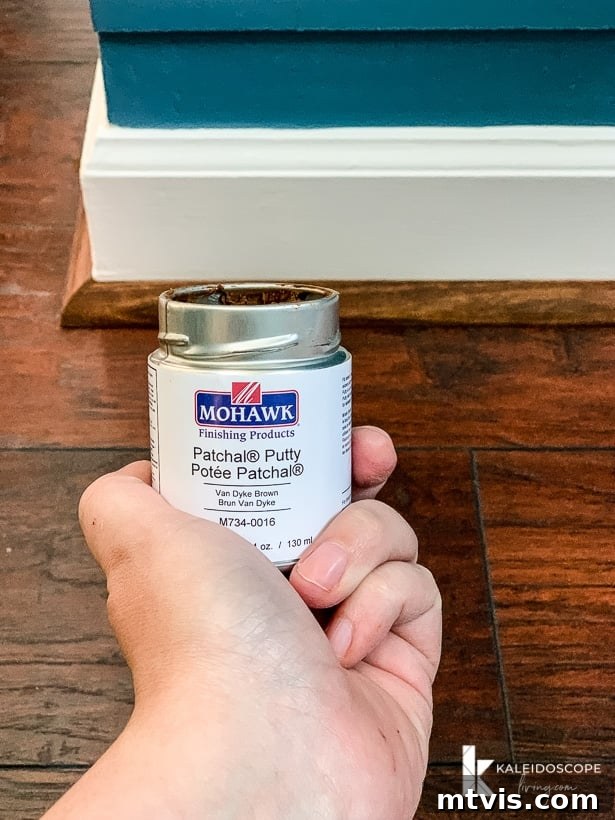
- Patchal Putty: For filling nail holes; pre-colored options are great for stained molding.
- Mohawk Pro-Mark Wood Touch-up Marker: Ideal for concealing cut ends on stained molding. You can also use these versatile markers to touch-up wood furniture. For frequent use, consider investing in a twelve-pack.
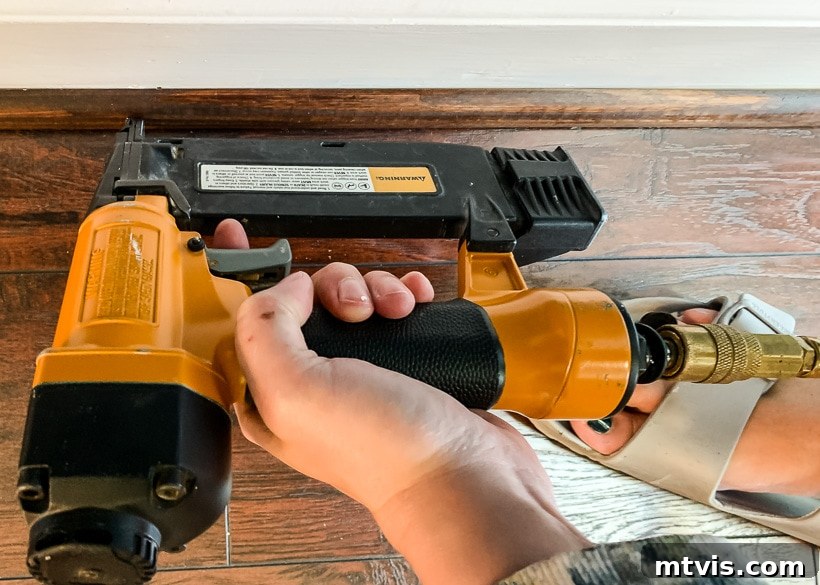
- Brad Nailer: Speeds up installation considerably. We are absolutely obsessed with this particular model, which we used for this project.
- Safety Glasses: Always protect your eyes when cutting or nailing.
Step 1: Pre-Finish Your Molding for Lasting Beauty
Before you even consider cutting or nailing, the absolute best practice is to pre-finish your quarter round or shoe molding. This means painting or staining it to your desired color before installation. We have firsthand experience with both painted and stained quarter round, and we wholeheartedly recommend staining your molding to match your new floors. Why? Painted molding, despite your best efforts, is highly susceptible to chips, scuffs, and accumulating dirt over time, particularly in high-traffic areas where it meets the floor. Stained molding, however, tends to blend seamlessly with your flooring and remarkably retains its fresh, new appearance year after year, requiring minimal maintenance.
When we first shared our decision to stain our quarter round on Instagram stories, about half of our followers were genuinely surprised, questioning why we didn’t paint it. But once we explained the superior durability and longevity of stained molding, many quickly agreed, lamenting, “YES! My painted quarter round molding looks absolutely horrible!” While painting your quarter round to match your baseboards can create the illusion of taller, more substantial trim, we firmly believe the long-term benefits of stain – avoiding chips, scuffs, and visible dirt – far outweigh this aesthetic consideration. If you do choose to paint, ensure you use a durable, high-quality trim paint and consider adding a topcoat for extra protection. Pre-finishing also significantly streamlines the process by eliminating the need for tedious taping around your newly installed floors later.

Step 2: Precise Measuring and Marking
Accuracy is key in this step. You’ll want to measure and mark your molding one piece at a time to minimize errors and ensure a custom fit for each section of your wall. Begin by measuring the first section of wall where your molding will start. Mark this exact length on your quarter round molding. Using your miter saw, make a clean, straight 90-degree cut. This first piece will be installed so that its straight end butts directly into the adjacent wall corner. Remember, we are coping the corners, not mitering them, so a straight cut here is intentional and correct.
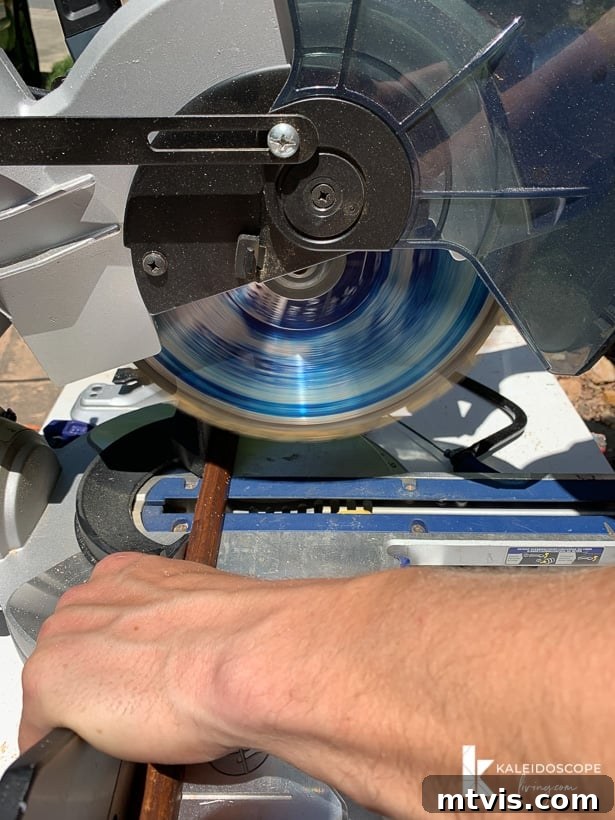
Next, measure the entire length of the adjacent wall where your second piece of molding will be installed, extending from the corner where it will meet the first piece. Mark this length on your quarter round molding and, once again, use your miter saw to make a straight 90-degree cut on this end. The other end of this piece will be coped to fit against the first piece, as described in the next step. Always double-check your measurements before cutting to avoid waste.
Step 3: Crafting the Perfect Coped Inside Corner
Now comes the step that many find intimidating but is actually quite simple once you understand the technique: coping the end of your second molding piece to meet the first. To begin, use your miter saw to make a 45-degree angle cut on the end of the molding piece that will be coped. This cut acts as your guide. The leading edge of this miter cut will define the line you follow with your coping saw.
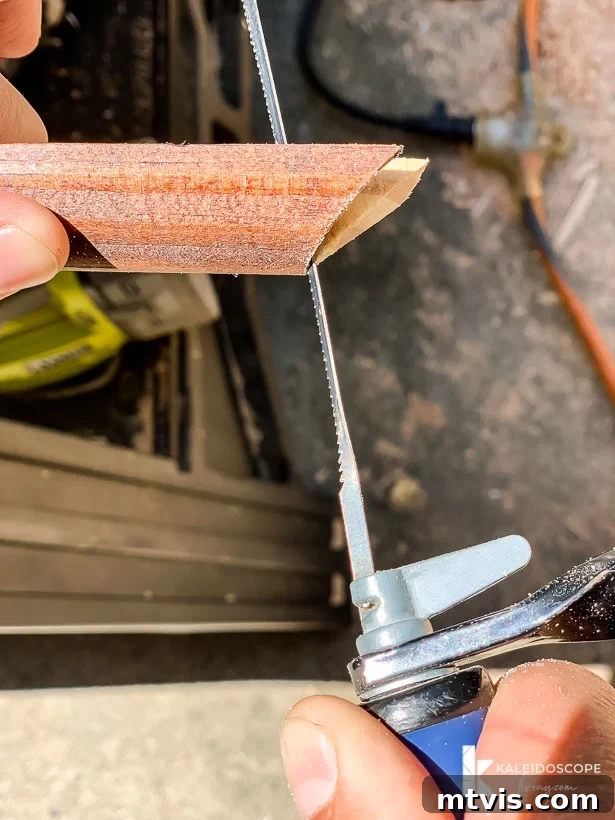
With the 45-degree miter cut made, firmly hold the molding and use your coping saw to carefully cut along the profile created by that miter. You’ll be cutting away the material behind the face profile, creating a concave shape that perfectly mirrors the convex shape of the first piece of molding. Aim to undercut the cut slightly; this means angling the coping saw blade a tiny bit (about 1-2 degrees) behind the face of the molding. This slight undercut ensures that only the very edge of the coped piece makes contact with the face of the first piece, guaranteeing a tighter, gap-free seam. If you’ve never coped before, I promise it’s easier than it looks! Practice on a few scrap pieces to get a feel for the saw and the angle. For a visual demonstration, search for “how to cope trim molding” on YouTube, as many excellent video tutorials can guide you through the process.
Step 4: Dry Fit for a Flawless Joint
Before you commit to nailing, it’s absolutely crucial to perform a dry fit. Carefully place both pieces of molding into their respective positions in the corner. Gently push them together to ensure a perfect, seamless fit. Inspect the joint closely: are there any visible gaps? Does the coped piece sit flush against the face of the first piece? This is your opportunity to make any necessary minor adjustments. If you notice a small gap, use a sanding block or a utility knife to carefully shave away tiny bits of the coped edge until the fit is impeccable. Taking the time for a thorough dry fit will save you frustration and ensure a professional-looking result.
Step 5: Securely Nail the First Two Pieces
Once you’ve achieved a perfect dry fit, it’s time to secure your molding. Using your brad nailer, begin by nailing the first piece of molding into place. Hold the quarter round trim firmly against the floor and flush with the baseboard. As you fire the brad nailer, angle it slightly downward. This downward angle ensures that your nails penetrate through the molding, through the baseboard, and securely into the wall studs or floor plate, providing a much stronger hold than simply nailing horizontally into the baseboard alone. This technique prevents the molding from pulling away over time due to floor expansion or contraction. Place your brad nails approximately every 18 inches, ensuring you always include nails close to each end of the molding piece for maximum stability.
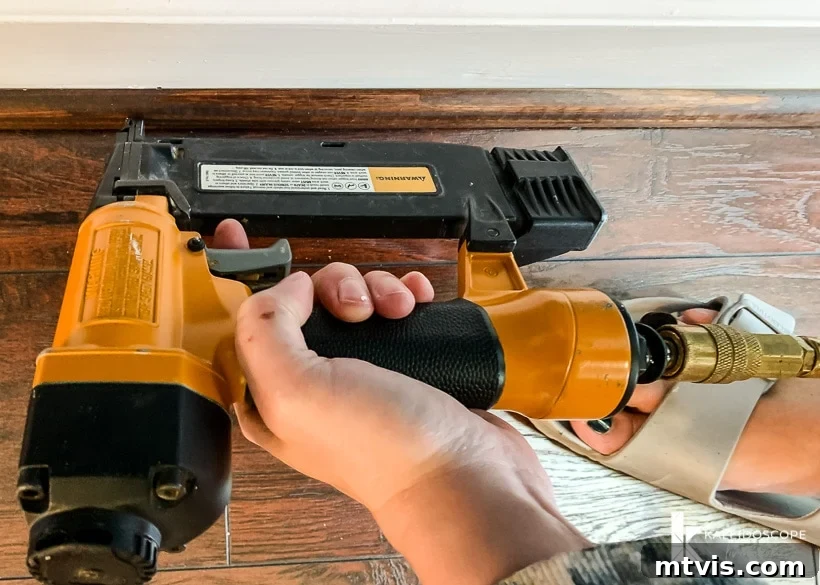
Step 6: Systematically Continue Around the Room
With your first corner securely in place, you can now continue the process systematically around the entire room. Take your time, working one piece at a time to maintain precision. For all subsequent inside corners, you will repeat the coping technique as described in Step 3, ensuring tight, professional joints. For any outside corners (where the wall juts out, like around a fireplace hearth or a doorway trim), you will use a miter joint. Typically, this involves cutting a 45-degree angle on each piece that forms the corner, creating a clean 90-degree join. Remember to test the fit before nailing. If you encounter a very long wall, you may need to join two pieces of molding. When doing so, make a 45-degree miter cut on the ends of both pieces that will meet. This overlapping mitered joint creates a less visible seam than a straight butt joint and helps to camouflage any minor inconsistencies.
Step 7: The “Joe Special” – Finishing Exposed Ends with Style
One of the most common dilemmas in trim installation is how to neatly finish an exposed end of molding – for instance, where it meets a doorway casing or ends abruptly against a wall without turning a corner. Many traditional methods involve cutting small “returns” – tiny mitered pieces that wrap the end of the molding back into the wall. While effective, these can be incredibly fiddly and challenging to cut, especially when the pieces are minuscule.
Years ago, my husband Joe devised a brilliantly simple and effective alternative, which we affectionately call “the Joe Special.” It eliminates the need for those tiny, frustrating return cuts while still delivering a beautifully finished edge. The Joe Special is created by making a straight 90-degree cut at the top edge of the quarter-round where it meets the baseboard, but then finishing it off with a simple 45-degree angled cut that slopes inwards towards the wall. This subtle angle creates a clean, intentional transition that looks polished and complete without the complexity of a traditional return.
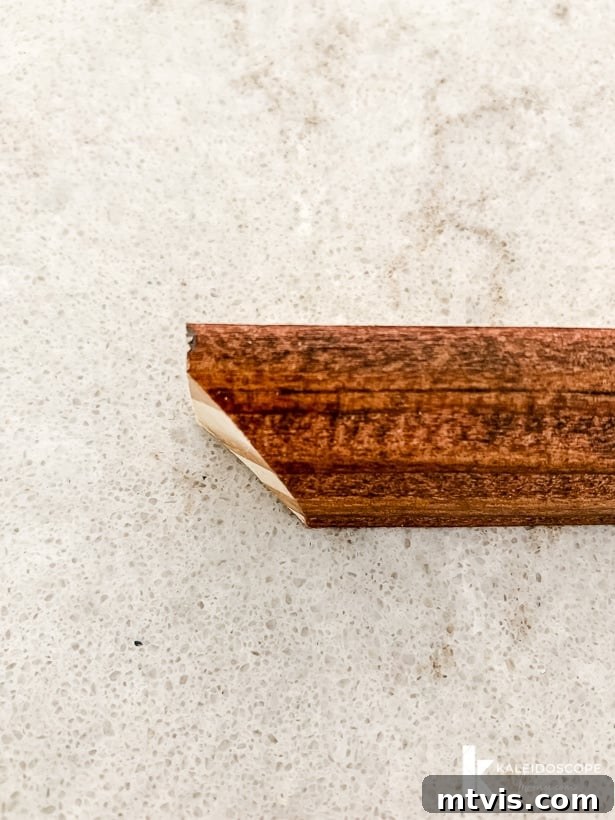
Once we’ve nailed the pieces with these exposed ends into place, I use my Mohawk Pro-Mark Wood Touch-up Marker to expertly stain the cut edge. These markers are fantastic for blending the raw wood of the cut end with the pre-finished molding, making the “Joe Special” disappear into a seamless finish. This method provides a sophisticated, polished look that is significantly faster and less demanding than attempting to cut and install minuscule return pieces.
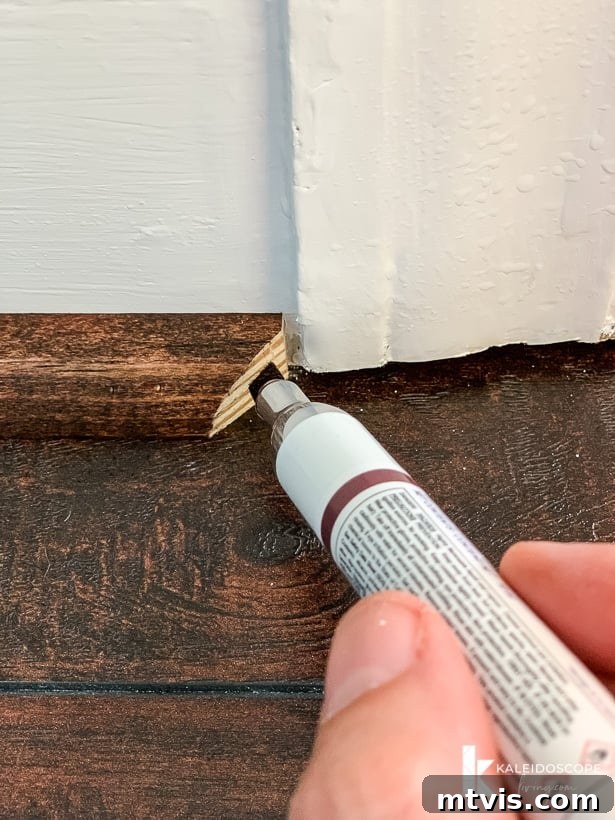
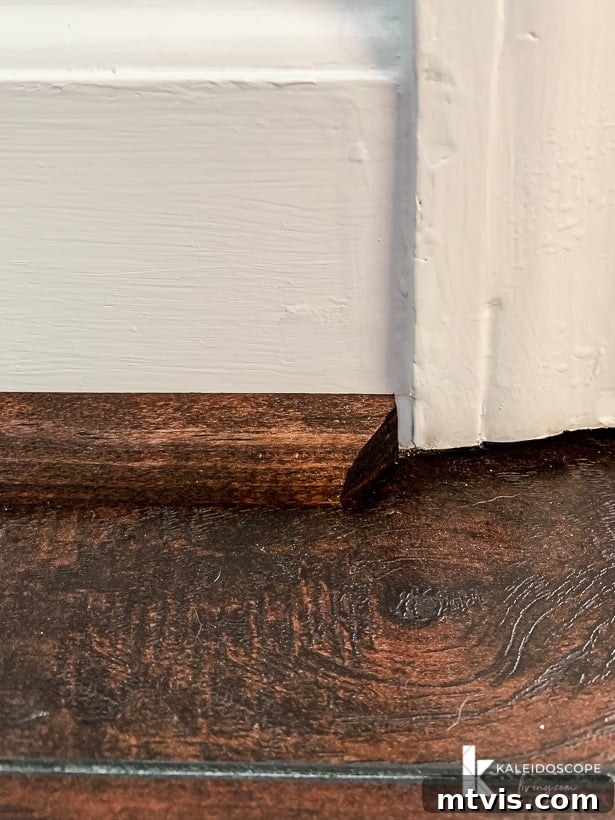
Step 8: The Final Touch – Filling Nail Holes for a Flawless Surface
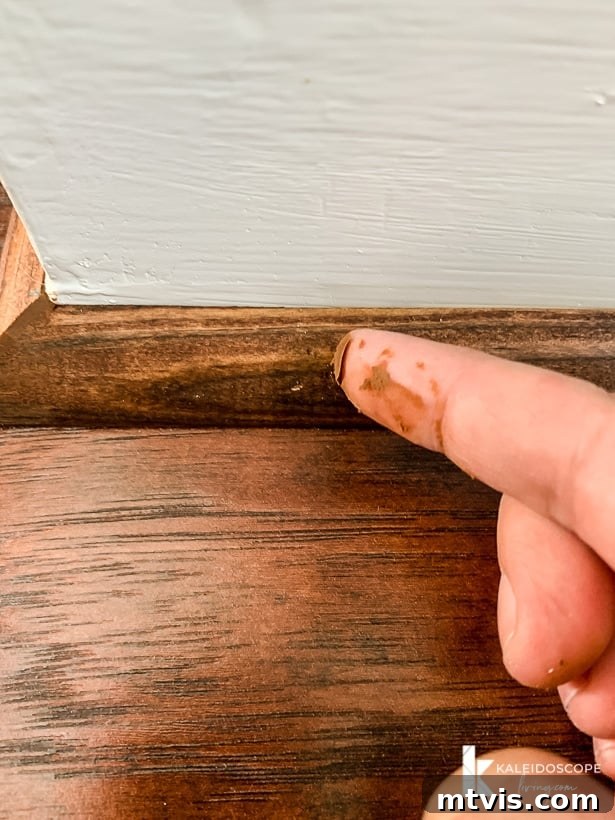
The very last step, and one that makes a tremendous difference in the overall polished look of your trim, is filling all the nail holes (and any other minor imperfections or gaps). Since we prefer to stain our quarter round to match our floors, we opt for Patchal Putty. This product is fantastic because it comes pre-colored to perfectly match various wood stains, making this step incredibly fast and straightforward. I simply use my finger to apply a small dab of putty over each nail hole, pressing it in firmly, and then wiping away any excess with my finger or a damp cloth. The goal is to make the nail holes virtually disappear, creating a perfectly smooth and continuous surface.
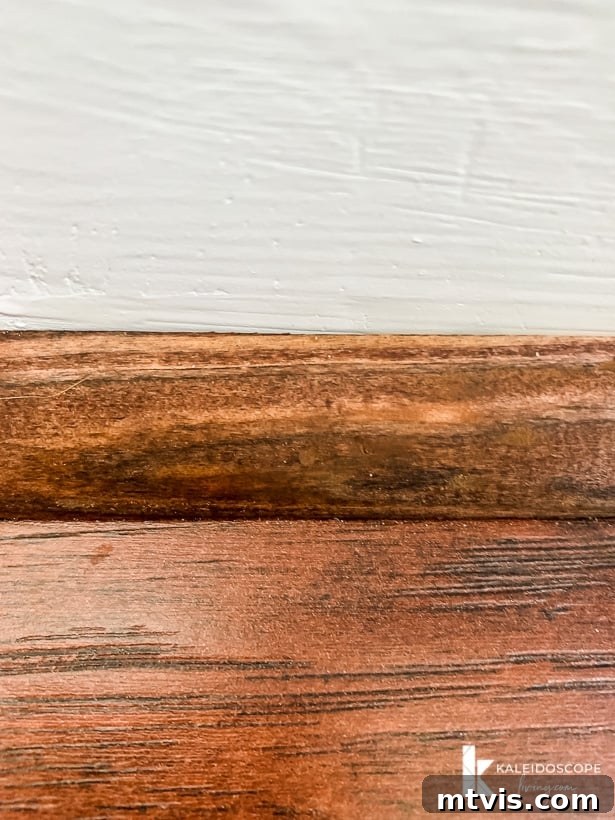
And there you have it, folks! While these steps might sound extensive when read sequentially, the actual process of installing quarter-round molding moves surprisingly quickly once you get into a rhythm. We were able to install all the quarter round throughout our newly renovated kitchen, dining room, hallway, and foyer in just one afternoon! The transformative effect is truly remarkable.
We are absolutely thrilled to finally have consistent flooring throughout the entire first floor of our home – it truly feels glorious! Below are a few captivating shots of our kitchen and dining room, showcasing the magnificent difference that perfectly installed and finished quarter-round molding makes.



Now that you’re equipped with the knowledge and confidence to tackle this project, you’re ready to add that perfect finishing touch to your own floors. Don’t forget to explore our FREE design guides, crafted to help you create spaces you absolutely adore. Subscribe today to receive instant access to our convenient digital library filled with inspiration and practical advice!
