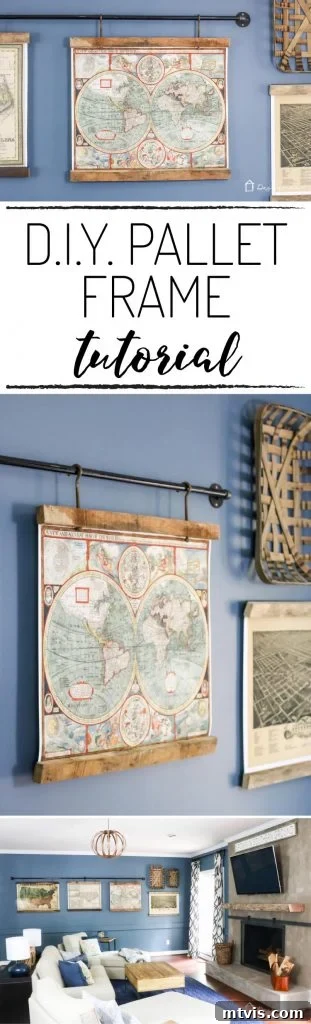
Craft Unique Picture Frames from Reclaimed Materials and Hang Them with an Industrial Pipe for a Custom Look!
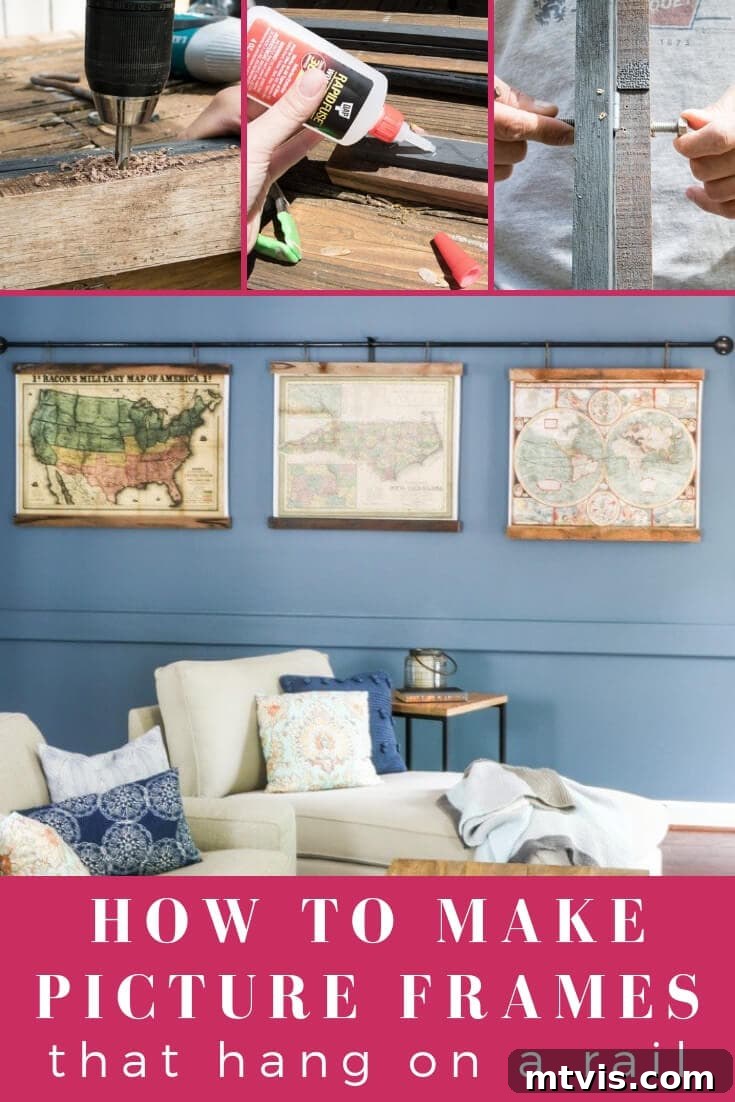
A big thank you to Dap for sponsoring this project. As always, all opinions are 100% my own based on my experience.
We are absolutely thrilled to share with you today how to make picture frames, specifically designed for large prints and maps! This project has become a beloved addition to our home, and it’s incredibly budget-friendly because we utilized an old pallet – meaning the wood cost us absolutely nothing. The journey to this unique DIY art solution began with a familiar challenge: a vast, empty wall in our family room that desperately needed artwork. Furnishing such a large space can quickly become expensive, so an affordable, handmade solution was a must-have.
Around that time, my husband discovered an old pallet, and inspiration immediately struck. Joe and I have always shared a passion for maps, and I knew I could acquire some beautiful reproductions without breaking the bank. Combining our love for maps with the free reclaimed pallet wood, we knew we had the foundation for something special. This project isn’t just about saving money; it’s about infusing personality and a story into your home decor. The character of reclaimed wood is simply unmatched, offering a rustic yet modern appeal that complements a variety of interior styles.
Throughout this guide, we’ll walk you through two distinct methods for crafting these frames, including a clever technique that allows you to easily swap out your prints. Plus, we’ll show you how to incorporate an industrial pipe for a truly unique hanging display that will transform any large wall. Get ready to discover how simple and rewarding it is to create custom, large-scale art for your home!
This post contains some affiliate links for your convenience. Click here to read my full disclosure policy.
How to Make Picture Frames from Reclaimed Materials: The Essential Guide
Working with reclaimed materials like pallet wood not only helps the environment by repurposing waste but also adds incredible character and a story to your DIY projects. Each piece of wood tells a tale, with its unique grain, knots, and imperfections creating a one-of-a-kind frame that store-bought options simply can’t replicate. Whether you’re aiming for a rustic farmhouse look or a chic industrial vibe, reclaimed wood frames are a versatile choice that elevate your decor.
Materials Needed:
- An old pallet (or any other reclaimed wood you prefer)
- Maps or large prints (We purchased all of our reproduction maps at this awesome Etsy store)
- DAP Rapid Fuse Wood Adhesive
- Clamps (essential for strong bonds)
- Table saw (optional, for ripping wood to desired width)
- Chop saw or hand saw (for precise cuts)
- Drill and drill driver
Optional Materials for Changeable Prints & Pipe Hanging:
*NOTE: Your pipe fittings must match the diameter of your pipe. We used 1-inch pipe for a robust industrial look.*
- Narrow utility hinges (for easy print swapping)
- Anti-skid pads (to secure prints)
- Paint (if you wish to paint certain frame components)
- Screw hooks and nuts (we loved the rustic look of old, rusted ones)
- 10-foot iron pipe (the star of our unique hanging system)
- 2 90-degree iron elbows
- 2 iron nipples
- 2 iron floor flanges
How to Make Picture Frames: The Super Easy Method for Quick Display
If you’re looking for a fast, straightforward way to frame your prints without the hassle of complicated joinery or hardware, this “super easy” method is perfect. It’s ideal for prints you don’t plan to change frequently and delivers a clean, modern aesthetic with minimal effort. This method relies heavily on a high-quality wood adhesive and basic clamping, making it accessible even for beginner DIYers.
- Cut Your Wood Pieces: For each print you intend to frame, you will need two lengths of wood for the top and two for the bottom. Using a compound miter saw or a reliable hand saw, cut these pieces to your desired length. We recommend cutting them so they slightly overhang your prints, creating a subtle border that enhances the artwork. Precision here will result in a professional finish.
- Prepare for Bonding: Gather your DAP Rapid Fuse Wood Adhesive and several clamps. DAP Rapid Fuse is an excellent choice for this project due to its strong bond and quick curing time, which significantly speeds up the framing process.
- Adhere the Frame to the Print: Apply a small, consistent bead of Rapid Fuse along one edge of two wood pieces. Carefully sandwich your print in between these two wood pieces, ensuring the print is centered and aligned. Immediately secure the pieces together with clamps. The pressure from the clamps is crucial for achieving a strong, lasting bond as the adhesive cures. Repeat this for the bottom two pieces.
- Allow Curing Time: Let the clamped pieces sit for at least 30 minutes, or according to the adhesive manufacturer’s instructions, to allow the Rapid Fuse to fully cure. During this time, the bond will strengthen, creating a durable frame for your artwork.
- Attach Hanging Hardware: Once the adhesive is completely cured, remove the clamps. Now, attach the picture hanging hardware of your choice. For a fuss-free solution, we are truly obsessed with Command Picture Hanging Strips, as they offer easy installation and removal without damaging walls.
Don’t just take our word for how easy this method is – watch the video below to see it in action! You’ll be amazed at how quickly you can create beautiful frames for your prints.
How to Make Picture Frames: The Advanced Method for Swappable Prints & Pipe Hanging
For those who desire more flexibility, a more robust design, and the ability to easily change out their prints, this advanced method incorporates hinged backer strips and is specifically designed for our unique pipe-hanging system. While it involves a few more steps, the result is a highly functional and visually stunning frame that’s built to last and adapt to your evolving taste in art.
Before we dive into the steps, please refer to the diagrams below. They clearly illustrate the various components of the frame, which will help you visualize the construction process. Don’t be intimidated by the term “complicated” – with these diagrams, you’ll see it’s quite manageable and incredibly rewarding!
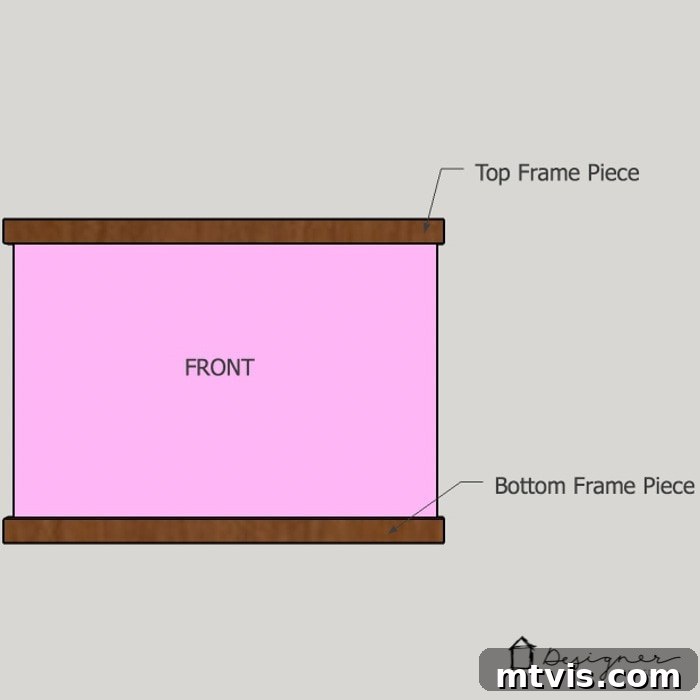
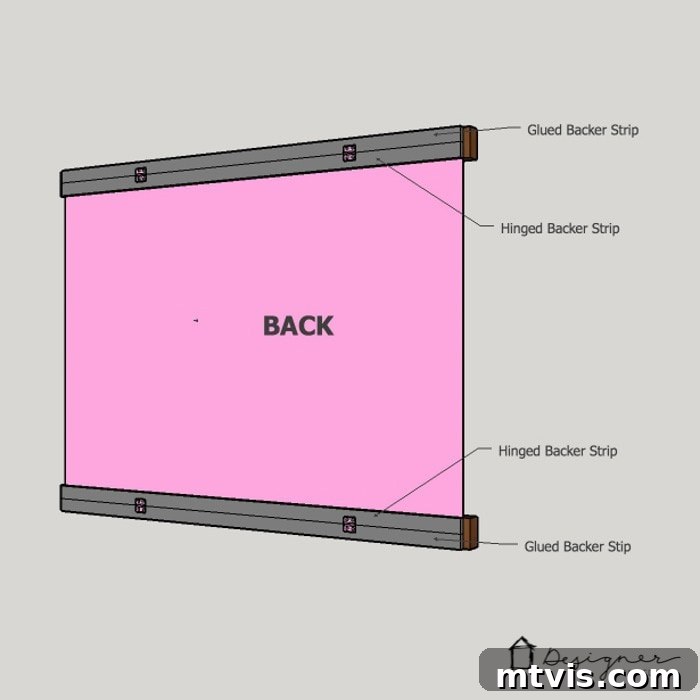
- Prepare Your Main Frame Pieces: The first step is to prepare the front pieces of your frame. If you’re working with a limited amount of reclaimed wood, or simply prefer a narrower frame profile, you can use a table saw to rip your wood to your desired width. This step is entirely optional; wider wood pieces would also create a fantastic look. Remember to always prioritize safety when using power tools.
- Craft the Backer Strips: For the backer strips, we opted to use plywood, reserving our precious pallet wood for the more visible frame components. While we initially painted our plywood gray for aesthetic reasons, this step is purely cosmetic and can be skipped. Start with pieces of wood that match the width of your front frame pieces (from Step 1). Then, rip these backer pieces in half. One half will serve as the “glued backer strip” (permanently attached), and the other will become the “hinged backer strip” (allowing for print changes), as shown in our detailed diagrams.
- Cut All Wood to Length: With your frame fronts and backer strips prepared, use a compound miter saw or a hand saw to cut all these wood pieces to their final lengths. We designed our frames to slightly overhang the maps, providing a clean edge and framing effect. Ensure consistent lengths for a balanced look.
- Attach the Glued Backer Strip: This is where DAP Rapid Fuse Wood Adhesive shines! Apply a bead of Rapid Fuse along the edge of each top and bottom frame piece, then press a glued backer strip onto it. When working with reclaimed wood, we strongly prefer to minimize screwing and nailing where possible, as it can easily split or break. Rapid Fuse provides an incredibly strong, reliable bond without the need for fasteners.
- Clamp and Cure: Immediately after applying the glued backer strips, secure the pieces tightly with clamps. Allow them to cure for at least 30 minutes. The beauty of Rapid Fuse is its speed; by the time you’ve glued and clamped all your frame components, the first ones will likely be ready to be unclamped, making for an efficient workflow.
- Install Hinges and Hinged Backer Strips: Once the Rapid Fuse has fully cured and the clamps are removed, you’re ready to attach the hinges. Position your narrow utility hinges to connect the hinged backer strips to the main frame components. These hinges are key to the design, allowing the backer strip to open and close, making print changes a breeze. Use a drill driver to securely fasten the hinges with small screws.
- Add Anti-Skid Pads: To prevent your maps or prints from slipping out of the frames, we recommend adding small non-skid adhesive pads along the inside edge of the frame. These provide a gentle grip, holding your artwork firmly in place.
- Prepare for Hanging Hooks: Now, let’s prepare the top frame pieces for the pipe hanging system. Using a drill bit slightly larger than the diameter of your screw hooks, drill two holes through the top frame piece of each frame. These holes should be evenly spaced to ensure your frames hang level and securely from the pipe.
- Secure the Screw Hooks: Insert your screw hooks through the drilled holes. On the backside of the frame, fasten nuts at the end of each screw hook. Tighten these nuts to secure the hooks firmly in place. We deliberately chose some old, rusted screw hooks for an added touch of industrial charm, which perfectly complements the reclaimed wood and iron pipe.
- Insert Your Artwork: This is the satisfying part! Carefully insert your map or large print between the main frame pieces and the hinged backer strips. Once the print is in position, close the hinged backer strips. Use two small screws on each end of the hinged backer strip to keep it securely closed. This ingenious design allows you to effortlessly swap out prints in the future, giving your space a fresh look whenever you desire. The accompanying diagram shows exactly what the back of the frame will look like with the print secured.
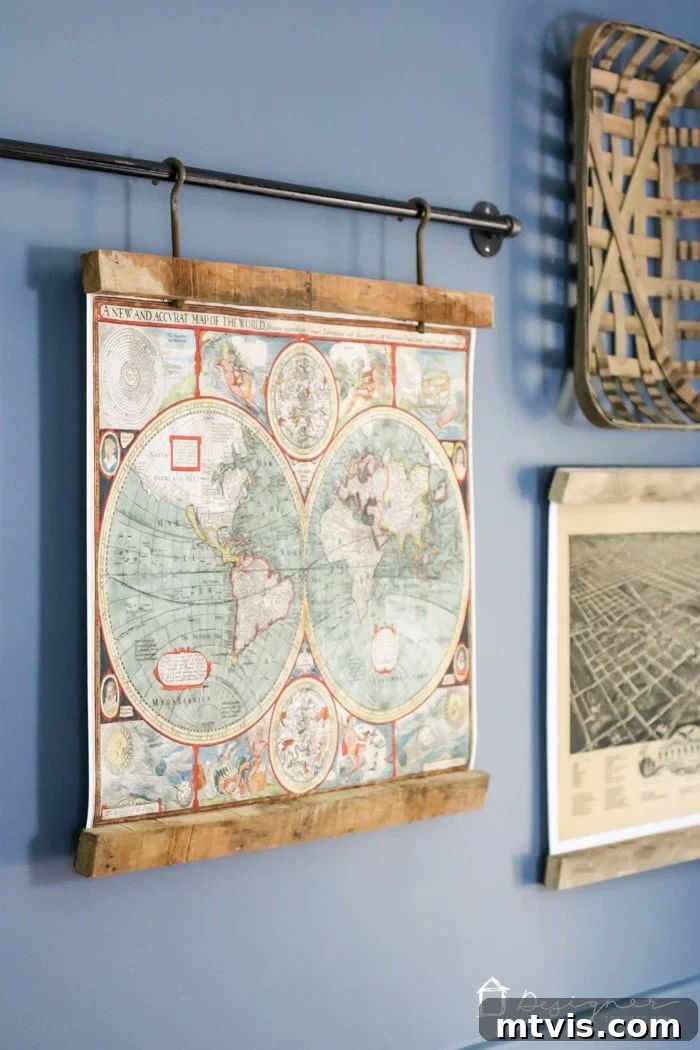
- Assemble and Hang the Pipe Rod: The final step is to assemble and mount your industrial pipe rod. This distinctive hanging system adds an unparalleled industrial aesthetic to your project. You can find detailed instructions on how to assemble and hang the pipe rod securely in this dedicated post. Given the substantial weight of these large frames, we also incorporated a curtain rod bracket in the center of our 10-foot pipe to provide additional support and prevent any sagging.
That’s it! You have now mastered two different methods for how to make picture frames using reclaimed materials, culminating in a stunning, affordable, and incredibly unique display for your large prints or maps. The sense of accomplishment in creating custom art that perfectly fits your space is truly unmatched. The result, as you can see, is absolutely gorgeous, and we are completely in love with how it transformed our living area.
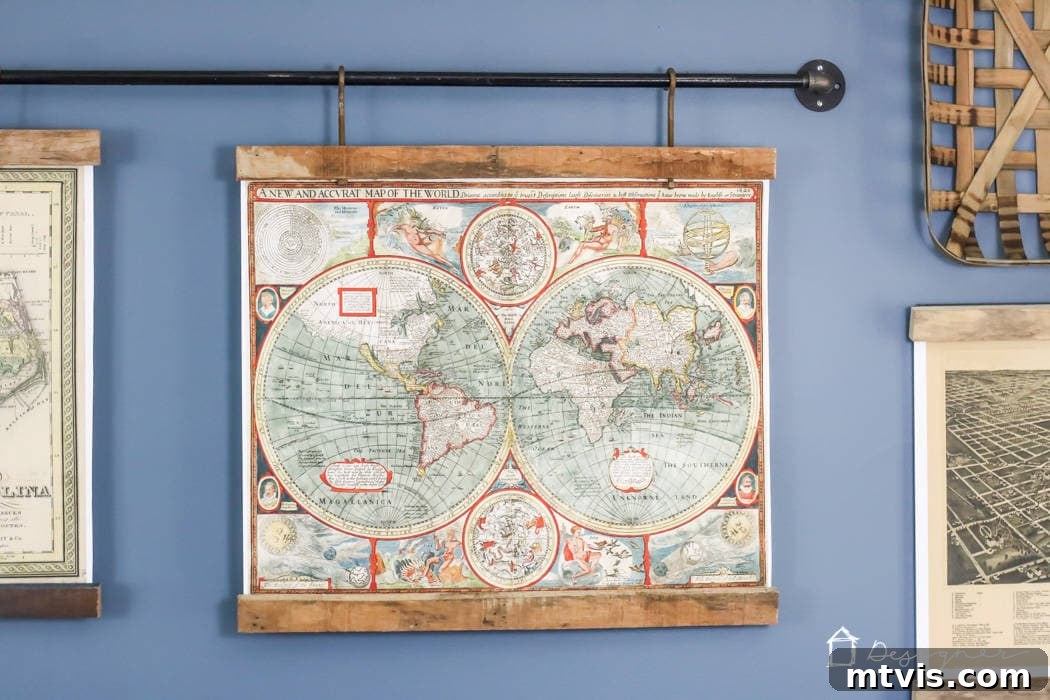
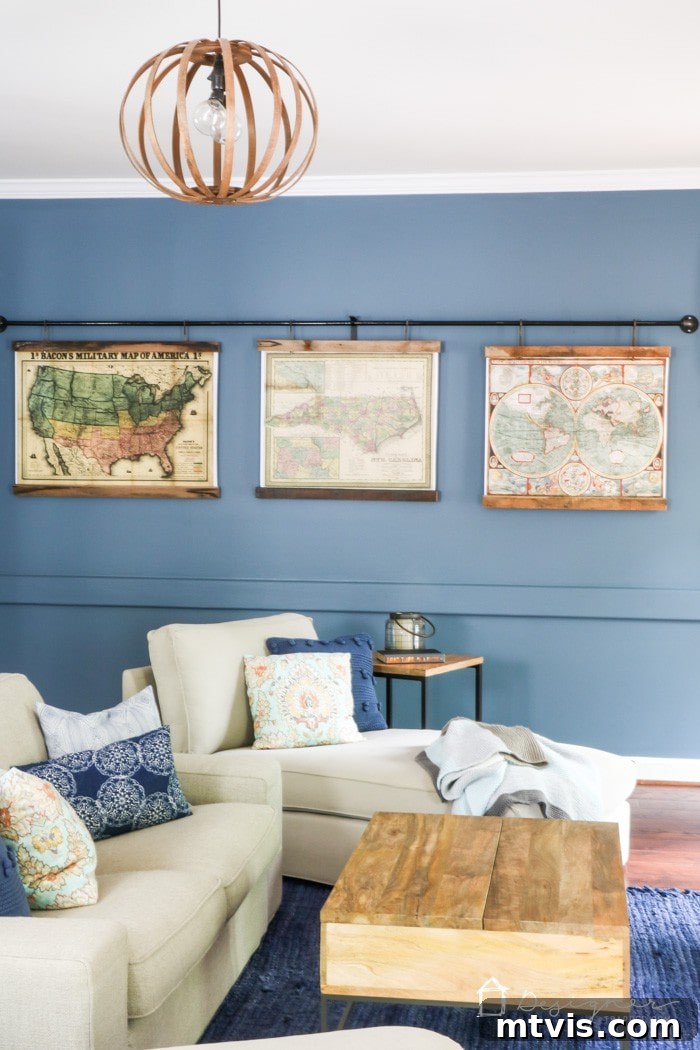
These beautifully framed maps integrate seamlessly with our recently updated fireplace, which now boasts a sophisticated industrial feel. We even custom-built that DIY barn door style fireplace screen ourselves, adding another layer of handmade charm to the room. You can read more about our full fireplace makeover in this post.
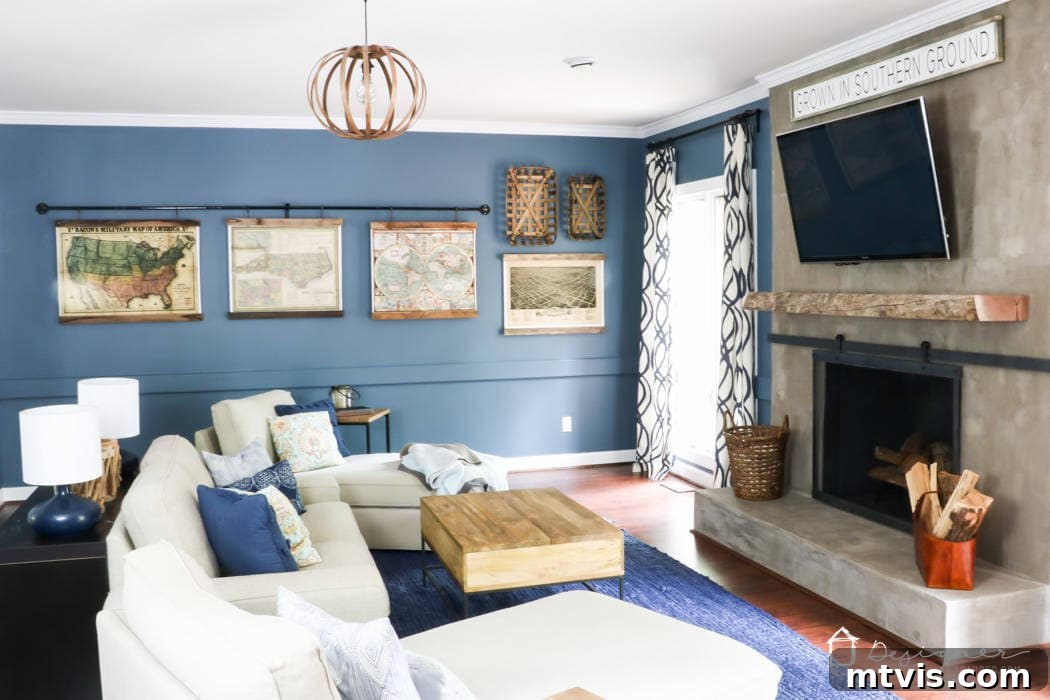
Due to the length of our 10-foot pipe, we were able to hang three of our custom-framed maps. The fourth map found its perfect spot on an adjacent wall, above which we added these gorgeous North Carolina tobacco baskets. These baskets introduce a wonderful element of texture and dimension, breaking up the wall space beautifully. Plus, they carry a rich history, representing the heritage of the great state of North Carolina, adding another layer of meaning to our decor.
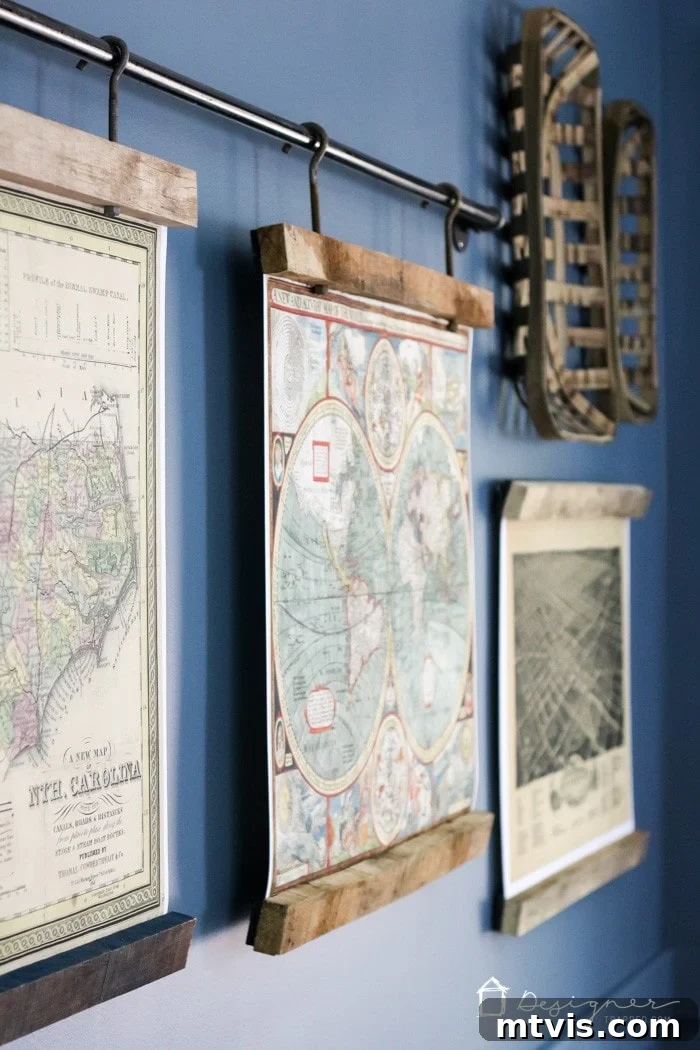
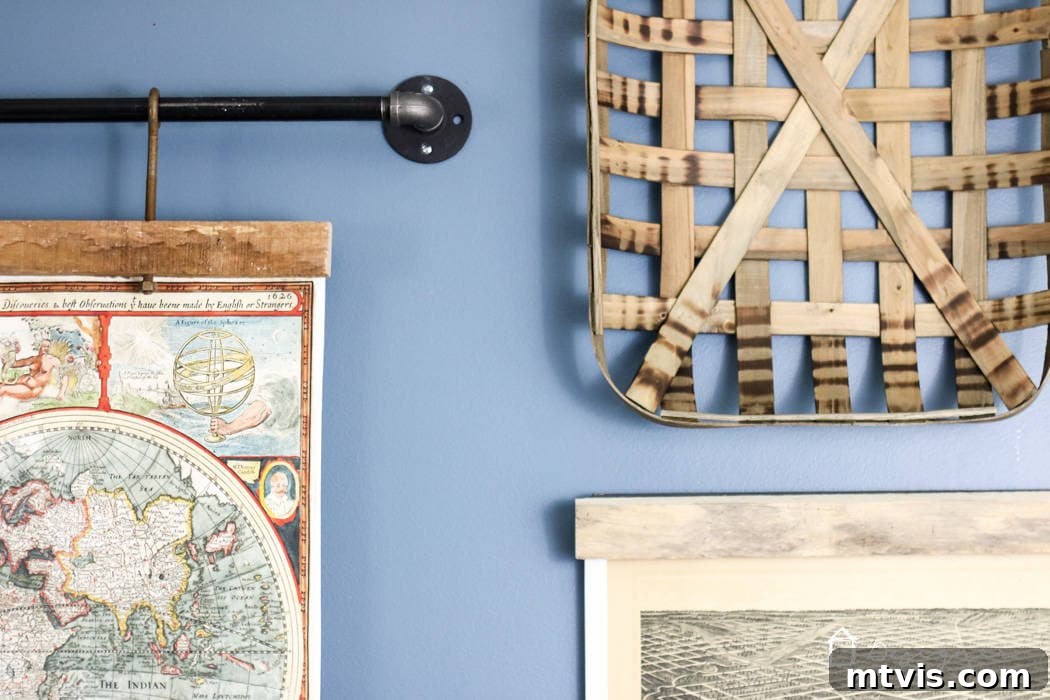
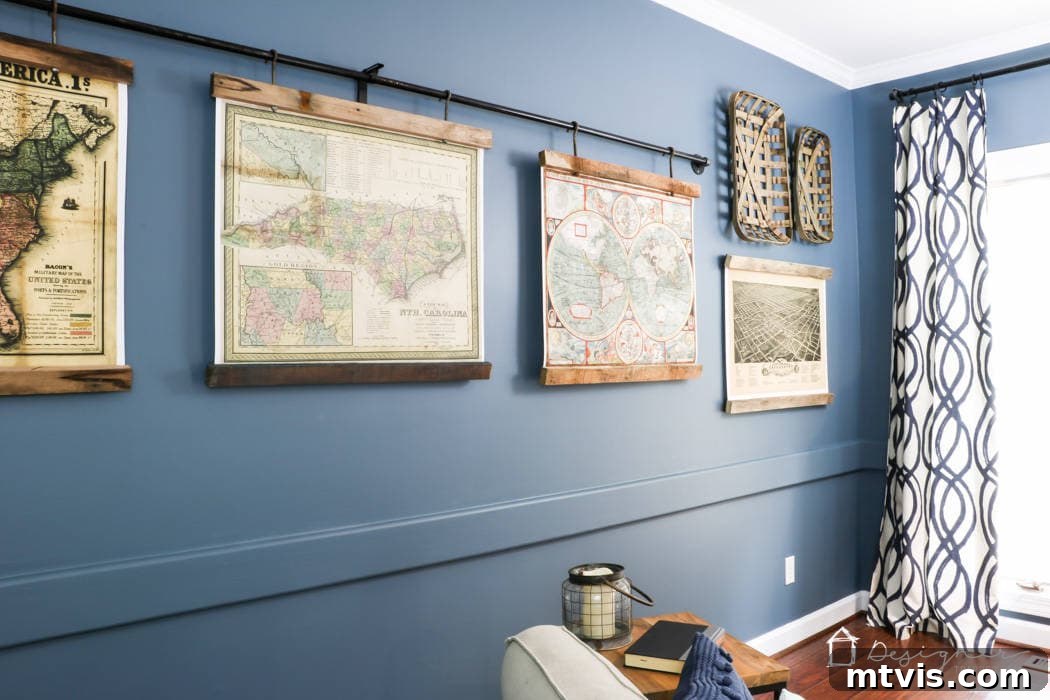
We are genuinely thrilled with this project and the character it brings to our family room. What do you think of this unique approach to framing and display?
If you’re inspired by this project but need guidance on styling the rest of your room, be sure to check out our FREE guide on creating cohesive and beautiful interior spaces!
Source List:
- Wall color- Phillipsburg Blue by Benjamin Moore
- DIY bentwood pendant light- tutorial can be found here
- Tobacco baskets