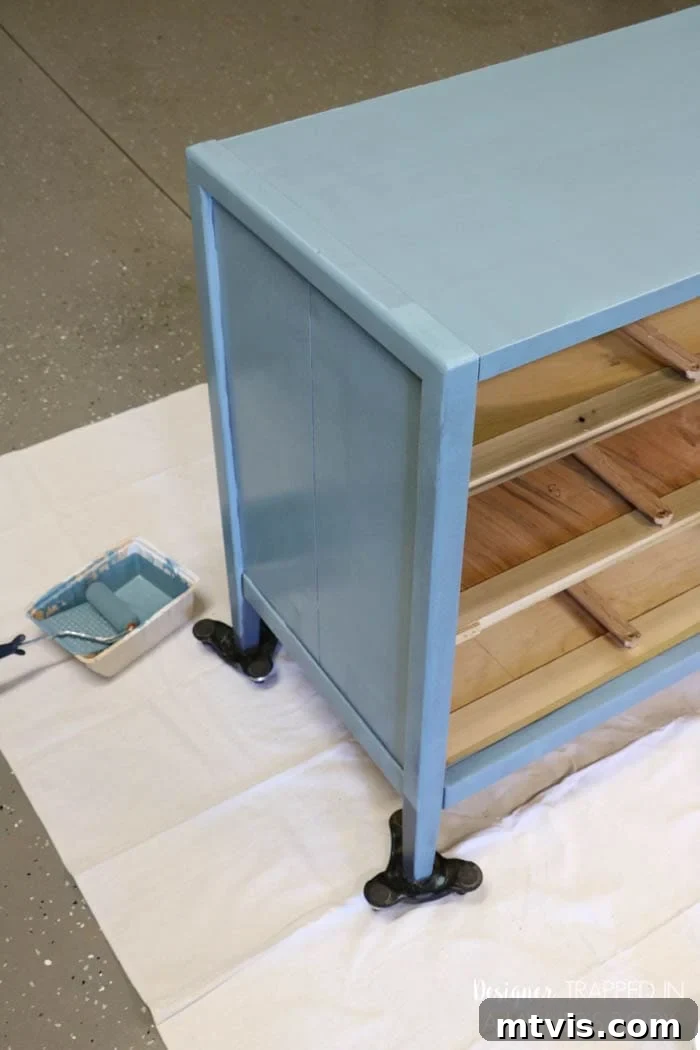
Do you own a dresser that you adore, but its current color clashes with your home’s aesthetic? Or perhaps you have a sturdy piece with great potential, yet its exterior shows significant wear and tear? The good news is, a fresh coat of paint can perform an incredible transformation on any furniture piece! This comprehensive, step-by-step guide will walk you through the proper techniques to paint a dresser, ensuring an easy process and delivering beautiful, long-lasting results that will stand the test of time.
First published in 2015 and thoroughly updated in March 2023, this tutorial outlines a method I consistently rely on for painting furniture. In fact, the very dresser featured in this article is still looking flawless over seven years later. My personal experience stands as a testament to the effectiveness and durability of this approach, confirming that this tutorial truly delivers on its promise.
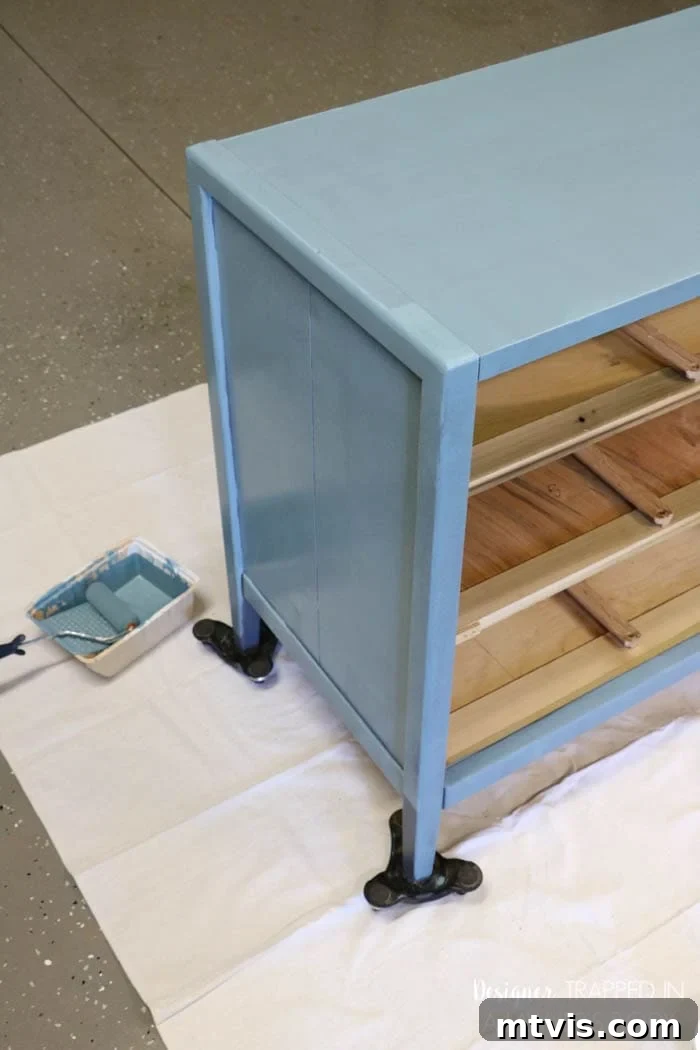
Table of Contents
Choosing the Right Paint for Your Dresser: A Crucial Decision
The type of paint you select for your furniture project is paramount and can make all the difference between a durable, beautiful finish and one that quickly peels and shows imperfections. It’s such a critical factor that I’ve dedicated an entire article to the best paints for every type of furniture. For painting a dresser, however, here’s a concise overview of what to use and, more importantly, what to avoid.
Paints to Avoid for Furniture
DO NOT PAINT YOUR FURNITURE WITH LATEX PAINT OR STANDARD SPRAY PAINT.
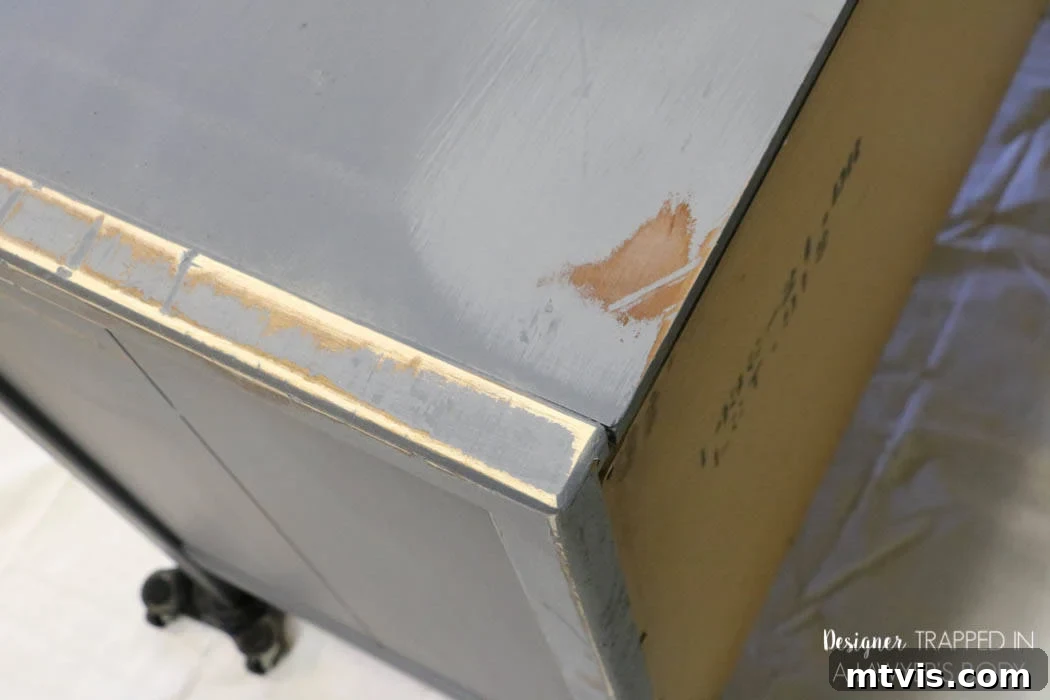
That can of leftover wall paint in your garage? It’s most likely latex paint, and it’s generally unsuitable for furniture. Why? Latex paint, while excellent for walls, tends to peel easily from furniture surfaces due to lack of proper adhesion. It also typically results in noticeable brush strokes, which detract from a smooth, professional finish. The dresser I rescued and restored for this very tutorial had previously been painted with latex paint, and the unsightly brush strokes and peeling areas were evident. When it comes to using latex paint on furniture, remember this simple rule: “Just don’t do it.” Standard spray paints often suffer from similar adhesion issues and lack the durability required for frequently used furniture.
This post contains affiliate links for your convenience. Click here for my full disclosure policy.
So, what should you use? Here are the types of paint I highly recommend for painting a dresser, known for their excellent adhesion, durability, and smooth finish:
Chalk Paint
Chalk-based paint is a water-based option characterized by its ultra-flat finish and exceptional adhesion properties. Its strong bonding capabilities mean that chalk paint typically requires minimal surface preparation, often making it a favorite for quick makeovers. While inherently durable, its longevity can be significantly enhanced with a wax finish, which is both easy and fast to apply. Another notable advantage of chalk paint is its self-leveling nature, which effectively minimizes unsightly brush marks. Among the many brands, Amy Howard at Home’s One Step Paint is a particularly excellent choice for achieving a beautiful, lasting finish.
Mineral Paint
Mineral paint is formulated using natural earth minerals for its vibrant pigments, blended with a binder such as acrylic resin and a solvent. This composition grants mineral paint superior adhesion and makes it incredibly durable, often eliminating the need for a separate topcoat. My absolute favorite mineral paint is Fusion Mineral Paint. Similar to chalk paint, it requires very little prep work, saving you valuable time. I’ve personally used Fusion Mineral Paint to revitalize everything from furniture pieces to kitchen cabinets, and it has consistently delivered outstanding results. It’s my go-to furniture paint, and while I’ve never been sponsored or paid by Fusion Mineral Paint, I’m genuinely a huge advocate for its quality and performance.
EXCLUSIVE DISCOUNT
While I’m not sponsored by Fusion Mineral Paint, they’ve generously extended a 10% discount to my readers. This discount will be automatically applied when you click and orderhere.
Remember, a little goes a long way with this paint! For context, we only needed four pints to paint the entire wood surface of our kitchen cabinets during our budget-friendly kitchen makeover. Minimal preparation, often just a light hand-sanding on a clean surface, is all that’s needed. We achieved stunning results on Thea’s kitchen cabinets with less than 30 minutes of light sanding for all cabinets combined, and they remain in perfect condition years later – absolutely no peeling or chips! Witness the incredible transformation for yourself.
Acrylic Paint
A high-quality acrylic paint offers excellent adhesion and applies smoothly, thanks to its good self-leveling properties. It is significantly more durable than latex paint, making it a reliable choice for furniture. With minimal prep work, acrylic paint creates a tough, long-lasting finish, often rendering a separate topcoat optional depending on the piece’s use. For superior results, General Finishes Milk Paint is an outstanding high-quality acrylic option that consistently delivers professional-grade finishes.
Sanding a Dresser for Painting: Less is Often More
The question of sanding is a common one, and the answer is nuanced: you can kind of paint a dresser without extensive sanding. If you opt for one of the high-quality paints I recommended above (chalk, mineral, or acrylic), you absolutely do not need to strip your dresser down to bare wood or painstakingly remove all the old paint and finish. Instead, your sanding efforts should be minimal and targeted.
Focus on spot sanding any areas that are rough to the touch, or where the old paint or finish is peeling or flaking. For dressers with a very shiny or smooth surface, a light “scuff sanding” across the entire piece is beneficial. This process isn’t about removing material but about creating a slightly abraded surface that provides better adhesion for the new paint. Think of it as creating tiny “teeth” for the paint to grip onto. This light scuff sanding should typically take under 5 minutes for most dressers.
It’s important to note that if you’re working with laminate furniture (such as many IKEA pieces), the preparation process differs slightly to ensure proper adhesion. For a detailed guide on how to tackle such projects, you can refer to my post dedicated to how to paint laminate IKEA furniture.
Finding Your Perfect Dresser Project: Where to Look
Finding the ideal dresser to transform is often part of the fun! While I discovered the dresser featured here at a local thrift shop, I’ve had tremendous success searching online marketplaces. Facebook Marketplace, for instance, is a treasure trove for affordable, often free, furniture pieces. Many local “FREE/Sell/Trade” groups on Facebook are also excellent resources where people frequently give away dressers they no longer need.
When searching for a used dresser, keep an eye out for solid wood construction, as these pieces tend to be more durable and better candidates for painting. Don’t be deterred by surface imperfections like scratches or outdated finishes; these are exactly what paint can fix! However, always check for structural integrity – ensure drawers slide smoothly (or can be repaired), and that the frame is sturdy, with no major breaks or wobbles. A little assessment upfront can save you headaches down the line and ensure your painted masterpiece lasts.
Step-by-Step Guide: How to Prep and Paint a Dresser for Lasting Beauty
Painting a dresser can be a quick and rewarding project when you follow the right preparation steps and use high-quality products. Here’s how to paint a dresser like a pro!
Materials Needed
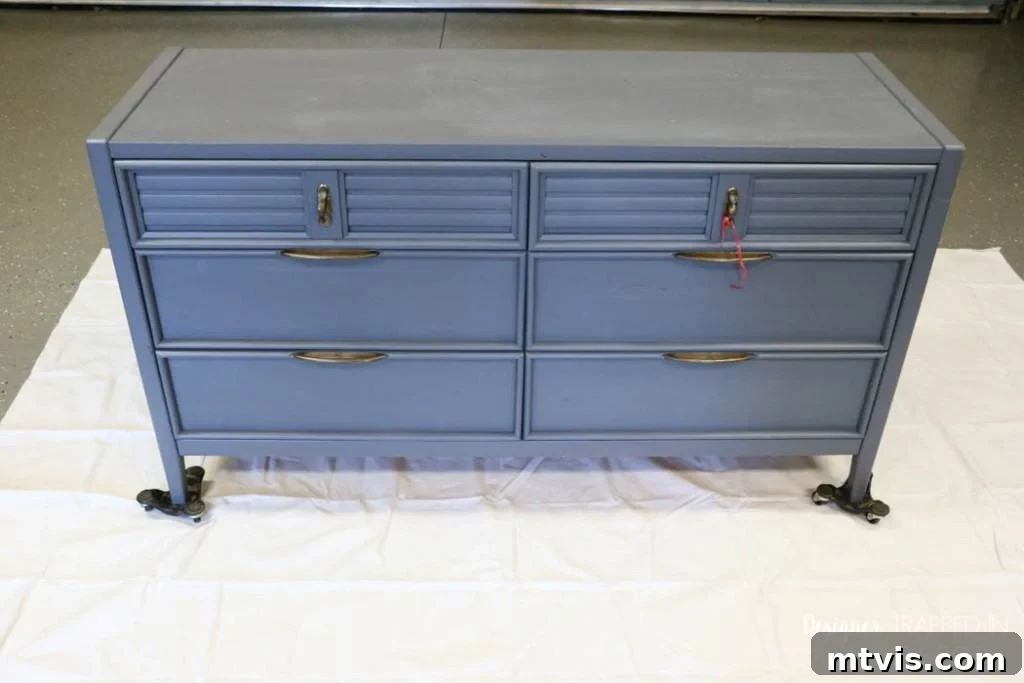
For this specific dresser makeover, I chose Amy Howard One Step Paint in Vintage Affliction. Remember, any of the recommended furniture paints will yield fantastic results.
- Simple Green or Krud Kutter (diluted with water per instructions)
- Clean Water
- Paper Towels or Lint-Free Cloths
- Your chosen furniture paint (e.g., Amy Howard One Step Paint, Fusion Mineral Paint, or General Finishes Milk Paint)
- Optional: Amy Howard Light Antique Wax
- Optional: Amy Howard Dark Antique Wax
- Medium-grit sandpaper (120-180 grit)
- Wood filler or Bondo (for repairs, if needed)
- Paint brushes (angled for detail, flat for larger areas)
- Foam roller (for smooth finish on flat surfaces)
- Scrap cardboard (for offloading excess paint/wax)
- Drop cloths or old sheets
- Screwdriver or drill (for hardware removal)
- Tupperware bin or plastic bag (for hardware storage)
- Optional: Bar Keepers Friend (for cleaning hardware)
Step-by-Step Instructions
Time needed: Approximately 3-5 hours (including drying time)
-
1. Prepare Your Workspace.
Choose a well-ventilated area, preferably outdoors or in a garage, to minimize fumes and allow for proper paint drying. Lay down drop cloths or old sheets to protect your floors and surrounding surfaces from paint drips and dust.
-
2. Remove Hardware and Disassemble Drawers.
Carefully remove all knobs, pulls, and any other hardware from your dresser and drawers. Place them in a labeled container or Tupperware bin to prevent losing small pieces like screws. This ensures you won’t lose them and makes painting easier. Remove the drawers from the dresser frame; painting them separately allows for a more even coat and prevents paint from sealing them shut.
-
3. Spot Sand as Needed.
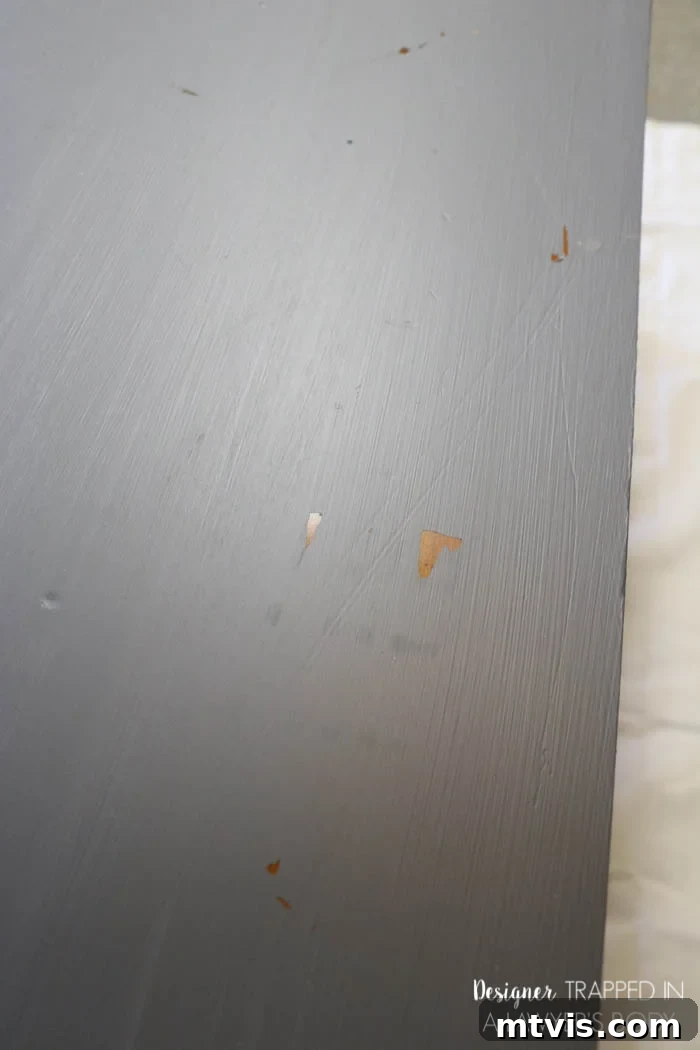
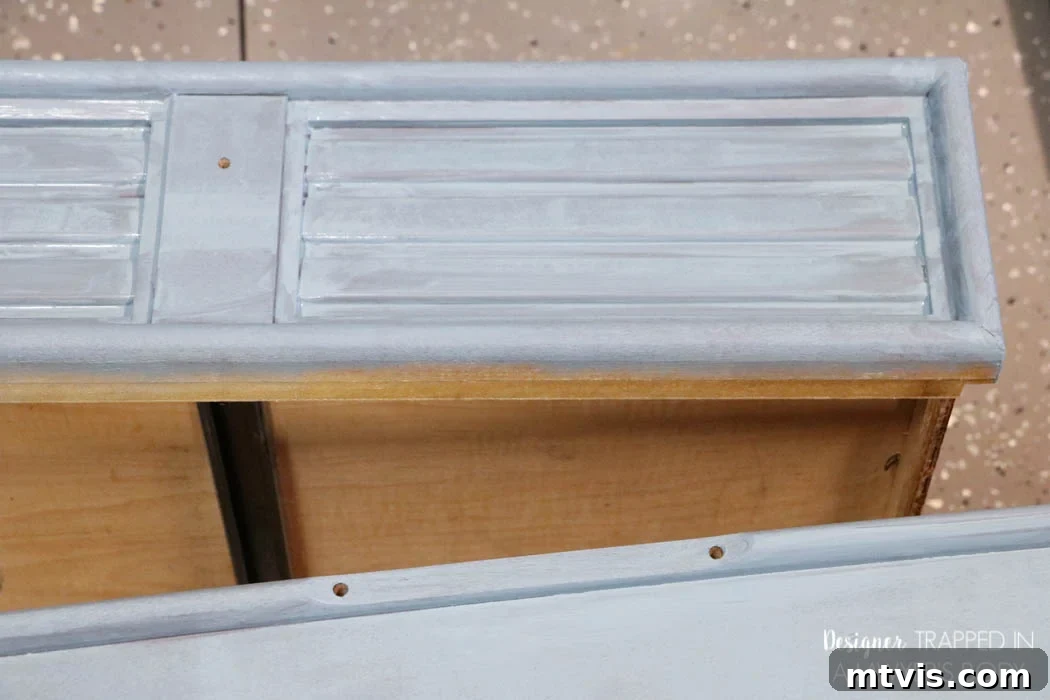
As previously discussed, extensive sanding is often unnecessary with high-quality furniture paints. Focus on any really rough spots, areas where the old finish is peeling, or deep scratches, using medium-grit sandpaper (120-180 grit). Your goal is to smooth out imperfections, not remove all existing finish. If your dresser is exceptionally shiny or smooth, a quick, light “scuff sanding” over the entire surface will help create a better bond for the paint. This step should be quick and easy, typically taking no more than 5 minutes for a standard dresser. If you have any deep gouges or holes, now is the time to fill them with wood filler or Bondo, allowing them to dry completely before a final light sand.

Targeted sanding for peeling or rough spots on your dresser. -
4. Clean Your Dresser Thoroughly.
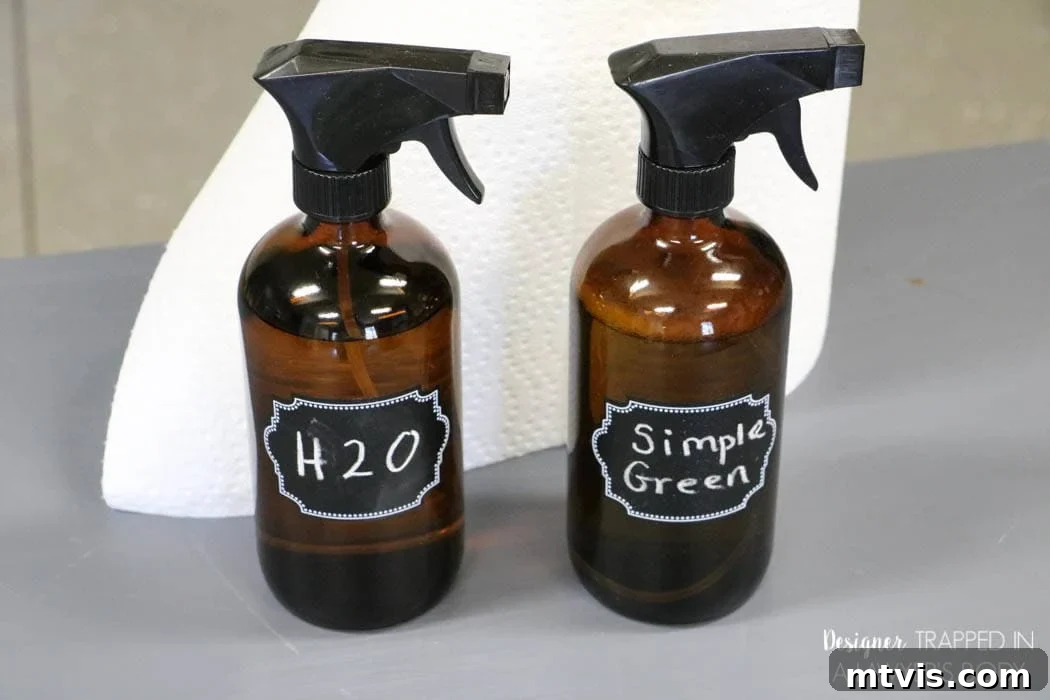
After sanding, wipe off all dust with a tack cloth or a damp paper towel. Then, use a degreaser like Simple Green or Krud Kutter (diluted according to instructions) to thoroughly clean your piece, removing any grime, grease, or sticky residue. This is a critical step for paint adhesion. After cleaning, spray your dresser down with clean water and dry it completely with fresh paper towels or a lint-free cloth. Ensure no cleaning solution residue remains, as it can interfere with the paint’s ability to stick.
Cleaning the dresser ensures proper paint adhesion and a smooth finish. -
5. Apply Primer (If Necessary).
While high-quality furniture paints often don’t require primer, there are instances where it’s beneficial. If your dresser is made of a wood known to bleed (like mahogany or knotty pine), has lingering stains, or if you’re painting a very dark piece a much lighter color, applying a stain-blocking primer is a wise choice. This will prevent tannins from bleeding through your new paint and ensure true color. Allow primer to dry completely according to manufacturer instructions.
-
6. Paint Your Dresser.
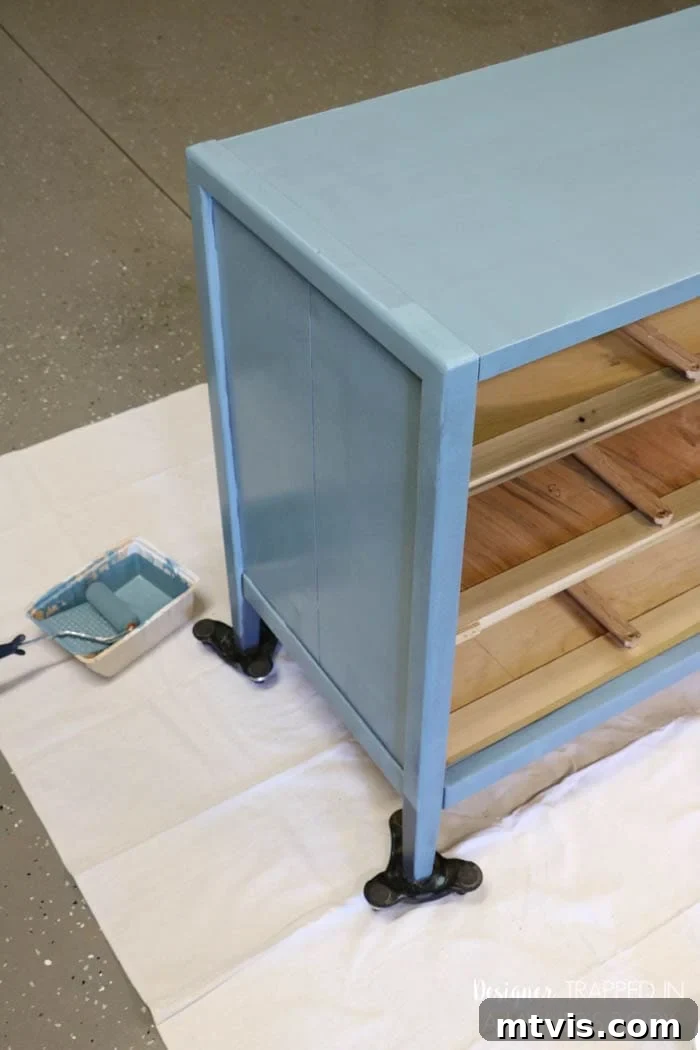
With your dresser prepped, it’s time to paint! Apply your first thin, even coat of paint. For large, flat surfaces, a foam roller will help achieve a smooth, virtually brush-stroke-free finish. Use a good quality angled paintbrush for detailed areas, edges, and corners. Allow the first coat to dry completely – typically 1-2 hours, but check your paint manufacturer’s recommendations.
Apply a second thin coat of paint. Two thin coats are always better than one thick coat, as thick coats are more prone to chipping and brush marks. For the dresser shown, two coats of Amy Howard One Step Paint in Vintage Affliction required only one 8-ounce container, demonstrating how far this type of paint goes! I skipped painting the back of the dresser as it would be placed against a wall.
While a paint sprayer can yield an exceptionally smooth, factory-like finish, it’s not strictly necessary for beautiful results. I only use my paint sprayer about 50% of the time for furniture pieces due to the added setup and cleanup time.
Applying the first coat of paint with a roller for smooth coverage. Ensuring full coverage on all surfaces of the dresser. -
7. Clean and Reinstall Hardware.
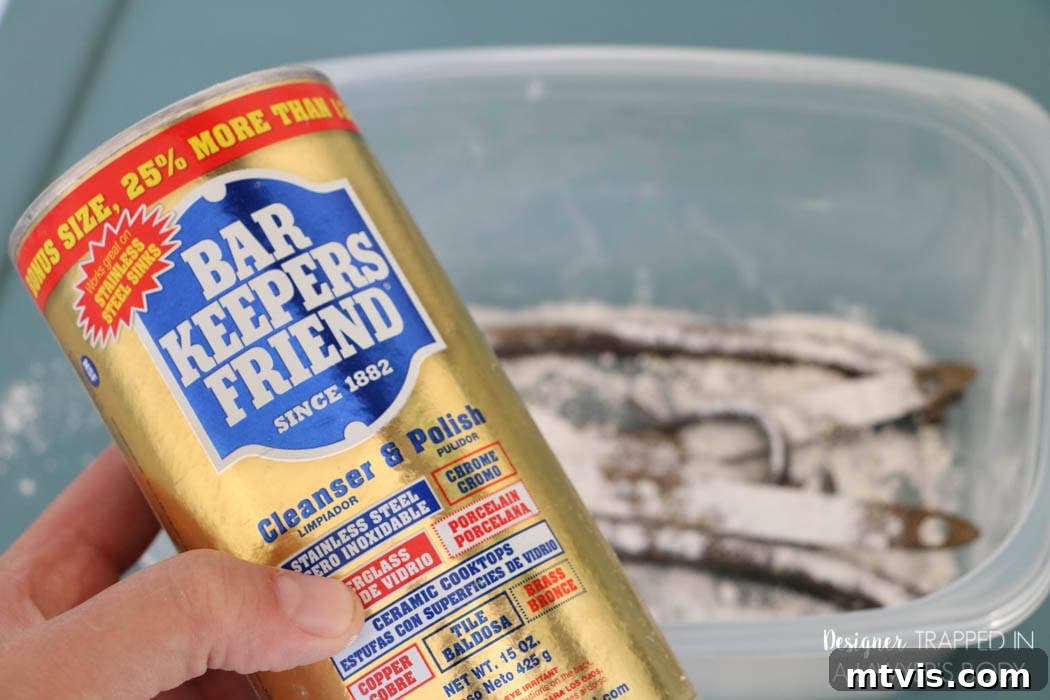
While your paint dries, take the opportunity to clean your hardware. Bar Keepers Friend is incredibly effective and inexpensive for restoring shine to metal hardware. Once cleaned and dried, set it aside. After your paint is completely dry and cured (allow 24-48 hours), carefully reattach all hardware.
Cleaning original hardware to complement the new paint job. -
8. Apply a Wax Finish or Topcoat (Optional but Recommended).
While many quality furniture paints offer good durability on their own, applying a topcoat or wax provides an extra layer of protection and can enhance the finish. For chalk paint, a wax finish is traditional and adds depth and a subtle sheen. For mineral or acrylic paints, a clear polycrylic topcoat offers superior protection, especially for high-traffic pieces.
For Wax: Once your painted piece has good coverage and is fully dry, you’re ready to apply antiquing wax. Amy Howard Light Antique Wax imparts a subtle dark tint, creating depth and a realistic antique look. Load your brush with wax, then offload any excess onto scrap cardboard. Use very light “x” motion strokes to cover your entire piece. Buff immediately with a lint-free cloth until it’s no longer sticky. If you desire a more heavily distressed, antiqued, or “grunge” look, after the light wax has dried to a slightly tacky state (a few minutes), apply Amy Howard Dark Antique Wax. Apply sparingly, focusing on edges and corners, feathering it lightly towards the center.
For Polycrylic Topcoat: Apply 2-3 thin coats of a water-based polycrylic (like Minwax Polycrylic or General Finishes High Performance Topcoat) using a foam brush or sprayer. Allow adequate drying time between coats and lightly sand with 220-grit sandpaper for an ultra-smooth finish between the final two coats.
That’s it! This process is surprisingly easy. I completed my entire dresser makeover, including paint drying time, in just a few hours. The effort is well worth the incredible transformation!
In our new house, this beautifully painted dresser now serves as a stylish DIY coffee bar in a cozy nook off our kitchen. The paint on the dresser still looks absolutely PERFECT more than 7 years later, proving the method’s enduring quality!
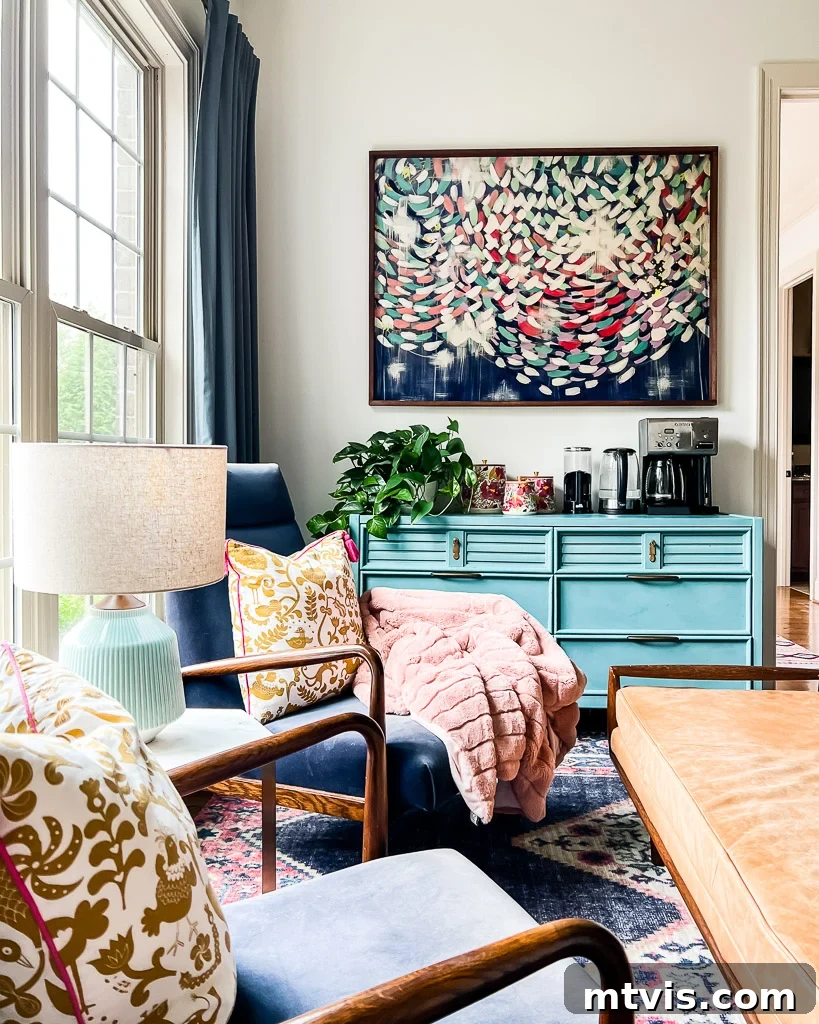
The durability of this paint is truly remarkable; it holds up year after year and is incredibly easy to clean. You’ll be amazed at how a simple coat of the right paint can completely revitalize a piece of furniture, giving it a second life and a fresh, updated look that complements your home decor.
Caring for Your Newly Painted Furniture
To ensure your beautifully painted dresser remains pristine for years to come, proper care is essential. For most furniture paints, simply wipe down the surface with a damp, soft cloth to remove dust and light smudges. Avoid harsh chemical cleaners or abrasive sponges, as these can damage the paint finish or protective wax/topcoat. If you used a wax finish, re-waxing annually or bi-annually can help maintain its protection and sheen. For pieces finished with a polycrylic topcoat, occasional gentle cleaning is all that’s typically needed. Always lift objects rather than dragging them across the surface to prevent scratches, and use coasters under drinks to avoid water rings. With a little care, your DIY painted dresser will continue to be a stunning and functional piece in your home.
More Paint Posts
SEE ALL PAINT POSTS
-
9 Life-Changing Painting Hacks Everyone Should Know
-
How Durable are DIY Painted Kitchen Cabinets?
-
How to Paint Kitchen Cabinets (From a DIYer Who Has Done it 3 Times)
-
How Have Our Painted Countertops Held Up?
-
How to Paint IKEA Furniture and Mistakes to Avoid
-
How Much Paint Do I Need for My Room?
Wondering how I approach transforming rooms and spaces in our home? Check out Designer in a Binder® for a structured approach to interior design.
For exclusive content, behind-the-scenes glimpses, and the latest DIY tips delivered straight to your inbox, be sure to subscribe to my newsletter before you go!