Revitalize Your Outdoor Space: A Comprehensive Guide to Teak and Acacia Furniture Restoration
Is your beloved outdoor teak or acacia furniture looking a little neglected? After enduring years of sun, rain, and changing temperatures, even the most resilient hardwoods can lose their luster. If you’re wondering how to restore teak furniture to its original glory, you’ve come to the right place. We recently gave our own weathered patio set a much-needed makeover, and the results were stunning! This detailed guide will walk you through every step of transforming your outdoor wood furniture, making it look beautiful and extending its lifespan for years to come.
The Enduring Appeal of Teak and Acacia for Outdoor Furniture
Teak and acacia are highly favored for outdoor furniture due to their exceptional durability, natural beauty, and resistance to the elements. Teak, a dense hardwood, is naturally rich in oils and rubber, giving it inherent waterproof properties and protection against rot, pests, and extreme weather. This is why teak outdoor furniture is a premium choice, known for its longevity.
Similarly, acacia wood is celebrated for its strength, hard-wearing nature, and attractive grain patterns. Like teak, it’s naturally resistant to moisture and often used in high-quality outdoor furnishings. Both woods, when properly cared for, can withstand the rigors of outdoor living for decades. The key is understanding their unique characteristics and providing appropriate maintenance.
Our Experience: From Golden Glow to Weathered Woes
When we first purchased our teak dining table set and incredibly comfortable acacia rocking chairs for our deck makeover a couple of years ago, they were absolutely stunning. Their vibrant, golden-brown hues added a warm and inviting touch to our outdoor space. This is how they looked when brand new, perfectly complementing our home (you can see more in our full home tour).


However, we quickly realized a crucial detail: these pieces weren’t simply treated with natural oil. They were coated with a tinted protector, similar to a semi-transparent deck stain. This meant they wouldn’t naturally “gray” over time in an attractive, uniform manner like untreated teak. Untreated teak naturally develops a beautiful, silvery-gray patina when exposed to the elements, a hallmark of its aging process. But our furniture’s coating prevented this natural evolution, leading to an undesirable and uneven appearance.
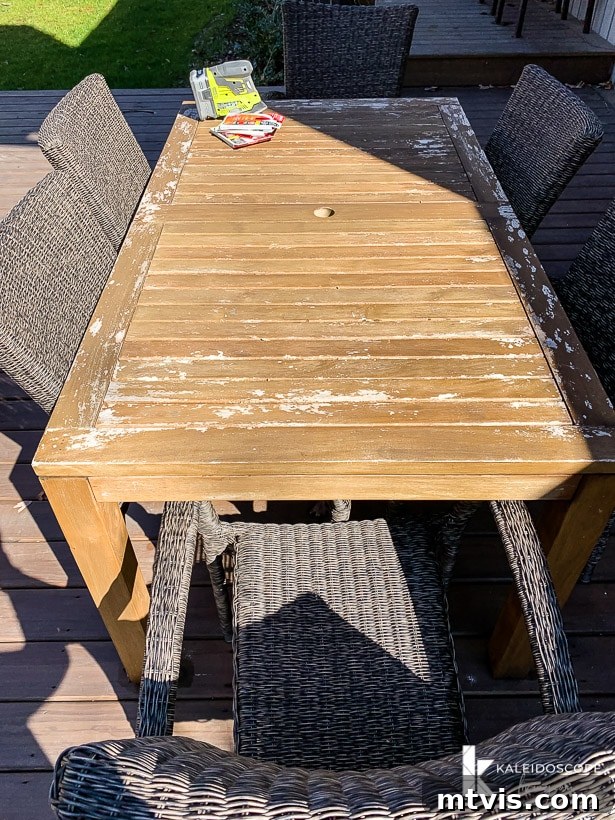
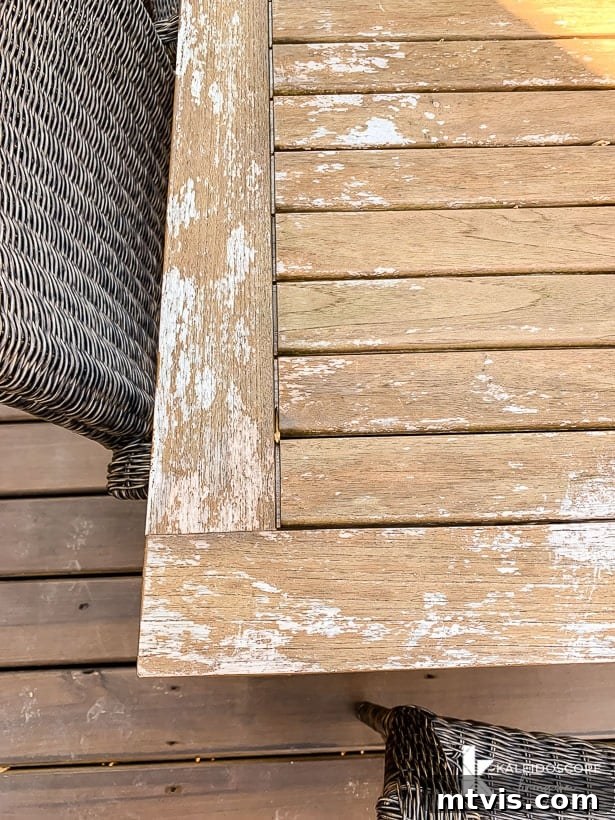
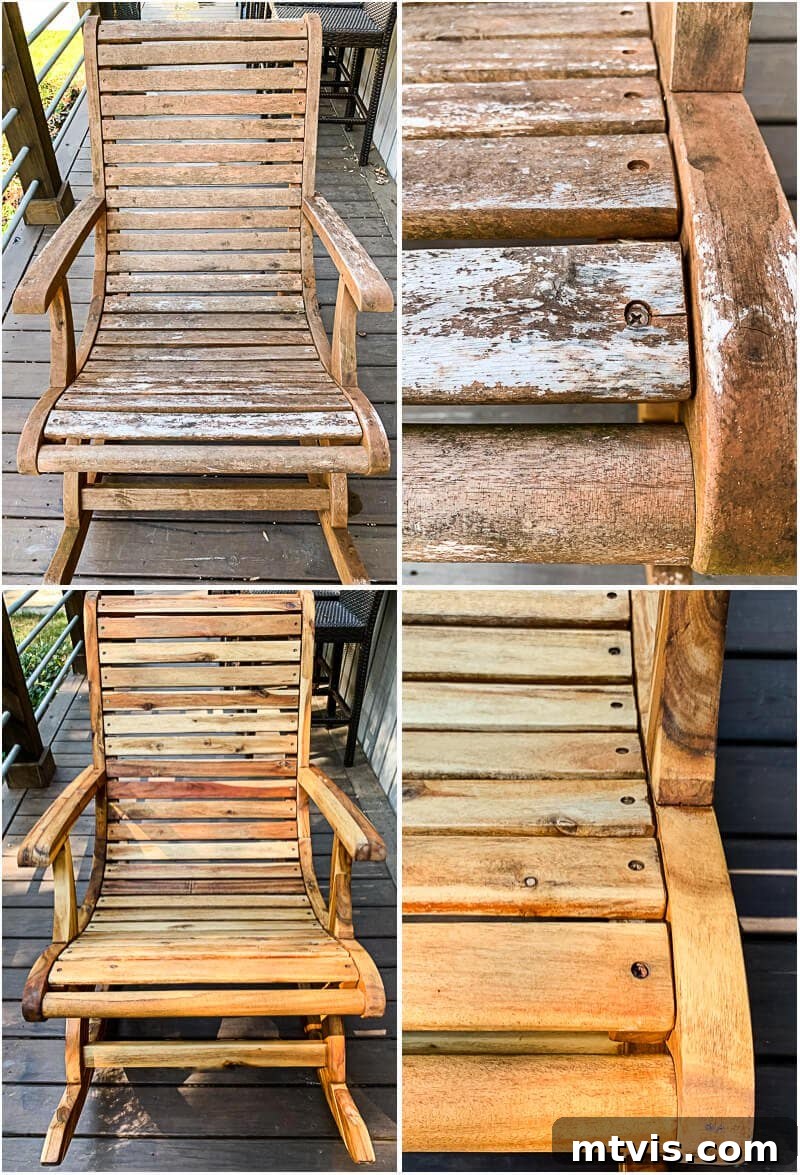
For two years, we neglected reapplying the tinted sealer (a mistake we’re now almost glad we made, as it would have complicated the restoration even further!). The tinted coating began to chip and wear unevenly, revealing patches of naturally graying wood beneath. The contrast was stark and frankly, not a good look for our patio. This is what our outdoor teak table and acacia rocking chairs looked like after two years of neglect.
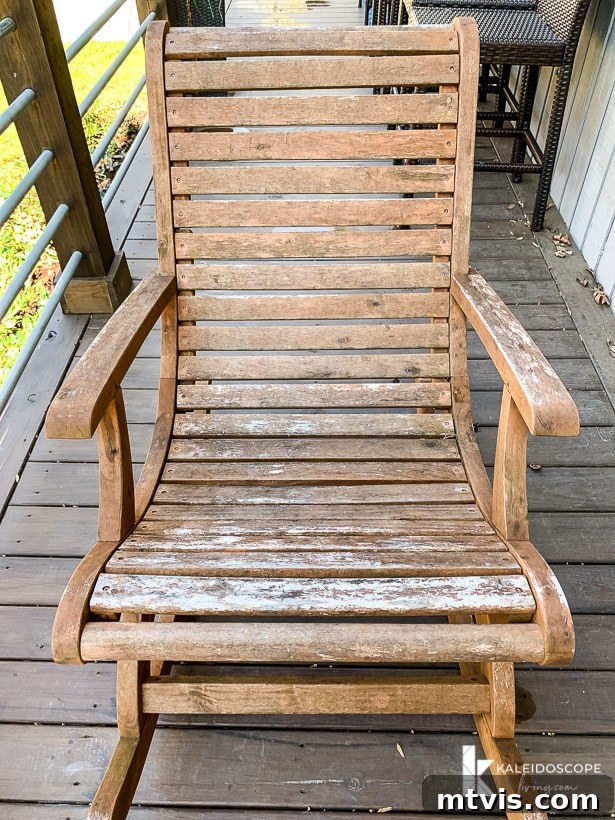
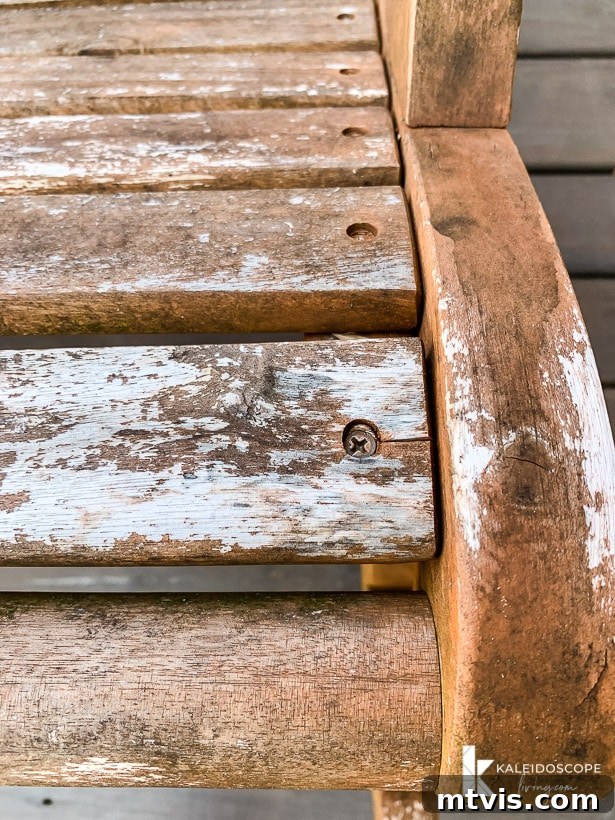
The good news? This transformation is entirely possible, and while it requires some time and effort, it’s truly a rewarding DIY project. Let’s dive into how you can bring your own outdoor teak and acacia furniture back to life.
This post contains some affiliate links for your convenience. Click here to read my full disclosure policy.
How to Restore Teak and Acacia Outdoor Furniture
Restoring your outdoor wood furniture involves a few key steps, each designed to strip away the old, damaged surface and nourish the raw wood underneath. While the process may seem daunting, it’s largely straightforward and can be a fantastic weekend project.
Materials Needed to Restore Teak and Acacia Furniture
- Sandpaper: You’ll need various grits, starting coarse (e.g., 80-100 grit) to remove the old finish, moving to medium (e.g., 120-150 grit), and finishing with fine (e.g., 180-220 grit) for a smooth surface.
- Electric Sander: An orbital sander is ideal for large, flat surfaces like tabletops, providing efficient and even sanding. A detail or corner sander is invaluable for intricate areas, curves, and hard-to-reach spots on chairs. While hand sanding is possible, it’s significantly more time-consuming and can lead to uneven results.
- Pressure Washer (optional, but highly recommended): A pressure washer makes quick work of cleaning off sawdust and grime. If you don’t have one, a strong hose nozzle and a stiff brush will also work.
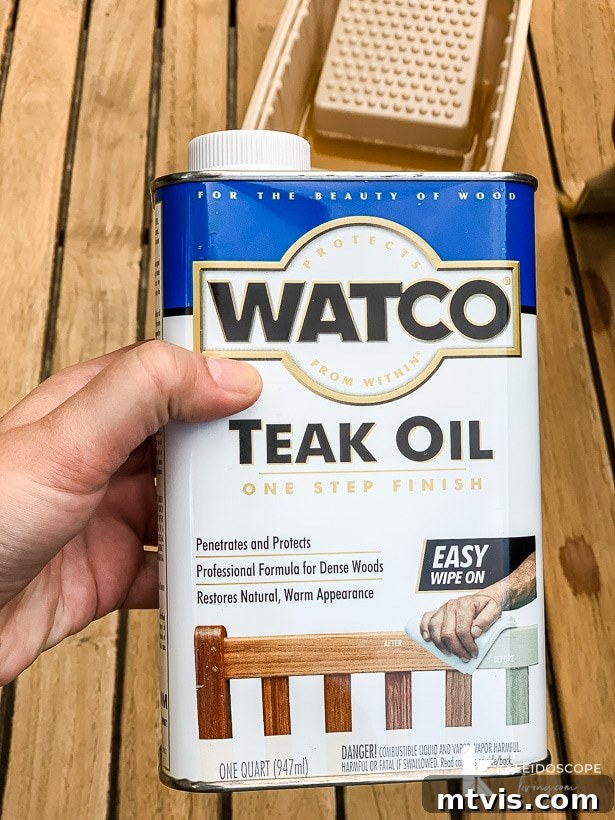
- Teak Oil: This is essential for nourishing and protecting the raw wood. We used two gallons of Watco Teak Oil for our four oversized rocking chairs and a large dining table, applying two generous coats to each piece. Choose a high-quality teak oil that penetrates and protects the wood, enhancing its natural color without forming a film.
- Clean Rags or Applicator Pads: For applying the teak oil. Ensure you have plenty on hand.
- Protective Gear: Safety glasses, dust mask, and gloves are important, especially during sanding.
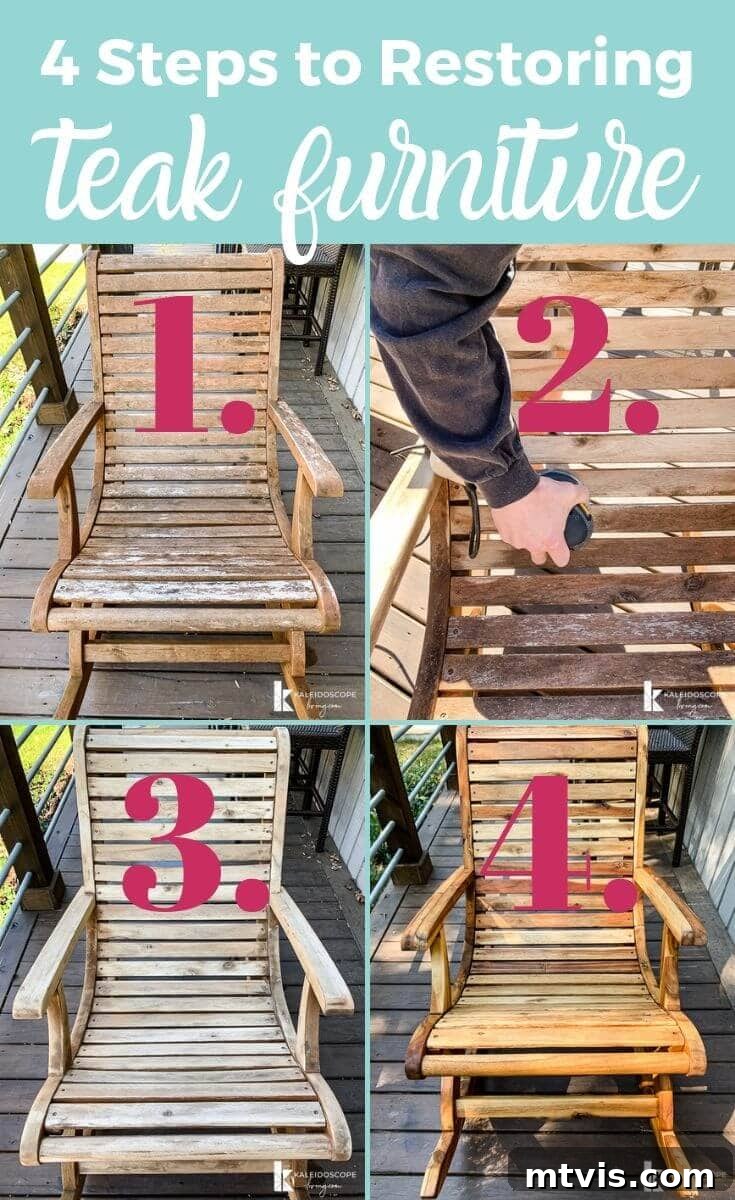
Step 1: Sand to Reveal the Natural Beauty
The first and most critical step is sanding. Your goal is to completely remove any old finish, discoloration, and weathered gray layers until you expose the fresh, raw wood beneath. Begin with a coarser grit sandpaper (around 80-100) to tackle stubborn coatings or heavily weathered areas. For large, flat surfaces, an orbital sander will be your best friend, making the job much faster and more consistent. For curved parts, spindles, or intricate designs on your chairs, a detail sander or careful hand sanding with a sanding block will be necessary.
Once the initial layer is removed, switch to a medium grit (120-150) to smooth out any sanding marks and further refine the surface. Finish with a fine grit (180-220) to achieve a silky-smooth finish that’s ready to absorb the oil. Be patient and thorough; the quality of your sanding directly impacts the final appearance of your restored furniture. Sanding our table was relatively quick, but the four rocking chairs, with their many curves and detailed areas, required more time and attention. Here’s what they looked like after sanding – already a significant improvement!
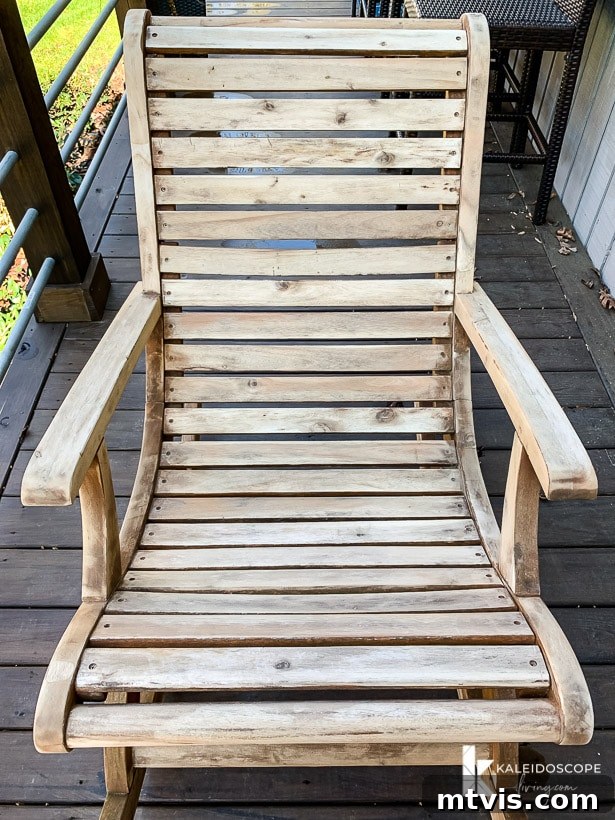
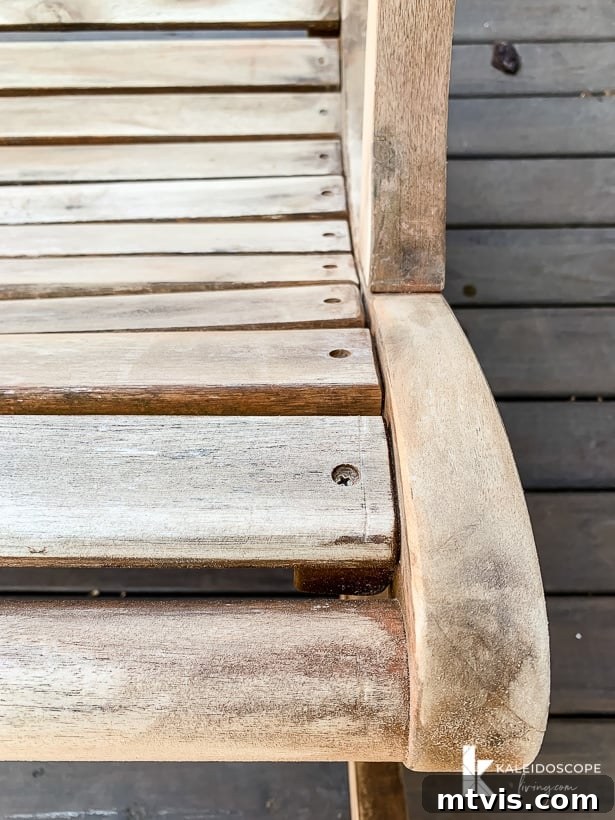
Step 2: Wash Thoroughly
Once all sanding is complete, your furniture will be covered in fine sawdust and potentially residual grime. It’s crucial to clean it thoroughly before applying any oil. A pressure washer is incredibly effective for this step, quickly blasting away all debris from every nook and cranny. Be sure to use a wide spray nozzle and keep a safe distance to avoid damaging the wood.
If you don’t have a pressure washer, don’t worry. A garden hose with a strong sprayer nozzle combined with a stiff-bristled brush can also do the job. Scrub the entire surface, ensuring all sawdust is removed. Rinse thoroughly until the water runs clear. This step ensures a clean canvas for the teak oil, allowing it to penetrate effectively.
Step 3: Allow for Complete Drying
After washing, patience is key. Your furniture must be completely dry before you can apply teak oil. Depending on the humidity and temperature, this can take anywhere from a couple of days to a week. Position your furniture in a sunny, well-ventilated area to expedite drying. If rain is expected, cover your furniture with a tarp or move it indoors to protect it from moisture. Applying oil to damp wood can trap moisture, leading to mold or an uneven finish. We timed our project to coincide with several sunny days, allowing our pieces to dry naturally outdoors.
Step 4: Nourish with Teak Oil
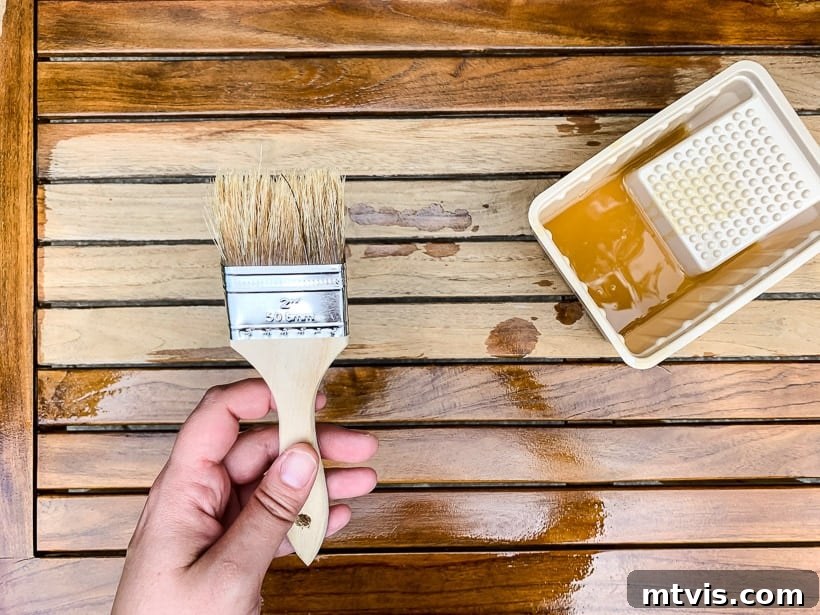
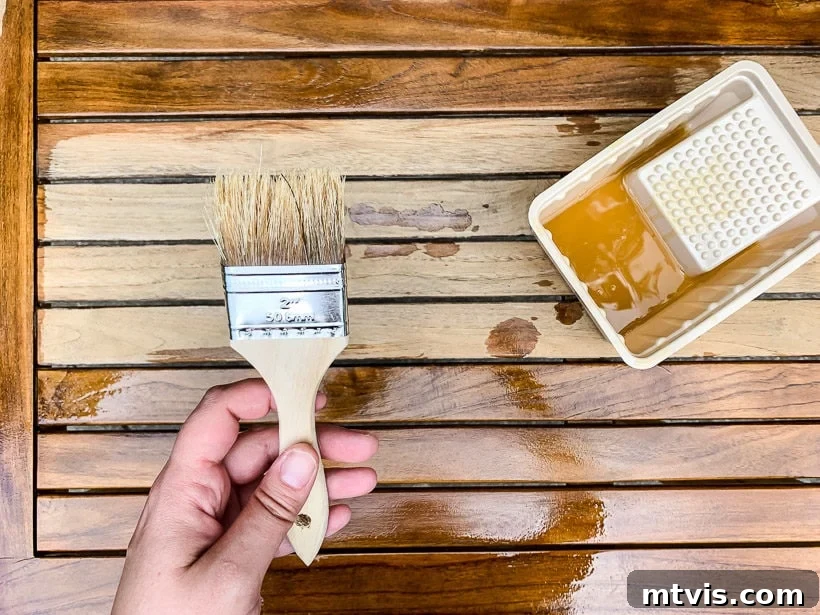
Now for the most satisfying step – applying the teak oil! This is where the magic happens, bringing out the rich, natural colors and grain patterns of the wood. Teak oil deeply penetrates the wood fibers, restoring their inherent protective qualities and creating a beautiful, lustrous finish.
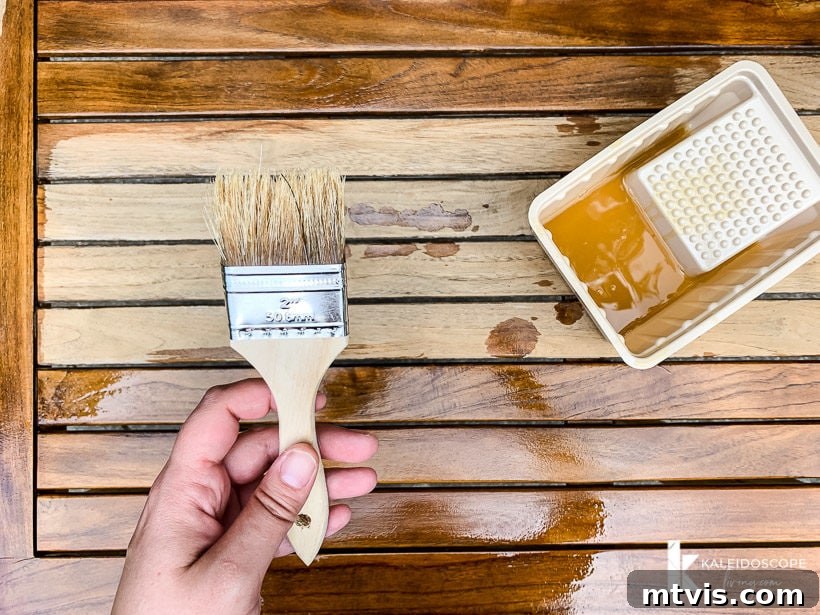
There are no complicated techniques here. Simply apply the oil liberally with a clean cloth or foam applicator, working it into the wood grain. You’ll immediately notice the wood “drinking” up the oil and its color deepening beautifully. We were quite generous with our first coat, ensuring complete saturation. Wipe off any excess oil after about 15-30 minutes, or as directed by the product instructions, to prevent a sticky residue.
For optimal protection and a richer finish, we recommend applying at least two coats. Allow the first coat to fully absorb and dry (this can take a few hours or even a full day, depending on the product and conditions) before applying the second. While waiting a few days between coats (as we did due to our schedule) isn’t strictly necessary, it doesn’t hurt. This step is surprisingly enjoyable, and we even had our girls help, making it a fun family project.

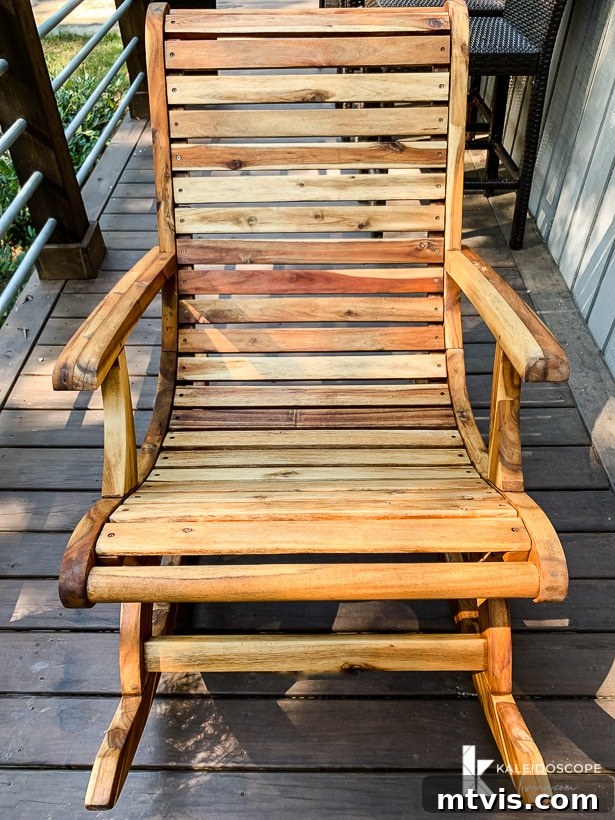
The Stunning Transformation: Before and After
That’s it! The process is surprisingly straightforward, resulting in a dramatic and satisfying transformation. Now that our chairs are done, you can truly appreciate the beautiful, varied colors and natural grain that were previously hidden beneath the original pigmented coating. The raw wood’s inherent beauty now shines through.
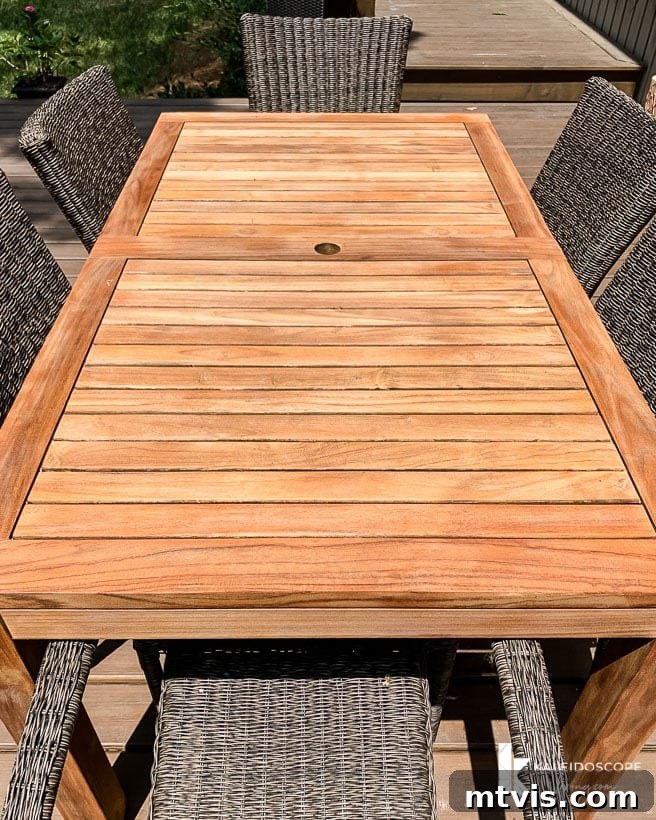
And here’s how our outdoor teak table turned out, looking as good as, if not better than, new!
These before-and-after collages truly capture the incredible revitalization achieved through this restoration process:
Maintaining Your Restored Teak and Acacia Furniture
Now that your outdoor furniture looks fantastic, how do you keep it that way? Regular maintenance is key. For teak and acacia, we recommend reapplying teak oil every 6-12 months, depending on your climate and how much sun exposure your furniture receives. A simple way to check if it’s time for re-oiling is to sprinkle a few drops of water on the surface; if the water beads up, the oil is still protecting it. If it soaks in, it’s time for another coat.
Additionally, regular cleaning with mild soap and water will help prevent dirt and mildew buildup. Use a soft brush or cloth, rinse thoroughly, and allow it to dry completely. During harsh weather or extended periods of non-use, consider investing in high-quality outdoor furniture covers to provide an extra layer of protection against the elements.
Common Pitfalls to Avoid During Restoration
While restoring teak and acacia furniture is manageable, a few common mistakes can hinder your results:
- Insufficient Sanding: Not removing all previous coatings or weathered layers will result in an uneven finish and poor oil penetration. Take your time to get down to raw wood.
- Skipping Drying Time: Applying oil to damp wood can lead to trapped moisture, causing mildew or an uneven, splotchy appearance. Always allow furniture to dry completely.
- Using the Wrong Product: Ensure you use actual teak oil, not a varnish, stain, or general wood sealer. Teak oil is designed to penetrate and nourish, not create a surface film.
- Neglecting Safety: Always wear safety glasses and a dust mask when sanding. Also, be mindful that oil-soaked rags can be a fire hazard; always lay them flat to dry or store them in a sealed, fire-safe container.
By avoiding these pitfalls, you can ensure a successful and long-lasting restoration that you’ll be proud of.
More OUTDOOR IDEAS
SEE ALL outdoor POSTS
-
Fire Pit Ideas for Every Outdoor Space
-
How to Make a DIY Outdoor Chandelier
-
Modern DIY Garden Trellis
-
DIY Outdoor Electrical Box Cover
-
DIY Diamond Wire Trellis for a Vine
-
A Complete Review of Vego Garden Beds: Pros, Cons, and Everything In-between
If you enjoyed learning how to restore teak and acacia furniture in this post, you will love these other outdoor projects of ours:
- DIY Deck Bar
- DIY Outdoor Chalkboard
- Outdoor Games for Families (That Both Kids & Adults Actually Like)
And don’t forget you can take our full house tour by clicking HERE.
Wondering how I approach transforming rooms and spaces in our home? Check out Designer in a Binder®.
And if you want exclusive content and behind-the-scenes sneak peeks, be sure to subscribe before you head out!