
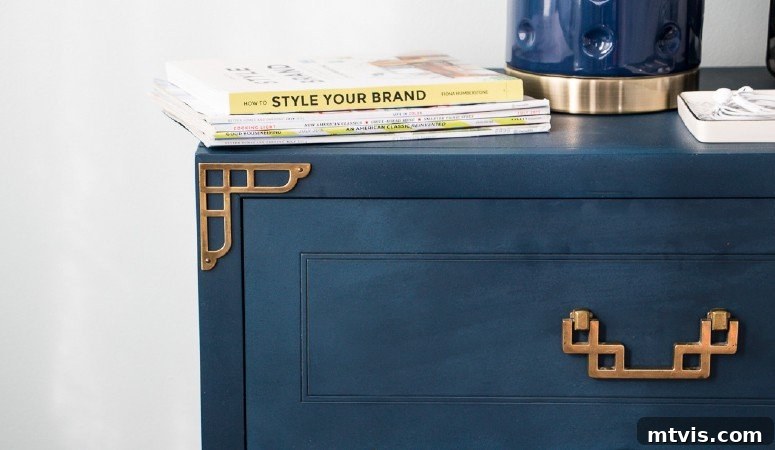
Happy Monday, fellow DIY enthusiasts! I trust you all enjoyed a wonderful weekend. Ours was blessed with magnificent weather, allowing for a rare moment of relaxation – truly delightful! Believe it or not, I didn’t embark on any major home decor projects this past weekend. Instead, that precious free time allowed me to finally document and share a transformation we completed a while back. And today, I’m thrilled to unveil the stunning makeover of our campaign bedside tables!
Stunning Campaign Bedside Table Makeover: A DIY Transformation Story
These pieces now hold a coveted spot in our master bedroom, looking utterly exquisite. It’s hard to believe they’re the same tables we brought home. They aren’t new at all; in fact, their journey to our home began on the side of the road. I literally spotted them in the parking lot of an old storefront, which once sold fruits and veggies but now stands vacant. What started as a casual glance turned into an incredible haul: an entire furniture set, including two bedside tables, a dresser, a chest of drawers, and a mirror, all for an astonishing $160!
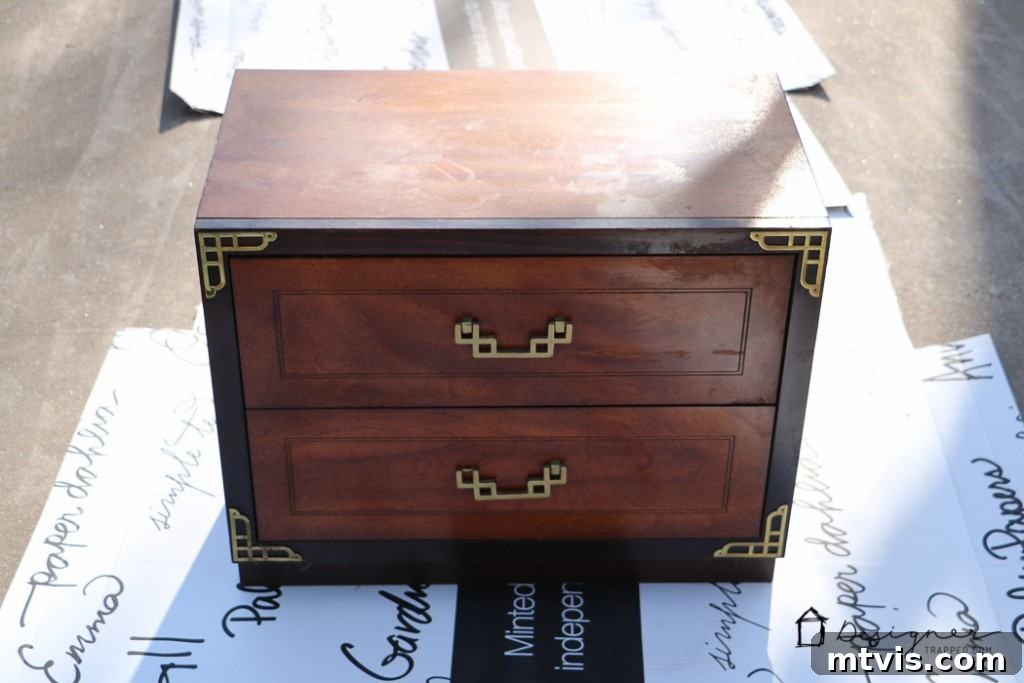
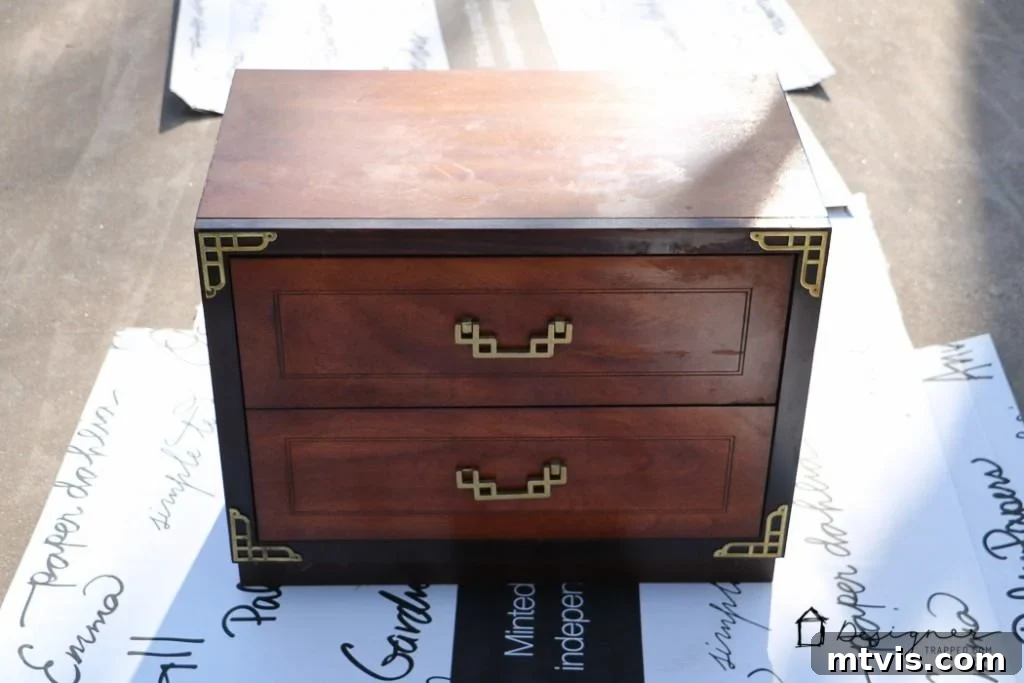
This wasn’t just any roadside furniture; this set boasted solid wood construction and the original brass hardware was in remarkably good condition. It simply needed a little tender loving care to bring it back to life. While the wood itself showed signs of wear and tear, that was a non-issue for me, as I typically prefer painted furniture anyway. This meant I could focus on aesthetics rather than intricate wood restoration. Here’s a glimpse of what the bedside tables looked like when they first arrived at their new home:
The Power of a Sprayer: My HomeRight Experience
Typically, the thought of painting furniture fills me with dread. The endless brushstrokes, the streaks, the time-consuming process – it’s often a chore. However, this time, I was genuinely excited! I couldn’t wait to test out my new HomeRight Finish Max Fine Finish Sprayer and its accompanying spray shelter. These tools promised a game-changing experience, offering a smooth, professional finish with significantly less effort and time. This project was the perfect opportunity to see if they truly lived up to the hype. And spoiler alert: they absolutely did!
This post contains some affiliate links for your convenience. Click here to read my full disclosure policy.
Preparation is Key: Gathering Your Essential Tools and Materials
Achieving a flawless furniture makeover starts with having the right supplies and preparing your workspace. While the idea of a complete overhaul might seem daunting, breaking it down into manageable steps with the proper tools makes all the difference. For this campaign bedside table transformation, here’s what I gathered:
Materials Needed for This Campaign Bedside Table Makeover:
- Paper towels: Essential for cleaning, drying, and general tidiness throughout the process.
- Simple Green: A powerful degreaser and cleaner, crucial for removing years of grime and ensuring optimal paint adhesion.
- Bar Keeper’s Friend: Ideal for restoring the original brass hardware to its former glory, removing tarnish and polishing it beautifully.
- Water: For rinsing surfaces and thinning paint as needed.
- 5-in-1 tool: A versatile tool for prying, scraping, and various other tasks during disassembly.
- Hammer: For gentle persuasion when removing stubborn hardware components.
- Screwdriver: To carefully remove drawer pulls and other fasteners.
- HomeRight Finish Max Fine Finish Sprayer: The star of the show, delivering an incredibly smooth, even coat of paint that’s nearly impossible to achieve with a brush.
- HomeRight Spray Shelter: A portable, enclosed space that minimizes overspray and keeps your painting environment clean, making spray painting indoors or outdoors much more feasible.
- Paint: The choice of paint is paramount for a durable and beautiful finish.
- I personally used and highly recommend Amy Howard At Home One Step Paint in “Lady Singing the Blues.” This gorgeous navy blue color is rich and sophisticated.
- Alternatively, any high-quality chalk-based paint or General Finishes milk paint would also yield excellent results. These types of paints are known for their superb adhesion and beautiful matte or satin finishes. (You can read all about how we painted our kitchen cabinets with General Finishes milk paint here, achieving perfect results).
- I NEVER recommend painting furniture with latex paint. It tends to chip easily and doesn’t offer the same durable, smooth finish as furniture-specific paints. (You can find more reasons why I avoid latex paint on furniture here).
- Amy Howard At Home Light Antique Wax (if desired): This optional step adds depth, protection, and a subtle aged patina to your painted piece, enhancing its antique character.
Transforming Your Campaign Bedside Tables: A Step-by-Step Guide
With our materials gathered and our vision clear, it was time to dive into the transformation process. Follow these steps to achieve a stunning campaign furniture makeover of your own.
Step 1: Gentle Disassembly & Hardware Restoration
Begin by carefully removing all the original hardware. Use a 5-in-1 tool to gently pry off the corner hardware, taking care not to damage the wood or the brass. Then, use a screwdriver to detach the drawer pulls. Campaign furniture is known for its distinctive brass accents, and cleaning them is crucial for the final look. I used Bar Keeper’s Friend to meticulously clean and polish all the hardware. This product works wonders on brass, removing tarnish and bringing back its original luster, which significantly contributes to the high-end feel of the finished piece.
Step 2: The Crucial Clean – Preparing for Perfect Adhesion
Proper cleaning is perhaps the most critical, yet often overlooked, step in any furniture painting project. You need to clean your piece REALLY well. Mix Simple Green according to the instructions on its label and thoroughly scrub every surface of your furniture. This step is essential for removing all dirt, grease, and residue that could prevent your paint from adhering properly. After cleaning with Simple Green, spray your piece generously with plain water and dry it completely with paper towels. This ensures no cleaner residue remains, which is vital for preventing adhesion issues and achieving a smooth, lasting finish.
Step 3: Setting Up for a Flawless Finish – The Spraying Process
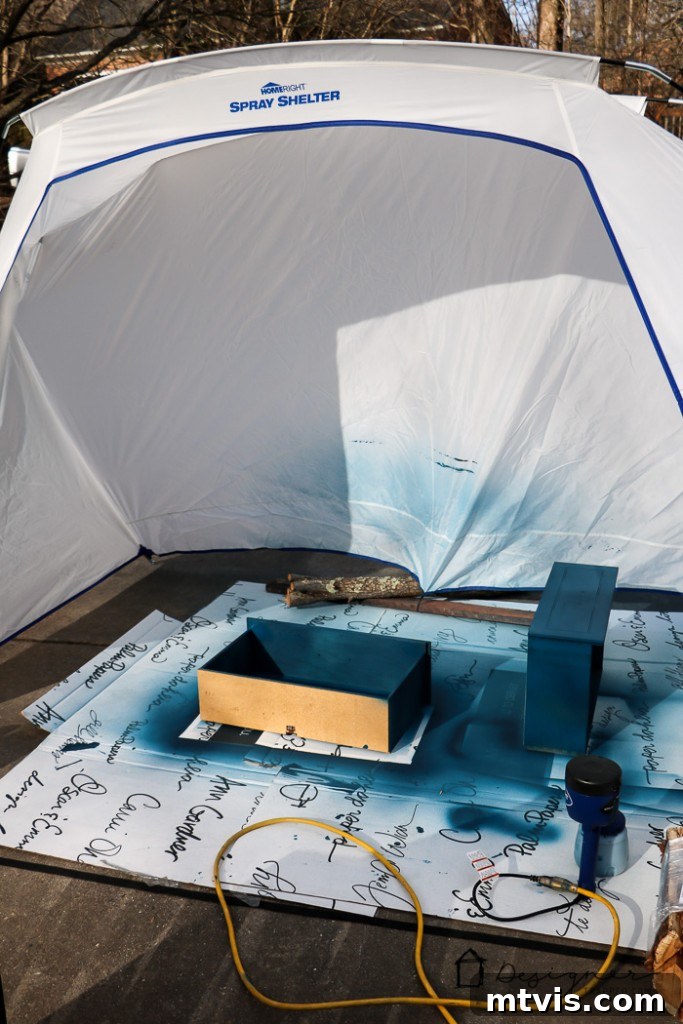
Now, for the exciting part – painting! I quickly set up my HomeRight spray shelter, which provided a clean, contained environment for spraying. Next, I loaded my HomeRight sprayer with the chosen paint. It’s crucial to read your sprayer’s directions thoroughly to ensure your paint is the ideal consistency. Most sprayers require paint to be thinned slightly with water to allow for a smooth flow and atomization. I had to thin my Amy Howard paint out a bit, testing the consistency on a scrap piece until it sprayed perfectly.
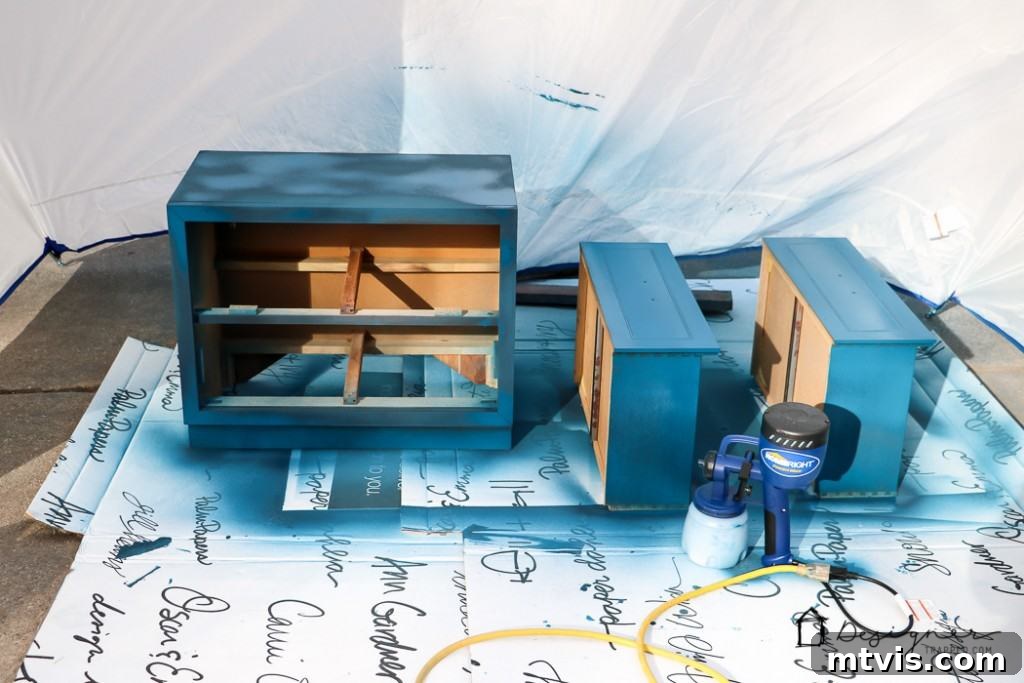
Once your sprayer is ready, it’s time to spray, spray, spray! Again, following HomeRight’s recommendations for how far away to hold the sprayer and how to adjust the spray pattern is paramount. These guidelines help achieve nice, even coverage without drips or heavy spots. It took a little playing around with on my part to get the hang of it, but I figured it out pretty quickly. The learning curve is minimal, and I’m confident anyone can achieve professional results with a bit of practice. I applied two thin, even coats of paint, allowing ample drying time between each. Fortunately, the Amy Howard paint dries incredibly quickly, making this an efficient project – about two hours from start to finish for the painting alone!
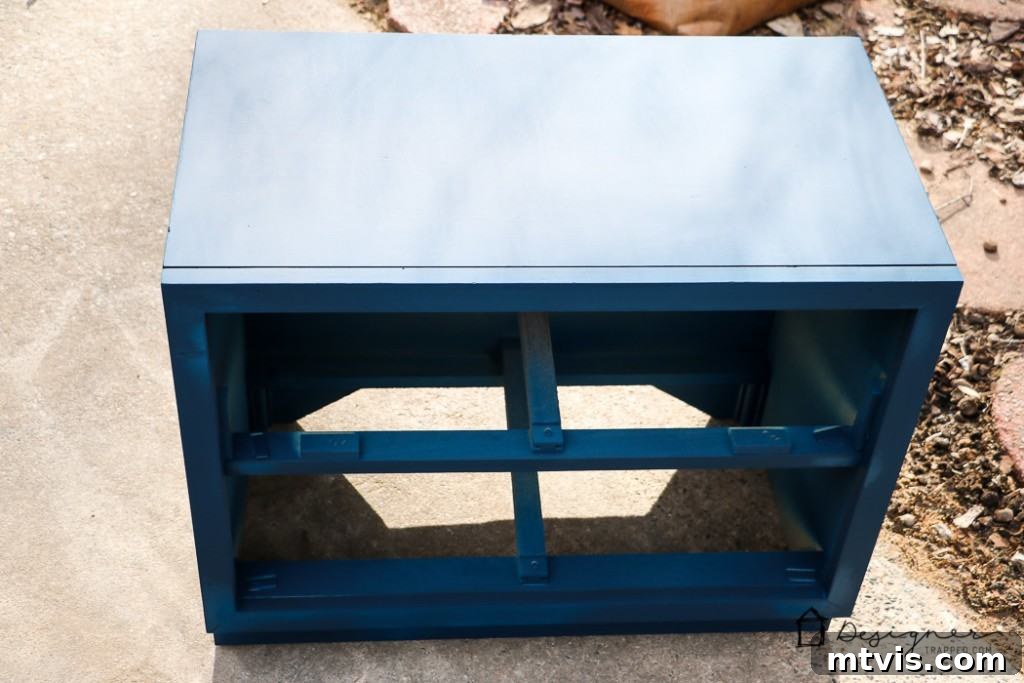
Step 4: Adding Depth and Character with Antique Wax
When my paint was thoroughly dry and cured, I applied Amy Howard light antique wax to the entire piece. This step is entirely optional, but I highly recommend it if you’re aiming for a realistic, antique, and slightly aged look. The light antique wax imparts a subtle dark tint to the painted surface, adding depth and character that a flat, uniform finish simply can’t achieve. It settles into the crevices and corners, highlighting the details and giving the furniture a beautiful, lived-in feel.
If your goal is a completely uniform, crisp, and brand-new appearance, then you can skip the waxing step. However, I waxed mine precisely because I didn’t want the pieces to look “perfect” or straight out of a factory. I wanted them to tell a story, to have that charming, antique patina that makes campaign furniture so appealing. The wax also provides an added layer of protection to the paint, enhancing its durability. While I don’t have the original video embed here, you can typically find many helpful tutorials online on how to apply furniture wax effectively.
Step 5: The Grand Reassembly – Bringing it All Together
The final step is to carefully reattach all the restored hardware. Take your time during this stage to ensure everything is aligned correctly and fastened securely. Seeing the gleaming brass hardware against the rich navy paint instantly elevates the entire piece, completing the transformation from a forgotten roadside find to a sophisticated bedroom accent.
The Stunning Reveal: A Modern Classic Reborn
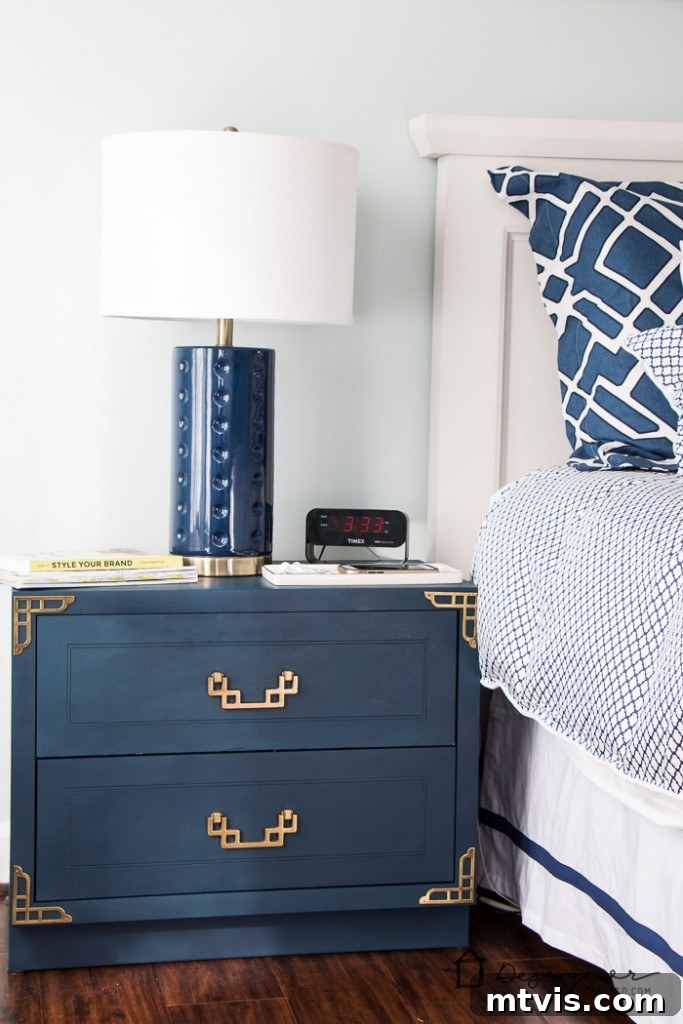
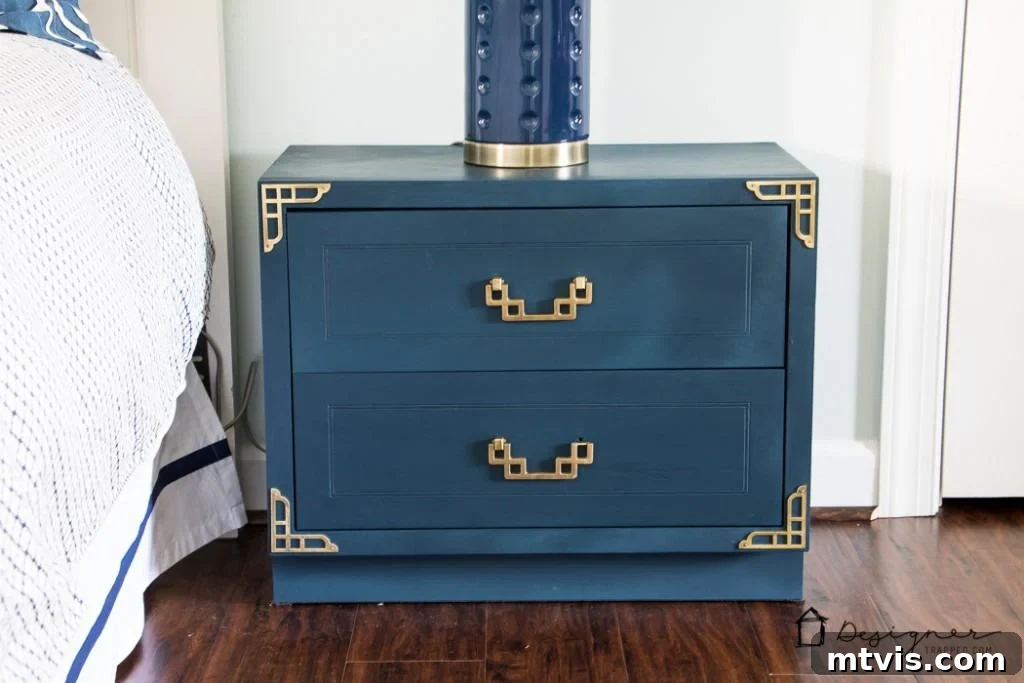
That’s it! I am absolutely thrilled with how beautifully my campaign bedside table makeover turned out. The deep navy blue, complemented by the polished brass hardware, creates a luxurious and timeless aesthetic that perfectly suits our master bedroom. These tables are now far more than just functional pieces; they are statement pieces that exude elegance and character, all thanks to a little vision, some elbow grease, and the right tools. Take a look at the incredible results:
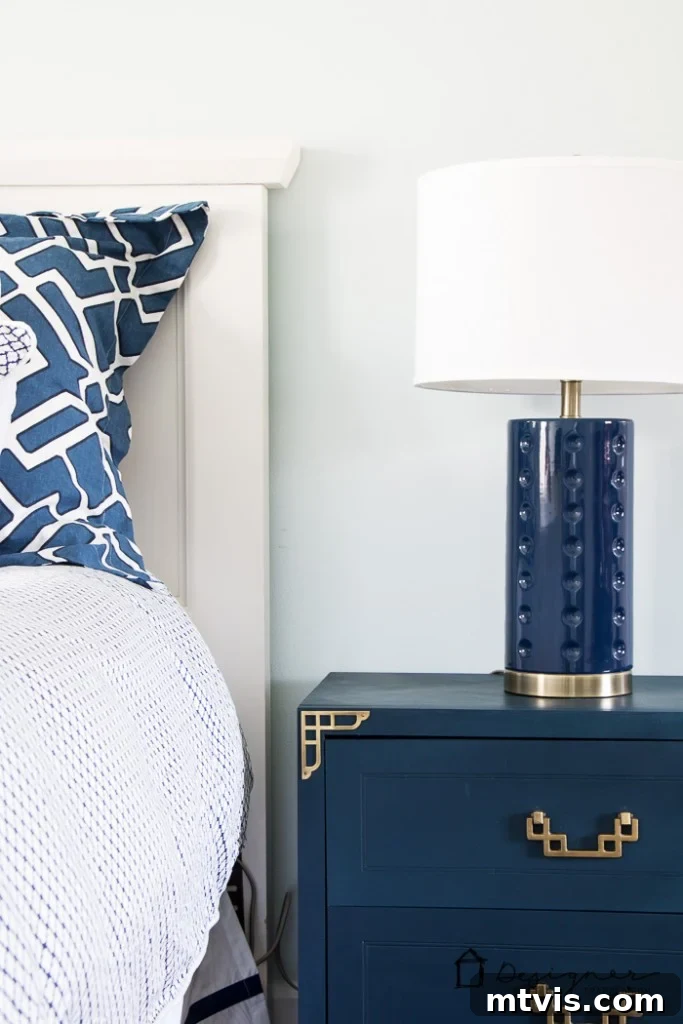
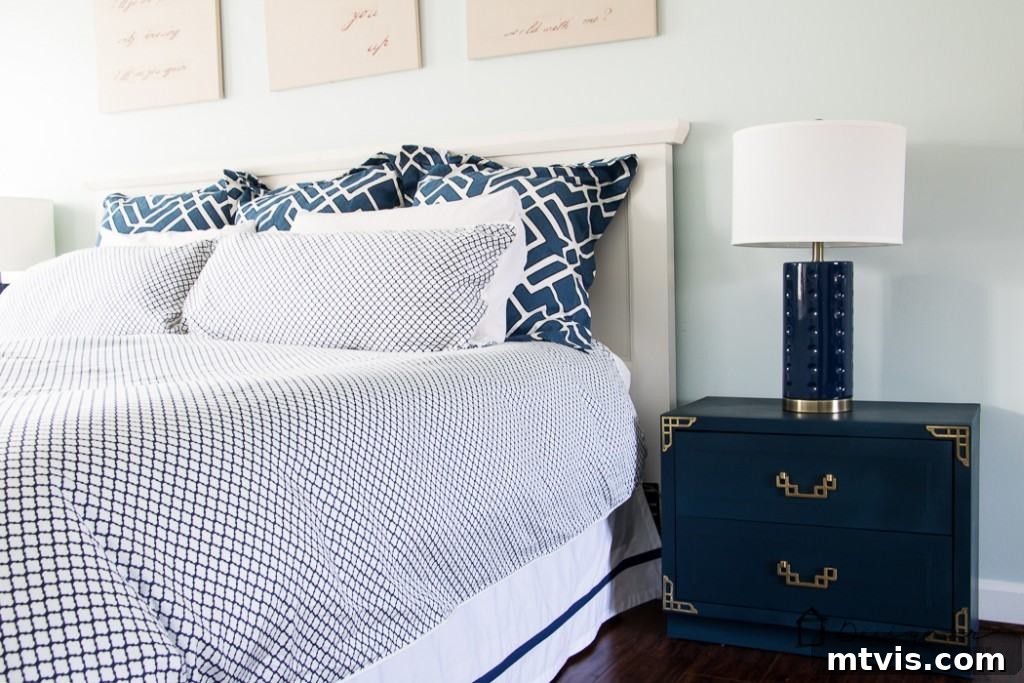
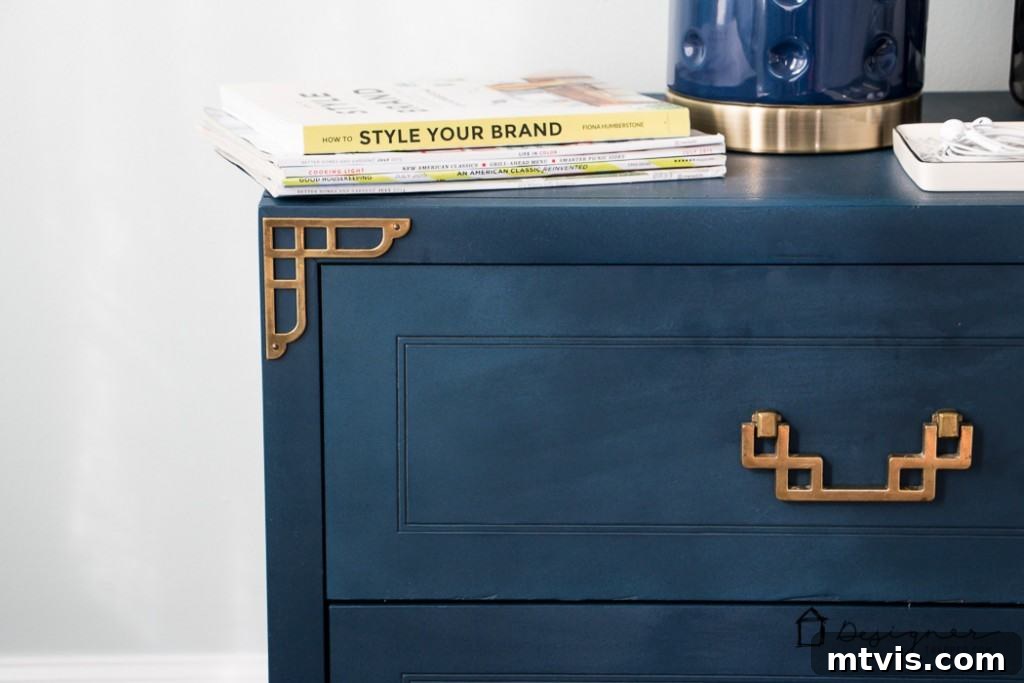
Before & After: A Testament to Transformation
It’s always satisfying to see the dramatic change from start to finish. This side-by-side comparison truly highlights the incredible potential hidden within old, discarded furniture. A little imagination and the right approach can breathe new life into forgotten pieces, turning them into cherished household items.
 |
 |
Beyond Bedside Tables: The Value of Investing in Quality Tools
This $160 purchase has truly been one of the best investments I’ve ever made for our home! I still have plans to tackle the chest of drawers, which we intend to keep, and the dresser and mirror, which will be offered for sale. And honestly, I’m actually looking forward to those projects!
If you find yourself frequently painting furniture, like we do, then take my advice: investing in a HomeRight sprayer and a spray tent is absolutely, unequivocally worth it. These tools are genuine game-changers, transforming what can be a tedious process into an enjoyable and efficient one. Beyond the tools, it’s also crucial to make sure you use the best paint for the furniture you are working on, ensuring durability and a professional finish. With the right equipment and materials, the possibilities for transforming old pieces are endless!
A sincere thank you to HomeRight for generously providing me with a sprayer and spray tent to test. I have genuinely fallen in love with both products as a direct result of this project! As always, my opinions are 100% genuine and remain uninfluenced by the fact that I received free products for sampling.
I hope this detailed guide inspires you to seek out your own furniture treasures and give them a new lease on life. The satisfaction of transforming something old into something beautiful and functional is truly unmatched. Happy DIYing!
