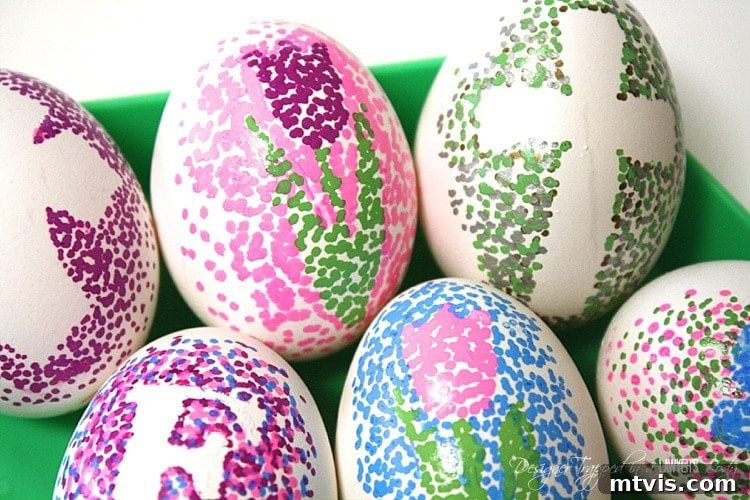
Effortless Elegance: Master the Art of Dotted Sharpie Easter Eggs (No Mess Required!)
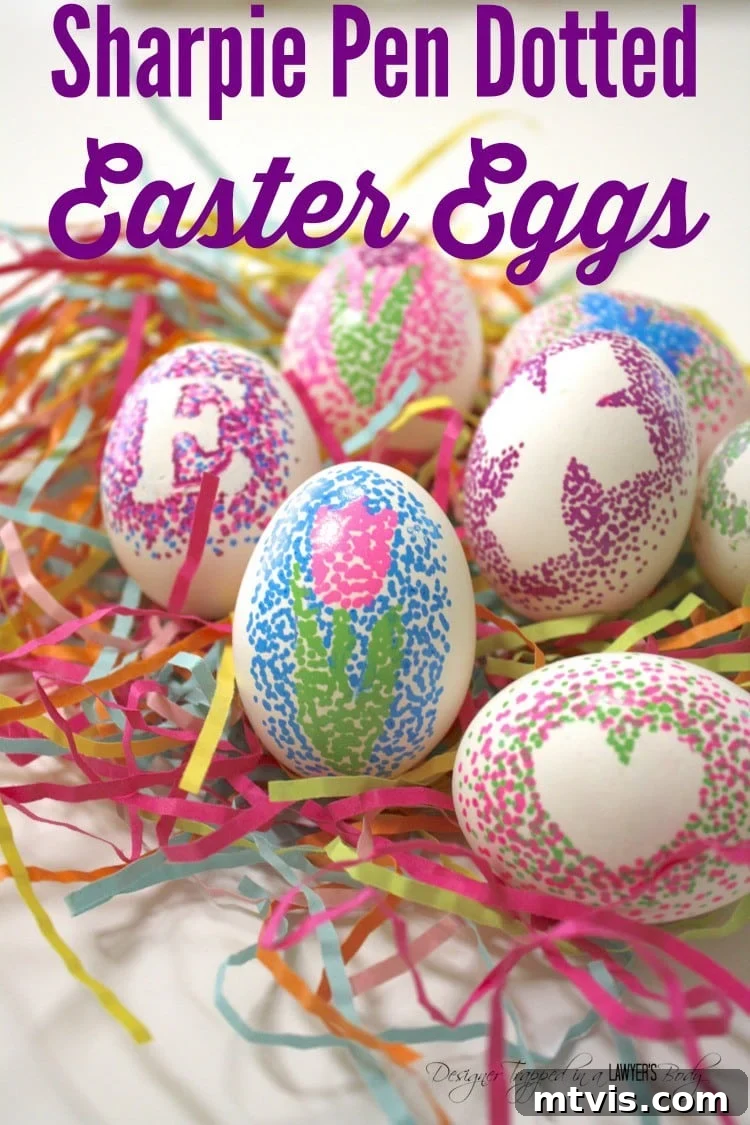
As the vibrant hues of spring begin to emerge, so does the anticipation for one of the most cherished holidays: Easter! And with Easter comes the delightful tradition of decorating eggs. While many of us have fond memories of dye-stained fingers and elaborate kits, the truth is, Easter egg decorating doesn’t have to be complicated, time-consuming, or messy to be absolutely stunning. If you’re looking for a fresh, creative, and remarkably simple way to create breathtaking Easter eggs this year, you’ve come to the right place.
Get ready to discover the magic of easy dotted Sharpie Easter eggs! This tutorial will guide you through a method that combines minimalist charm with striking visual appeal, perfect for crafting elegant decor or engaging in a fun, family-friendly activity. Whether you’re a seasoned crafter or a complete beginner, you’ll be amazed at how effortlessly you can transform plain hard-boiled eggs into true works of art using just a few common supplies and the humble Sharpie paint pen. Prepare to elevate your Easter festivities with designs that are as unique as they are beautiful. This post contains some affiliate links to help you find the exact materials I recommend. Click here to read my full disclosure policy.
Essential Materials for Your Dotted Sharpie Easter Eggs Project
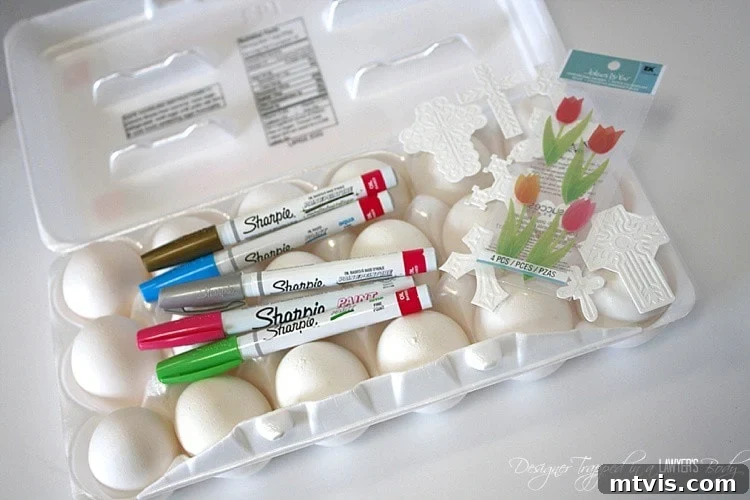
One of the many beauties of this Easter egg decorating technique lies in its simplicity. You won’t need a myriad of tools or expensive supplies. In fact, you likely have most of these items around your house already! Gather these few essentials, and you’ll be well on your way to creating your very own collection of dotted masterpieces:
- Hard-boiled eggs: These are your canvases! Ensure they are completely cool and dry before you begin decorating. You can also use blown-out eggs for decor that lasts year after year, or even craft eggs for a truly permanent display. The key is a smooth, clean surface.
- Sharpie paint pens: (These are the exact pens I use and highly recommend) Unlike regular Sharpie markers, Sharpie paint pens offer opaque, vibrant colors that stand out beautifully on the egg’s surface. They dry quickly and are permanent, ensuring your designs last. A variety pack with different colors will open up endless design possibilities.
- Craft Stickers: Choose stickers in any shape or size you desire. These will act as your stencils, creating clean, negative space designs. Vinyl stickers tend to work best as they adhere well and peel off cleanly without leaving residue. Think about geometric shapes, letters, numbers, or even simple animal silhouettes for a playful touch.
Step-by-Step Guide: Crafting Your Easy Dotted Sharpie Easter Eggs
Now that you have your materials ready, let’s dive into the creative process. You’ll be amazed at how quickly these beautiful eggs come to life!
1) Prepare Your Egg and Place Your Sticker:
Begin by ensuring your hard-boiled egg is completely dry and free of any condensation or moisture. Gently peel your chosen craft sticker from its backing and carefully place it onto the surface of your egg. Press firmly around the edges of the sticker to ensure it adheres smoothly and creates a tight seal. This is crucial for achieving crisp, clean lines when you remove the sticker. Consider placing the sticker on the most visible part of the egg, or experiment with multiple smaller stickers for a more complex pattern.
2) Begin the Doting Process: Creating Your Gradient Effect:
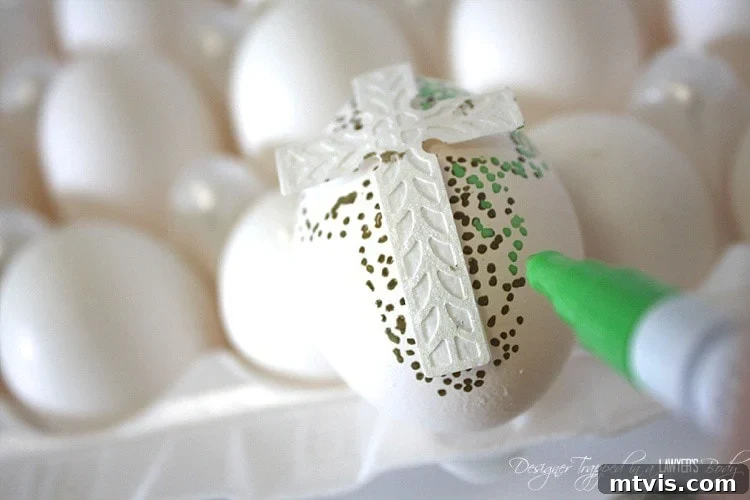
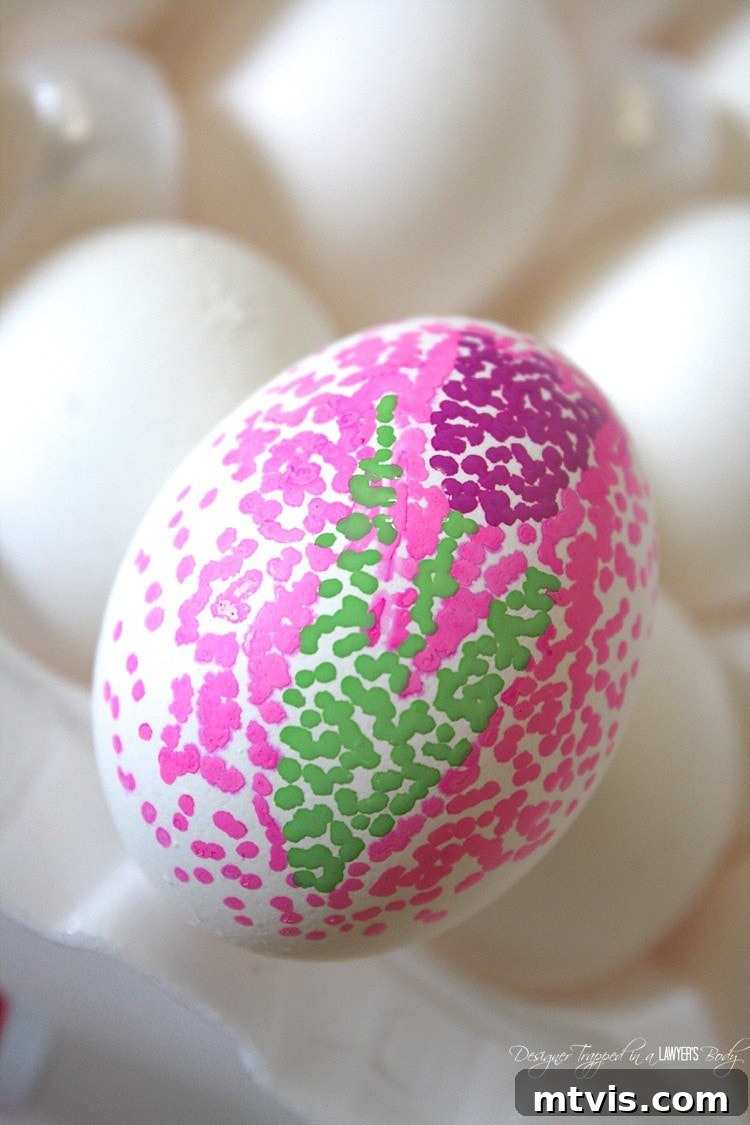
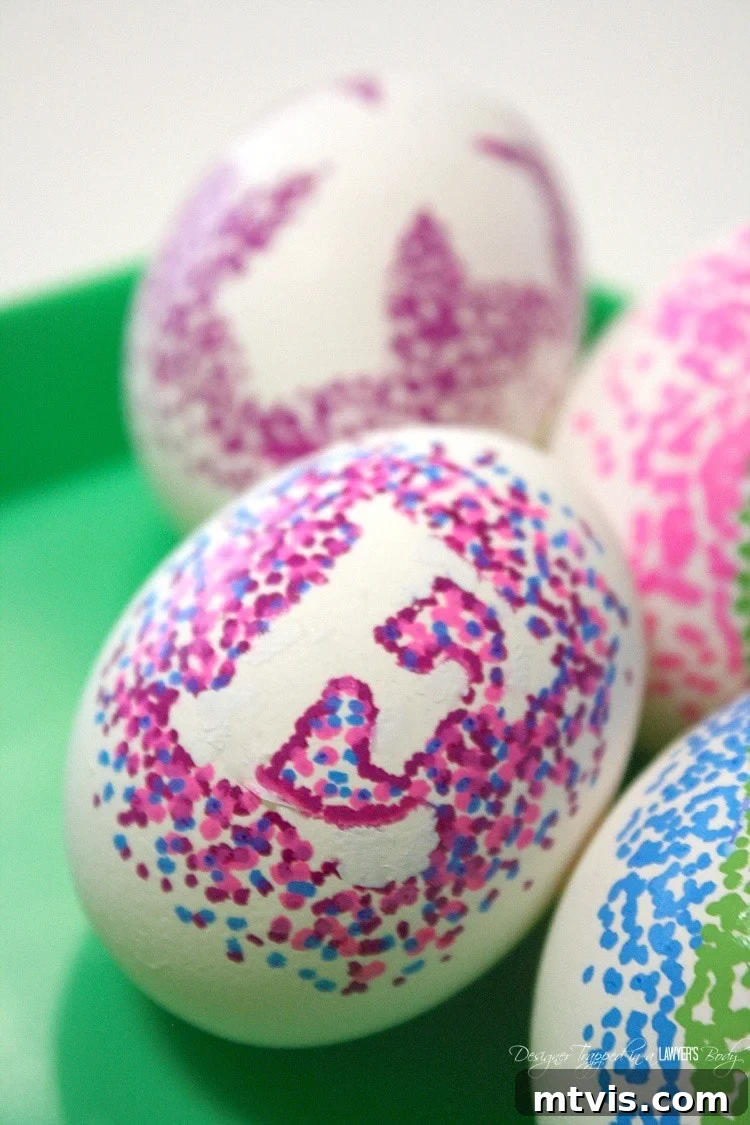
This is where the magic happens! Select your first Sharpie paint pen color. Start making small, deliberate dots around the very edge of your sticker. For the most striking effect, heavily concentrate your dots directly along the sticker’s perimeter. As you move slightly outward from the sticker, gradually lessen the concentration of your dots. This technique creates a beautiful, soft gradient effect, where the dots appear denser near the stencil and dissipate as they spread across the egg. Feel free to use a single color for a monochromatic look or introduce multiple colors, blending them gently as you move further from the sticker’s edge for a vibrant, layered appearance.
3) Allow Ample Drying Time: Patience is Key:
Once you’re satisfied with your dot patterns, set your egg aside on a protected surface (like an old egg carton or a paper towel-lined tray) and allow the paint to dry completely. Sharpie paint pens typically dry relatively quickly, but giving them sufficient time ensures the paint is fully set and won’t smudge when you handle the egg. Depending on the thickness of your paint application and ambient humidity, this could take anywhere from 10-30 minutes. Resist the urge to peel the sticker prematurely!
4) Reveal Your Design: Carefully Remove the Sticker:
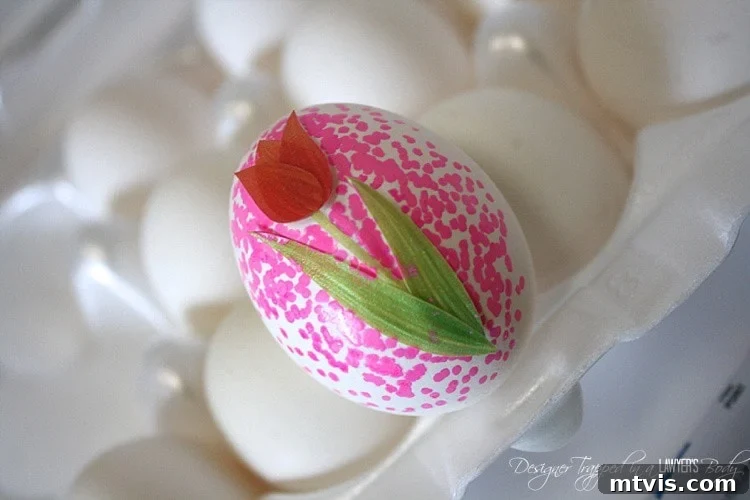
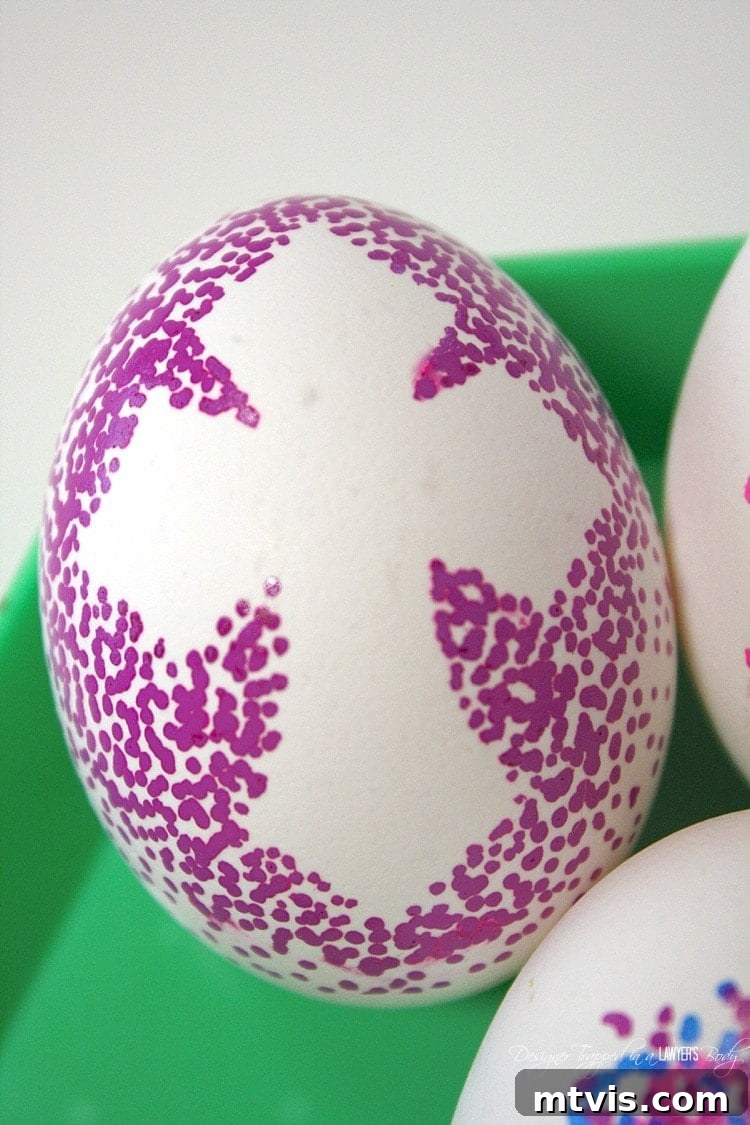
With the paint fully dry, it’s time for the exciting reveal! Gently and slowly peel off your craft sticker. Take your time with this step to avoid accidentally chipping any paint or tearing the sticker, which could leave unwanted residue. As the sticker comes off, you’ll uncover a beautifully un-dotted negative space, creating a striking contrast with your vibrant dotted pattern. You now have a choice: you can either leave this void as a clean, white silhouette for a minimalist look, or, as I love to do with my tulip eggs, you can fill it in with more dots for an even richer, more intricate design. Experiment with different colors and dot densities within the void to add another layer of visual interest.
Why Choose Dotted Sharpie Easter Eggs? The Benefits!
You might be wondering why this particular method stands out amidst the myriad of Easter egg decorating ideas. The answer lies in several compelling advantages:
- Unbelievably Easy: No artistic skill required! If you can make a dot, you can create a beautiful design. This accessibility makes it a fantastic craft for everyone.
- Remarkably Mess-Free: Say goodbye to spilled dyes, vinegar smells, and stained countertops. Sharpie paint pens offer a clean, controlled application, making cleanup a breeze.
- Kid-Friendly: This project is perfect for little hands! Kids will love choosing stickers and applying dots, fostering their creativity without the usual Easter egg mess.
- Customizable & Versatile: The possibilities are truly endless. Experiment with different sticker shapes, an array of Sharpie paint pen colors, varying dot sizes, and density to create unique patterns every time.
- Cost-Effective: You don’t need expensive supplies. A pack of Sharpie paint pens and some basic craft stickers are often all it takes, making it an affordable holiday activity.
- Stunning Results: The visual impact of these dotted eggs is genuinely impressive. They offer a modern, sophisticated aesthetic that looks fantastic in any Easter basket or as part of your spring decor.
THAT’S IT! Can you believe how straightforward and fun this process is? The finished dotted Easter eggs are absolutely fabulous and boast a professional, artistic flair that belies their simple creation. This method is quick, easy, and inexpensive, making it an ideal choice for busy families or anyone looking to add a touch of handmade charm to their Easter celebrations without the fuss. Your kids will undoubtedly enjoy the process, and you’ll love the beautiful results!
Expand Your Dotted Crafting Horizons!
If you’ve fallen in love with the dotted Sharpie technique, you’ll be thrilled to know that its application extends far beyond Easter eggs. This versatile method can be used to personalize a variety of items, adding a unique, hand-crafted touch to everyday objects. In fact, I’ve used this very same technique to create stunning personalized gifts:
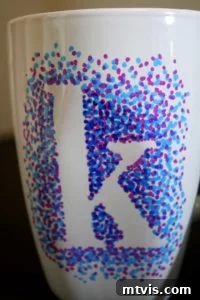
Discover how I use the same method on mugs to create perfect teacher appreciation gifts or personalized presents for any occasion. It’s a fantastic way to bring custom artistry to your kitchenware!
More Inspiration for Your Easter & Home Decorating Projects
Looking for even more ways to get creative this season or refresh your home? Explore these other popular posts for additional DIY ideas and decorating tips:
- My Favorite DIY Easter Decorations + More Crafts: A curated collection of creative projects to adorn your home for the holiday.
- Decorating Easter Eggs With Dots and Glitter: Take your dotted eggs to the next level with a touch of sparkle and shine!
- Easy Dotted Sharpie Mugs: A step-by-step guide to creating personalized, dotted mugs for gifts or everyday use.
- Personalized Easter Mason Jars: Craft charming and versatile mason jars for Easter treats, centerpieces, or gifts.
- DIY Spring Wreaths to Brighten Your Door: Welcome the new season with a beautiful handmade wreath.
- Creative Ways to Decorate Your Home for Spring: Discover inspiring ideas to bring the freshness of spring into every room.
If you’re eager to learn my holistic approach to transforming rooms and spaces in our home, from conceptualization to execution, be sure to check out my comprehensive guide, Designer in a Binder®. It’s an invaluable resource for anyone looking to make their design dreams a reality without overwhelm.
Don’t miss out on exclusive content, behind-the-scenes sneak peeks, and fresh DIY ideas delivered straight to your inbox! Be sure to subscribe to my newsletter before you go. Join our community of creative enthusiasts and let’s make every season beautiful!