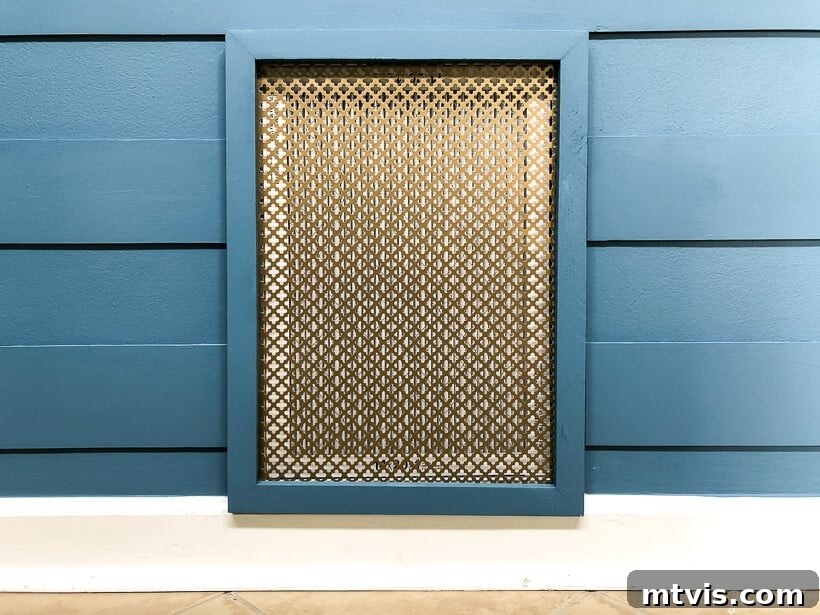
Transform Your Space: Craft a Beautiful DIY Decorative Vent Cover in Just an Hour
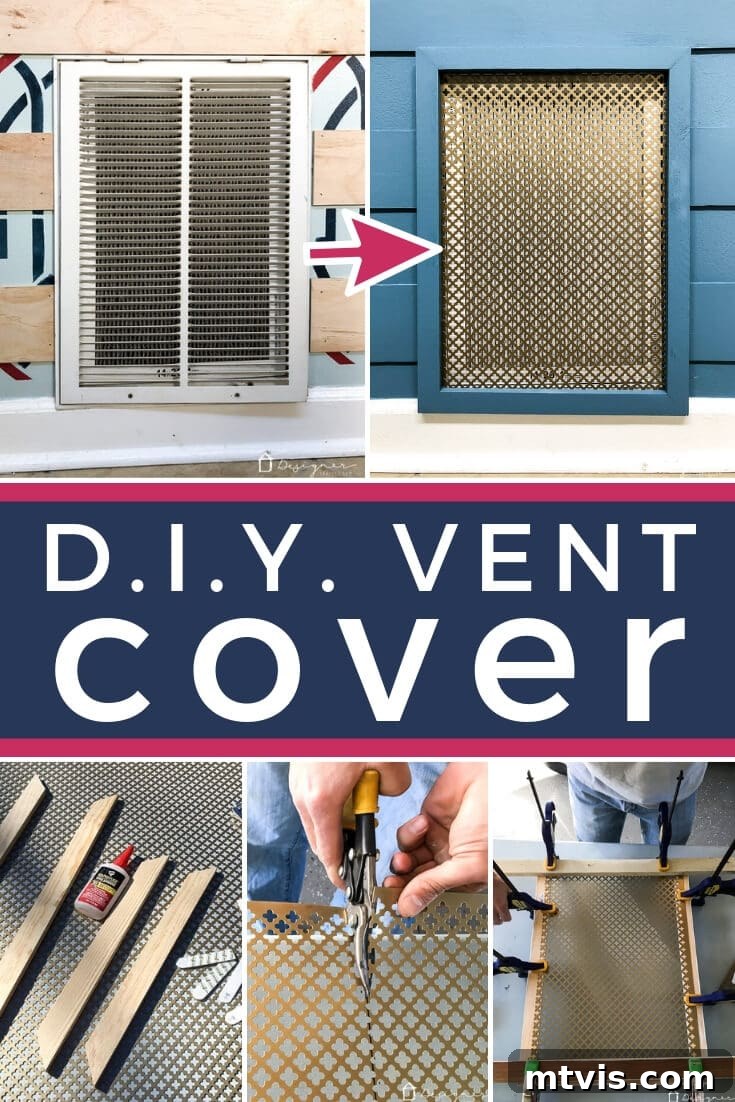
Hello fellow DIY enthusiasts and home decor lovers! If you’re anything like us, you’ve probably noticed how a small, seemingly insignificant detail can profoundly impact the overall feel of a room. For too long, the standard, mass-produced air grille covers have been an unfortunate eyesore in countless homes, including our own. These builder-grade vents, often plain and uninspired, tend to stick out like a sore thumb, detracting from even the most thoughtfully designed interiors.
Recently, while completing our DIY modern plank wall in the foyer, the glaring ugliness of our existing air grille became impossible to ignore. It was clear that a change was needed. Rather than settling for another generic store-bought option, we decided to take matters into our own hands and create something truly beautiful and functional. The result? A stunning DIY decorative vent cover that completely elevates the space. The best part? This entire project took us about an hour to complete using incredibly inexpensive materials, proving that a significant aesthetic upgrade doesn’t have to break the bank or consume your entire weekend. Read on to discover how you can easily craft your own custom vent cover and transform an overlooked detail into a design feature!
This comprehensive guide is proudly sponsored by DAP Products, whose reliable adhesives played a crucial role in bringing this project to life. Please note that this post includes affiliate links for your convenience. To understand our full disclosure policy, click here.
DIY Vent Cover Tutorial: Step-by-Step Guide to a Beautiful Upgrade
While a brief video overview of this project is available, we’ve meticulously detailed each step in written instructions below to ensure you have all the information needed to confidently tackle this home improvement task. You’ll be amazed at how straightforward it is to create a professional-looking vent cover that perfectly complements your home’s style.
Essential Materials & Tools for Your DIY Vent Cover:
Gathering your materials before you begin is key to a smooth and efficient DIY process. Here’s what you’ll need for your custom decorative vent cover:
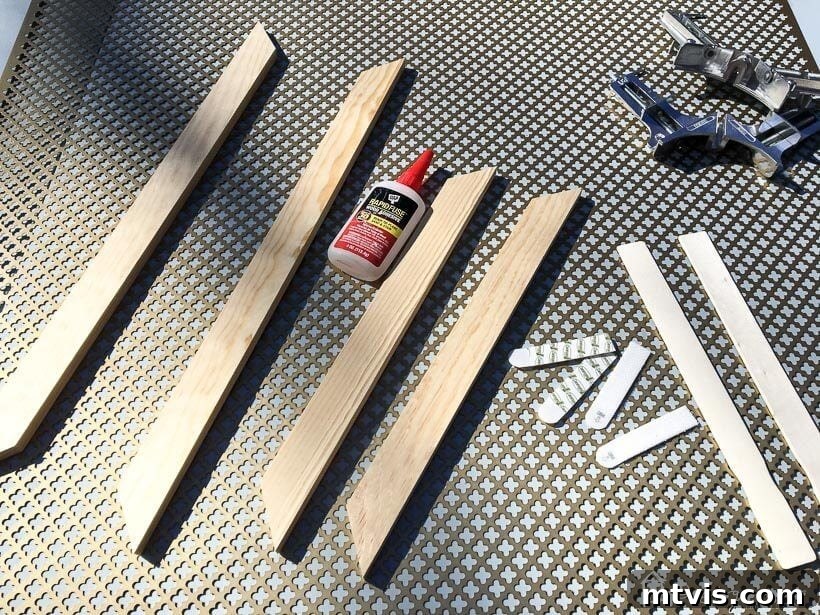
- 1/2 x 2-inch Pine Wood: This size offers a perfect balance of sturdiness and aesthetic appeal for your frame. Pine is easy to cut and paint, making it ideal for DIY projects.
- Compound Miter Saw or a Miter Box and Hand Saw Set: Essential for precise, clean cuts, especially if you opt for mitered corners. A miter box and hand saw are a great budget-friendly alternative for achieving accurate angles.
- Decorative Metal Sheet: This is where the magic happens! Choose a pattern that suits your home’s aesthetic. This versatile material isn’t just for vent covers; we’ve also used it to create this stylish DIY kick plate for our front door, offering a much cooler alternative to standard options.
- Metal Snips: Crucial for safely and accurately cutting the decorative metal sheet to size. Investing in a good pair will make this step much easier.
- DAP Rapid Fuse: Our go-to for strong, fast-curing bonds. This adhesive is perfect for securing both wood joints and the metal sheet. Its quick set time significantly speeds up the project.
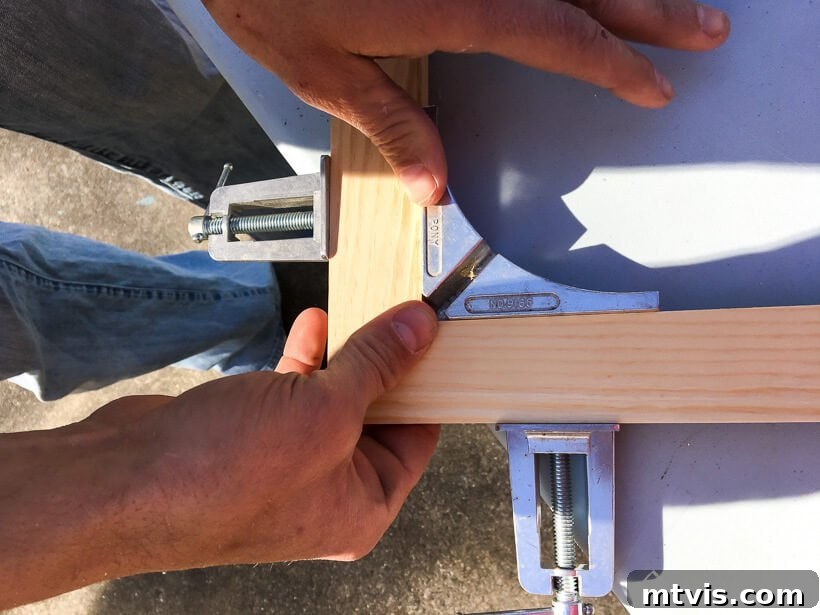
- Corner Clamps and Regular Clamps: These tools are invaluable for holding your frame perfectly square while the glue dries, ensuring a professional finish. If you don’t have a full set, a few regular clamps and careful positioning can work wonders.
- Measuring Tape: Accuracy is paramount! A reliable tape measure ensures your vent cover fits perfectly.
- Command Picture Hanging Strips: The secret to an easily removable and replaceable vent cover, ideal for filter changes. These strips offer a strong hold without damaging your walls.
- Scrap Wood Pieces (if necessary): Small shims or spacers might be needed to ensure your new cover sits flush with the wall.
- Brad Nailer (Optional, but Recommended): For reinforcing the frame corners, adding extra durability and strength beyond just glue.
- Paint or Stain: To finish your wood frame, matching or complementing your existing decor.
- Safety Glasses and Gloves: Always important when working with saws and metal snips.
Step-by-Step Construction: Your Decorative Vent Cover Awaits!
Let’s dive into the creation process. Follow these steps carefully to build a beautiful and functional vent cover that will transform your space.
1. Measure the Vent Opening with Precision:
Begin by accurately measuring the dimensions of the air return opening in your wall. This is a critical step, as even a small error can affect the fit of your new vent cover. Measure both the height and width carefully. For our project, the opening measured 14 inches by 20 inches. It’s often a good idea to measure in a couple of different spots on each side to account for any slight inconsistencies in your wall opening. The goal is to create a frame that will perfectly surround and subtly overlap this opening, ensuring a seamless look.
2. Cut Your Pine Wood for the Frame:
With your measurements in hand, it’s time to cut your 1/2 x 2-inch pine wood pieces to length. For a sophisticated, clean look, we opted to miter the corners at 45-degree angles, creating seamless joints. This can be done efficiently with a compound miter saw, which allows for precise angle cuts. However, if you don’t have a power saw, don’t worry! A miter box and hand saw set will absolutely allow you to achieve the same accurate miter cuts with a little patience and care. Alternatively, for a simpler approach, you could use butt joints, where the ends of the wood pieces meet directly, though this will give a different aesthetic. Remember to wear safety glasses when operating any saw.
3. Assemble the Outer Frame for Durability:
Now that your wood pieces are cut, it’s time to assemble the main frame of your DIY vent cover. Apply DAP Rapid Fuse to the mitered edges of your pine pieces. This adhesive offers an incredibly strong bond and cures quickly, which is a huge time-saver. Once the glue is applied, carefully bring the corners together. To ensure the frame remains perfectly square while the glue sets, we highly recommend using corner clamps. These clamps hold the pieces at a perfect 90-degree angle, preventing any shifting. For added strength and longevity, we reinforced each corner by driving a nail with our brad nailer. This combination of strong adhesive and mechanical fasteners creates a very robust frame that will stand the test of time.
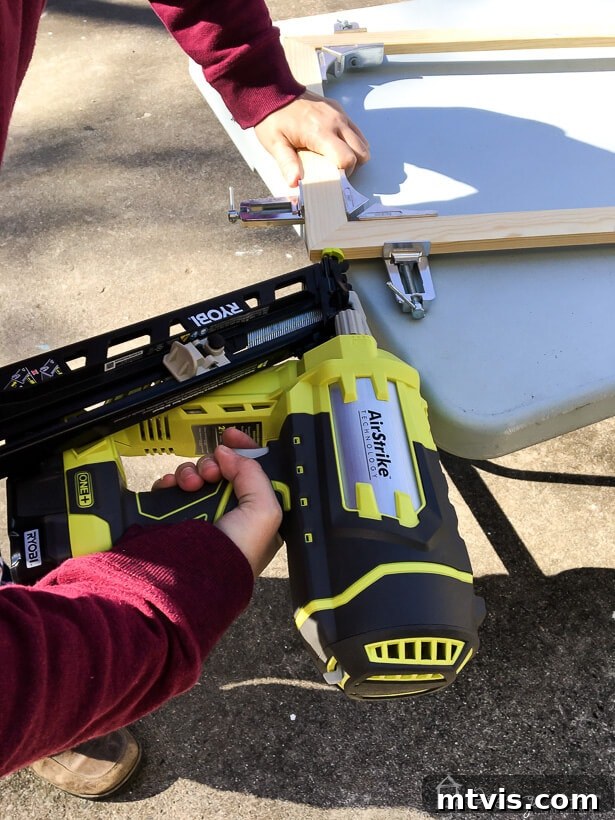
4. Paint the Frame and Cut the Decorative Metal Sheet:
Here’s a lesson learned from our experience: it is far easier to paint your wood frame *before* attaching the metal sheet. Trust us, trying to carefully paint around the delicate pattern of the metal mesh is significantly more challenging! So, once your frame is assembled and the glue has fully cured, go ahead and apply your chosen paint or stain. This allows for full coverage without the need for excessive masking or tedious touch-ups later.
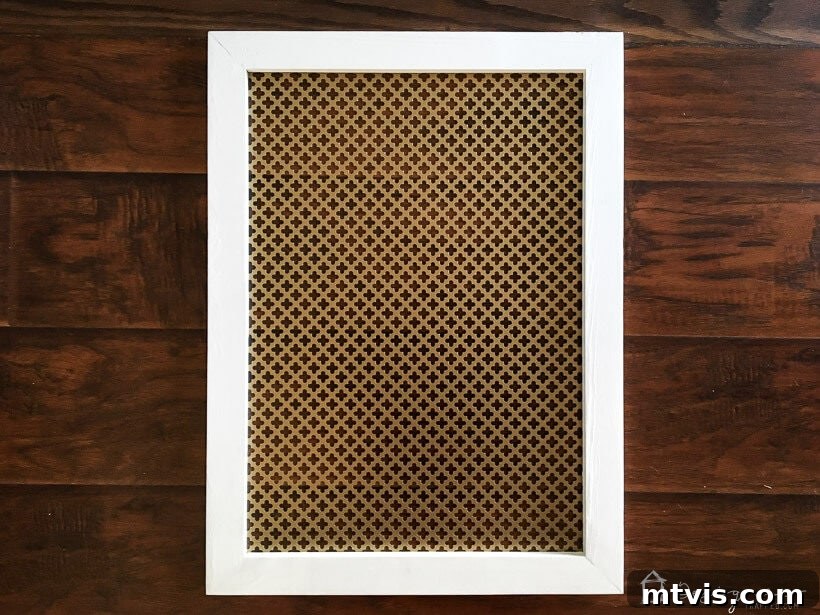
While your paint dries, turn your attention to the decorative metal sheet. Using your metal snips, carefully cut the decorative metal sheet to size. It’s crucial to measure this piece accurately and cut it slightly smaller than the outer dimensions of your wood frame. This ensures that the metal sheet will sit neatly within the back recess of the frame and won’t overhang the edges, which would compromise the clean finish. Always wear protective gloves and safety glasses when handling and cutting metal sheets to prevent cuts and scrapes.
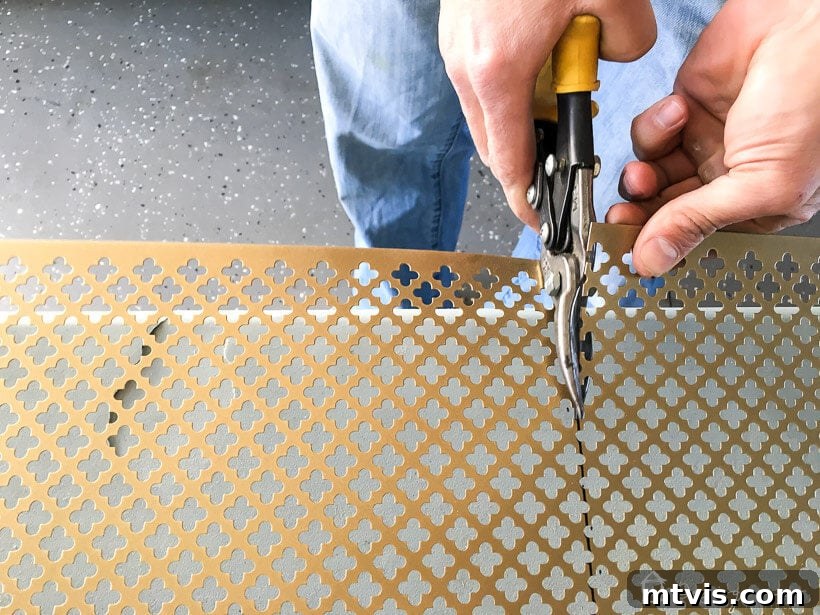
5. Secure the Decorative Metal Sheet to the Frame:
With your frame painted and the metal sheet cut, the next step is to combine these two elements. Apply a thin but consistent bead of DAP Rapid Fuse along the inner back edge of your wood frame. Carefully position the decorative metal sheet onto this glued surface, ensuring it is centered and sits flush. Then, use clamps to firmly hold the metal sheeting in place while the glue cures. DAP Rapid Fuse works incredibly fast, typically curing in just a few minutes, which is fantastic for keeping your project moving. Don’t worry if you don’t have a large collection of clamps like us; you can achieve the same result by applying even pressure with your hands for a few minutes or by placing something heavy on top of the secured metal sheet until the glue sets. This step ensures a secure and lasting attachment.
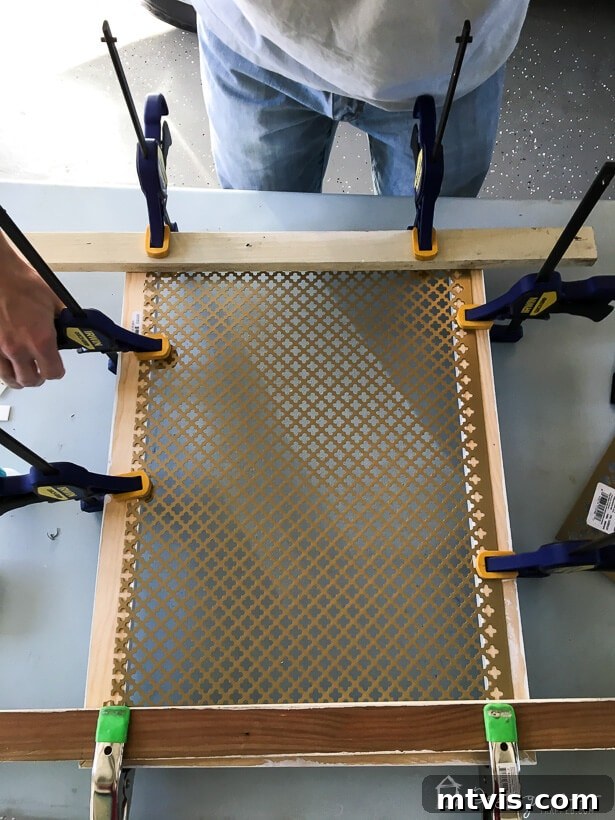
6. Admire the Transformation So Far:
Once the glue has fully cured and you’ve removed the clamps, take a moment to step back and appreciate your progress! The difference between a plain, functional air grille and your newly assembled decorative vent cover is already remarkable. You’ve transformed a utilitarian fixture into a stylish home accent. This significant improvement is a testament to the power of DIY and thoughtful design. Seeing it come together at this stage is truly motivating for the final installation!
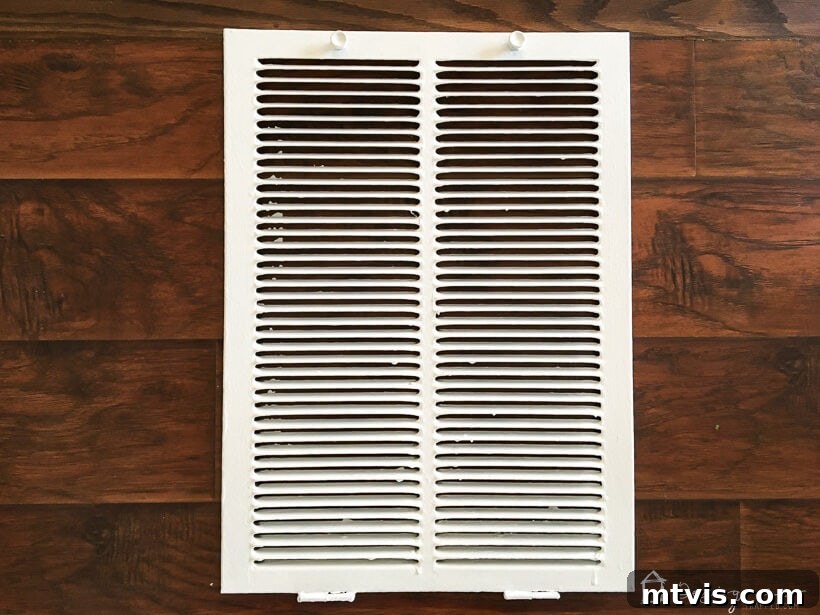
7. Install Your New DIY Vent Cover:
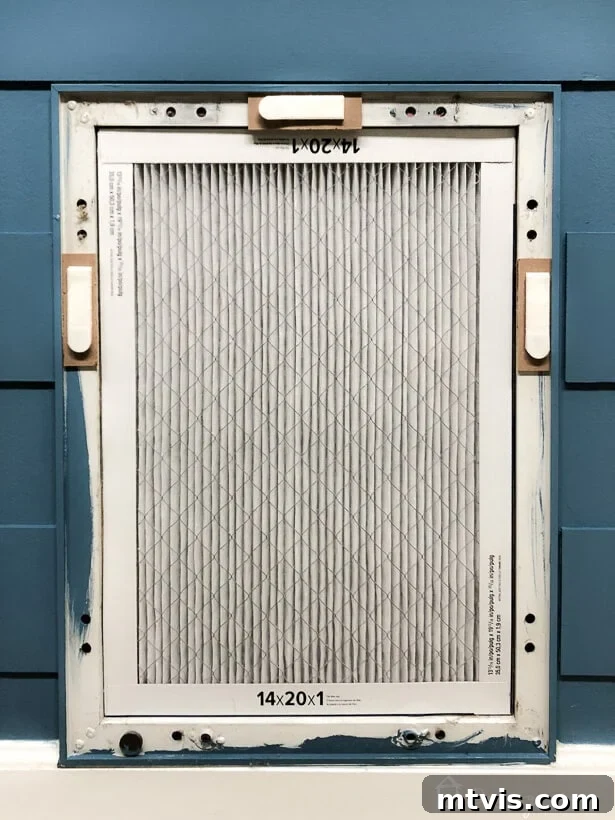
With your DIY vent cover fully painted and assembled, it’s ready for its grand debut! Before mounting, you might encounter a common issue: the new frame not sitting perfectly flush against the existing air vent frame in the wall. This is easily remedied! In our case, we simply attached some thin scraps of wood (shims) to the wall’s air vent frame using DAP Rapid Fuse. This created a level surface for our new cover. You may not face this, but if you do, this simple trick ensures a seamless fit.
To attach the new decorative air vent cover to the wall frame, we highly recommend Command Picture Hanging Strips. These are not your average Command strips! They feature a unique interlocking, Velcro-like design. This ingenious feature means you can easily remove and reattach the vent cover whenever you need to access the air filter for cleaning or replacement, without having to use new strips each time. This provides both a secure hold and unparalleled convenience, making filter maintenance a breeze.
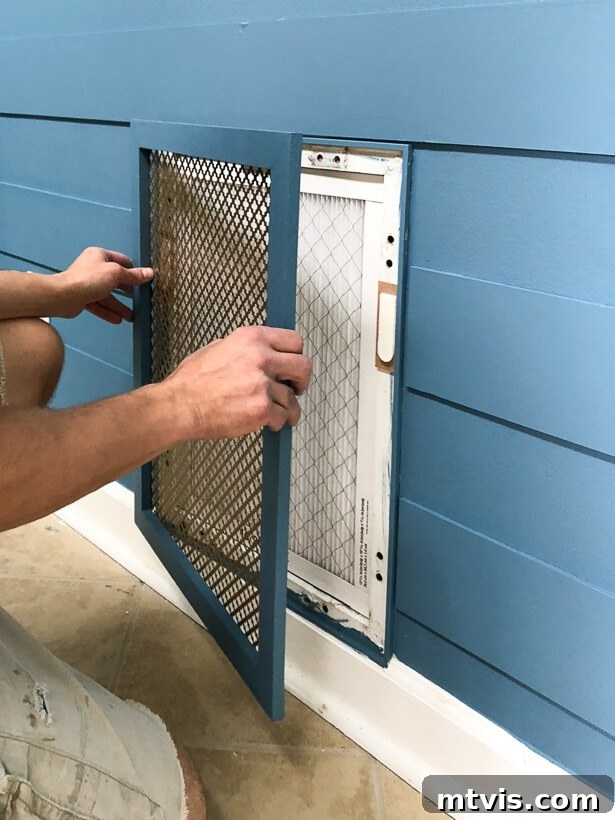
And there you have it! In just about an hour, you will have completely transformed your air return vent. Say goodbye to the mundane, builder-grade standard…
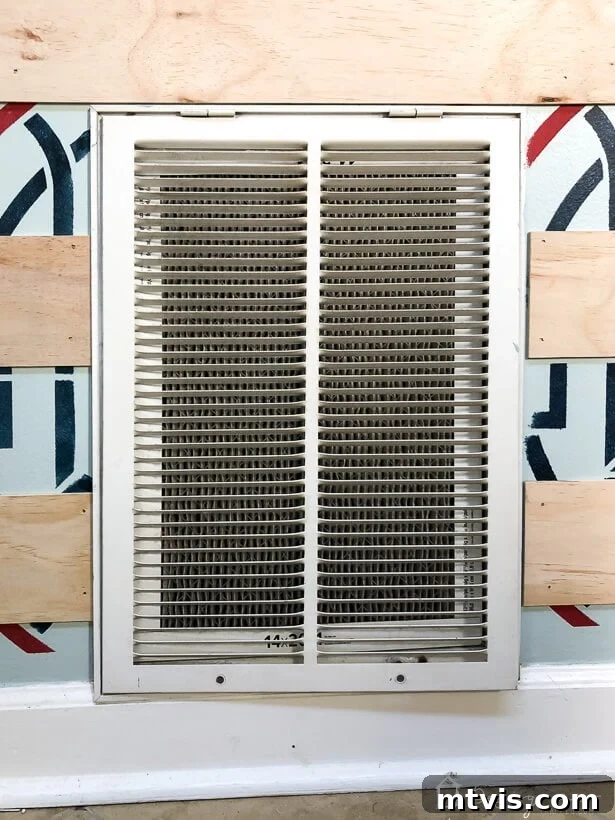
…and hello to this elegant, custom solution that perfectly complements your home’s unique style!
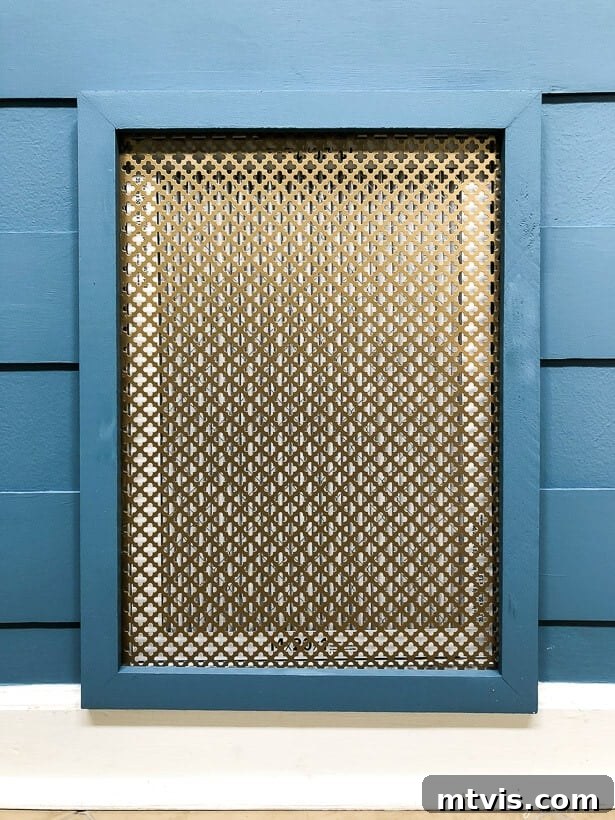
The versatility of the decorative metal sheet truly knows no bounds. Beyond this project, we’ve creatively utilized it to craft a unique DIY kick plate for our front door, proving that these materials can be adapted for countless custom home accents. It’s so much more appealing than the generic kick plates you find in stores, allowing for a truly personalized touch!
What are your thoughts? Doesn’t this custom vent cover look infinitely better and more integrated than its predecessor? We believe these small, thoughtful DIY projects are what truly make a house feel like a home, reflecting your personal style and attention to detail.
Ready for more inspiring DIY home transformations? Explore these popular posts:
- DIY Range Hood Finish With Wood and White Concrete
- How to Choose Paint Colors for Your Home: 6 Simple Tips to Follow
- 5 Tips to Decorate With Color (Even When It Scares You)
- Gorgeous But Cheap Flooring Ideas
- DIY Staircase Makeover in 2 Days: Tutorial & Reveal
If you’re eager to learn more about my systematic approach to transforming rooms and spaces, be sure to check out Designer in a Binder®. It’s an affordable and straightforward way to achieve the home of your dreams.
For exclusive content, behind-the-scenes glimpses, and to stay updated on all our latest projects and design insights, make sure to subscribe before you go! We love sharing our journey and empowering you to create a home you adore.