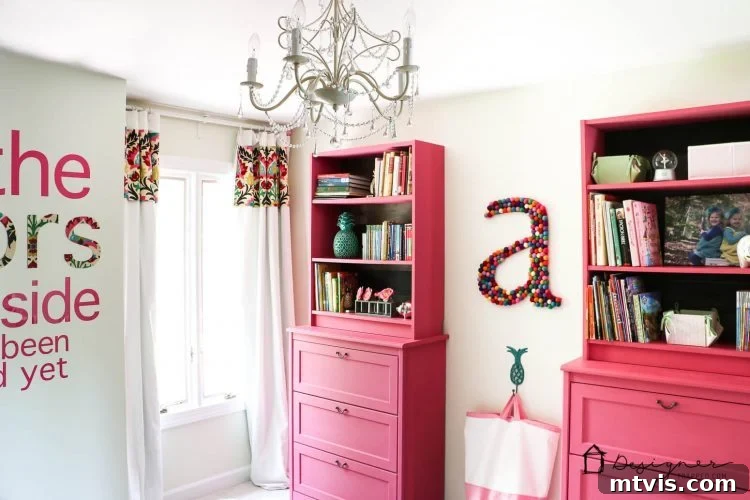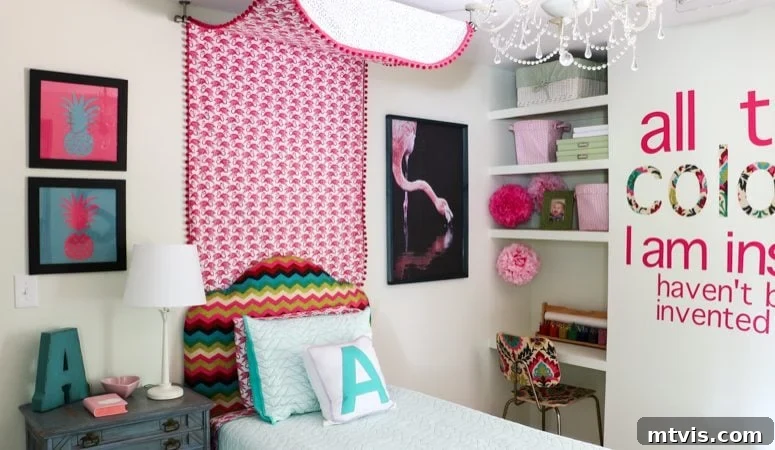
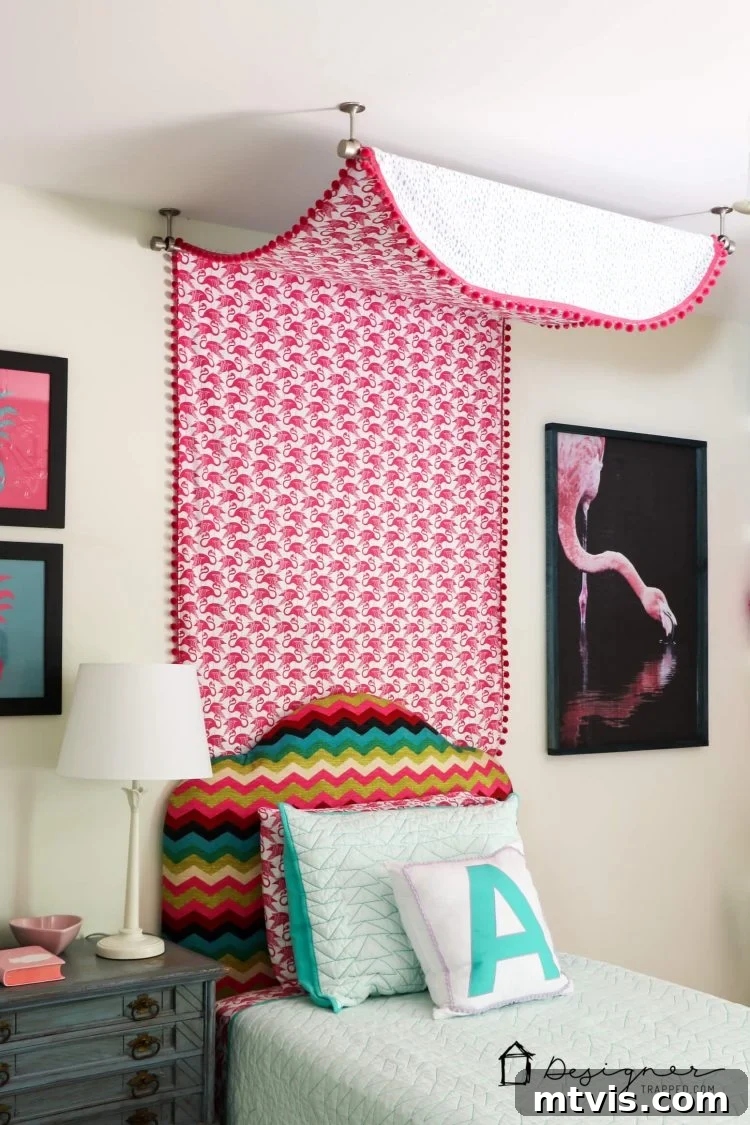
The transformation of a child’s bedroom into a magical sanctuary is a dream for many parents, and few elements capture that whimsical essence quite like a beautiful bed canopy. For those who’ve caught glimpses of Attley’s enchanting room in my recent photos, you know exactly what I’m talking about! The excitement around her DIY bed canopy, especially the fabulous flamingo design, has been overwhelming, and I’m thrilled to finally share the complete, step-by-step tutorial. This project isn’t just about creating a stunning visual centerpiece; it’s about crafting a cozy, imaginative space that your child will adore, all while being incredibly budget-friendly and surprisingly simple to make.
Before we dive into the creative process, let’s talk about the inspiration and practicalities. When I set out to create a bed canopy for a girl’s room, I was hoping to find a pre-made design or an existing tutorial that perfectly matched my vision. However, after extensive searching, I realized I would need to start from scratch. This challenge turned into an exciting opportunity to craft something truly unique and tailored. My second key consideration was cost. Fabric can be expensive, and I was determined to find an economical solution. The brilliant idea? Utilizing the flat sheets from our girls’ sheet sets that weren’t being used. We often skip flat sheets under quilts because they tend to tangle and make it harder for the girls to make their own beds. This simple pivot proved to be a game-changer, making this DIY canopy project both affordable and incredibly clever.
As luck would have it, twin flat sheets are the perfect size and material for this project, simplifying the process and keeping costs down. The result is a custom bed canopy that looks professional and stylish without the hefty price tag. This tutorial will walk you through everything you need to know, demonstrating that even if you’re not an expert sewer, you can achieve this stunning bedroom upgrade. So, if you’re ready to add a touch of charm and fantasy to your child’s room with a handmade girl’s bed canopy, let’s get started on this rewarding DIY adventure!
This post contains some affiliate links for your convenience (which means if you make a purchase after clicking a link I will earn a small commission which helps keep my blog up and running but it won’t cost you a penny more)! Click here to read my full disclosure policy.
DIY Bed Canopy Tutorial: Create a Dreamy Space with Flat Sheets
Materials Needed for Your DIY Bed Canopy:
- Sewing Machine: A reliable machine makes all the difference. This is the current version of the machine I have and I absolutely LOVE it. Investing in a good machine can transform your attitude towards sewing from dread to delight!
- Rotary Cutter: Essential for making precise, straight cuts through multiple fabric layers.
- Straight Pins: Crucial for holding your fabric layers together securely before sewing.
- Pom Pom Trim: I used trim with 1/2″ balls, which adds a playful and charming finish to the canopy. Feel free to explore other sizes or styles that suit your aesthetic!
- Two Flat Sheets: The star of our show! I repurposed twin flat sheets from this flamingo sheet set and this dash sheet set. Using existing sheets is a fantastic way to save money and upcycle.
- Two Ceiling Mounted Curtain Rods: These are critical for hanging your canopy. I used these exact curtain rods and ceiling mounting brackets for a secure installation.
Steps to Make Your Custom DIY Bed Canopy:
Creating a beautiful bed canopy from flat sheets is a rewarding project that’s more straightforward than you might think. Follow these detailed steps to bring a touch of magic to any bedroom.
1) Prepare Your Sheets: The first crucial step is to lay your two flat sheets on top of each other. It’s essential that the finished sides (the sides you want to be visible) are facing each other. This means the sheets will appear inside out at this stage. If your sheets feature a vertical pattern, like my flamingos, carefully consider which direction the pattern needs to face. Proper alignment now ensures your design is right-side up when the canopy is complete.
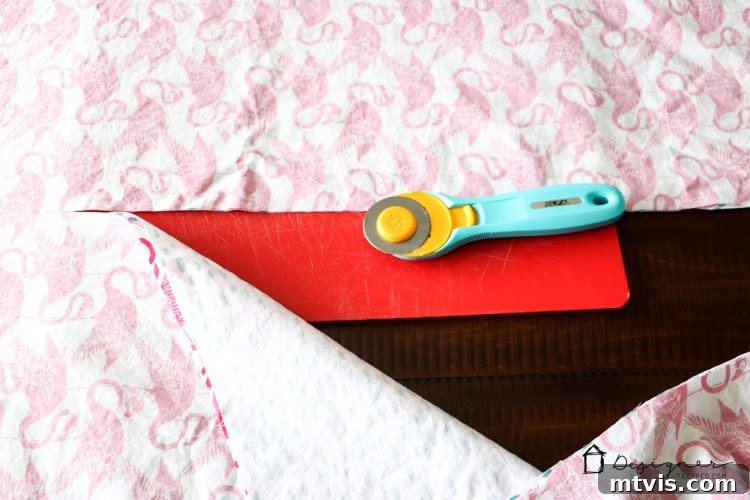
2) Measure and Cut for Width: Next, you’ll need to tailor your sheets to fit your mattress perfectly. Begin by measuring the exact width of your child’s mattress. For Attley’s twin bed, which measures 38 inches wide, I marked 38.5 inches on my stacked sheets. The extra 1/2 inch is a vital seam allowance, allowing you to sew the pieces together without losing any of your desired width. Once measured, use your rotary cutter to make a clean, straight cut through both sheets simultaneously. This ensures both panels are identical in width.
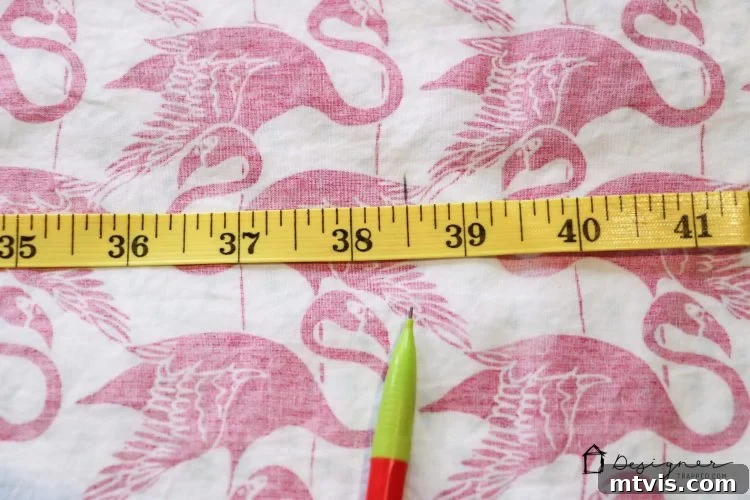
Using a rotary cutter is highly recommended for achieving clean, professional edges on fabric. It makes the task much quicker and more accurate than scissors, especially when cutting through multiple layers.
3) Shape the Canopy Top: While I didn’t need to adjust the length of my twin sheets, I wanted to give the top of the canopy a soft, rounded finish. To achieve this, simply grab a large mixing bowl or any round object with a suitable curve. Place it at the top corners of your layered sheets and trace the curve directly onto the fabric. Again, if your sheets have a distinct vertical pattern, double-check that you’re marking the correct end as the “top” of your canopy. Neglecting this could result in a charming but confusing pattern, like flamingos standing on their heads! After tracing, use your rotary cutter to carefully cut through both sheets along the traced curve, ensuring symmetrical rounded corners.
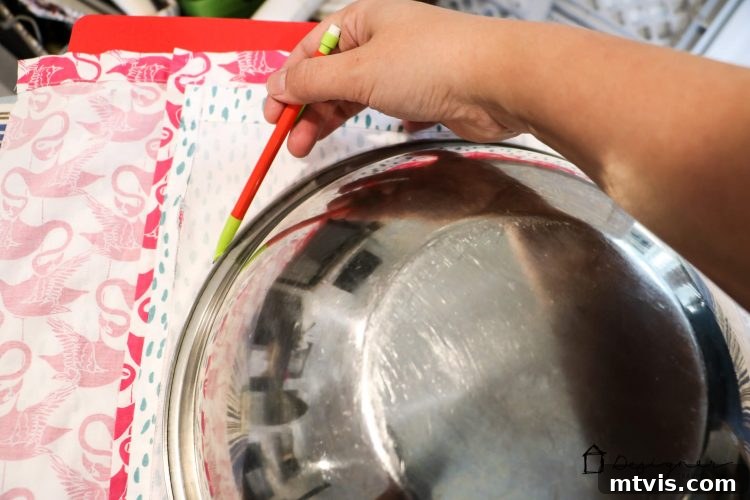
The rounded corners add a touch of elegance and softness to the overall design of the girl’s bed canopy, enhancing its dreamy aesthetic.
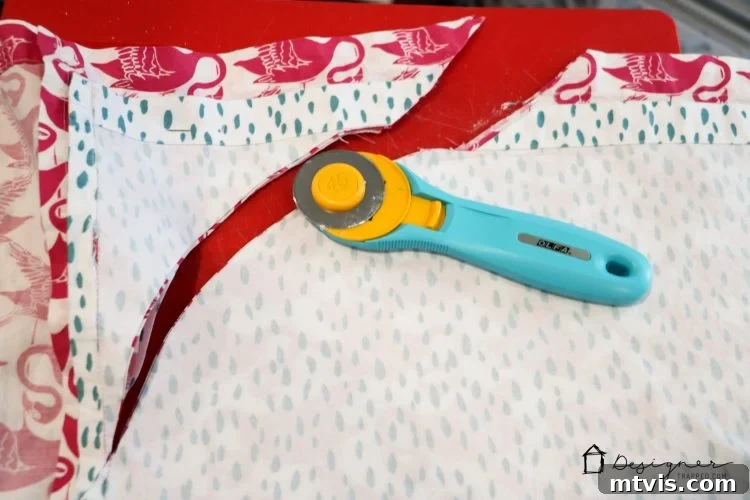
4) Pin the Edges: With your sheets cut and shaped, it’s time to prepare them for sewing. Carefully align the edges of the two sheets, ensuring the finished sides are still facing each other. Use straight pins to secure the layers together all around the perimeter. Pay extra attention to the curved corners to ensure they remain perfectly matched. Proper pinning is essential for achieving a neat and even seam, making your sewing process much smoother and preventing fabric shifting.
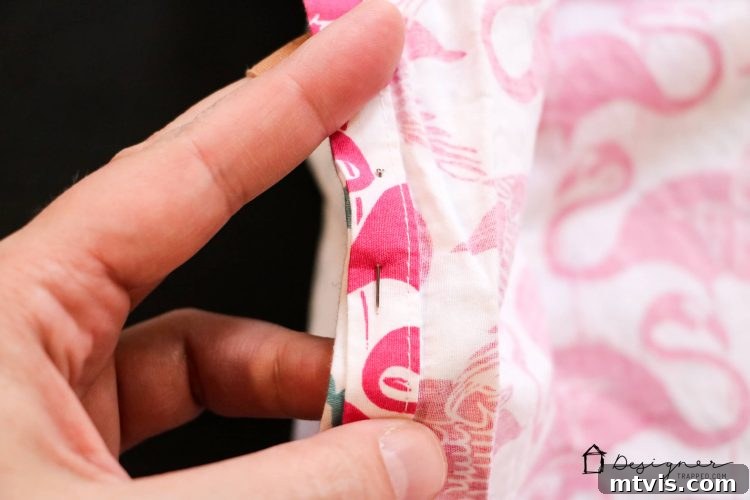
5) Sew the Canopy and Finish Edges: Now for the sewing! Using your sewing machine, stitch around the pinned edges of your sheets. Remember to leave an unstitched 12-inch opening at the very bottom of the canopy. This opening is crucial for turning your canopy right side out. Once sewn, carefully reach through this opening and gently pull the entire canopy fabric through until the finished sides are revealed. If there are any wrinkles or creases, now is the perfect time to iron your canopy for a crisp, polished look. Finally, stitch the 12-inch opening closed with a neat seam, making sure it blends seamlessly with the rest of the edge.
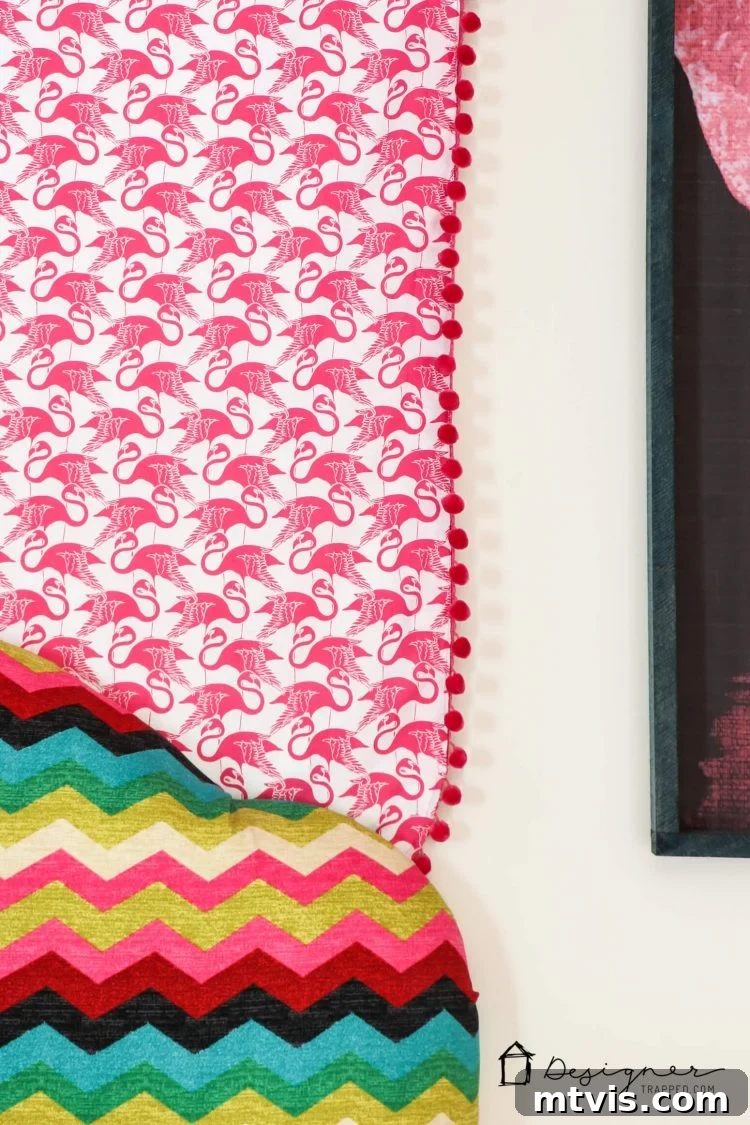
6) Attach the Playful Pom-Pom Fringe: Adding the pom-pom fringe is where this DIY bed canopy truly comes to life! While you could pin the fringe on first, I often find it easy enough to hold in place as I sew. The key to success here is using a zipper foot on your sewing machine. This specialized foot allows you to sew very close to the pom-poms without crushing them, ensuring only the fun balls are visible from the front. You’ll want to sew the pom-poms onto what will be the back side of your canopy, aligning the trim so that the webbing of the fringe doesn’t hang over the edge of the sheets. This technique ensures a professional and seamless finish where the pom-poms appear to emerge directly from the canopy fabric.
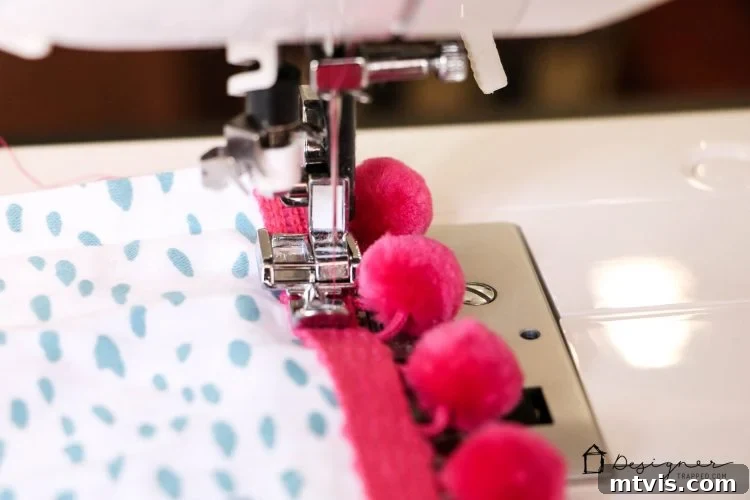
7) Install Ceiling Mounted Curtain Rods: With your canopy sewn and trimmed, it’s time for installation. Begin by attaching the first ceiling-mounted curtain rod as close to the wall above the headboard as possible. The placement of the second rod is flexible and depends on the desired drape and overhang of your DIY bed canopy, as well as the height of your headboard. I highly recommend having a helper hold the second rod in place while you drape the canopy through it. This allows you to visually experiment with different positions until you achieve the perfect flow and aesthetic. Once satisfied, secure the second rod to the ceiling. To prevent the canopy from slipping or shifting over time, we added a small piece of double-sided tape to the top of the second curtain rod – a simple trick that works like a charm!
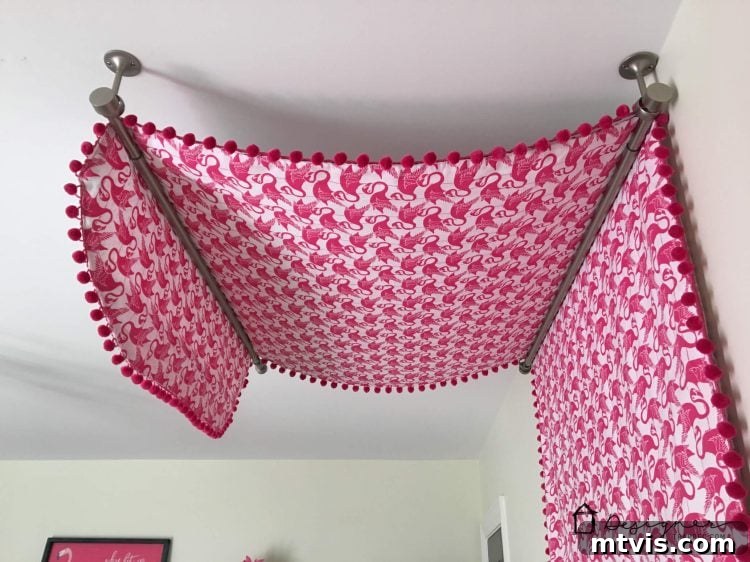
8) Final Touch: Tuck Behind the Headboard: For a clean and polished look, gently tuck the bottom edge of your newly installed DIY canopy behind the headboard. This helps to secure the fabric and creates a seamless transition, making the canopy feel like an integrated part of the bed’s design rather than an add-on.
Tips for Success & Customization
- Fabric Choices: While flat sheets are excellent for their affordability and size, don’t limit yourself! Lightweight cotton, sheer fabrics, or even repurposed duvet covers can also work beautifully. Consider the overall theme of the room when selecting patterns and colors.
- Pattern Alignment: For patterned fabrics, always double-check your pattern direction, especially if the pattern is directional (like flamingos or stripes). Lay out your fabric completely before cutting to visualize how it will look.
- Seam Allowance Consistency: Maintaining a consistent seam allowance throughout your project is key to a professional finish. If you’re new to sewing, practice on scrap fabric first.
- Ironing is Your Friend: Don’t underestimate the power of ironing. Pressing your seams flat after sewing each step makes a huge difference in the final appearance of your canopy.
- Embellishment Ideas: Beyond pom-pom trim, consider adding fairy lights for a magical glow, tassels, ribbon ties, or even embroidered details to further personalize your girl’s bed canopy.
- Measurement Accuracy: Measure twice, cut once! This age-old advice is particularly relevant in sewing projects to avoid costly mistakes.
- Rod Placement: When positioning the curtain rods, take into account ceiling height and how much “billow” you want in your canopy. A higher second rod will create a more dramatic, flowing effect.
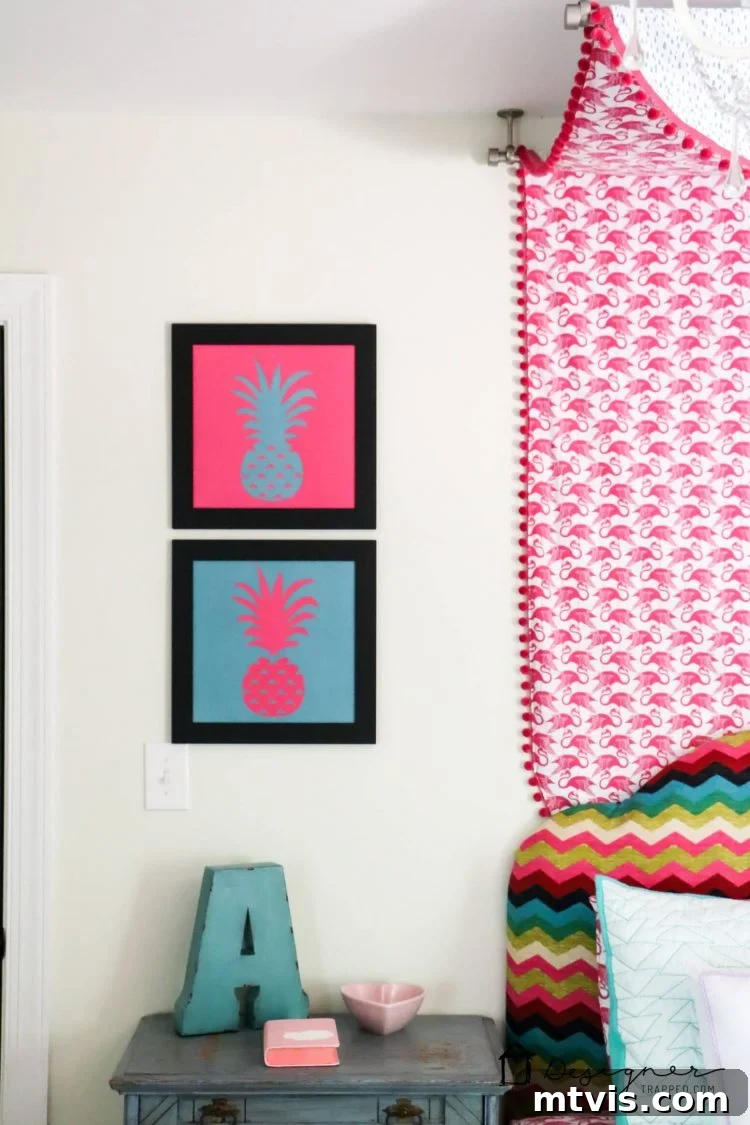
That’s it! Isn’t this girl’s bed canopy absolutely adorable? I can tell you firsthand that Attley absolutely adores it. She feels incredibly “fancy” and special with her custom bed canopy, and that’s truly the best reward for any DIY project. Seriously, you don’t need to be an expert seamstress by any stretch of the imagination to tackle this. I promise, this DIY bed canopy is very simple and easy to make, even for beginners. You truly can do it! It’s an opportunity to add a truly unique and personal touch to a child’s bedroom, creating a cozy and imaginative space they’ll cherish. (PS – You can find the tutorial for that pineapple art here and for the DIY wall quote here to complete the room’s look).
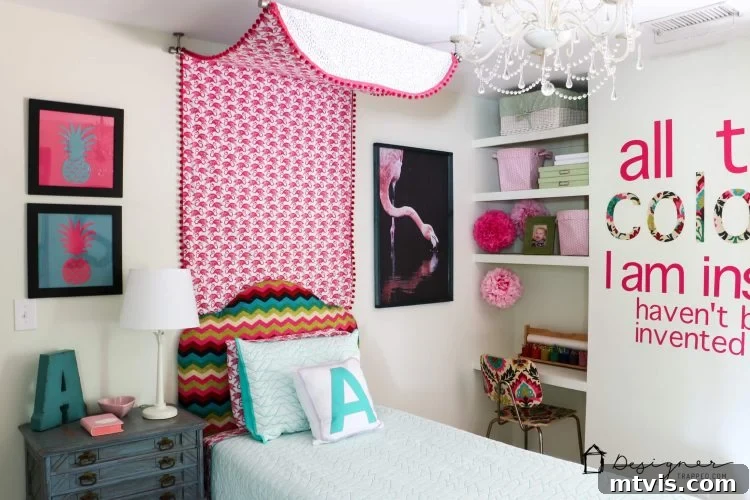
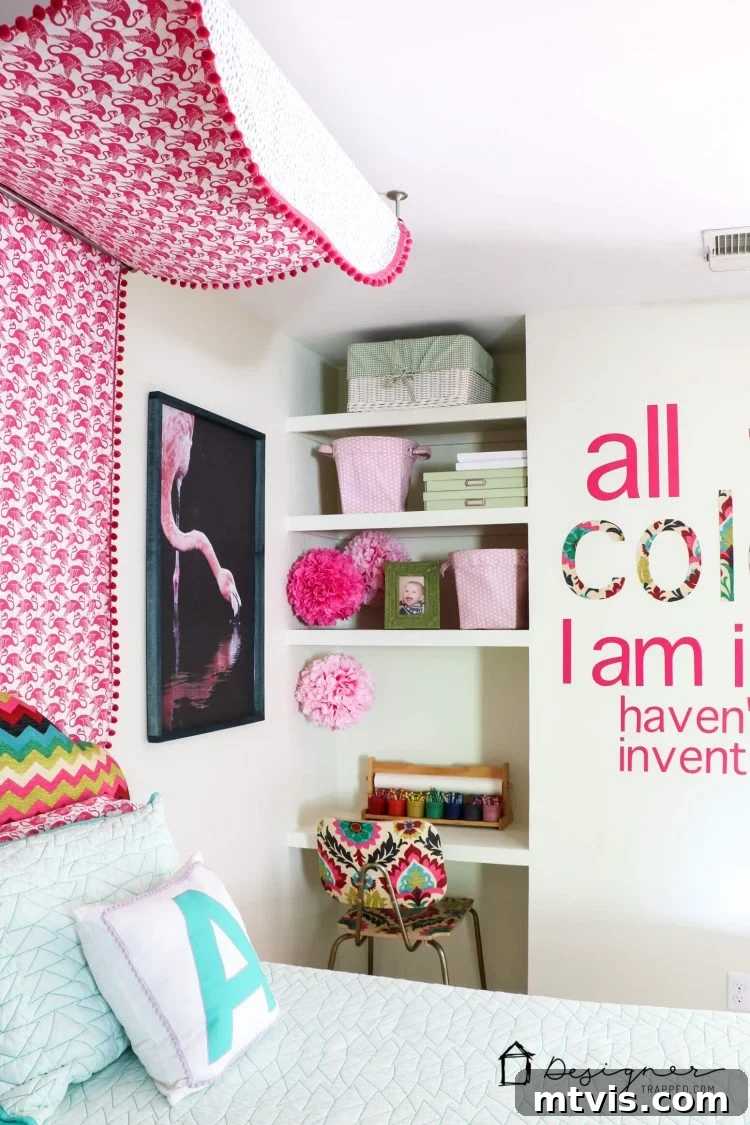
What are your thoughts on this fantastic DIY bed canopy project? Do you know any little girls who would absolutely love one of these in their room? If so, don’t hesitate to share this tutorial on Facebook or pin it on Pinterest so you can easily find it again when you’re ready to create some magic!
Oh, and while you’re gathering inspiration for Attley’s room, be sure to check out this super cool IKEA hack on the other side of her room – it’s another simple project that makes a big impact!