
Revitalize Your Leather: A Comprehensive Guide to Restoring Leather Furniture with Ease
This insightful guide is brought to you with support from Mohawk. All opinions expressed are genuinely my own, shaped by my positive experiences with their exceptional products.
Leather furniture holds a timeless appeal, offering sophistication and comfort to any space. Its rich texture and durable nature make it a favored choice for many homeowners. However, even the most resilient leather pieces are not immune to the rigors of daily life, especially in busy households brimming with energetic children and beloved pets. Those playful paws, accidental toy scrapes, or even everyday wear can leave unsightly marks, scuffs, and scratches that diminish leather’s luxurious appearance. Many might assume that such damage is permanent, relegating once-beautiful pieces to the garage or the curb. But what if I told you that restoring your cherished leather furniture back to its former glory is not only possible but incredibly straightforward and can be achieved in a matter of minutes with the right approach and a few key products?
You absolutely don’t have to shy away from investing in leather furniture due to concerns about wear and tear. Instead, embrace its beauty with the confidence that minor damages are easily rectifiable. This comprehensive tutorial will guide you through a quick, easy, and incredibly effective method for how to restore leather furniture, transforming it from worn to wonderful. Prepare to be amazed at how simple it is to bring your leather pieces back to life, making them look as good as new, often in less time than it takes to brew a cup of coffee.
The Thrill of a “Trash Picked” Treasure: Our Ottoman’s Journey
Our quest for the perfect ottoman to complement our twin girls’ playroom had been ongoing. With their bean bag chairs seeing less action, a sturdy, stylish, and comfortable ottoman became a priority. Yet, we weren’t keen on spending a fortune on a brand-new piece, especially for a space where it would undoubtedly face its share of active play. Imagine my absolute delight when one day, my husband, Joe, arrived home with a mischievous grin, announcing a surprise! He led me down to our garage, where a seemingly forgotten, yet remarkably promising, leather ottoman awaited. Joe had discovered it on the side of the road, a true “trash-picked” gem. For some, the idea of reclaiming furniture from the curb might seem unconventional, but for me, finding a piece with untapped potential brings more joy than a bouquet of flowers. This experience underscores the incredible value and satisfaction that can be found in giving neglected items a second chance. Please note: This post may contain some affiliate links. Click here to read my full disclosure policy.
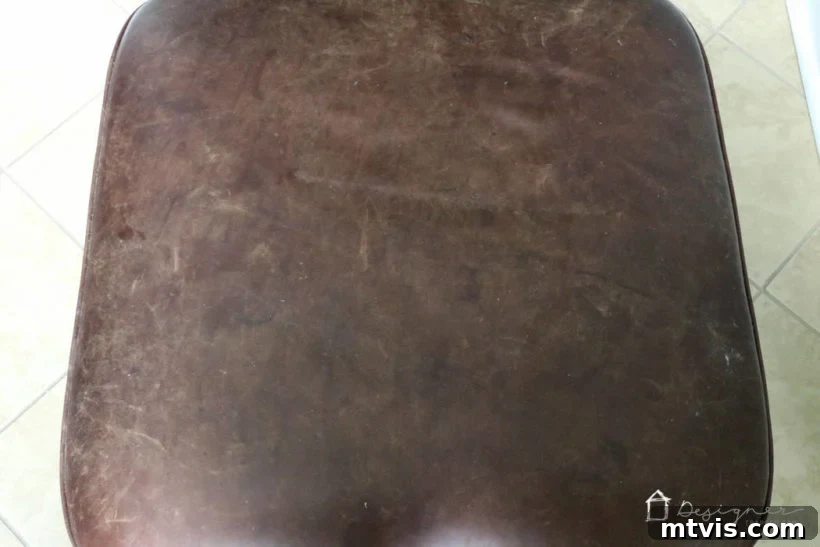
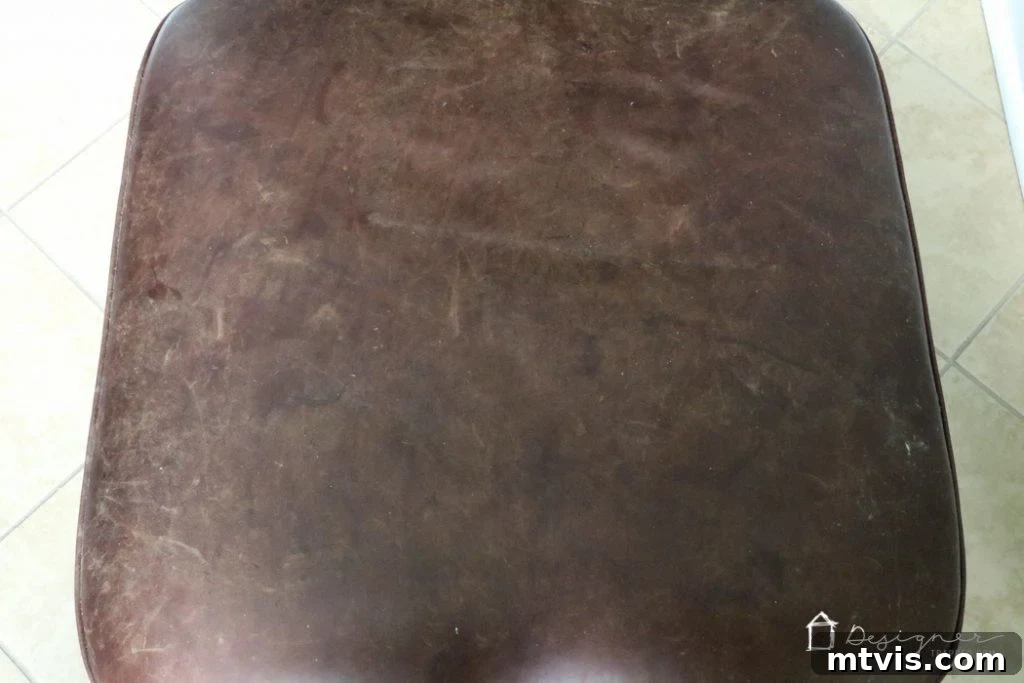
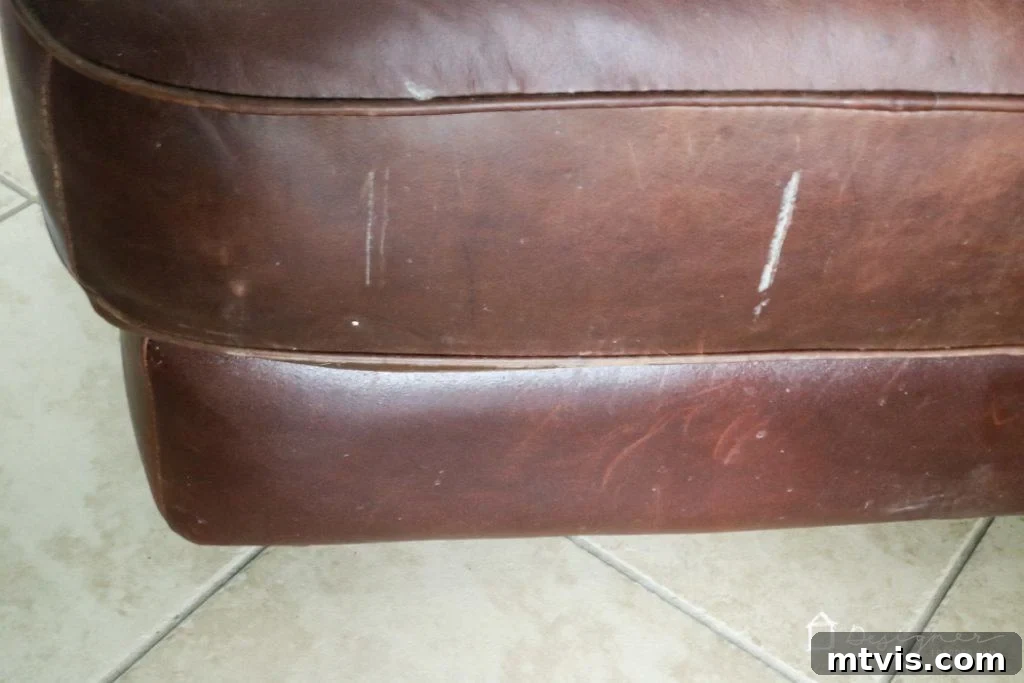
Upon closer inspection, the ottoman certainly bore the marks of its past life. It was quite beaten up, adorned with a multitude of scratches, and, most curiously, stained with several odd marks that I suspected were from paint splatters. Its current state was far from its former elegance.
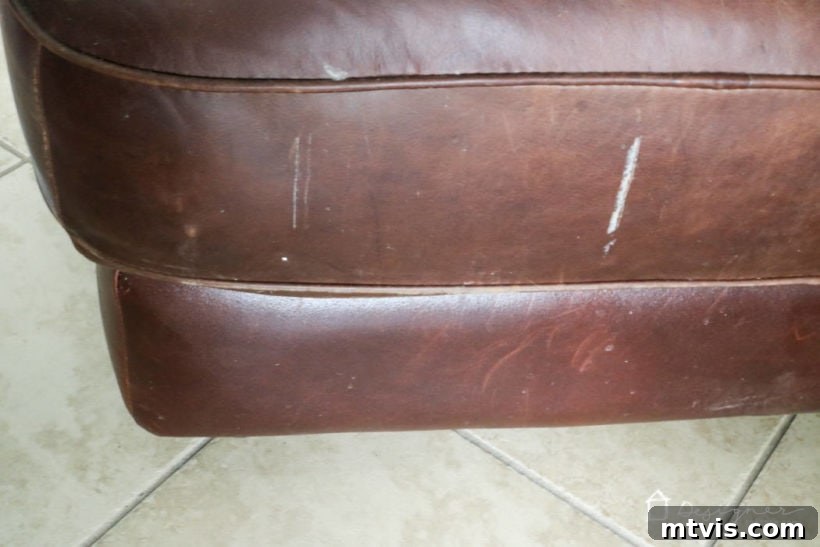
It looked rather sad, didn’t it? However, my excitement for this free find remained undimmed. I was brimming with confidence that I could bring this piece back to its former glory – and indeed, I was right! There’s nothing quite like the satisfaction of a successful DIY project, especially one that transforms a discarded item into a treasured household fixture. Continue reading to discover the simple steps I followed to achieve this remarkable transformation.
The Art of Transformation: A Step-by-Step Guide to Restoring Leather Furniture
Essential Materials You’ll Need:
- Mohawk Finishing Products Leather Care Kit: This kit is a complete solution for cleaning, conditioning, and protecting your leather.
- Mohawk Leather Scratch Remover: Specifically formulated to reduce the appearance of minor scratches and scuffs.
- Mohawk EZ Flow Leather Marker: Ideal for addressing deeper scratches or areas requiring precise color touch-ups.
- Paper towels: For initial cleaning and product removal.
- Lint-free cloth: Essential for applying conditioners and buffing to a smooth finish without leaving fibers.
- Foam sponge: Often included in leather care kits, perfect for even application of products.
Why DIY Leather Restoration is a Game Changer
Before diving into the steps, let’s talk about why restoring leather furniture yourself is such a brilliant idea. Firstly, it’s incredibly cost-effective. Replacing a leather ottoman or sofa can run into hundreds, if not thousands, of dollars. A simple restoration kit, on the other hand, offers a budget-friendly alternative that yields impressive results. Secondly, it’s sustainable. By extending the life of your furniture, you’re reducing waste and contributing to a more eco-conscious lifestyle. Many older leather pieces are crafted with superior quality that’s hard to find in modern, mass-produced items, making them well worth the effort to preserve. Lastly, there’s immense satisfaction in a DIY project well done. The pride you’ll feel in transforming a worn-out item into a beautiful, functional piece for your home is truly rewarding.
Preparation: The Foundation of Flawless Restoration
The key to any successful restoration project lies in thorough preparation. Before applying any specialized repair products, it’s crucial to clean your leather piece. Dust, grime, and oils can accumulate over time, preventing repair solutions from adhering properly. Using a gentle leather cleaner (often found in the Mohawk Leather Care Kit) and a lint-free cloth, carefully wipe down the entire surface of your furniture. Pay extra attention to heavily soiled areas or those with unknown stains, like the mysterious paint marks on my ottoman. A clean slate ensures that the scratch remover and color restorers can work their magic effectively and seamlessly blend with the existing leather.
Step 1: Tackling Scratches and Scuffs with Mohawk Leather Scratch Remover
Once your leather is clean and dry, it’s time to address the visible damage. For minor scratches, scuffs, and surface abrasions, the Mohawk Leather Scratch Remover is your go-to solution. Dispense a small amount onto a clean, soft cloth or a foam sponge. Gently rub the product into the affected areas using circular motions. The unique formula works by filling in and blending minor imperfections, effectively reducing their visibility. For deeper scratches, you might need to apply several thin coats, allowing each coat to dry completely before applying the next. This layering technique helps build up the repair and ensures a smooth, even finish. Take your time, working in small sections, and observe how the product miraculously diminishes those annoying marks.
Step 2: Precision Repair with the Mohawk EZ Flow Leather Marker
For those more stubborn or deeper scratches where the color of the leather has been completely lifted, or for precise touch-ups on areas like faded edges or corners, the Mohawk EZ Flow Leather Marker comes into play. This marker provides a concentrated color application that blends seamlessly with your leather’s original hue. Carefully select a marker color that matches your furniture as closely as possible. Apply the marker directly into the scratch or faded area with light, feathered strokes. It’s always better to apply less and build up the color gradually than to over-apply. After applying, gently blot with a clean, lint-free cloth to remove any excess and help blend the color. This step is particularly effective for camouflaging paint spots or other discolored areas, making the damage virtually disappear.
Step 3: Conditioning and Protecting with the Mohawk Leather Care Kit
With the scratches and scuffs addressed, the final, and arguably most important, step is to condition and protect your newly restored leather. The Mohawk Finishing Products Leather Care Kit typically includes a high-quality leather conditioner. Using a fresh foam sponge or a lint-free cloth, apply the conditioner evenly over the entire surface of your furniture. Gently rub it in with circular motions, allowing the leather to absorb the nourishing formula. This conditioner not only restores moisture to the leather, preventing future cracking and drying, but also creates a protective barrier against spills and daily wear. After application, allow the conditioner to penetrate for a few minutes, then buff gently with a clean, dry lint-free cloth to achieve a soft, lustrous sheen. This step revitalizes the leather’s natural suppleness and ensures its longevity.
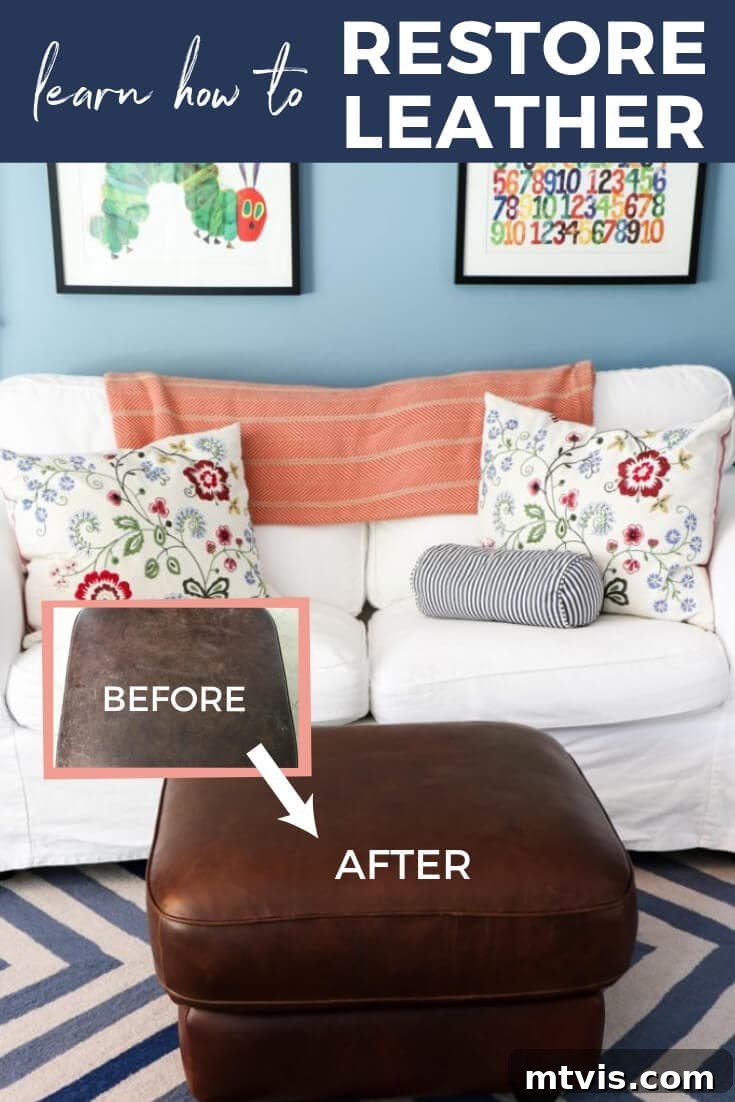
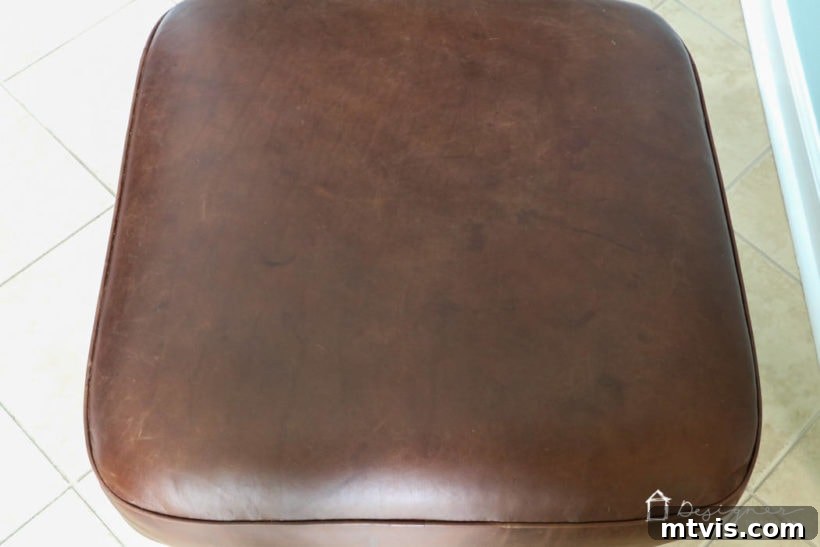
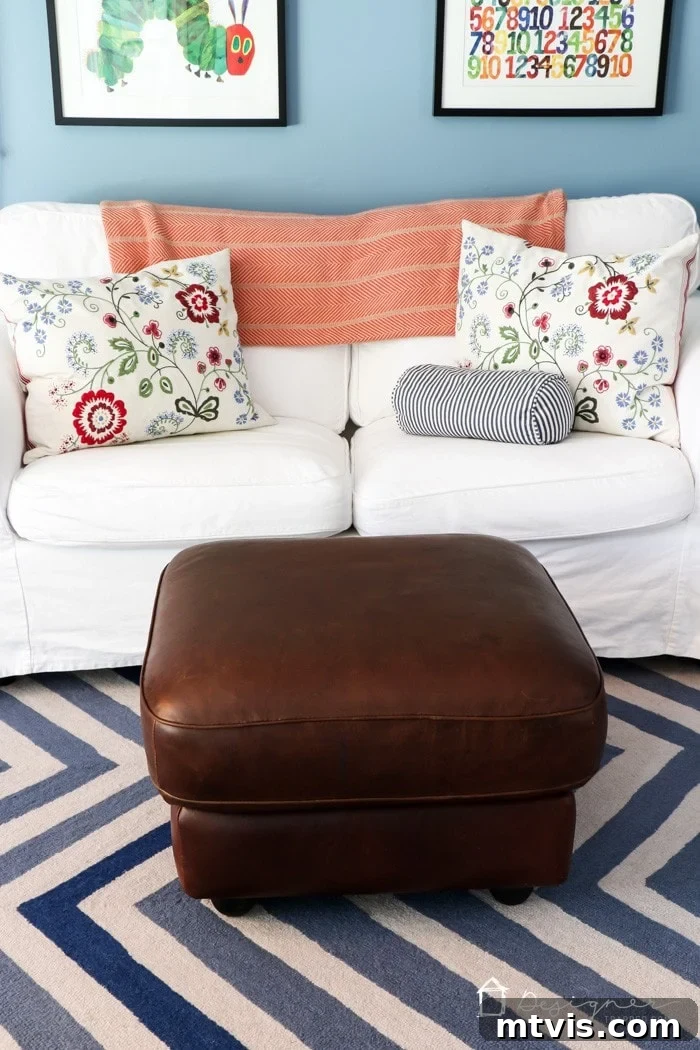
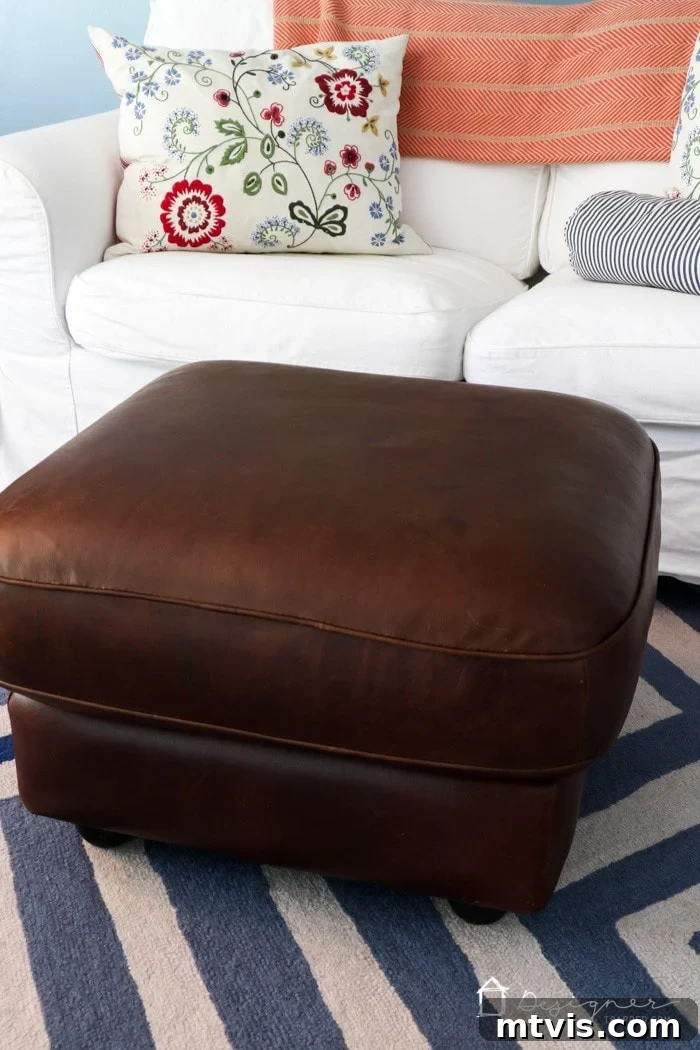
The entire process, from initial cleaning to final buffing, took me approximately 20 minutes to complete on this ottoman, including allowing for drying time between applications. The speed and effectiveness are truly astounding. Now, feast your eyes on the remarkable transformation in these BEFORE and AFTER photos:
 |
 |
 |
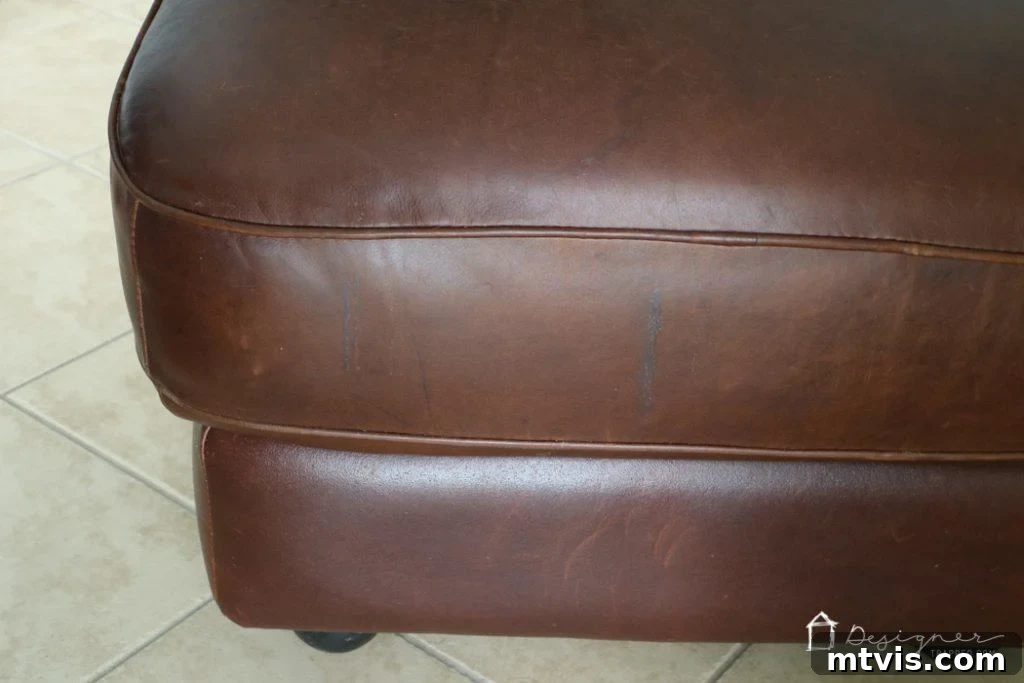 |
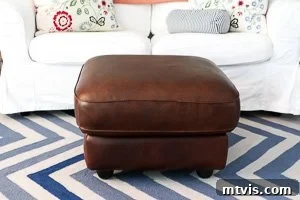
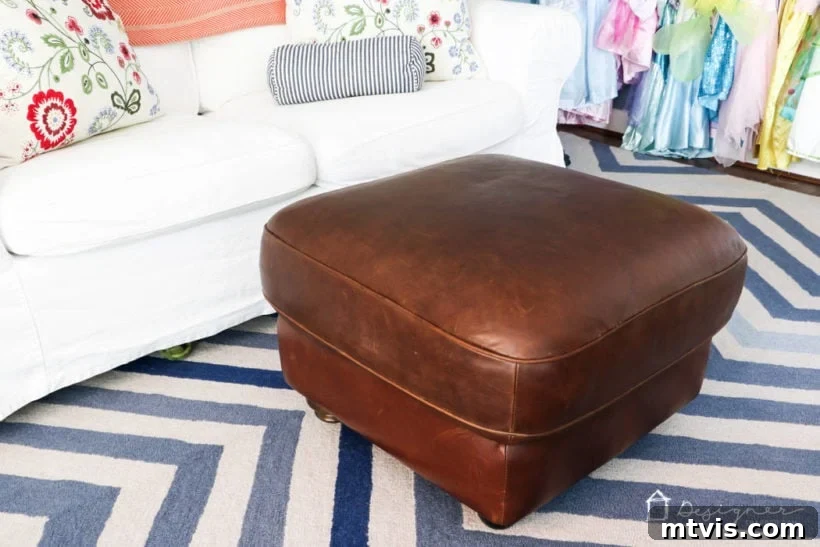
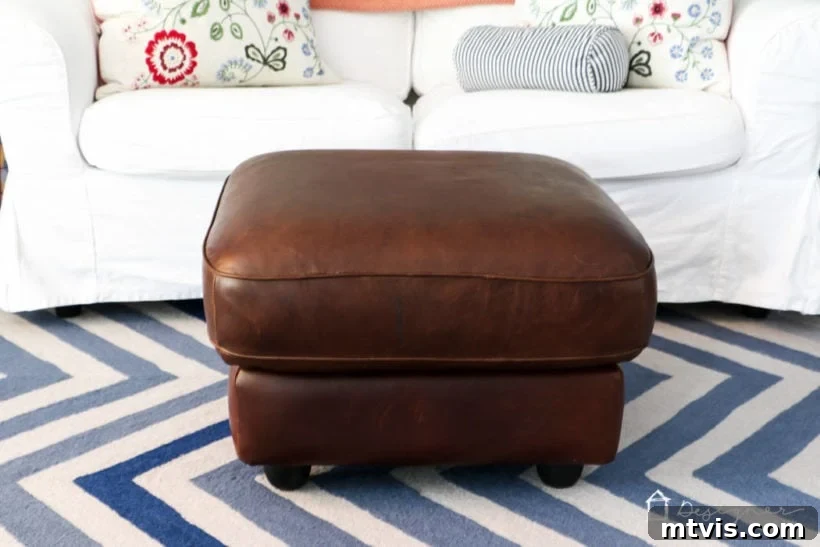
And here’s a look at the beautifully restored ottoman in its vibrant new home within our twin girls’ playroom. It fits perfectly, adding a touch of elegance and functionality, and it cost us next to nothing. This is truly one of those moments that makes DIY so rewarding!
Beyond Restoration: Maintaining Your Leather’s Luster
Pretty amazing, isn’t it? The difference is truly night and day. But the journey doesn’t end with restoration. To keep your leather furniture looking pristine and to prevent future damage, ongoing care is essential. Don’t forget that once you restore your piece, make a habit to clean and protect your leather furniture regularly. Here are a few tips for long-term maintenance:
- Regular Dusting: Use a soft, dry cloth to dust your leather furniture weekly.
- Vacuuming: For crevices and seams, use a soft brush attachment on your vacuum cleaner.
- Prompt Spill Cleanup: Blot spills immediately with a clean, dry cloth. Never rub, as this can spread the stain.
- Conditioning: Re-apply a quality leather conditioner every 6-12 months, or as recommended by the product manufacturer, to keep the leather supple and prevent drying and cracking.
- Avoid Direct Sunlight and Heat: Position your leather furniture away from direct sunlight, heating vents, and fireplaces, as prolonged exposure can cause fading and drying.
- Protect from Sharp Objects: Be mindful of sharp objects, pet claws, and abrasive materials that can scratch the surface.
Unlock Your Home’s Potential with Inspired Design
Now that your leather furniture is beautifully restored and radiates renewed elegance, doesn’t it deserve to be showcased in a room you absolutely adore? A stunning piece of furniture can truly elevate a space, but a cohesive and well-thought-out design transforms a house into a home. Before you gather your restoration supplies and embark on your next DIY project, take a moment to explore possibilities for your entire living space. I invite you to delve into my FREE design guides, meticulously crafted to help you design spaces that reflect your personality and truly resonate with your heart. Unlock my exclusive design vault and gain instant access to a wealth of inspiration and practical advice, all conveniently housed in one comprehensive digital library. Create a home that you’re not just proud of, but genuinely fall in love with, day after day. Let’s make your surroundings as beautiful and inviting as your newly restored leather piece.
