
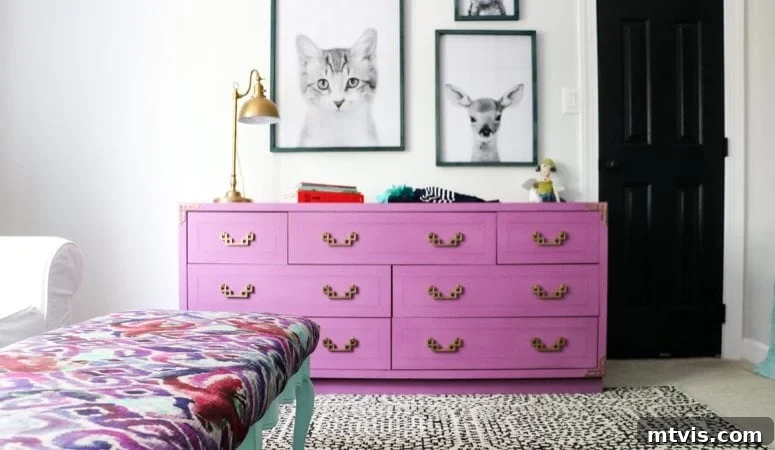
This transformative furniture restoration guide is proudly sponsored by Mohawk Consumer Products. Rest assured, all opinions shared are 100% my own and reflect my genuine experience.
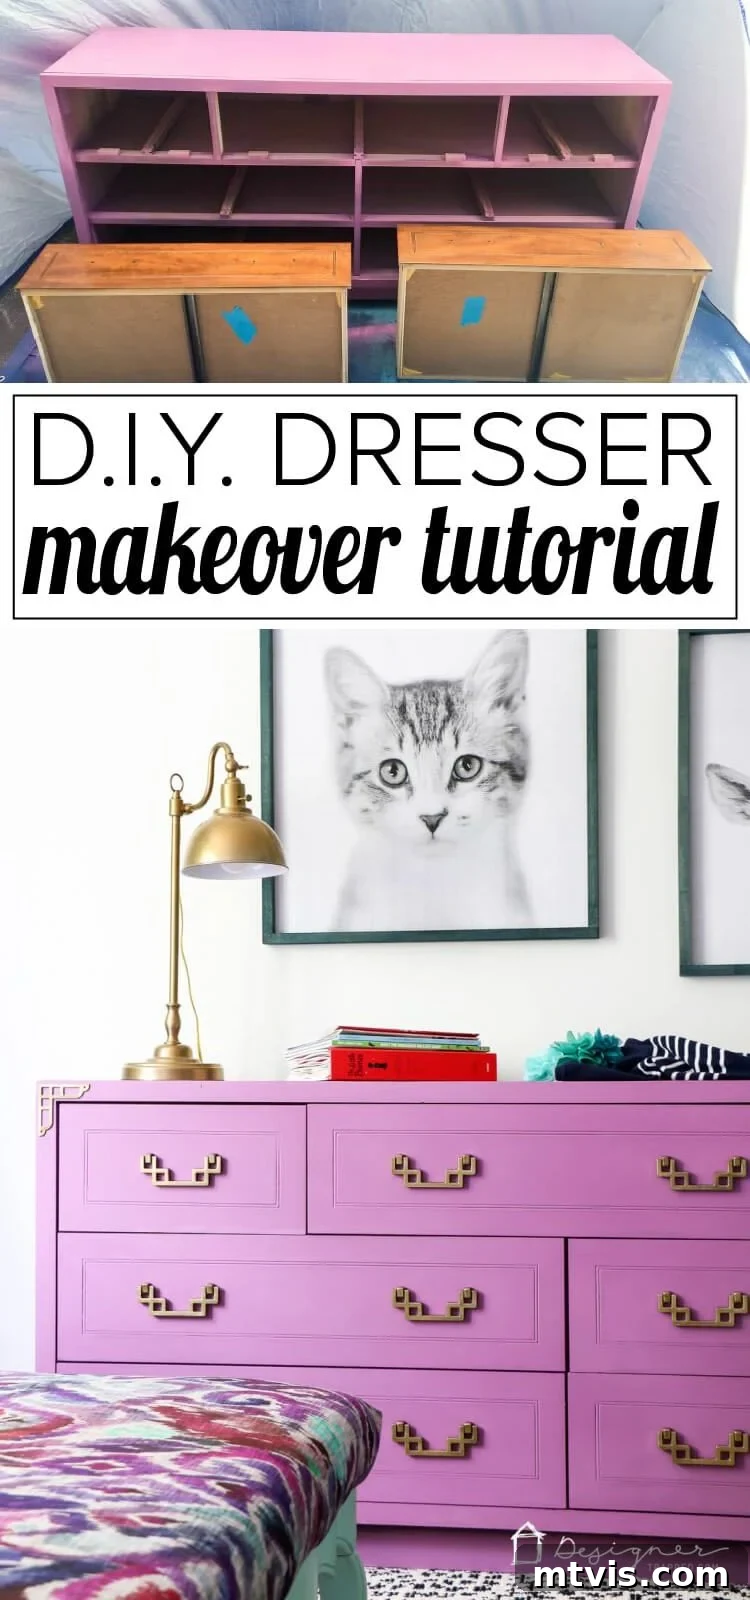
Transform Your Space: The Ultimate DIY Furniture Restoration Guide
Are you tired of skyrocketing furniture prices? Raise your hand if you’ve ever gasped at the cost of a new dresser or bedroom set! My hand is definitely up! The hefty price tag on quality furniture is precisely what propelled me into the world of DIY. When my husband and I first got married, we were on the hunt for bedroom furniture, and the sticker shock was immense. Rather than settling for less or breaking the bank, we invested in some basic tools and built our very first DIY furniture projects: a headboard and a pair of bedside tables. That experience ignited a passion that goes beyond just building; we also love giving forgotten pieces of furniture a second life, especially those with intricate details like multiple drawers that can be challenging to build from scratch.
Today, I’m thrilled to share my comprehensive DIY furniture restoration tutorial with you. This isn’t just about painting an old dresser; it’s about mastering techniques that will empower you to transform virtually any piece of vintage or worn-out furniture into a stunning focal point in your home. Get ready to unlock the secrets to a budget-friendly, beautiful furniture makeover!
From Roadside Find to Showstopper: My Campaign Dresser Makeover Story
Every great DIY story often begins with an unexpected find. The dresser featured in this post is part of an incredible set I stumbled upon purely by chance. I literally spotted the entire collection—two bedside tables, a dresser, a chest of drawers, and a mirror—sitting in the parking lot of what used to be a “Fruits and Veggies” store (nowadays, it mostly sells old refrigerators and miscellaneous items). I immediately asked Joe to pull over so I could investigate. To my absolute delight, I scored the entire solid wood set for an unbelievable $160! You heard that right—solid wood furniture, complete with charming brass hardware that was in surprisingly decent condition, just begging for a little tender loving care.
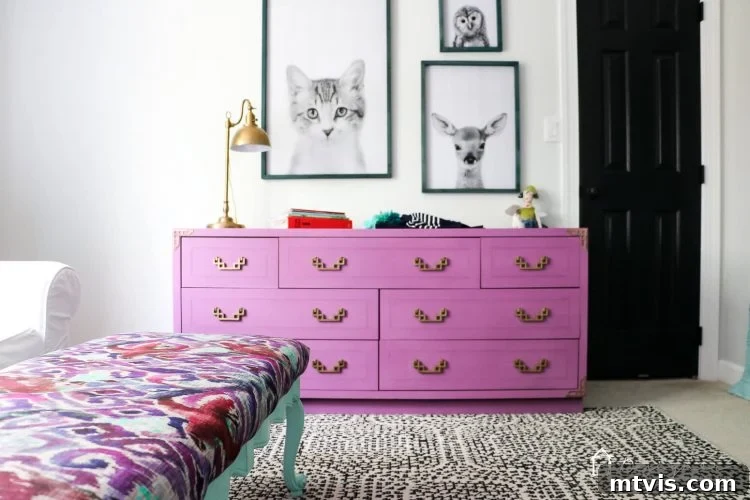
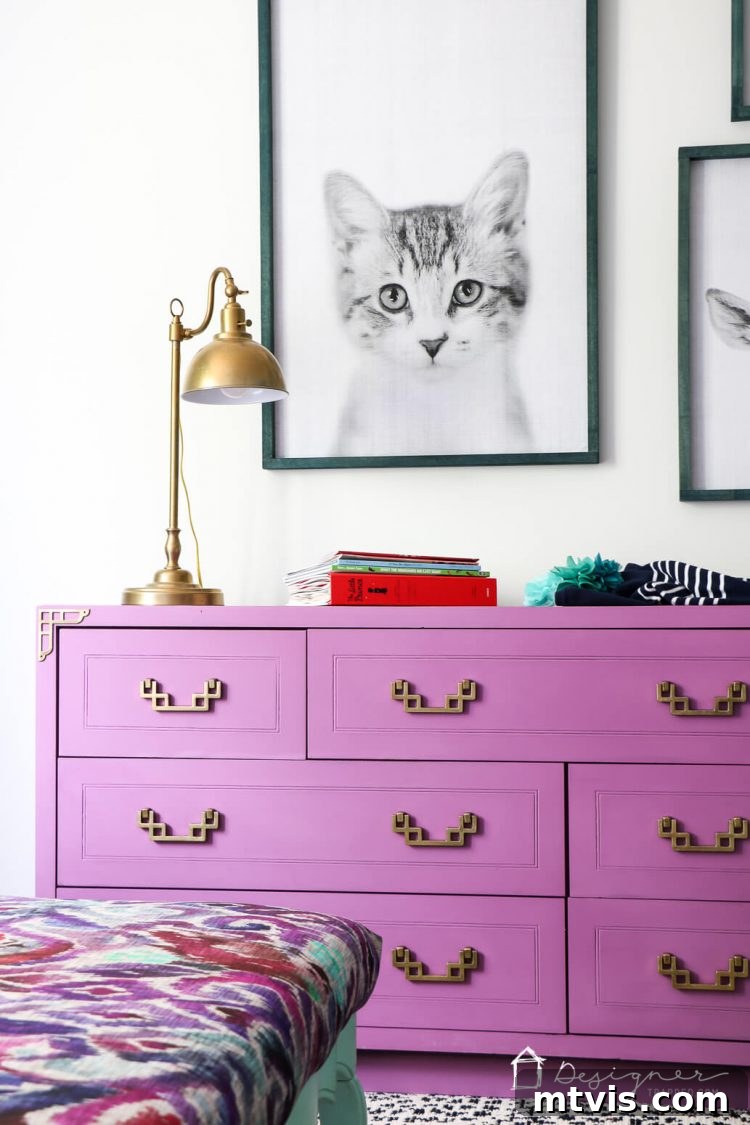
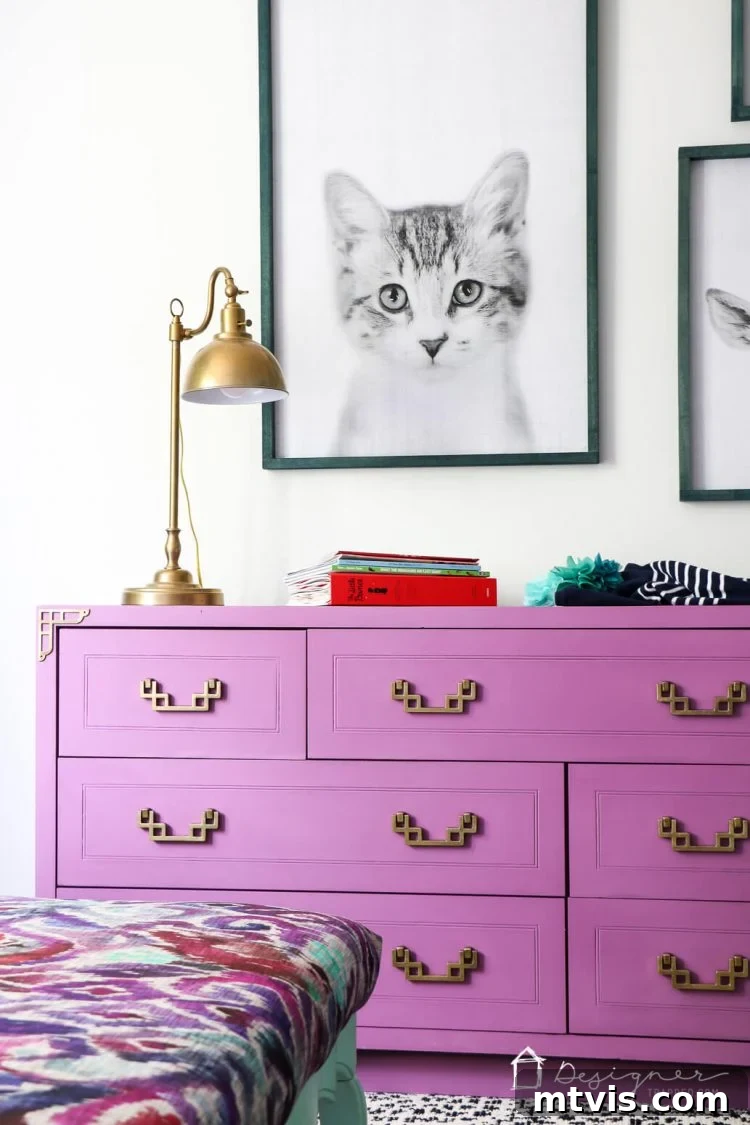
While the wood itself was “less than stellar,” showing signs of wear and tear, this was a non-issue for me. I’ve always preferred painted furniture for its ability to instantly refresh and modernize a piece, regardless of its original finish. This specific DIY furniture restoration project, with its classic campaign style and stunning orchid hue, truly turned this overlooked dresser into a breathtaking showstopper, now perfectly at home in my daughter’s room!
Your Essential DIY Furniture Restoration Tutorial
Before diving into the detailed steps, I always recommend preparing your workspace and gathering all necessary materials. Transforming furniture is not just about painting; it’s a multi-step process that requires patience, attention to detail, and the right tools. While I reference a video overview in the original content, please note that for this formatted guide, we will focus on the written instructions. These methods are designed to help you achieve professional-looking results on any furniture piece you choose to revive.
This post contains some affiliate links for your convenience (which means if you make a purchase after clicking a link I will earn a small commission which helps keep my blog up and running but it won’t cost you a penny more)! Click here to read my full disclosure policy.
Materials You’ll Need for Your Furniture Makeover
Having the right supplies on hand is crucial for a successful furniture restoration project. Each item plays a specific role in preparing, painting, and protecting your piece. Here’s a detailed list of what you’ll need, along with insights into their purpose:
- Paper towels: Indispensable for cleaning, drying, and wiping away excess products.
- Simple Green: A powerful, all-purpose cleaner perfect for degreasing and deep cleaning furniture surfaces. It effectively removes years of grime, dirt, and residue, ensuring optimal paint adhesion.
- Bar Keeper’s Friend: This non-abrasive cleanser is a miracle worker for tarnished brass hardware, effortlessly restoring its original luster without damage.
- Wire brush: Essential for scrubbing stubborn grime and tarnish from metal hardware, especially in crevices.
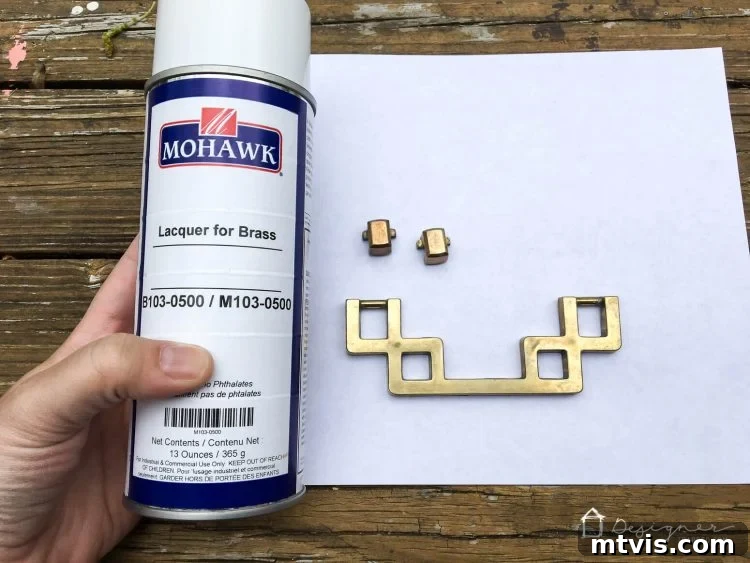
- Mohawk Lacquer for Brass: A vital step to prevent future tarnishing and discoloration, ensuring your newly cleaned brass hardware stays beautiful for years to come.
- Behlen Slideez: This incredible product is designed to lubricate sticky wooden drawers, making them glide smoothly. It’s far superior to traditional methods like wax or candles.
- 5-in-1 tool: A versatile tool for prying, scraping, and preparing surfaces, particularly useful for gently removing hardware.
- Hammer: For minor adjustments or stubborn hardware.
- Screwdriver: To carefully remove and reattach hardware.
- HomeRight Finish Max Fine Finish Sprayer or quality paint brushes/rollers: While a sprayer provides a super smooth, factory-like finish and speeds up the process for larger pieces, high-quality brushes and rollers can also achieve excellent results with patience and proper technique.
- HomeRight Spray Shelter: If using a sprayer, this portable shelter is invaluable for containing overspray and protecting your workspace.
- Paint: I highly recommend Amy Howard At Home One Step Paint in Orchid for its superior adhesion, durability, and beautiful finish. This type of paint eliminates the need for extensive sanding or priming, making restoration much easier. A quick note: I NEVER recommend using latex paint on furniture. Latex paint tends to peel and chip more easily, doesn’t adhere as well to slick surfaces, and doesn’t offer the same durable finish as furniture-specific paints. Opting for specialized furniture paint ensures your hard work stands the test of time.
- Amy Howard At Home Light Antique Wax (if desired): This wax adds a subtle sheen, depth, and a layer of protection to your painted piece, enhancing its character without drastically altering the color.
Pro Tip: Adding Campaign Hardware
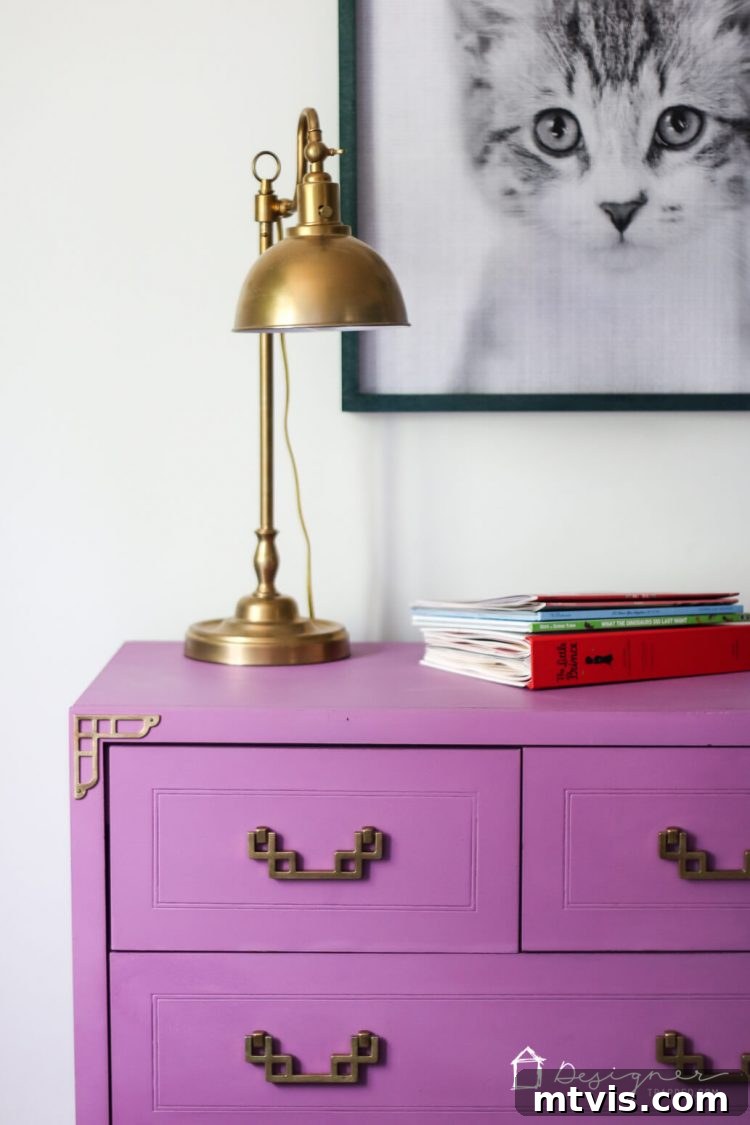
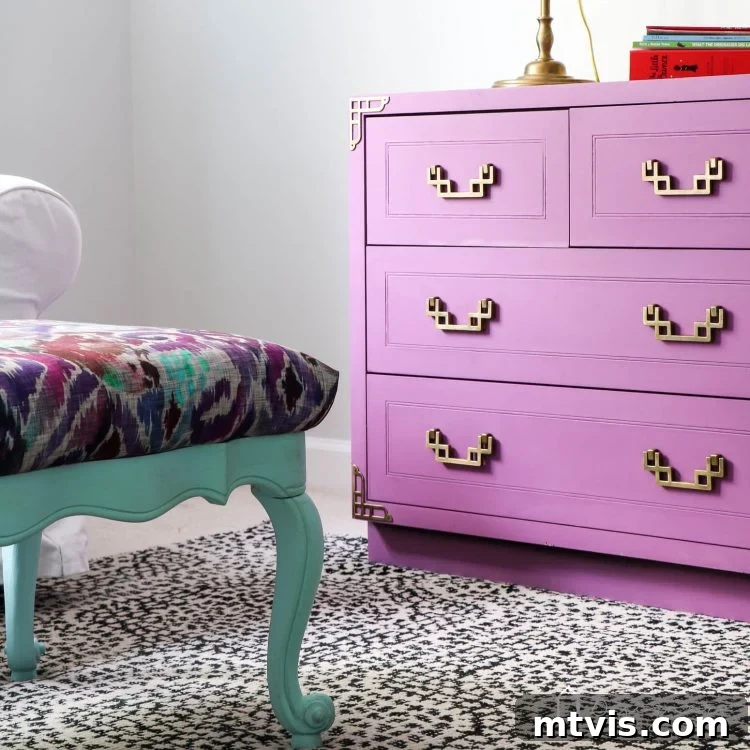
If your vintage find doesn’t come with the gorgeous campaign hardware that my dresser features, don’t fret! You can easily add this classic touch to any piece. Campaign hardware is characterized by its recessed pull handles and corner protectors, giving furniture a sophisticated, travel-inspired aesthetic. You can find a wide selection of campaign hardware here to elevate your furniture restoration to the next level.
This is what my dresser looked like before the magic began. Notice the worn surface and faded appeal, ripe for a stunning transformation.
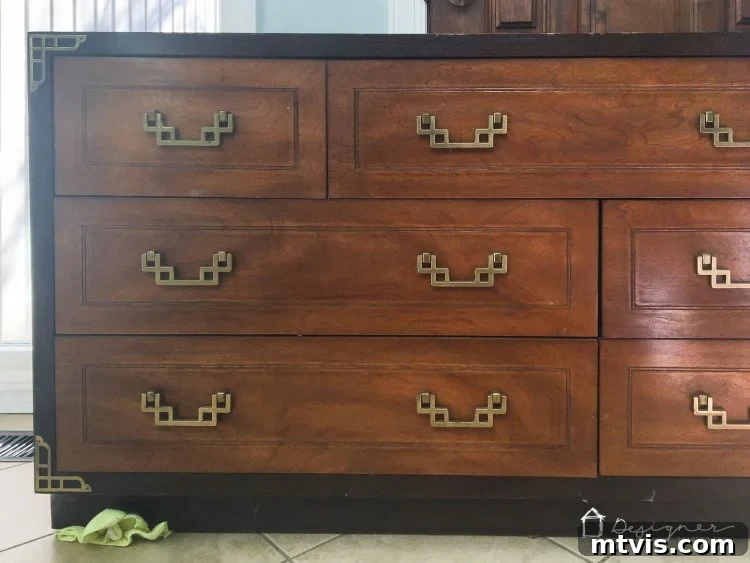
Step-by-Step DIY Furniture Restoration Process
Now that you have all your materials, let’s get started on transforming your furniture. Follow these steps carefully for the best results, and remember that patience is key to a beautiful finish.
Step 1: Gentle Hardware Removal & Spot Sanding
Begin by carefully removing all hardware from your furniture piece. Use your 5-in-1 tool or a screwdriver, ensuring you keep all screws and pieces organized (a small plastic bag or container works wonders!). Being gentle during this process prevents damage to both the hardware and the furniture itself. Once the hardware is off, assess your piece for any truly rough areas, splinters, or peeling finishes. You do not need to sand the entire piece down to bare wood, especially if you’re using a paint like Amy Howard’s One Step Paint. Simply “knock down” any excessively rough spots with a fine-grit sandpaper (around 180-220 grit) to create a smooth surface. This quick step ensures your paint will adhere evenly and beautifully.
Step 2: Restore and Protect Your Hardware
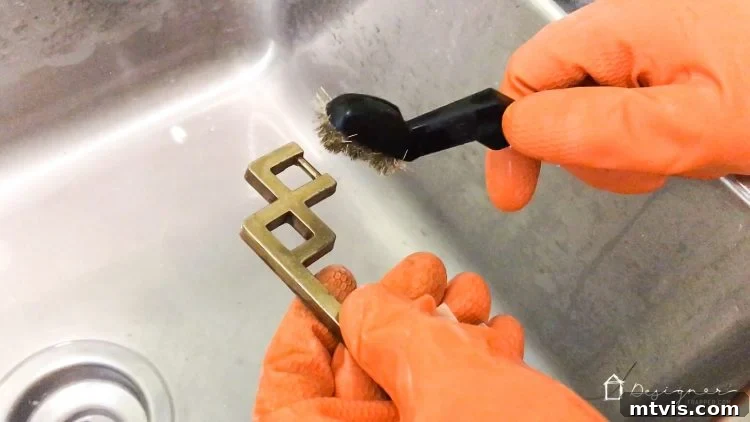
Don’t overlook the hardware – it’s the jewelry of your furniture! For brass hardware, start by cleaning it thoroughly with Bar Keeper’s Friend and a wire brush. Apply the cleaner and gently scrub away tarnish and grime until the brass shines. Rinse the hardware thoroughly with water and dry it completely to prevent water spots. Once clean and dry, apply a coat of Mohawk Lacquer for Brass. This vital step acts as a protective barrier, preventing future tarnishing and discoloration. It’s a quick and easy application that will save you countless hours of polishing in the long run, preserving the beautiful luster you’ve just restored.
Step 3: Deep Clean Your Furniture Piece
A pristine surface is paramount for optimal paint adhesion. Use Simple Green to thoroughly clean your entire wooden furniture piece. Dilute it according to the product instructions if necessary, and wipe down every surface, paying special attention to areas with accumulated grease, dirt, or old furniture polish. Simple Green excels at cutting through grime without damaging the wood. After cleaning, it is absolutely crucial to spray your piece down with clean water and dry it immediately and thoroughly with paper towels. This rinsing step ensures there is no Simple Green residue left on the surface, which could interfere with paint adhesion and potentially cause your beautiful new finish to peel or chip prematurely.
Step 4: Achieve a Flawless Paint Finish
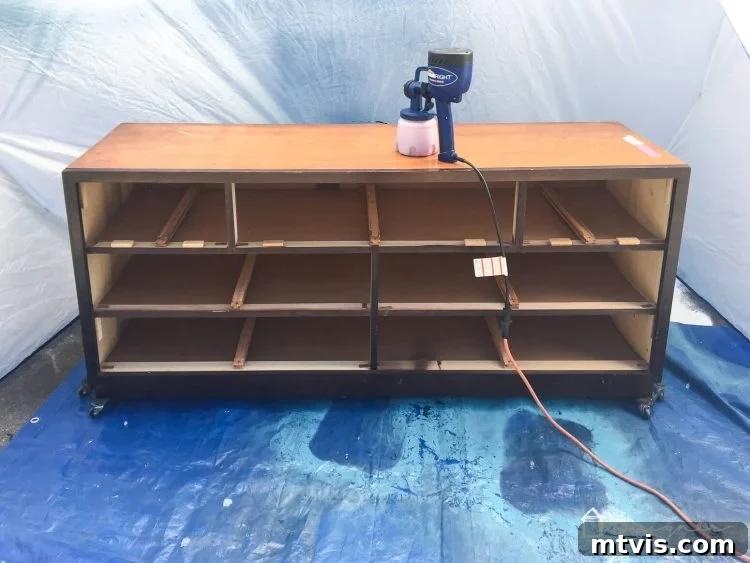
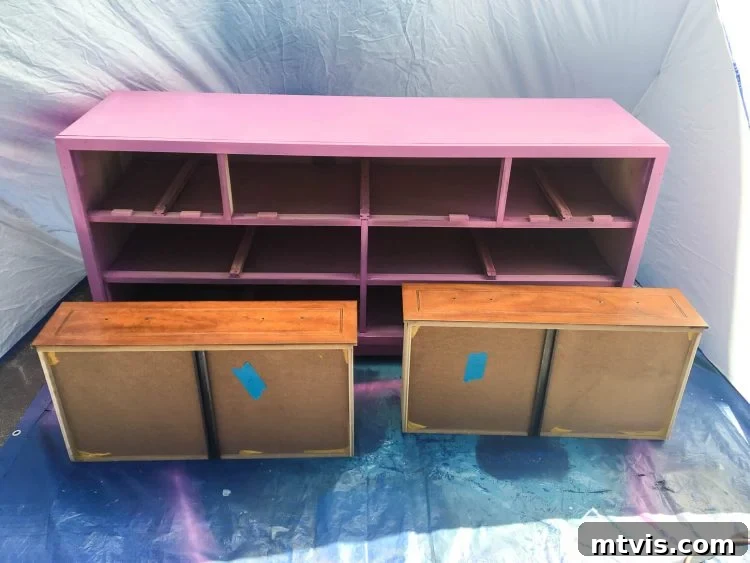
Now comes the exciting part – painting! If you’re using a paint sprayer like the HomeRight sprayer, set up your HomeRight spray shelter in a well-ventilated area. This setup protects your surroundings from overspray and allows for a more controlled painting environment. Load your sprayer with your chosen paint (I used Amy Howard At Home One Step Paint in Orchid). It’s essential to read your sprayer’s directions carefully regarding paint consistency. You may need to thin your paint slightly with water to achieve the ideal viscosity for a smooth, clog-free spray. Always do a test spray on a piece of scrap material first. Apply thin, even coats, moving the sprayer steadily across the surface. Multiple thin coats are always better than one thick coat, as this prevents drips and ensures a durable, professional finish. If you don’t have a sprayer, don’t worry! High-quality paint brushes and rollers can also yield fantastic results. Use a good quality synthetic brush for detailed areas and a foam roller for larger, flat surfaces to minimize brush strokes. Allow adequate drying time between coats as recommended by your paint manufacturer. I love using a sprayer when painting the entire piece, including the inside of the drawers, because it provides such a smooth finish and significantly speeds up the process!
Step 5: Add Depth and Protection with Wax
Once your paint is completely dry, you can choose to apply Amy Howard light antique wax to the entire piece. This step is optional but highly recommended if you desire to add a subtle sheen, increased depth, and an extra layer of protection to your furniture. The light antique wax won’t drastically change your paint color but will enrich it, providing a more nuanced, aged look rather than a perfectly uniform, flat finish. If you prefer a truly flawless, modern, and perfectly flat finish, you might skip the waxing step. To apply, use a clean, lint-free cloth or a waxing brush, working in small sections. Apply the wax sparingly in a circular motion, then immediately buff it off with a clean cloth. This technique ensures an even application and prevents too much wax from building up. Allow the wax to cure for the recommended time to achieve maximum durability.
Step 6: Reattach Your Hardware
With your furniture beautifully painted and optionally waxed, it’s time to reattach the cleaned and lacquered hardware. Carefully align each piece of hardware with its original holes. Use your screwdriver to secure them firmly, but avoid overtightening, which could strip the screws or damage the new paint finish. Take your time to ensure all hardware is straight and securely fastened, as this attention to detail enhances the overall polished look of your restored piece.
Step 7: The Secret to Smooth-Sliding Drawers
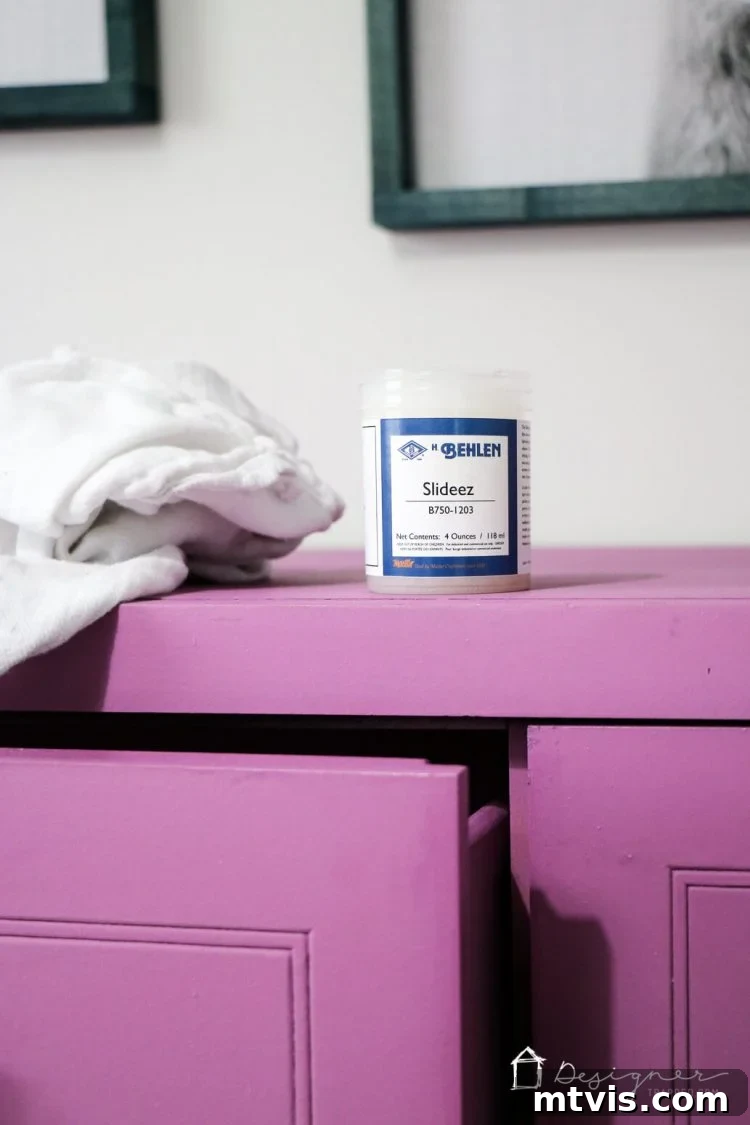
Many vintage furniture pieces, especially older dressers, suffer from sticky drawers that are a pain to open and close. If your drawers are still sticking after your makeover, fear not! This is where Behlen Slideez comes to the rescue. This product is truly amazing! Unlike rubbing beeswax or candles on the runners, which offers temporary and often insufficient relief, Behlen Slideez creates a smooth, slick surface that allows drawers to glide effortlessly. Simply apply it to any points of contact where the drawers rub against the dresser frame – typically the runners on the sides and bottom. You’ll be astonished at the difference; this stuff took my dresser drawers from being a struggle to open to sliding in and out like a dream. Plus, as a random bonus, it has a surprisingly pleasant scent!
The Finished Masterpiece: A Dream Come True!
That’s it! Your DIY furniture restoration project is complete. Take a moment to admire just how beautifully this dresser makeover turned out. It now perfectly complements my daughter’s room, adding a vibrant pop of color and unique charm. In case you couldn’t guess from the decor, she absolutely loves purple and animals! This piece is not just a dresser; it’s a testament to the power of DIY, proving that with a little effort and the right techniques, you can transform a discarded item into a beloved treasure.
Embrace the Art of Furniture Makeovers!
I hope this detailed DIY furniture restoration tutorial has inspired you to tackle your own projects. Rescuing old furniture is not only incredibly rewarding but also a sustainable and budget-friendly way to furnish your home with unique, personalized pieces. There’s immense satisfaction in taking something forgotten and giving it a new purpose, transforming it into a cherished item that tells a story. Whether you’re a seasoned DIYer or just starting, these techniques can help you achieve stunning results.
Don’t be afraid to experiment with colors and finishes. Every piece of furniture holds potential, and with a little creativity and effort, you can turn any old find into a cherished showstopper. Happy restoring!
