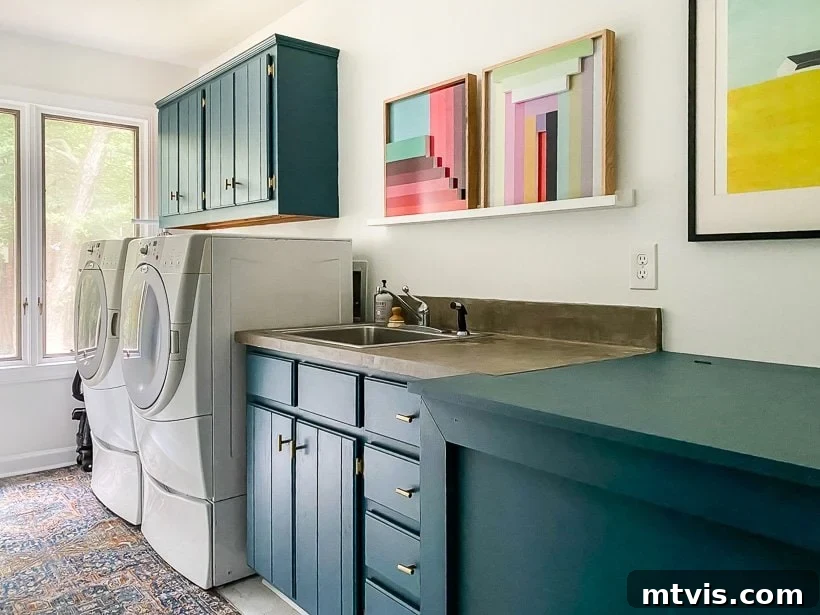
Transforming an often-overlooked space like the laundry room can significantly impact your home’s functionality and aesthetic appeal, even on a tight budget. We recently undertook a complete laundry room makeover that not only revitalized the space but also introduced a fresh, modern vibe, all without breaking the bank. Join us as we detail how we achieved this stunning transformation, including replacing the flooring and updating surfaces, proving that big changes don’t always require a hefty investment!
Hey friends! If you’ve been following our journey through major life announcements or keeping up with our projects on Instagram, you know we’ve been incredibly busy! Fresh off the heels of our affordable master bathroom remodel, we immediately dove into this ambitious laundry room renovation. While we might be a bit tired of painting brushes and drop cloths at the moment, the satisfaction of seeing this easy, budget-friendly makeover come to life makes every ounce of effort worthwhile. This project completely updated and redefined our laundry room, turning it into a space we genuinely love. For your convenience, a complete source list for all the materials we used can be found at the end of this post.
The Laundry Room Before: A Blank Canvas Awaiting Transformation
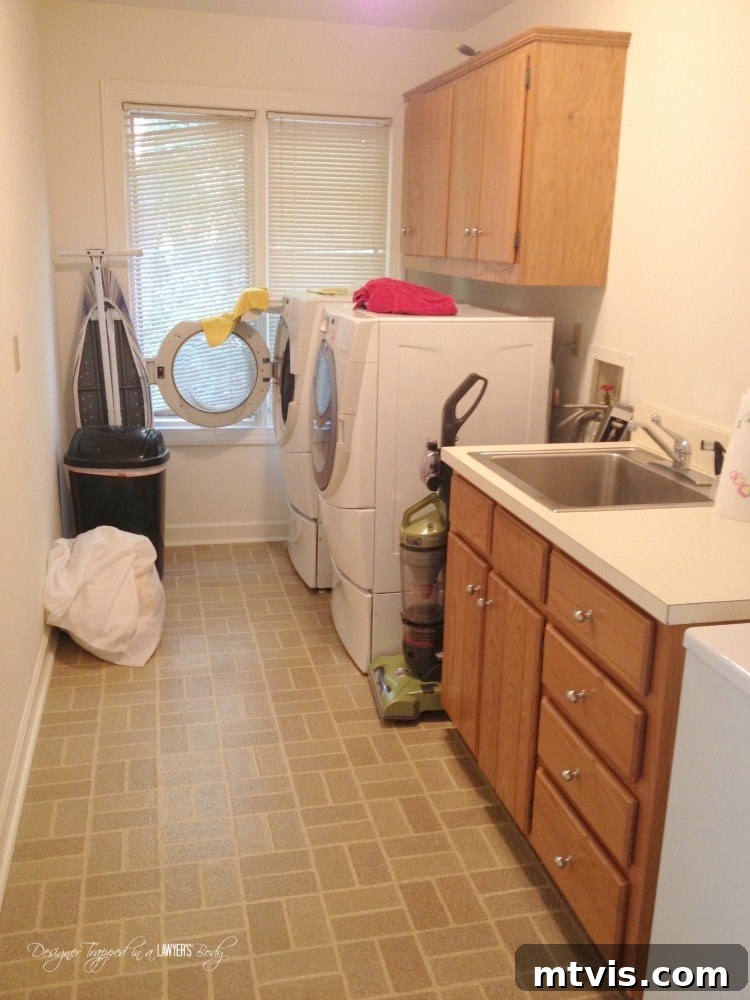
Every great before-and-after story begins with a “before.” When we first moved into our home, the laundry room was, to put it mildly, dated and uninspiring. It was a purely functional space, lacking personality or any design consideration. It featured tired vinyl flooring, builder-grade cabinets, and walls that simply existed. This utilitarian area desperately needed a touch of style and a much-needed refresh to align with the rest of our home’s evolving aesthetic. It served its purpose but offered little joy or visual appeal, making it a prime candidate for a serious overhaul.
Our First Foray: The 2013 Budget-Friendly Laundry Room Makeover
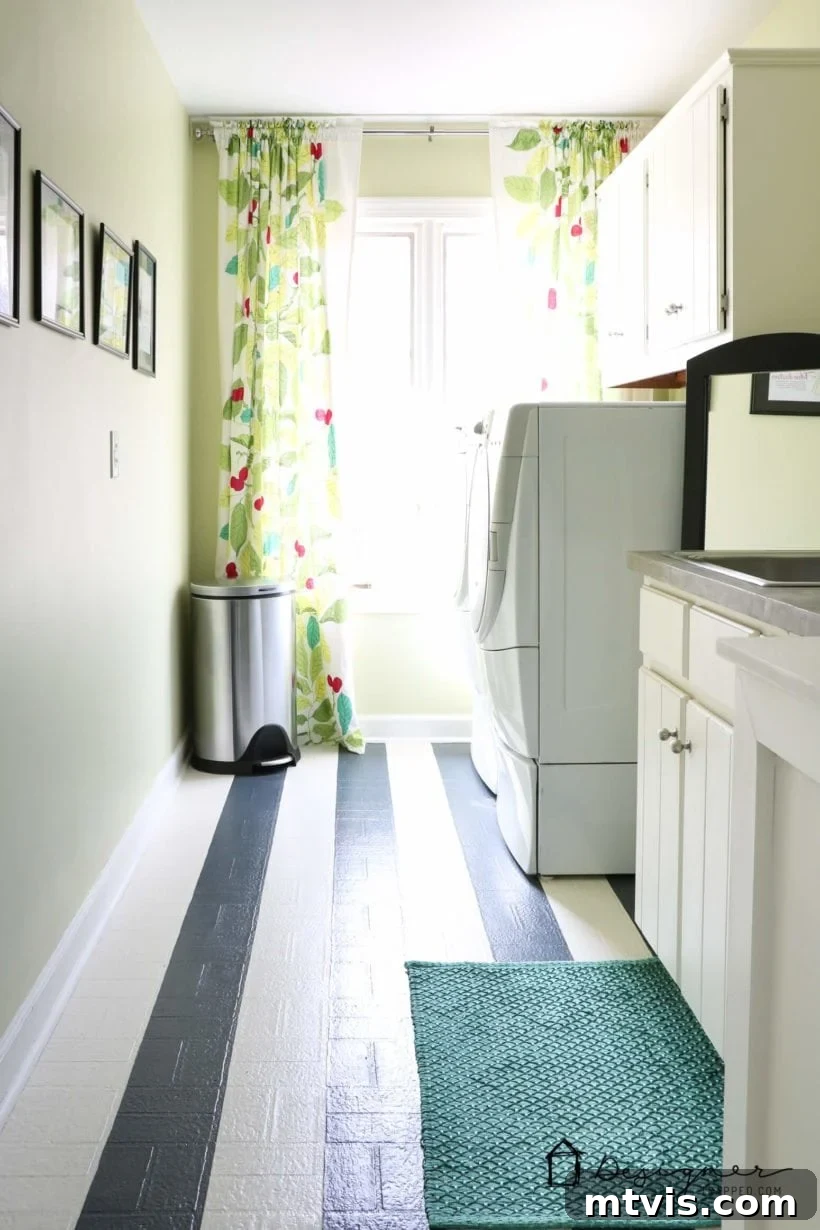
Believe it or not, this isn’t our laundry room’s first rodeo with a makeover! We initially gave our laundry room an update back in October 2013. This project holds a special place in our hearts because it was literally the very FIRST room we tackled in this house, and the inaugural project I ever shared on this blog! Driven by a desire for change and an incredibly tight budget, we managed to transform the space for a mere $71 out of pocket. This initial renovation proved that creativity and elbow grease can go a long way.
For this first makeover, I took on several ambitious DIY projects. I refreshed the entire room by painting the walls and cabinets, instantly brightening the space. But the real game-changer, and perhaps the most adventurous part, was painting the existing vinyl floors. Using this detailed tutorial on how to paint vinyl floors, we achieved a surprisingly durable and aesthetically pleasing result that mimicked the look of tile. This technique truly breathed new life into the worn flooring, demonstrating an ingenious way to update surfaces without costly replacements. Furthermore, I gave the old, laminate countertops a sophisticated upgrade using my DIY concrete overlay technique, which added texture and a custom feel that belied its budget-friendly nature. This transformation was so impactful that I was even invited to share our story on The Rachael Ray Show back in 2017 (you can watch my segment here)! It was an incredible experience that highlighted the power of accessible home design.
This post contains some affiliate links for your convenience. Click here to read my full disclosure policy.
The Latest Transformation: A Modern & Bright Laundry Room Makeover for Today
While our first laundry room makeover served us wonderfully for many years and was undeniably super cute, nearly seven years had passed since those initial surfaces were painted. As we considered putting our house on the market, we felt it was time for a more contemporary refresh, one that would appeal to potential buyers while still reflecting our evolving design style. This wasn’t about completely reinventing the wheel, but rather about refining and elevating the space with strategic, impactful updates.
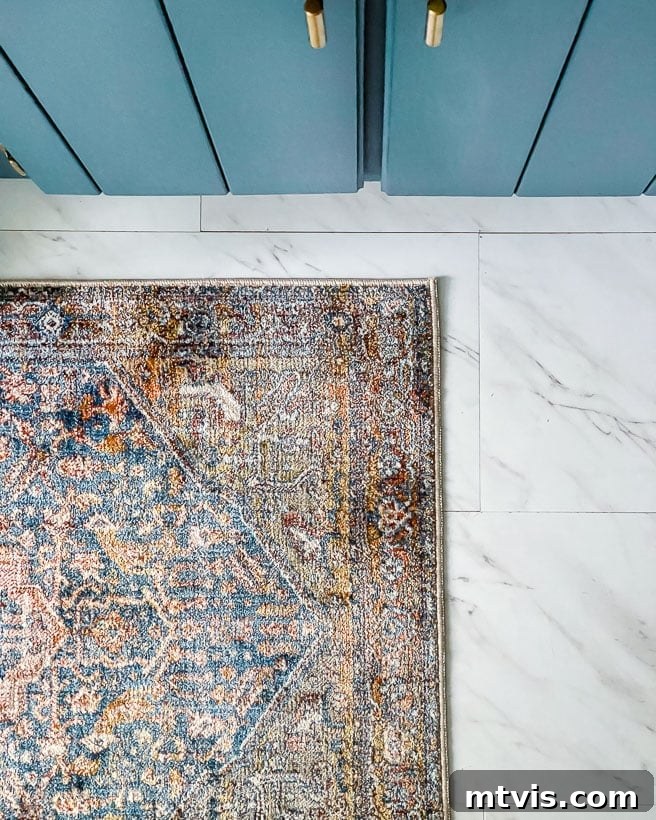
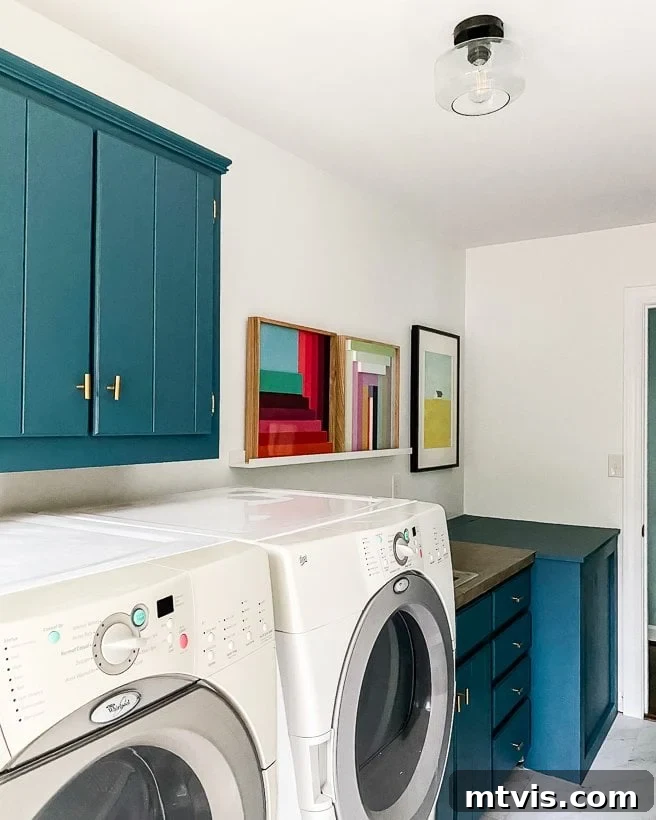
Our recent renovation focused on a few key areas to achieve a high-impact, low-cost transformation. We began by giving the walls and trim a crisp, clean coat of fresh white paint, instantly brightening and expanding the room visually. The real showstopper, however, came with the cabinets, which we painted a truly stunning teal color. This deep, rich hue provides an incredible contrast against the light walls and instantly infuses the room with personality and sophistication. We used this exact paint, chosen for its beautiful finish and durability. To complement the new cabinet color, we updated the cabinet hardware to a modern style and replaced the outdated overhead light fixture with a more stylish option. Finally, the biggest structural change involved installing a new luxury vinyl floor, which replaced our painted vinyl. This update dramatically paid off! Just look at how incredibly clean, fresh, and inviting our laundry room looks now!
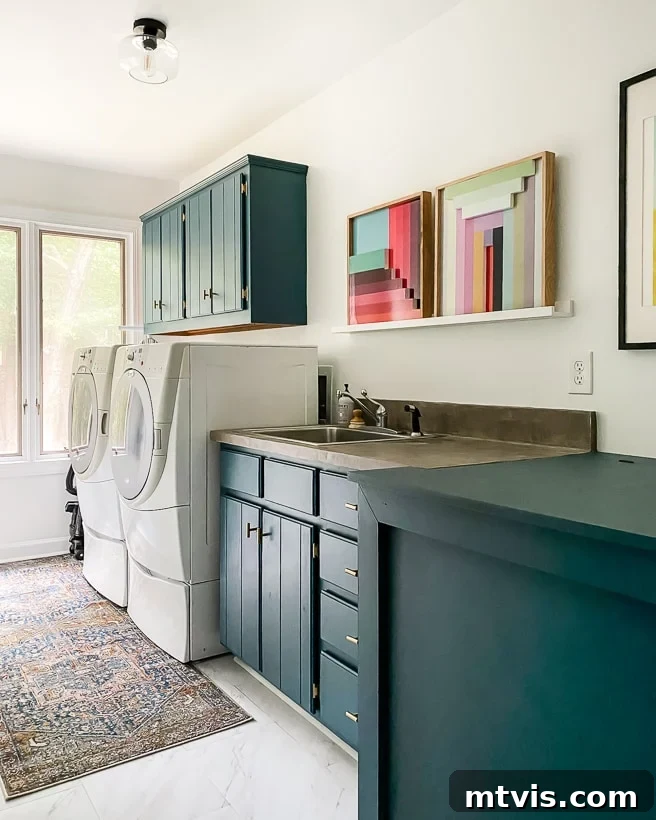
The visual impact of the new design is undeniable. I absolutely adore the striking contrast created by the dark teal cabinets against the bright, light-colored floor and pristine white walls. This combination gives the room a sophisticated depth while maintaining an airy and spacious feel. It’s a testament to how thoughtfully chosen colors can completely redefine a space’s mood and perceived size.
One of the most satisfying transformations came from painting the cabinets. The rich, deep teal color chosen for the cabinetry brings an unexpected pop of elegance and personality to the laundry room. It’s a bold choice that truly paid off, demonstrating how a single color can anchor a design. Paired with updated brass hardware, the cabinets now serve as a focal point, exuding a sense of custom design. We utilized a streamlined approach for painting the cabinets, ensuring a smooth, professional-looking finish that will stand the test of time. This impactful update not only enhances the room’s aesthetic but also elevates its overall perceived value.
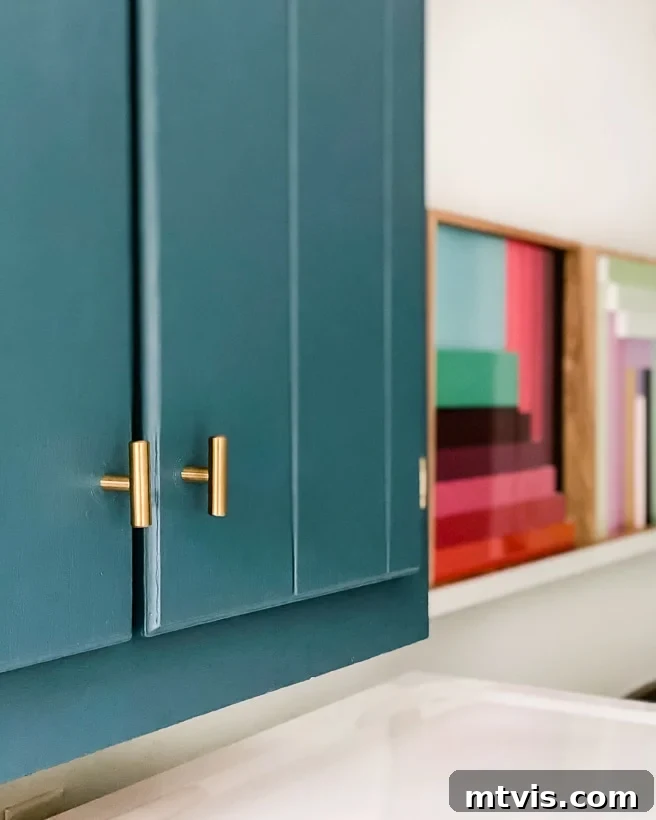
To achieve this stunning cabinet transformation, I followed this quick and easy method for painting cabinets. I’m absolutely head-over-heels in love with this deep teal color – it’s become a personal favorite! So much so that we are seriously considering using this exact hue when we paint the kitchen cabinets in our new house. Beyond the paint, we infused more personality with some vibrant, colorful artwork, including some beauties I’m eager to display even more prominently in our next home. And finally, we said goodbye to the old, uninspired “boob” light fixture, replacing it with this super affordable yet incredibly chic light fixture. This small change made a monumental difference, instantly elevating the room’s style and brightness, proving that lighting is a crucial element in any design.
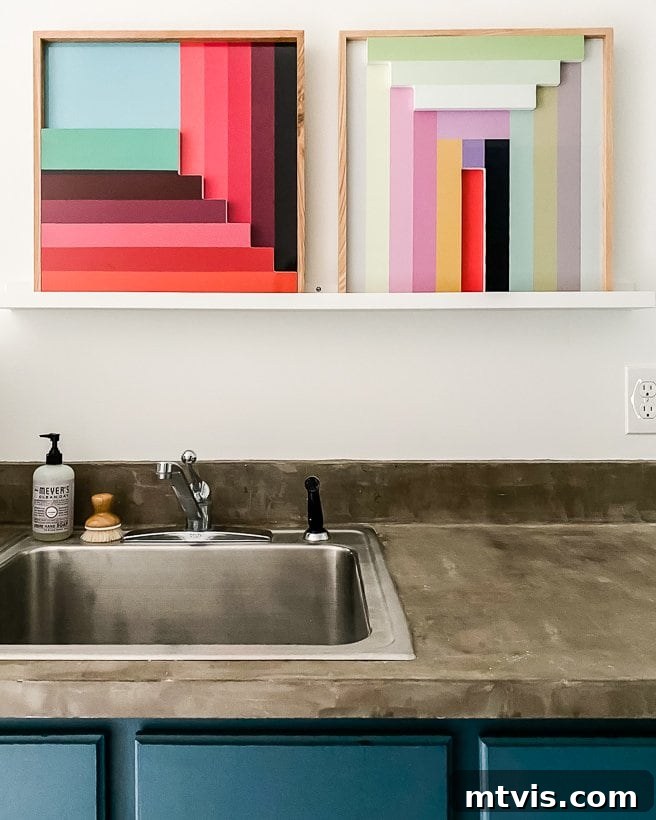
One aspect we didn’t feel the need to change was the countertops. They still boast the DIY concrete overlay that I meticulously completed back in 2013. The longevity and durability of this concrete treatment have been truly impressive, proving its worth over the years. It continues to provide a stylish, robust surface that perfectly complements both our previous and current laundry room aesthetics, adding a custom, high-end look that has stood the test of time and budget.
So, there you have it! Our latest laundry room transformation demonstrates just how much impact you can achieve on a sensible budget. What do you think of the results? We believe it’s an incredible bang for our buck! The most significant investments were the new luxury vinyl floor and the stylish light fixture, which together cost us less than $200. As for the paint, we were able to use colors we already had on hand, further minimizing expenses. This project underscores our philosophy that thoughtful design and strategic DIY efforts can yield stunning results without the need for extensive financial outlay. It’s all about making smart choices and putting in the effort to create a space you adore. You can find all the details and links for the sources we used to create this beautiful space below.
Laundry Room Makeover Source List
- Wall paint: Falling Snow by Behr
- Cabinet paint (Exact teal used)
- Flooring (Luxury Vinyl Plank)
- Cabinet hardware (Modern brass pulls)
- Light fixture (Chic flush mount)
- Colorblock lacquer art (Decorative wall art)
Are you curious about my comprehensive approach to transforming rooms and spaces throughout our home, ensuring both style and functionality? Then you absolutely need to check out Designer in a Binder®. It’s my signature system designed to simplify the decorating process, making beautiful home design accessible and achievable for everyone.
And if you’re eager for exclusive content, behind-the-scenes sneak peeks into our latest projects, and first dibs on all things home design, be sure to subscribe to our newsletter before you head out! Join our community of DIY enthusiasts and design lovers today to stay inspired and informed.