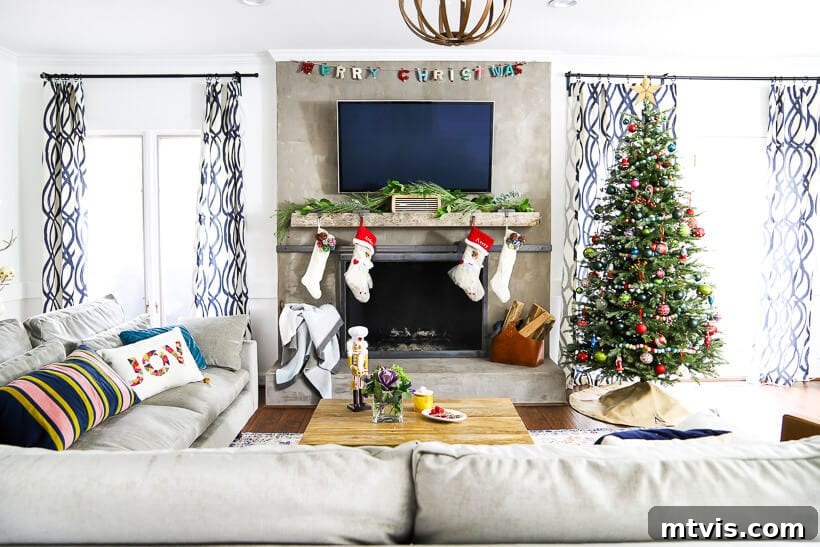
Beyond Tradition: Embrace a Vibrant, Eclectic, and Colorful Christmas Tree This Holiday Season!
This post contains some affiliate links for your convenience. Click here to read my full disclosure policy.
The Inspiration Behind My Colorful Christmas Tree Journey
For years, holiday decorating meant adhering to the classic red, green, and white palette. While beautiful in its own right, I found myself yearning for something more personal, more playful, and utterly vibrant. This year, I decided it was time to break free from tradition and infuse our home with a burst of joyous color, starting with our Christmas tree. If you, too, are tired of the conventional and dreaming of a holiday display that truly reflects your personality, then you’re in the right place. Join me as I share all the details behind creating my vibrant, eclectic, and wonderfully colorful Christmas tree!
A significant change that paved the way for this colorful transformation was the decision to switch to an artificial Christmas tree. I have to confess, this is the very first time I’ve decorated for Christmas before Thanksgiving! In previous years, we always opted for a fresh tree, which, while enchanting, simply doesn’t last long enough to put up earlier than Thanksgiving. This year, we finally took the plunge and purchased this artificial Christmas tree, and I am absolutely thrilled with it! While “fluffing” an artificial tree can be a bit time-consuming, the effort was undeniably worth it for the sheer convenience and longevity it offers. This early setup allowed me to truly enjoy the decorating process without feeling rushed, creating a relaxed and creative atmosphere.
As someone who absolutely adores color, it might surprise many to learn that our past Christmas decor always gravitated towards a pretty traditional red, white, and green color scheme. And honestly? I was simply tired of it! I craved much more color this year, especially for our main Christmas tree. My vision was for a tree that felt eclectic, lively, and anything but stuffy. Crucially, I also wanted the process to be fun and intuitive, not something I had to overthink or perfect. I’m just not a person with the patience to painstakingly decorate a magazine-worthy tree; if that’s your goal, you might find my approach refreshingly different (or perhaps delightfully imperfect!). Our tree, with all its unique charm and vibrant hues, is definitely imperfect in the most perfect way, reflecting the warmth and individuality of our family.
Before we dive into the step-by-step process I used to achieve this eye-catching and joyful display, allow me to share a few more photos that truly capture the spirit of our colorful Christmas tree. I hope they inspire you to embrace your own unique style!
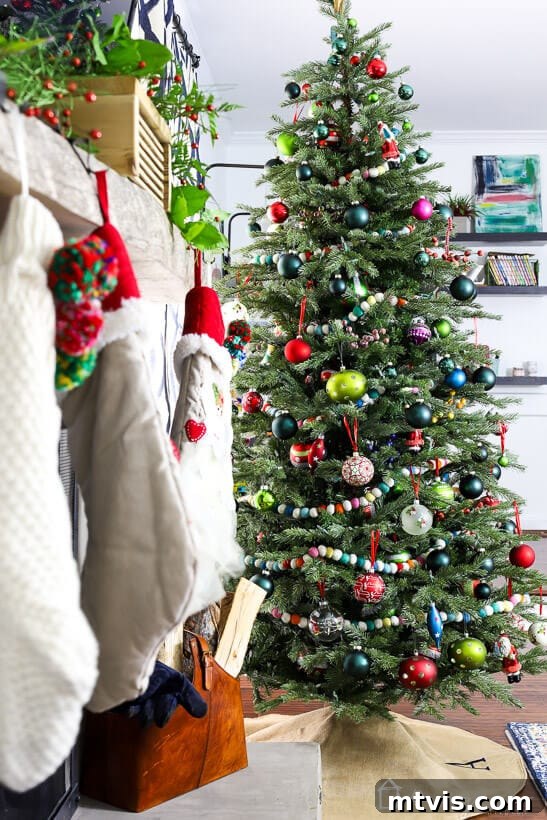
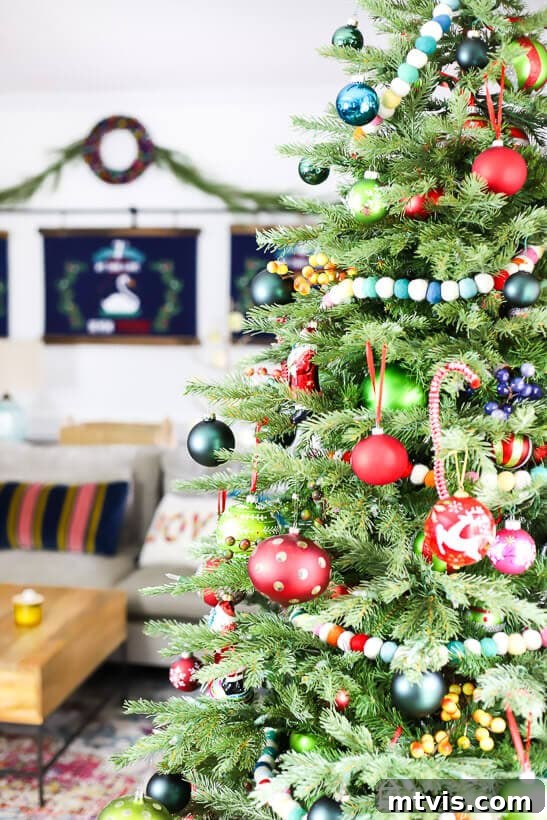

Isn’t it wonderfully fun and bursting with color? It genuinely feels like a happy tree, radiating warmth and cheer throughout our home. Okay, now let’s explore how you can recreate this eclectic, vibrant, and incredibly colorful look for your own Christmas tree, transforming your holiday decor into something truly special.
Crafting Your Dream Tree: How to Create a Vibrant and Eclectic Colorful Christmas Tree
Creating a colorful Christmas tree is less about strict rules and more about embracing creativity and personal expression. The key is to layer different elements, textures, and, of course, a kaleidoscope of colors. Below, I’ll walk you through the simple steps I followed to bring my vision to life, demonstrating that you don’t need a professional touch to achieve a beautifully unique display.
Step 1: The Foundation – Choosing Your Tree and Fluffing
As mentioned, our decision to invest in an artificial tree this year was a game-changer. An artificial Christmas tree offers immense flexibility, allowing you to decorate early and enjoy your festive display for a longer period. Moreover, many modern artificial trees, like our new pre-lit model, come with lights already integrated, saving you the hassle and time of stringing lights – which, for me, is the absolute best thing EVER! When setting up your artificial tree, take the time to properly “fluff” each branch. This means gently spreading out the individual needles and branches to fill any gaps, creating a full and realistic silhouette. This initial step is crucial for providing a lush base for all your colorful decorations.
Step 2: Layering with Garlands and Picks – Adding Texture and Depth
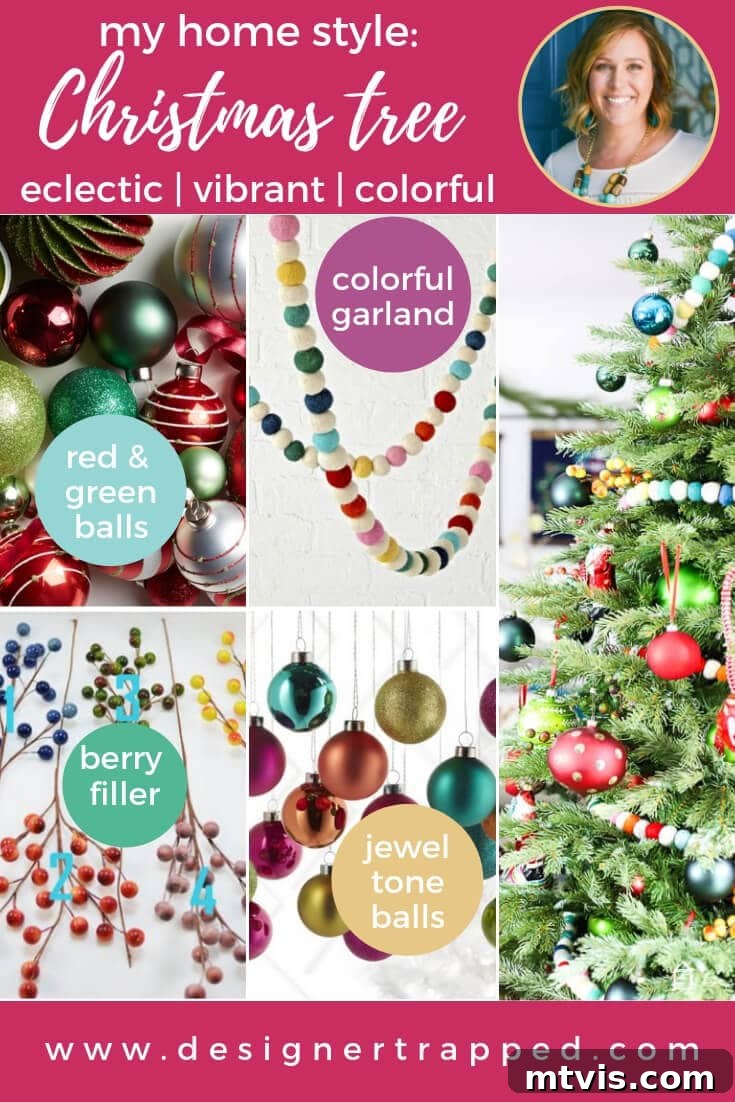
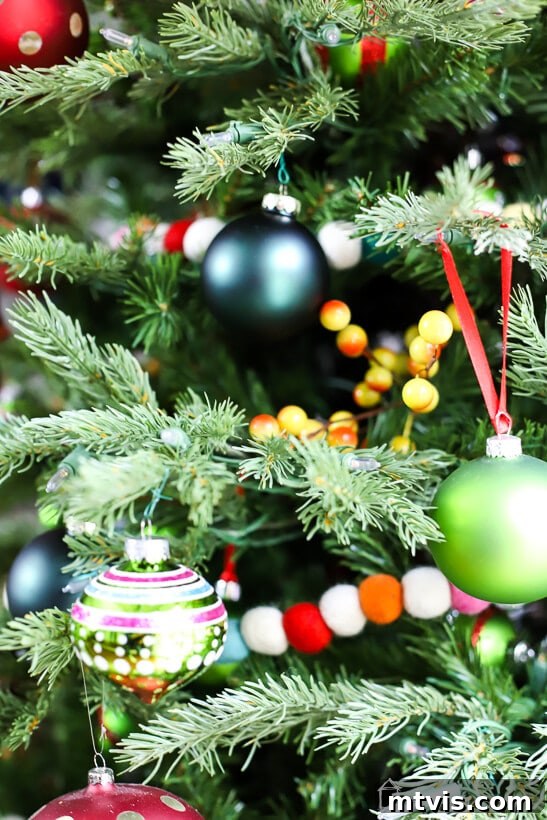
Once your tree is fluffed and standing tall, it’s time to introduce the first layers of color and texture. I began by draping these colorful felt ball garlands, which I absolutely fell in love with last year. They were out of stock then, so I eagerly ordered them this spring, anticipating their perfect place on our tree! Felt ball garlands add a wonderful whimsical touch and a soft texture that contrasts beautifully with the tree’s needles. Drape them loosely and evenly around the tree, allowing them to gently cascade between the branches. After the garlands, I layered in these vibrant berry picks. Berry picks are fantastic for adding additional pops of color and another layer of textural interest. Tuck them into the branches, ensuring the colors are distributed throughout the tree, creating depth and visual appeal. This combination of soft felt and lively berries truly sets the stage for an eclectic look.
Step 3: The Joy of Ornaments – A Colorful Collection
With the base layers in place and our pre-lit tree sparkling, it was time for the most exciting part: adding lots and lots of colorful ornaments! This is where the tree truly comes alive with personality. Over the years, we’ve collected a wonderful assortment of ornaments. The vast majority of our favorite and most vibrant ornaments are from Crate and Barrel, a go-to source for unique and stylish holiday decor. I’ve also found fantastic pieces at Hobby Lobby during their Christmas clearance sales, proving that beautiful decorations don’t always have to break the bank. What makes our tree truly special, however, are the ornaments handmade by our kiddos.
In past years, I might have subtly placed these sweet, often “wonky” creations in less visible parts of the tree (a confession I’m not entirely proud of!). But this year, I wholeheartedly embraced these sentimental treasures and encouraged my girls to prominently display them. These handmade ornaments add an unparalleled warmth and personal touch, making the tree a true reflection of our family’s holiday spirit. You can spot one of their adorable, if slightly imperfect, candy cane ornaments in the photo below, nestled happily among the other colorful pieces. When placing ornaments, consider distributing different colors and sizes evenly. Mix larger, bolder pieces with smaller, delicate ones. Don’t be afraid to group similar colors in different areas to create visual interest, or spread them out for a truly rainbow effect. The goal is to create a dynamic and joyful tapestry of memories and colors.

Step 4: The Finishing Touches – Tree Topper and Skirt
No Christmas tree is complete without a striking tree topper and a foundational skirt. For an eclectic and colorful tree, choose a topper that either perfectly complements your chosen palette or introduces another vibrant accent. This could be a traditional star, an angel, or something more unconventional like a large, colorful bow or a unique decorative pick. The tree skirt not only hides the base of your artificial tree but also adds another layer of decor. Opt for a skirt in a bold color or a fun pattern that ties into your colorful theme, or choose a neutral one to allow the tree itself to be the absolute star. These final elements complete the look, grounding your colorful creation and drawing the eye upwards, enhancing the overall magical effect.
And that, my friends, is it! There’s nothing overly complicated or exceptionally fancy about our approach. The beauty lies in its simplicity and the sheer joy of choosing what makes you happy. We absolutely adore these colorful additions to our holiday home. Our tree stands as a vibrant testament to personal style, perfectly imperfect, just like us, and bursting with the spirit of the season.
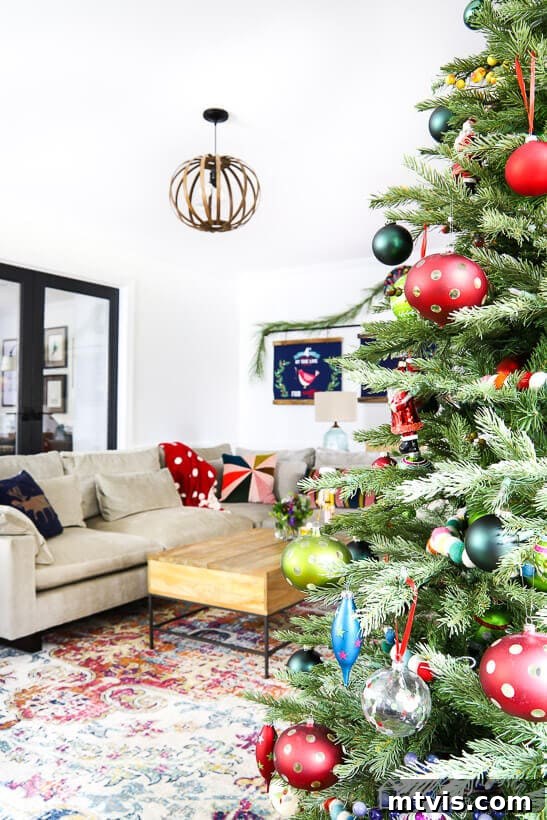
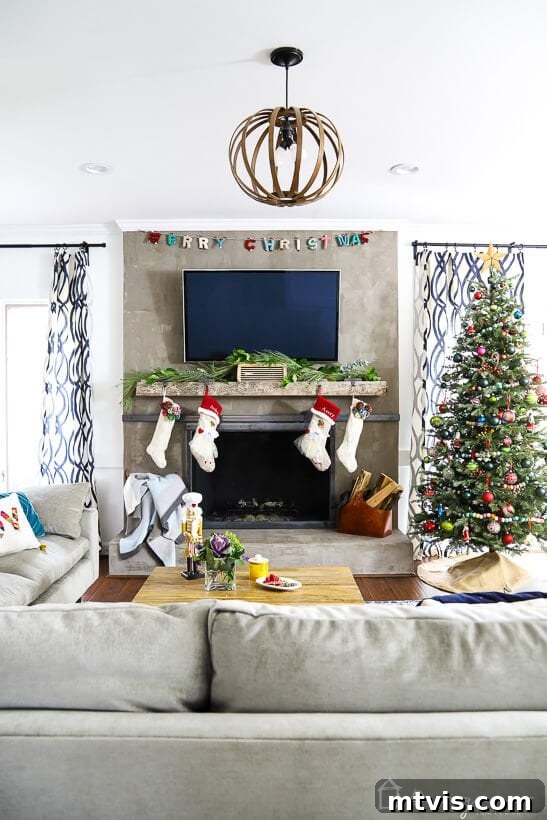
I sincerely hope you enjoyed this peek at our perfectly imperfect, yet undeniably colorful Christmas tree! It’s a reminder that holiday decorating should be a reflection of your own unique taste and bring a smile to your face.
If you’re eager to learn more about transforming rooms and spaces in your home with confidence, be sure to check out Designer in a Binder®. It’s a practical and inspiring resource to help you achieve your design dreams.
And for exclusive content, behind-the-scenes sneak peeks, and more creative inspiration delivered straight to your inbox, be sure to subscribe to my newsletter before you go!
Simply enter your email address to join our community and never miss out on new ideas for creating a home you love. We’re excited to have you!