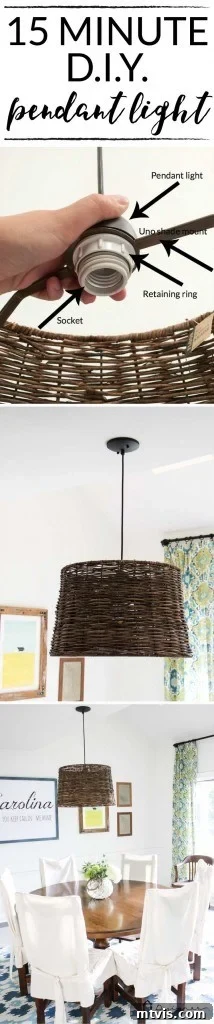
Hello, fellow DIY enthusiasts! The seasons are shifting, and here in North Carolina, we’re finally welcoming the warmth of spring with open arms, anticipating delightful temperatures throughout the week. This invigorating change in weather always sparks a desire to refresh our living spaces and tackle those long-awaited home decor projects. If you’re looking for an incredibly simple yet impactful way to elevate your home’s aesthetic, this DIY pendant light tutorial is exactly what you need. Imagine transforming a room with a custom light fixture in just about 15 minutes – yes, it’s that quick and rewarding! This project is not only unbelievably easy but also delivers an impressive result that looks far more expensive than its actual cost. It’s the perfect beginner-friendly venture to add a touch of personalized style to your dining room, bedroom, or any space needing a chic lighting upgrade. So, let’s dive in and learn how to craft the easiest DIY pendant light you’ll ever make!
This post contains some affiliate links. Click here to read my full disclosure policy.
Transform Your Space: The Easiest DIY Pendant Light Tutorial EVER
Are you tired of bland, builder-grade light fixtures that do little to inspire? Or perhaps you’re simply looking for a budget-friendly way to add a unique touch to your home decor? This DIY pendant light project offers an elegant solution without requiring extensive electrical knowledge or specialized tools. It leverages readily available materials and focuses on simplicity, making it accessible for almost anyone to create a stylish, custom lighting solution. Let’s gather our minimal supplies and prepare to illuminate your home with a touch of handmade brilliance!
Essential Materials for Your DIY Pendant Light
Crafting this stunning pendant light requires only a few key components. The secret lies in pairing a standard pendant light kit with a specific type of lampshade, ensuring a perfect and secure fit.
- Pendant Light Kit: This is the core of your new fixture, containing the wiring, socket, and canopy. When selecting, consider the finish (e.g., oil-rubbed bronze, brushed nickel, black) to complement your existing decor.
- This exact pendant light kit in oil-rubbed bronze was used for this project, offering a classic and versatile look.
- Electrical Wire Cutters/Strippers: Essential for safely cutting and exposing the copper wires. A good quality pair makes the job much easier and safer.
- Screwdriver: You’ll need this for securing the pendant light canopy to your ceiling box and making wire connections if your kit uses screw terminals.
- Basic Electrical Knowledge & Safety First: This is paramount. While this tutorial simplifies the process, working with electricity always carries risks. If you are not confident with basic electrical wiring principles, identifying live/neutral/ground wires, and understand safety precautions (like turning off power at the breaker), please consult a qualified electrician or seek assistance from someone with expertise. Your safety is the top priority!
- A Large Lamp Shade with an Uno Style Fitter: This is the most critical and specific component. The Uno fitter design allows the lampshade to attach directly to the light socket, creating a seamless pendant look.
- What is an Uno Style Fitter? An Uno fitter is characterized by a threaded ring or collar on the lampshade that screws directly onto the light bulb socket, below the bulb itself. This creates a clean, integrated appearance, unlike traditional spider fitters that rest on a harp.
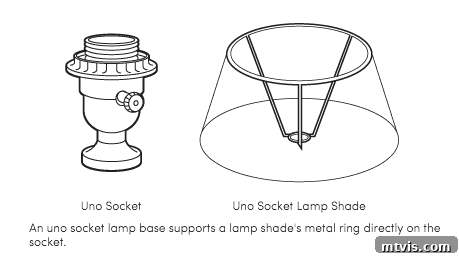
The Uno style fitter is non-negotiable for this project. Without it, your lampshade won’t properly attach to the pendant light kit. Retailers like World Market, Ikea, and especially Amazon offer a wide array of Uno style lampshades in various sizes, colors, and materials. I was fortunate enough to find my shade on clearance at World Market, which significantly contributed to the low overall cost of this project. While my exact shade is no longer available, remember to look for shades designed for floor lamps if you desire a larger, more impactful pendant, as these often come in grander dimensions. Explore different textures and patterns to truly personalize your new light fixture!
Step-by-Step Guide: Crafting Your Easy DIY Pendant Light
Now that you have all your materials, let’s get started! Follow these straightforward steps to create your own beautiful and affordable pendant light in a flash.
Step 1: Safely Remove Your Old Light Fixture
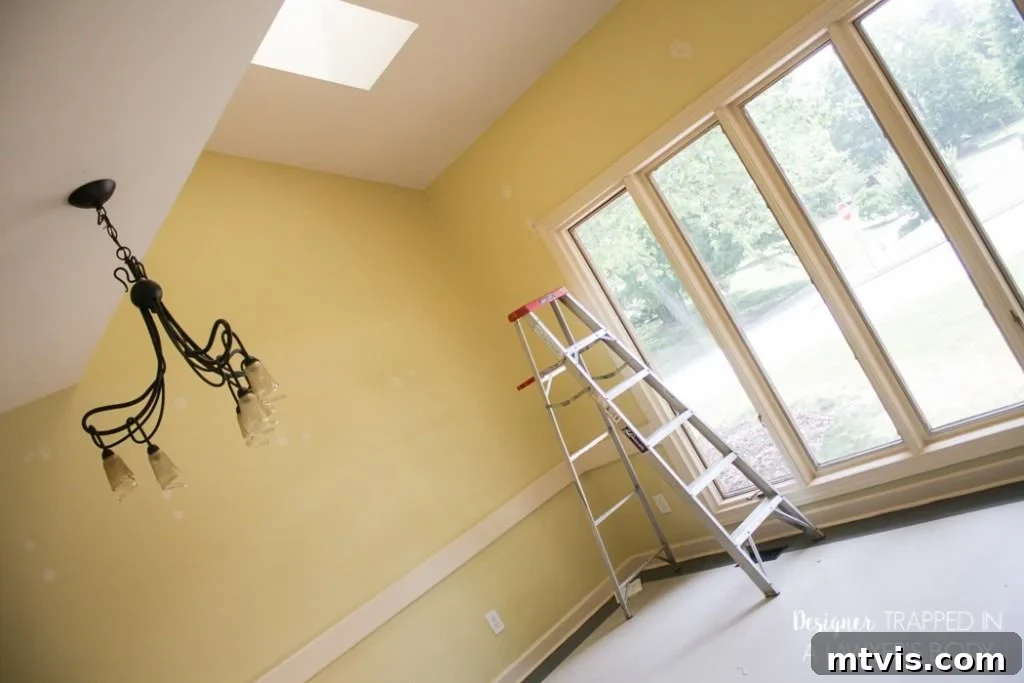
Before beginning any electrical work, always prioritize safety. The very first and most crucial step is to turn off the power to the light fixture at your circuit breaker box. Test the light switch to ensure the power is off. Once confirmed, you can proceed to carefully remove your existing light fixture. For instance, our dining room previously featured a rather dated fixture, which was one of the first things we addressed during our full dining room makeover.
Step 2: Determine Hanging Height and Trim the Wire
With the old fixture gone, it’s time to prepare your new pendant light. Carefully feed the wire of your pendant light kit through the Uno fitter opening of your chosen lampshade. Temporarily hold the lampshade and pendant kit up to the ceiling to visualize and determine the ideal hanging height. Consider the room’s ceiling height, the function of the light, and its aesthetic balance. Once you’ve decided on the desired length, mark the wire. Then, using your electrical wire cutters, carefully cut the wire, leaving enough excess (typically 6-8 inches) to comfortably make your electrical connections at the ceiling box.
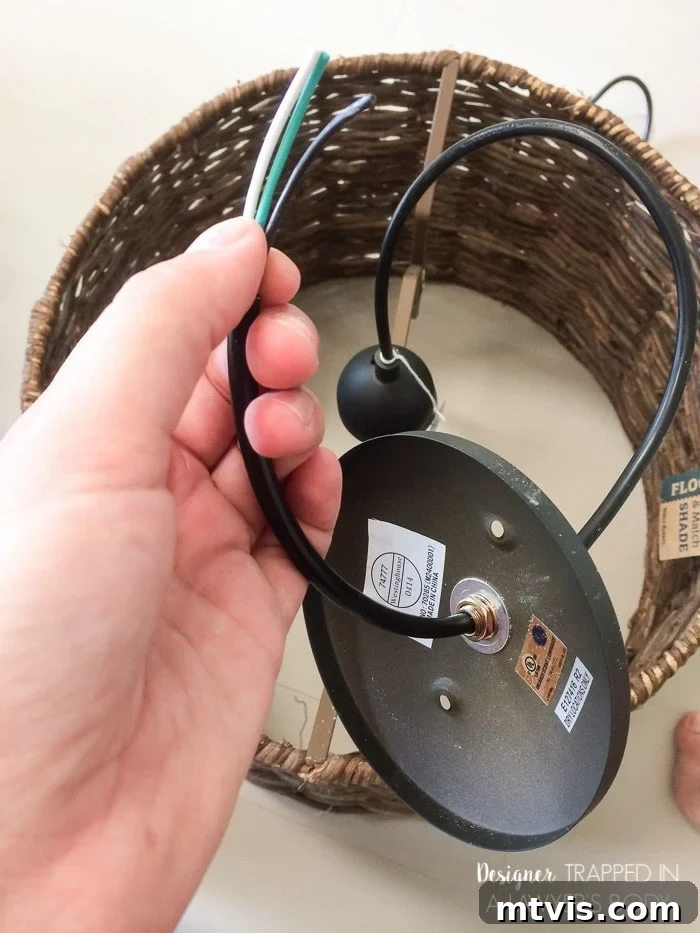
Step 3: Expose the Copper Wires
After cutting the wire to length, you’ll need to strip away the outer insulation to expose the individual copper wires (typically hot, neutral, and ground). Use your electrical wire cutters/strippers, carefully removing about 1/2 to 3/4 inch of insulation from each wire. Be precise to avoid nicking the copper strands, as this can weaken the wire. This step ensures clean and secure electrical connections.
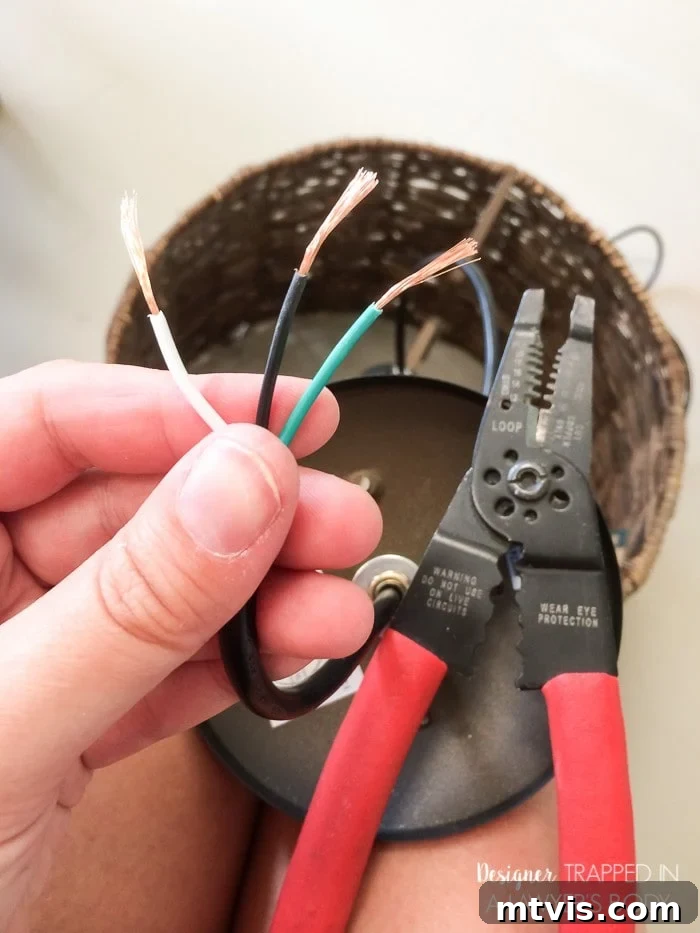
Step 4: Make Electrical Connections and Mount the Canopy
RECONFIRM that the power to the light fixture is OFF at the breaker box before touching any wires. With the power off, proceed to connect the wires of your pendant light kit to the corresponding wires in the ceiling junction box. Typically, this means connecting:
- Black (hot) wire from the fixture to the black (hot) wire from the ceiling.
- White (neutral) wire from the fixture to the white (neutral) wire from the ceiling.
- Green or bare copper (ground) wire from the fixture to the ground wire from the ceiling.
Use wire nuts to secure these connections firmly. Once the connections are made, carefully tuck the wires into the junction box and mount the pendant light kit’s canopy to the ceiling using the provided screws and your screwdriver. Ensure it’s flush and secure against the ceiling. If you are unsure about wiring colors or procedures, please stop and seek professional help.
Step 5: Attach Your Uno Lampshade
This is where the magic of the Uno fitter truly shines! With the pendant kit securely mounted and wired, simply slide your Uno lampshade up over the light socket. The threaded ring on the shade will align perfectly with the threads on the socket. Screw the retaining ring into place, tightening it until the shade is snug and stable. It’s a remarkably easy and secure fit that creates a sleek, integrated look, giving your pendant light a professional finish.
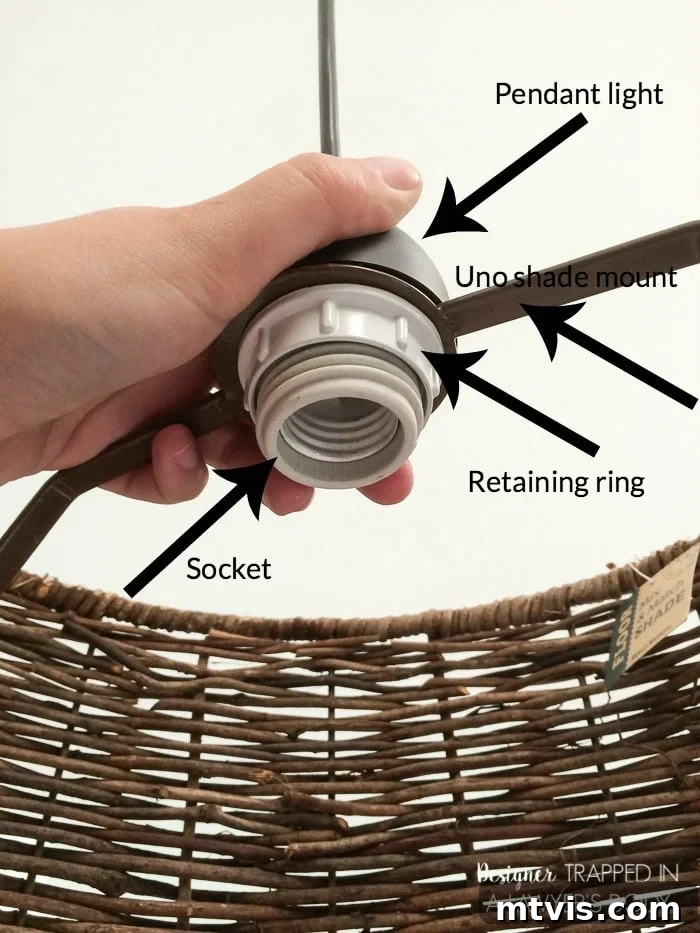
Step 6: Install the Light Bulb(s)
Finally, screw in your desired light bulb. For optimal illumination and energy efficiency, consider using LED bulbs. You can choose different bulb shapes (e.g., Edison-style, frosted globe) and color temperatures (warm white for a cozy ambiance, cool white for task lighting) to further customize the look and feel of your space. If you find that a single bulb doesn’t provide enough light for your needs, there’s a clever and inexpensive solution: an inexpensive twin light socket adapter. This simple device screws into your existing single socket, allowing you to add two bulbs instead of one, instantly doubling your light output. This is a link to the exact adapter I purchased, which works perfectly!
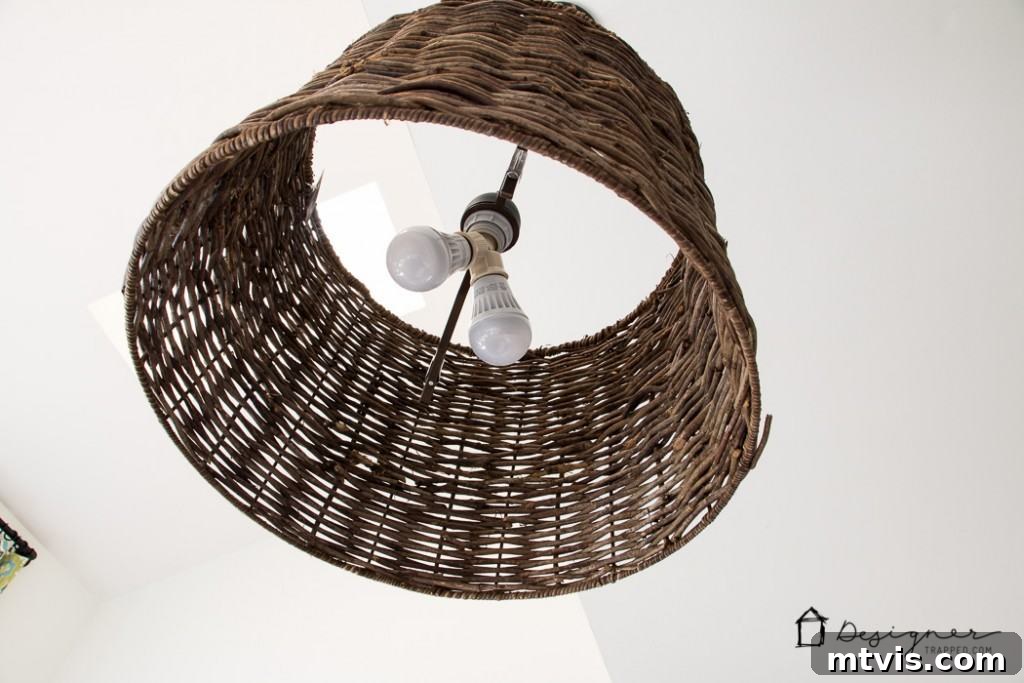
The Stunning Result: A Budget-Friendly Custom Pendant Light
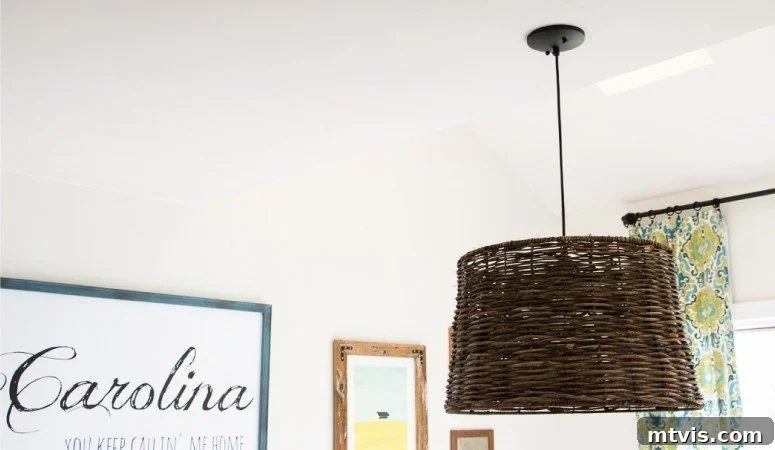
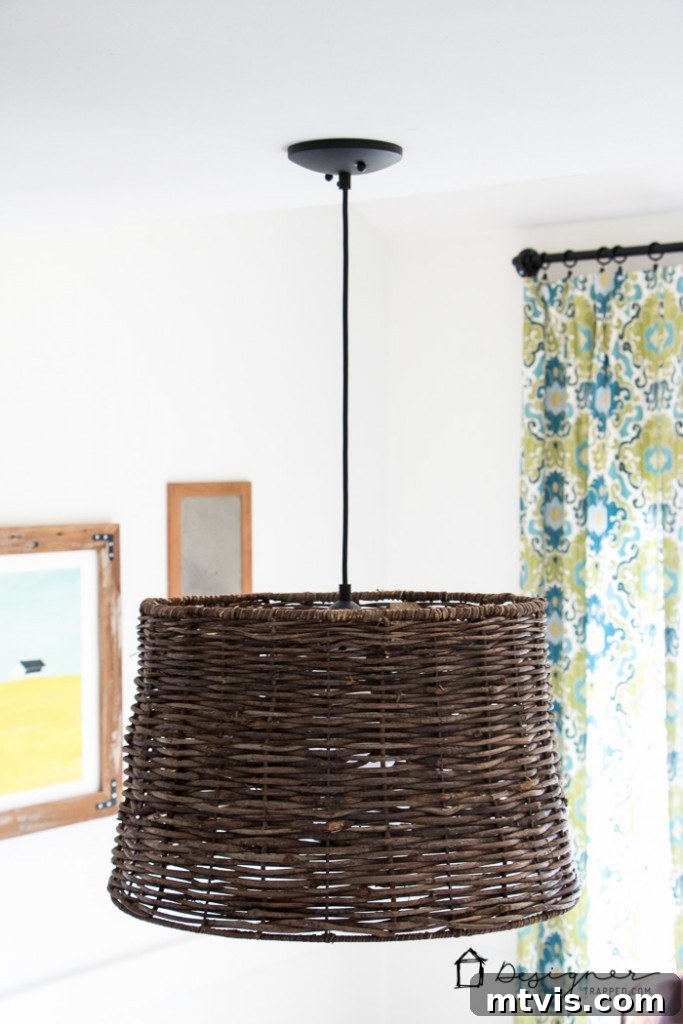
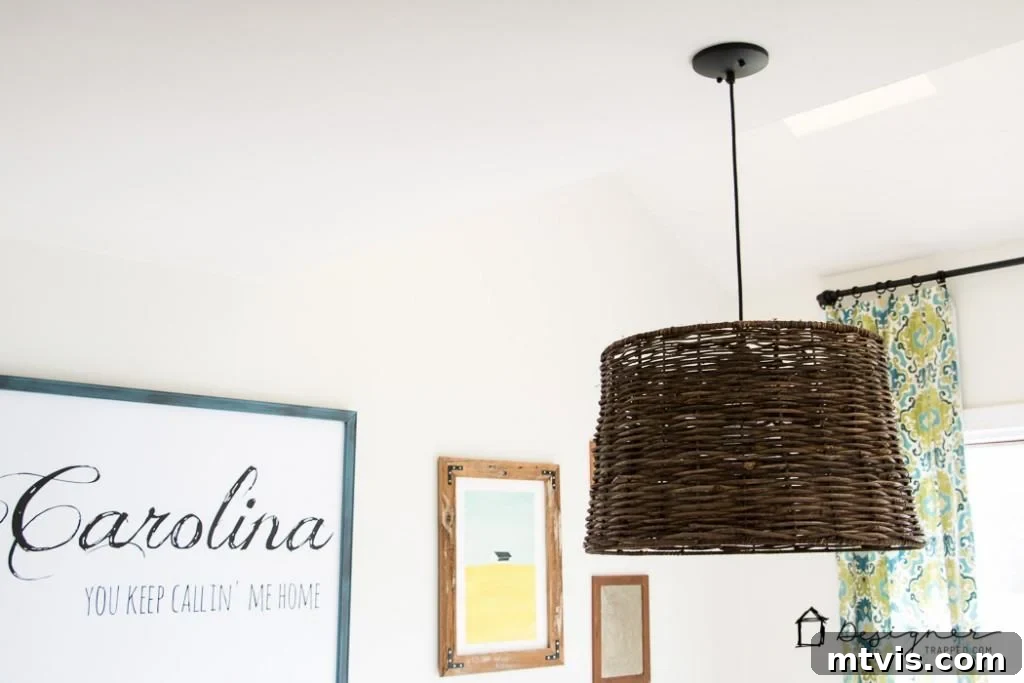
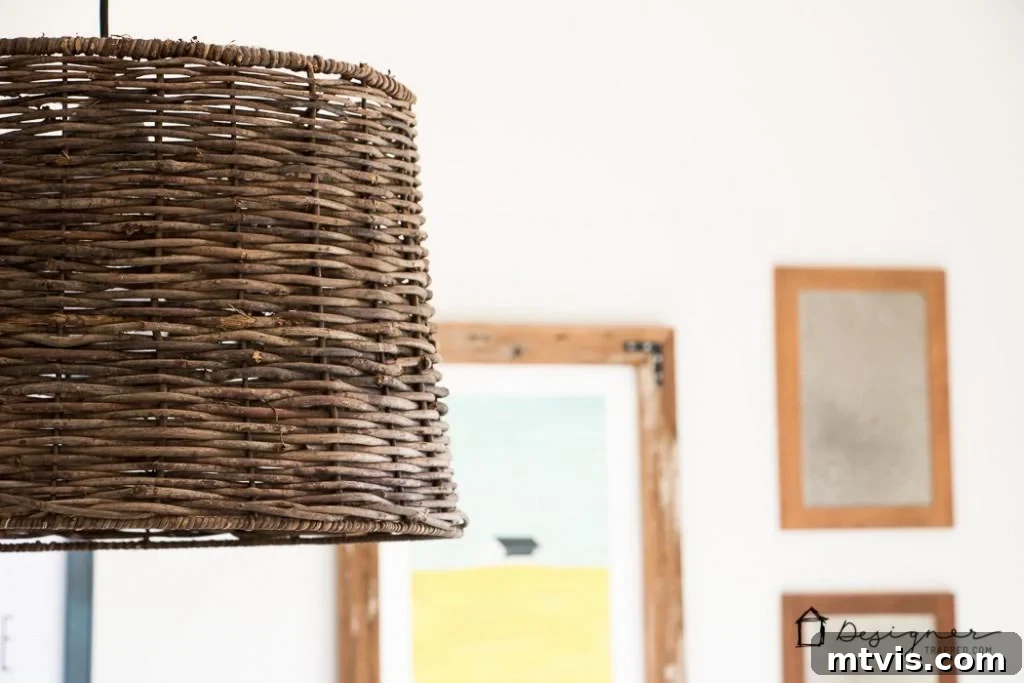
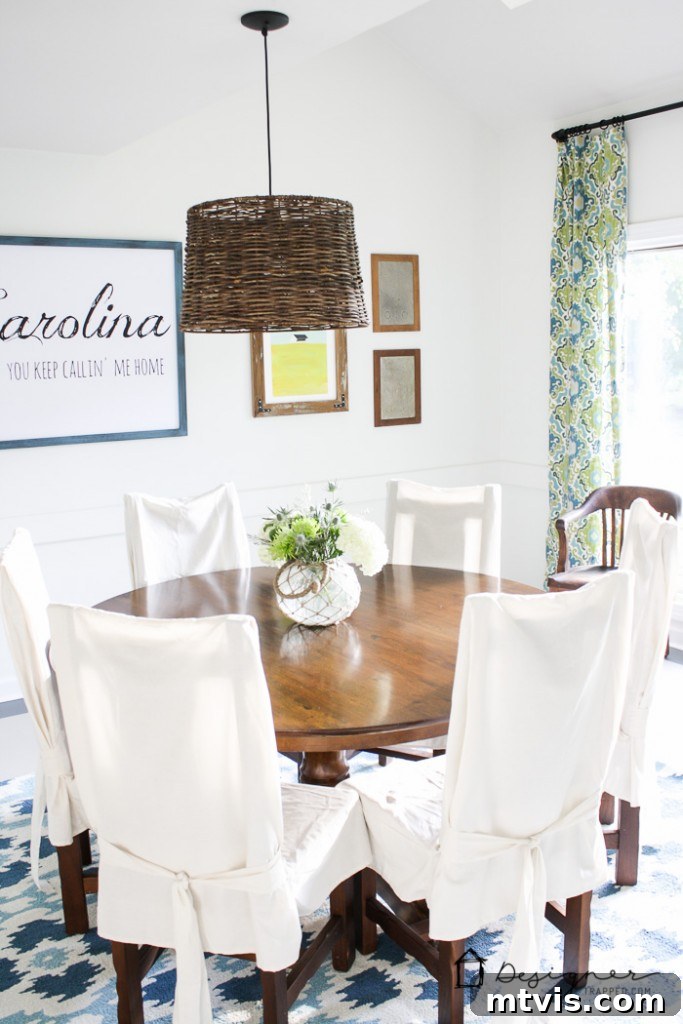
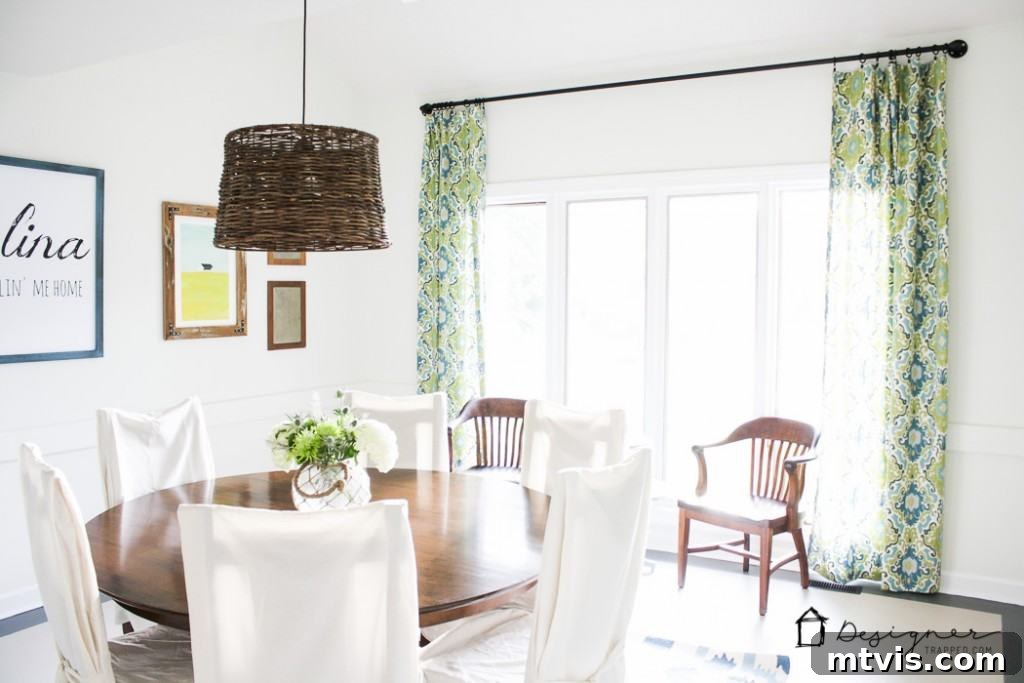
That’s truly all there is to it! I am absolutely thrilled with how our DIY pendant light turned out. The combination of the simple pendant kit and the clearance-priced Uno shade meant this entire project came in at an incredible price point – around $30 for me! This project is a testament to the fact that you don’t need a hefty budget or complex skills to achieve a high-end, custom look in your home. The finished product instantly elevated our dining room, adding a modern yet timeless appeal. It’s truly rewarding to step back and admire something you created with your own hands, especially when it saves you a significant amount compared to retail options.
Why Choose This DIY Pendant Light Project?
- Unbeatable Value: For a fraction of the cost of store-bought pendant lights, you get a custom piece that perfectly fits your style and budget. Savings can be even greater if you find your shade on sale!
- Quick & Easy: As demonstrated, this project takes approximately 15 minutes, making it ideal for busy individuals or beginner DIYers looking for instant gratification.
- Customization Potential: The beauty of this DIY is its adaptability. You can choose any Uno fitter lampshade – whether it’s a bold pattern, a subtle texture, or a vibrant color – to perfectly match your home’s decor. The pendant kit itself also comes in various finishes.
- Skill-Building: This is an excellent project for those looking to gain confidence in basic electrical work in a safe and controlled manner (always with power off!).
- Instant Impact: A well-chosen light fixture can dramatically change the feel and focal point of a room. This DIY offers a swift way to achieve that transformative effect.
Share Your DIY Success & Explore More Home Decor Ideas!
What do you think of this incredibly easy DIY pendant light? We hope you’re as inspired as we are by the stunning transformation it brings. If you love this idea and plan to tackle it yourself, be sure to pin this tutorial to your Pinterest boards! This way, you’ll have instant access to the steps and material links whenever you’re ready to start your project. We love seeing your creations, so don’t hesitate to share your finished DIY pendant lights with us!
And if you’re eager for more home transformation ideas, you absolutely must check out all the details of our complete DIY dining room makeover here. This pendant light was just one piece of a larger, budget-friendly renovation that achieved a designer look without the designer price tag.
Discover More DIY Lighting Projects
If you enjoyed this project, you’ll surely love exploring our other DIY lighting tutorials. We believe that custom lighting doesn’t have to be complicated or expensive. Here are some categories of projects that might spark your next home improvement adventure:
- DIY Chandelier Transformations: Learn how to upcycle old chandeliers into modern showpieces.
- Custom Lamp Shade Projects: Ideas for personalizing existing lamps or creating new ones from scratch.
- Outdoor Lighting Solutions: Brighten up your exterior spaces with creative and easy DIYs.
Stay tuned for more innovative and simple ways to make your home shine, one DIY project at a time!