
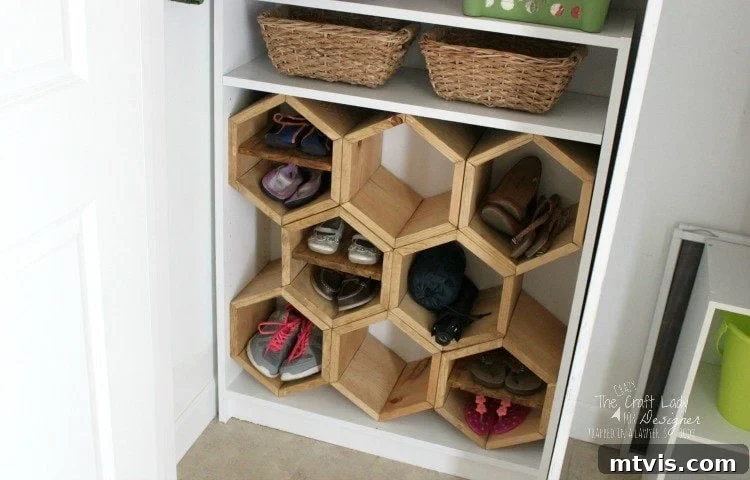
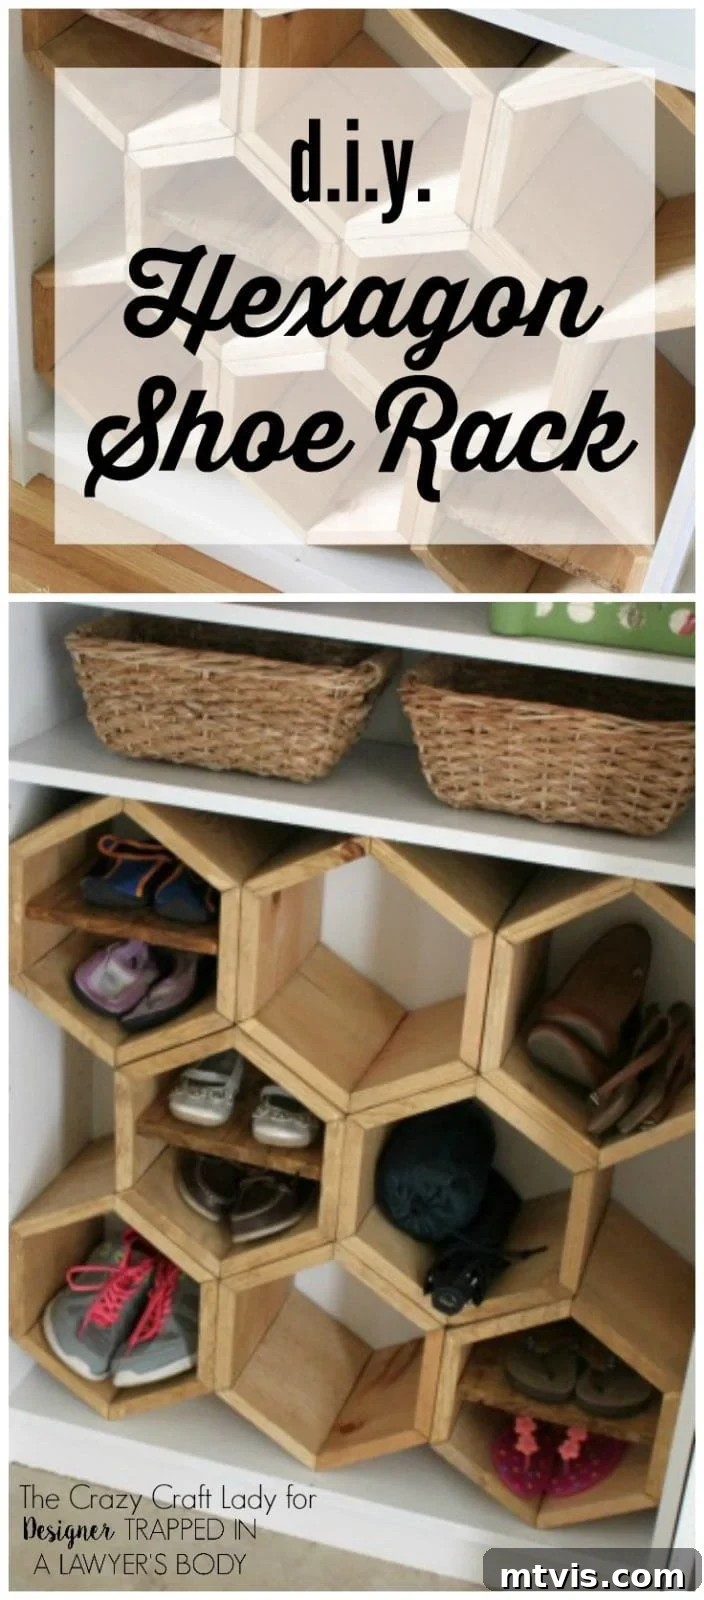
Hello, DIY enthusiasts and organization seekers! I’m Aimee, the creative mind behind The Crazy Craft Lady, where I share my passion for crafts, unique DIY home decor, and the adventurous journey of being a twin mom. I’m thrilled to be back here today, bringing you another exciting project that combines functionality with fabulous design: a custom Hexagon Shoe Rack crafted from an IKEA Billy Bookcase!

You might remember my scrap wood stencil wall art project that I shared previously. Today, we’re diving into a different kind of transformation – one that tackles a common household problem with a stylish and innovative solution. If your entryway or mudroom often looks like a shoe explosion, then you’re in the right place. Get ready to turn clutter into clever custom storage!
Taming the Entryway Beast: Why a DIY Shoe Rack Became Essential
Every home has its organizational challenges, and for me, the front entry closet was a perpetual battleground. It wasn’t an absolute disaster, but it was far from ideal. Take a look at Exhibit A, my front entry closet before its grand transformation:
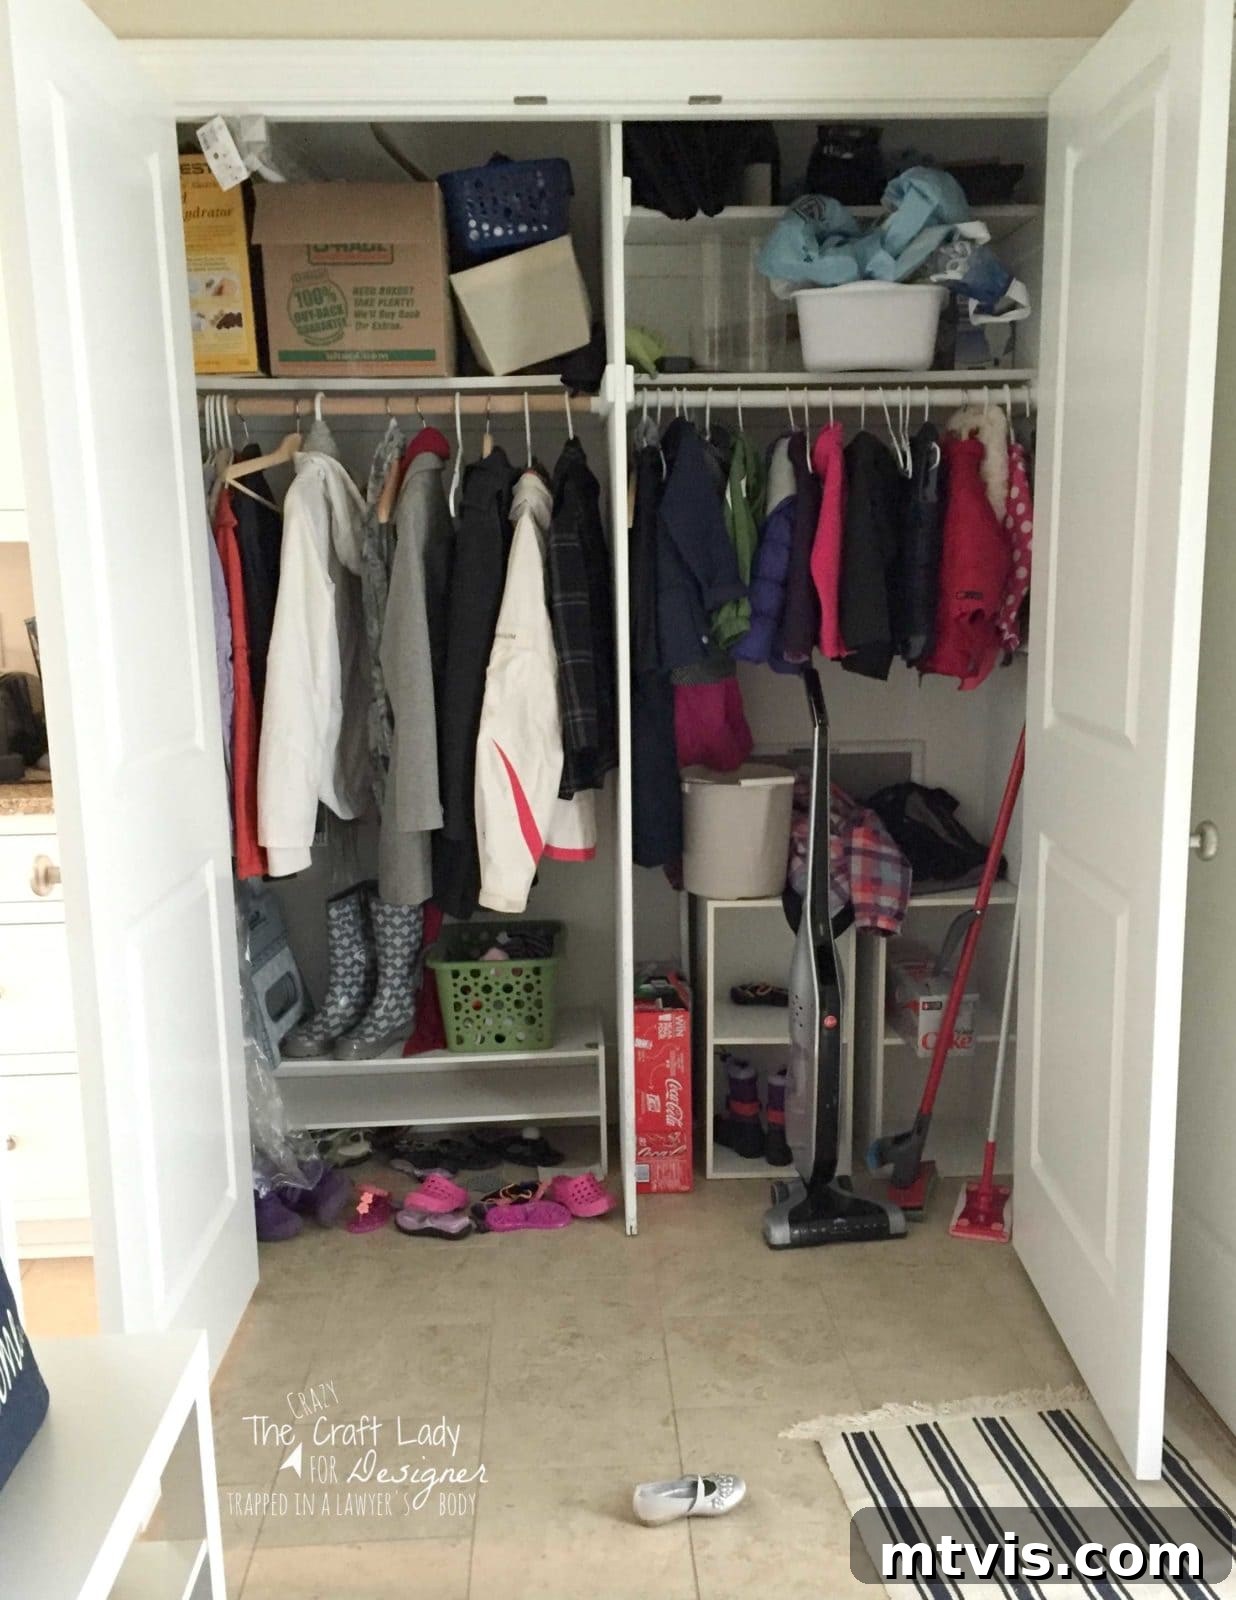
While the closet had its moments of tidiness, the “shoe situation” was steadily escalating. With lively twin toddlers and active adults in the house, the shoe pile had a mind of its own, constantly expanding into the entryway. This not only created an unsightly mess but also posed a significant tripping hazard. I knew I needed a dedicated shoe storage solution, something more substantial and organized than just a generic shelf. I wanted a custom piece that would not only contain the chaos but also add a touch of personality to our home. This sparked my “DIY Thinking Cap” moment, leading me to search for an inspiring and practical solution.
The IKEA Billy Bookcase: A Serendipitous Starting Point for Custom Storage
As luck would have it, I had an old IKEA Billy Bookcase gathering dust in storage. It wasn’t serving a purpose elsewhere, but a quick measurement revealed it was the perfect fit for the left half of my entry closet. This discovery felt like fate!
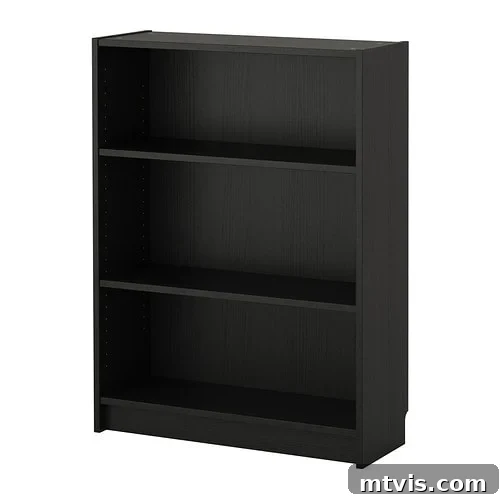
Around the same time, I had been admiring numerous hexagon wall shelf tutorials circulating in the DIY blogosphere. Their geometric charm and unique aesthetic captivated me. It occurred to me: if hexagons work beautifully for wall decor, why not adapt the concept for functional shoe storage? This fusion of repurposing an existing piece of furniture with a trendy design element became the foundation for my hexagon shoe rack project. The idea was to create individual cubbies, preventing shoes from piling up and offering a designated spot for each pair, all while maximizing the space within the Billy Bookcase. This DIY IKEA hack was born out of necessity, but evolved into a stylish organizational dream.
A quick trip to The Home Depot later, and I was ready to embark on this exciting DIY journey. Just a heads-up, this post contains some affiliate links, which means I may earn a small commission at no extra cost to you if you make a purchase through them. You can read my full disclosure policy here.
DIY Hexagon Shoe Rack – Essential Supplies
The beauty of this project lies in its relatively simple and straightforward supply list. You have the flexibility to customize the number of cubbies and their arrangement to suit your specific needs. These instructions are designed to create eight hexagon cubbies that will perfectly fit inside an IKEA Billy Bookcase, transforming it into a functional and eye-catching shoe organizer.
- 1 x 10 Boards: I purchased five 6-foot lengths. This made them easier to transport home and provided enough material for eight cubbies. You might need more or less depending on your desired number of hexagons.
- Wood Glue: A strong wood glue is crucial for the structural integrity of your cubbies. It provides a lasting bond that nails alone cannot achieve.
- Finishing Nails: These will help hold the pieces together securely while the wood glue dries, ensuring precise alignment.
- Wood Stain: I opted for Minwax Golden Oak to achieve a warm, classic look that contrasts beautifully with the white bookcase. Choose a shade that complements your existing decor.
- Drop Cloth: Essential for protecting your workspace from wood stain and sawdust.
- Sandpaper: Various grits (e.g., 120 and 220) for smoothing rough edges and preparing the wood for staining.
- Brush: For applying the wood stain evenly.
- Rags: For wiping off excess stain and achieving the desired finish.
A note on wood dimensions: Remember that a “1×10” board isn’t actually 10 inches wide; it’s typically closer to 9 1/4 inches. This means your shoe cubbies will have a depth of approximately 9 1/4 inches. This depth is perfect for most adult shoes up to my size 7.5, as well as children’s shoes. If you’re accommodating larger shoe sizes (like a size 14), you might consider using wider boards or adjusting the cubby design to provide more depth.
DIY Hexagon Shoe Rack – Step-by-Step Tutorial
Step 1 (Optional but Recommended): Prepare Your Billy Bookcase
My original IKEA Billy Bookcase was a dark, almost black stain. To achieve the bright, clean look I desired, I decided to prime and paint it white. I simply used leftover paint from other projects, which made this step even more cost-effective. If your bookcase is already white, or if you prefer a dark, contrasting look, feel free to skip this step. However, painting provides a fresh canvas and helps integrate the new cubbies seamlessly into your home decor. Ensure the surface is clean and lightly sanded before priming for optimal paint adhesion.
Step 2: Conquer the Hexagon Math (Effortlessly!)
Fear not the geometry! While constructing a perfect hexagon might conjure memories of high school trigonometry, you won’t need to dust off your old textbooks. You could spend hours Googling “how to calculate the dimensions of a hexagon” (and perhaps needing a glass of wine afterward), OR you can simply use the calculations I’ve already done for you!
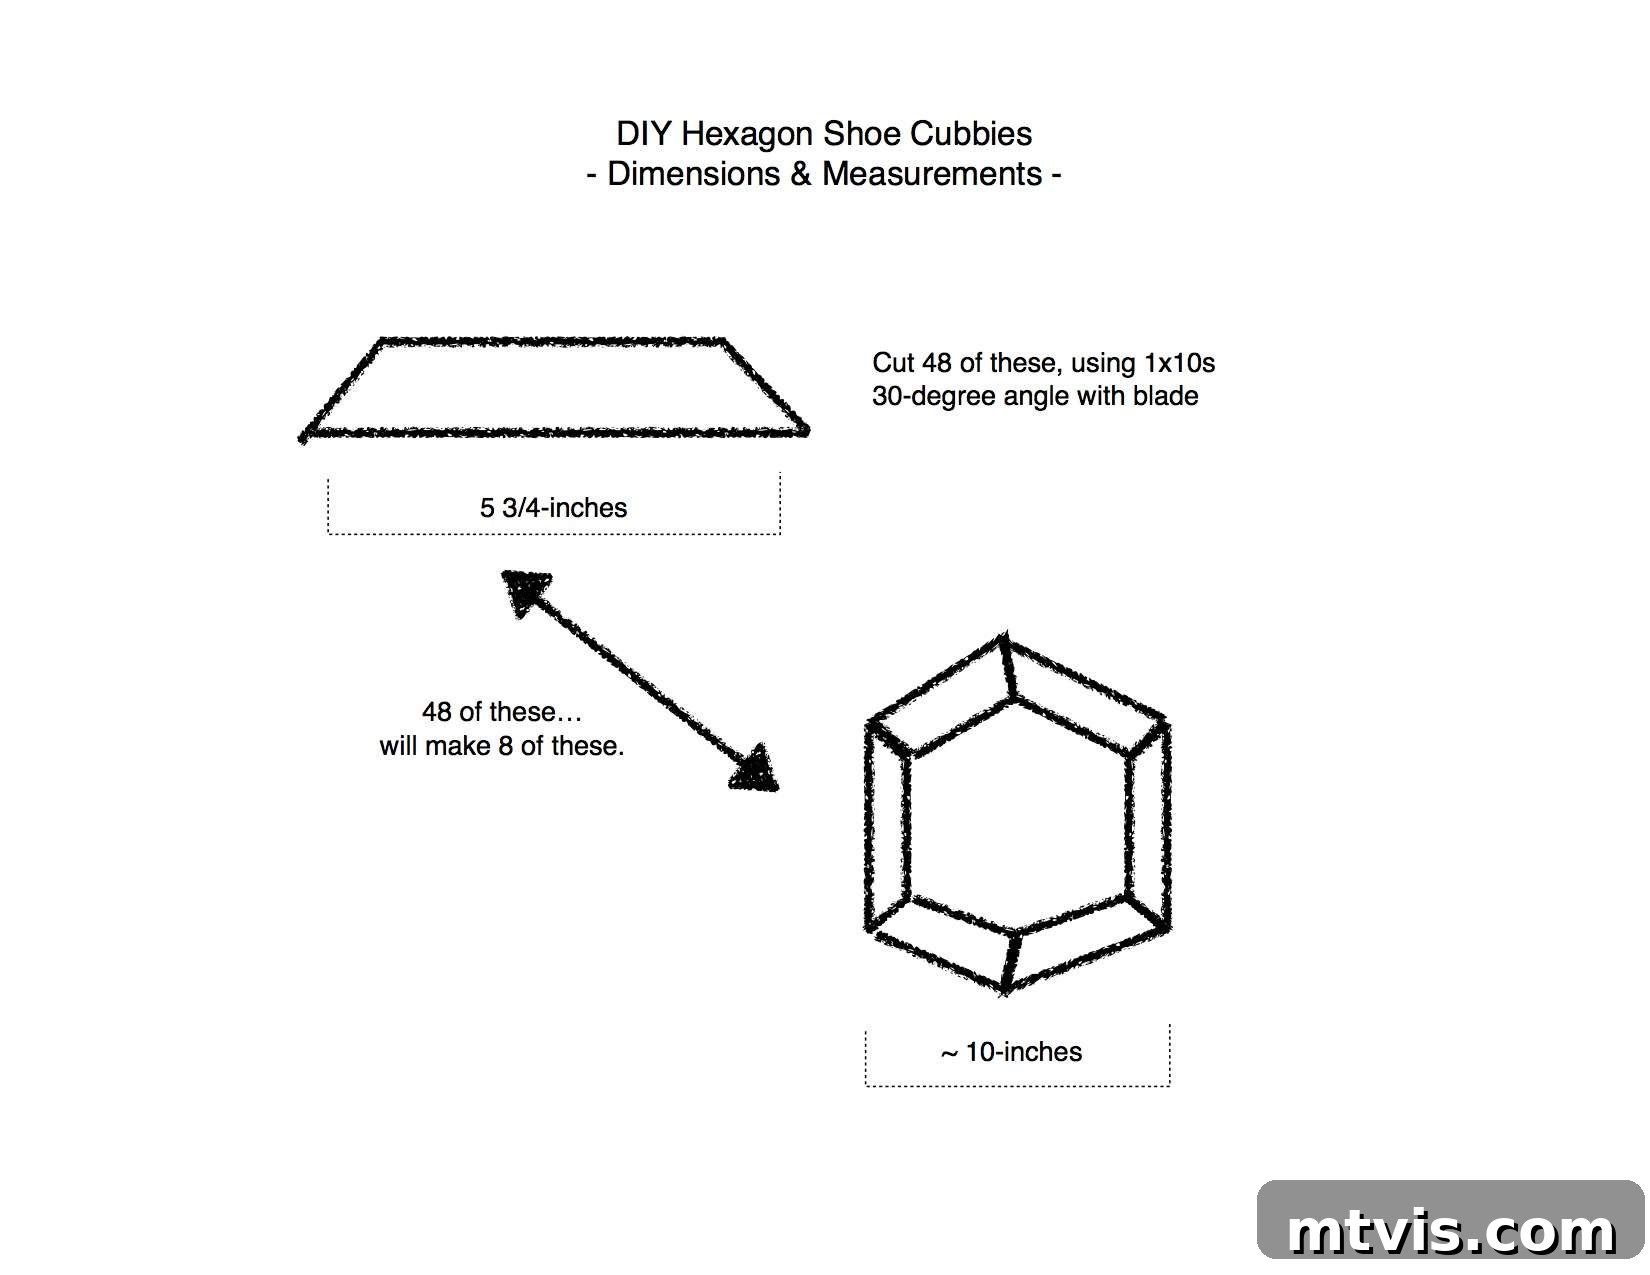
My IKEA Billy Bookcase opening was exactly 30 inches wide. To create three cubbies across, each hexagon needed to be just under 10 inches wide. The key to creating the hexagonal shape is precise cuts at a 30-degree angle. Each side of your hexagon will be 5 3/4 inches long. This results in cubbies that are perfectly proportioned for shoe storage within the bookcase frame.
Step 3: Precision Wood Cutting (Safety First!)
This step involves power tools, and safety is paramount. If you’re not comfortable using a miter saw or table saw, I highly recommend enlisting the help of a friend who is experienced (as I did with my friend Patrick!). Power tools can be intimidating, and there’s no shame in seeking assistance for tasks that are outside your comfort zone, especially when permanent appendages are involved!
For eight hexagon cubbies, you will need 48 individual pieces of 1×10 wood, each precisely 5 3/4 inches long. It’s always a good idea to cut a few extra pieces (perhaps 50-52 total) in case of miscuts or mistakes.
Here’s how to make the cuts:
- Initial Straight Cuts: First, cut all your 1×10 boards into 5 3/4-inch lengths with straight (90-degree) cuts. You’ll end up with a pile of rectangular wood pieces.
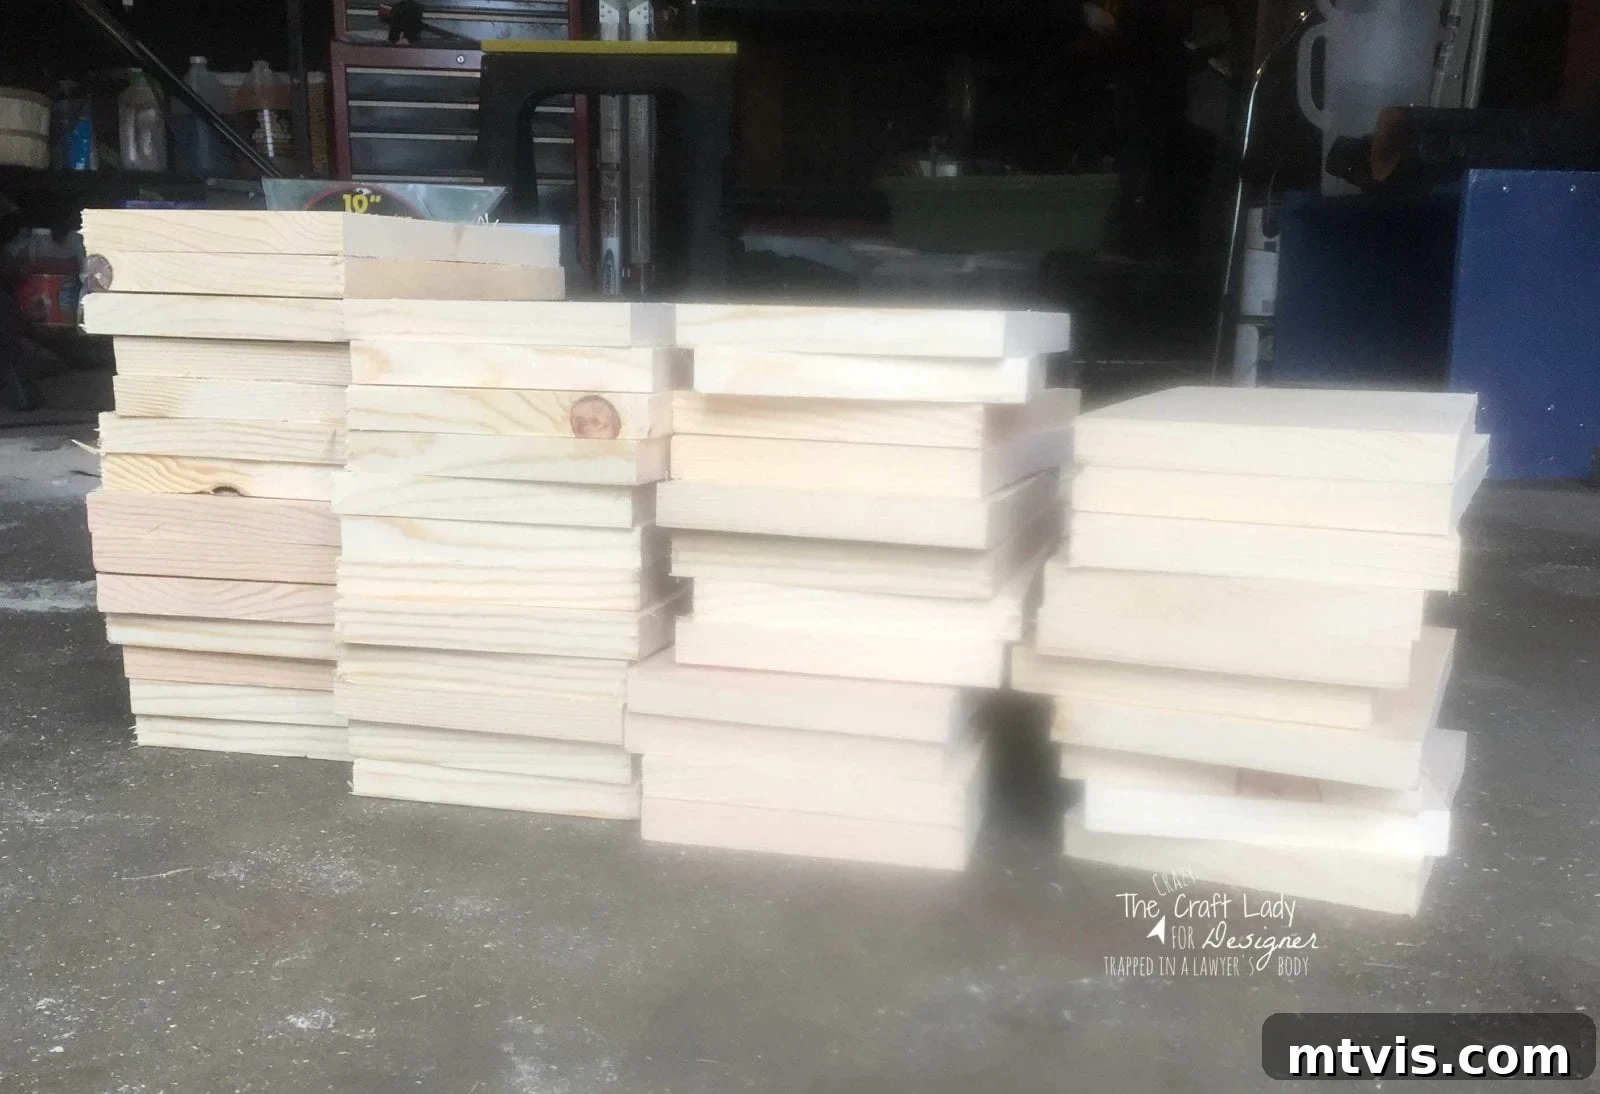
- Angle Cuts: Next, adjust your saw blade to a 30-degree angle. Carefully cut each end of your 5 3/4-inch pieces, angling the cut inwards. This will create the hexagonal segments. Make sure to flip the piece for the second cut on each end to create parallel angles.
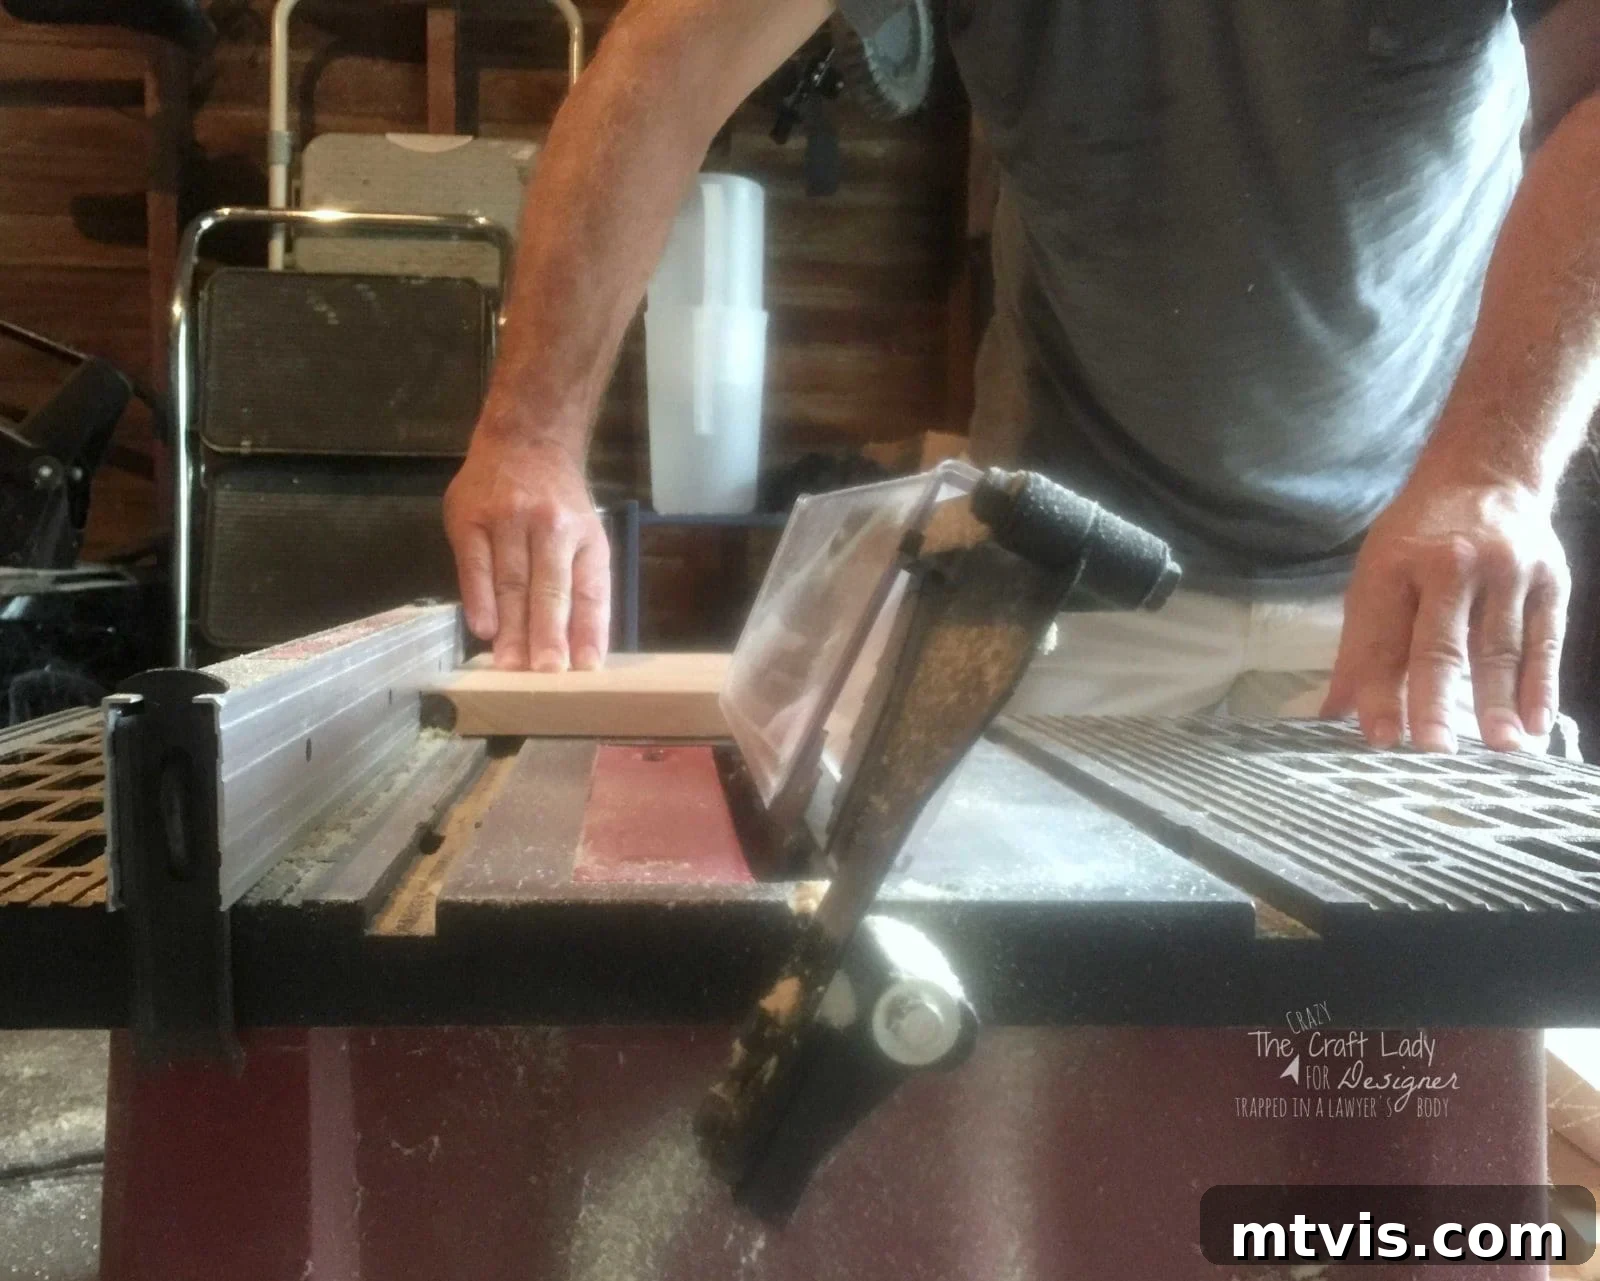
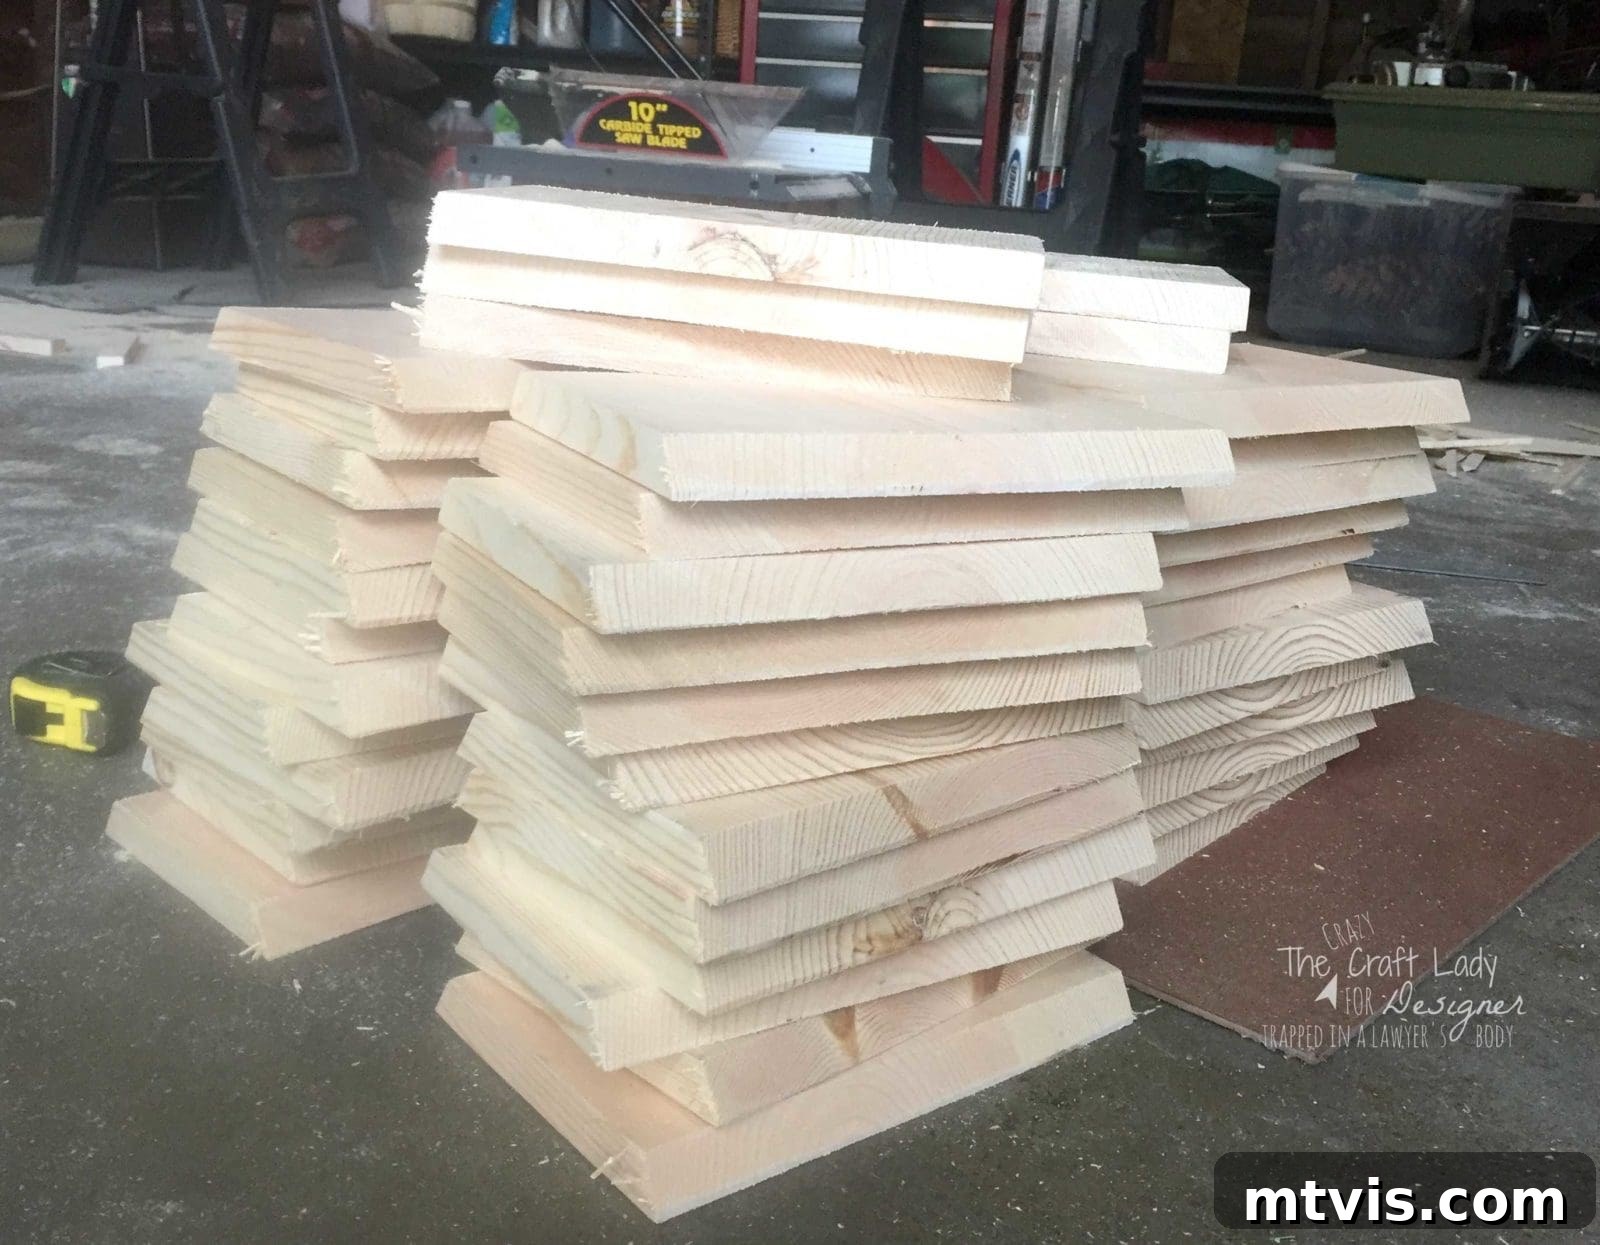
The final result will be a stack of beautifully cut wood pieces, ready to be assembled into perfect hexagons.
Step 4: Assembling Your Hexagon Cubbies (Patience and Creativity!)
Now for the satisfying part: bringing your hexagons to life! This step can be a bit tricky if you’re working alone, but it’s definitely achievable. I was solo for this part, which required a little creative stabilization – let’s just say my yoga skills came in handy as I used my feet to hold pieces in place while hammering!
Here’s the assembly process:
- Pre-start Nails: Lightly hammer finishing nails into one end of each wood piece. Don’t drive them all the way in; just enough to hold them securely. This makes it easier to join the pieces without them slipping.

- Apply Wood Glue: Before joining two pieces, apply a thin bead of strong wood glue along the angled edge. This glue is the true workhorse, providing the long-lasting bond.
- Join and Nail: Press the two glued edges together firmly, then drive the pre-started nail through to secure the joint. Repeat this process, connecting six pieces to form each hexagon. Ensure all joints are flush and tightly bound.
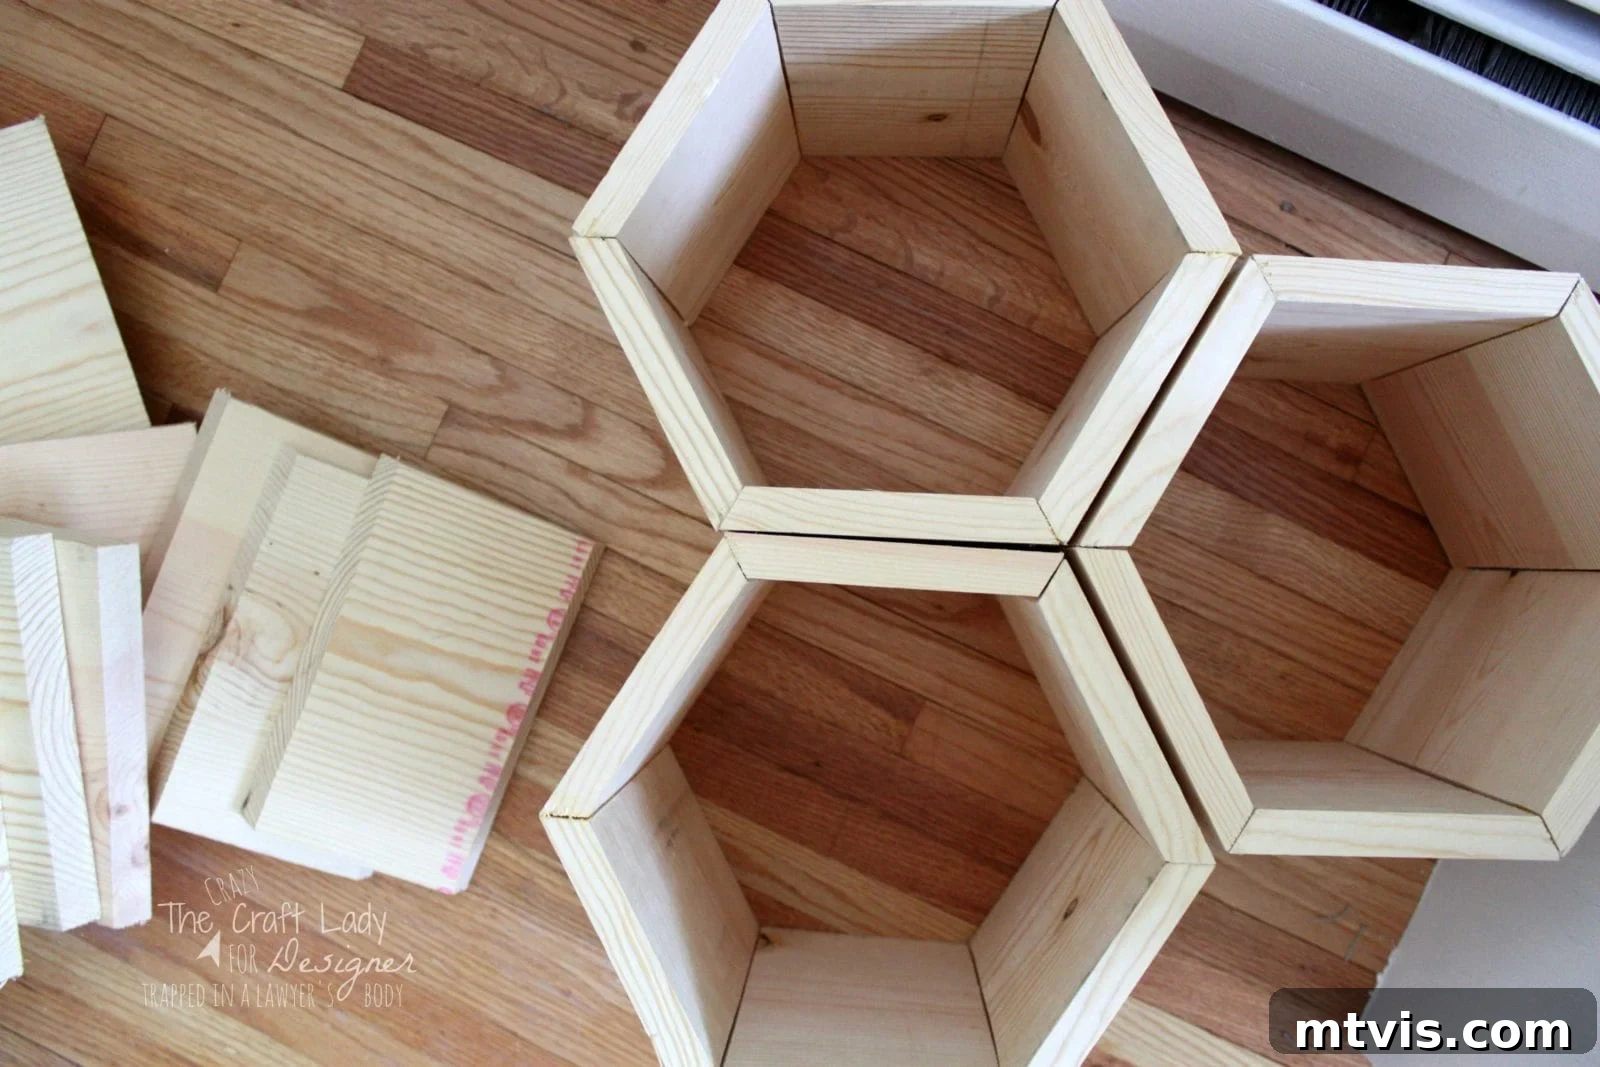
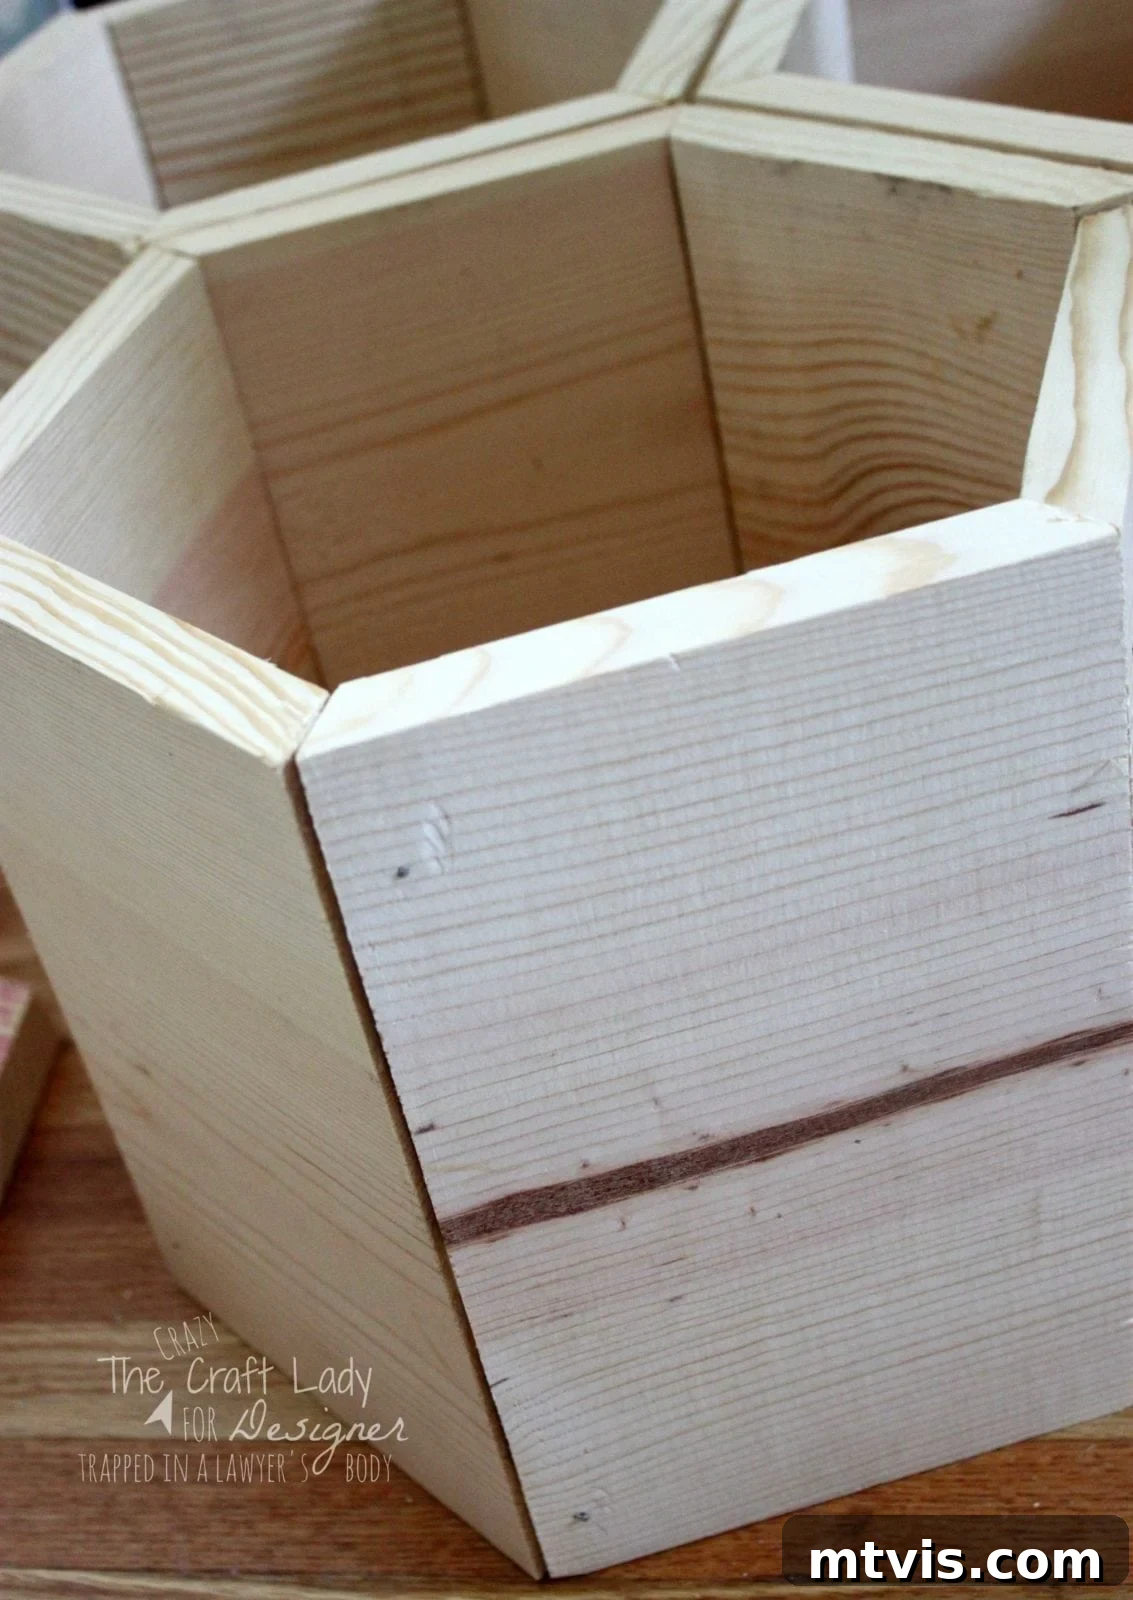
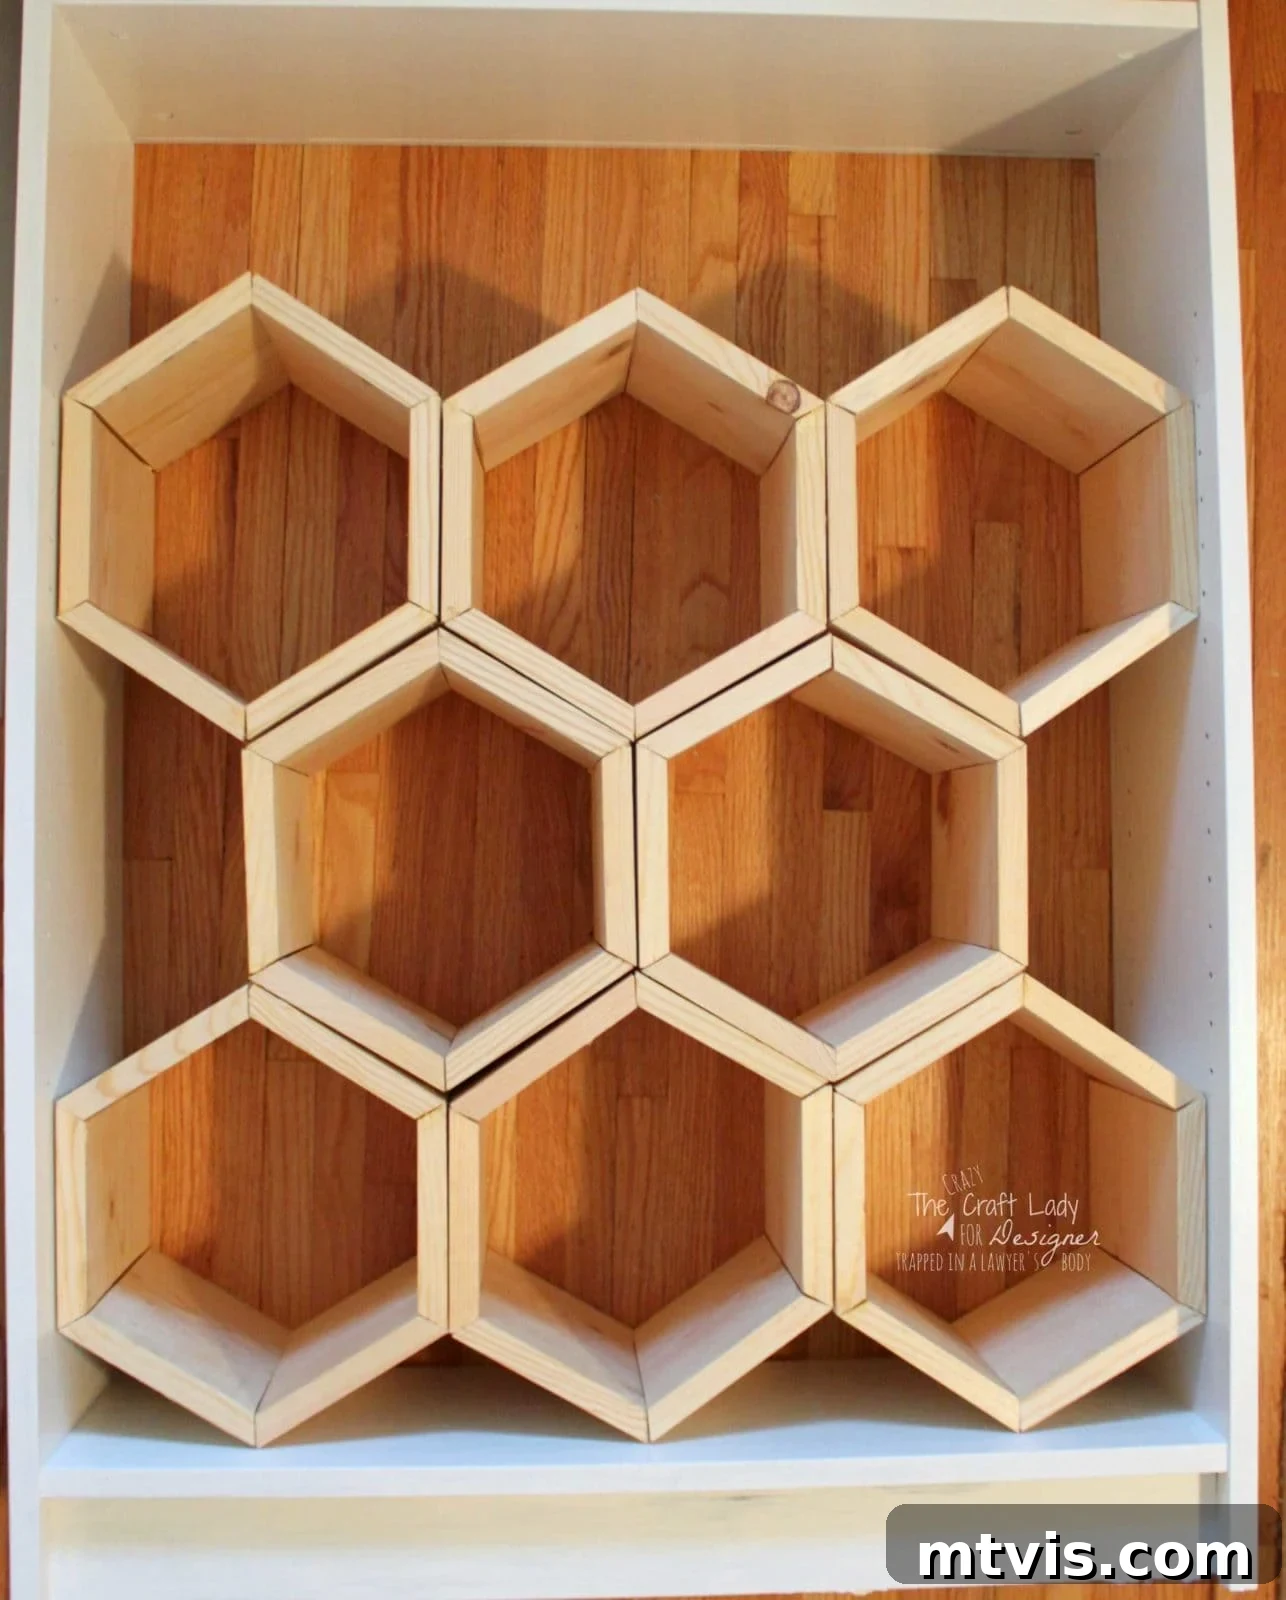
Each hexagon cubby will feel a bit flimsy until the wood glue has fully dried and cured. To ensure perfect angles and a sturdy final product, I actually placed all the newly assembled cubbies inside the Billy Bookcase while the glue dried overnight. This allowed the tension of the arrangement to hold everything perfectly in place, setting the angles just right.
Step 5: The Art of Staining Your Custom Cubbies
With your hexagon cubbies assembled and dry, it’s time to bring out their natural beauty with wood stain. This step not only adds aesthetic appeal but also offers a layer of protection to the wood. Before staining, it’s always a good idea to pre-treat the wood. A helpful tip I learned from a pro at The Home Depot: you can “cheat” and simply dampen the wood surface with a clean cloth and water instead of purchasing a specialized pre-stain conditioner. I’ve used this method on several projects now and have always been pleased with the consistent, even results it helps achieve.
Once the wood is pre-treated and slightly damp, apply your chosen wood stain (I used Minwax Golden Oak) evenly with a brush. Let the stain sit for about 5 minutes, allowing the wood to absorb the color. The longer you let it sit, the deeper and richer the color will be. Always test on a scrap piece first to ensure you achieve your desired shade. After the desired time, use a clean rag to wipe off any excess stain. This prevents a sticky finish and reveals the beautiful wood grain. Remember to work in a well-ventilated area and wear gloves to protect your hands.
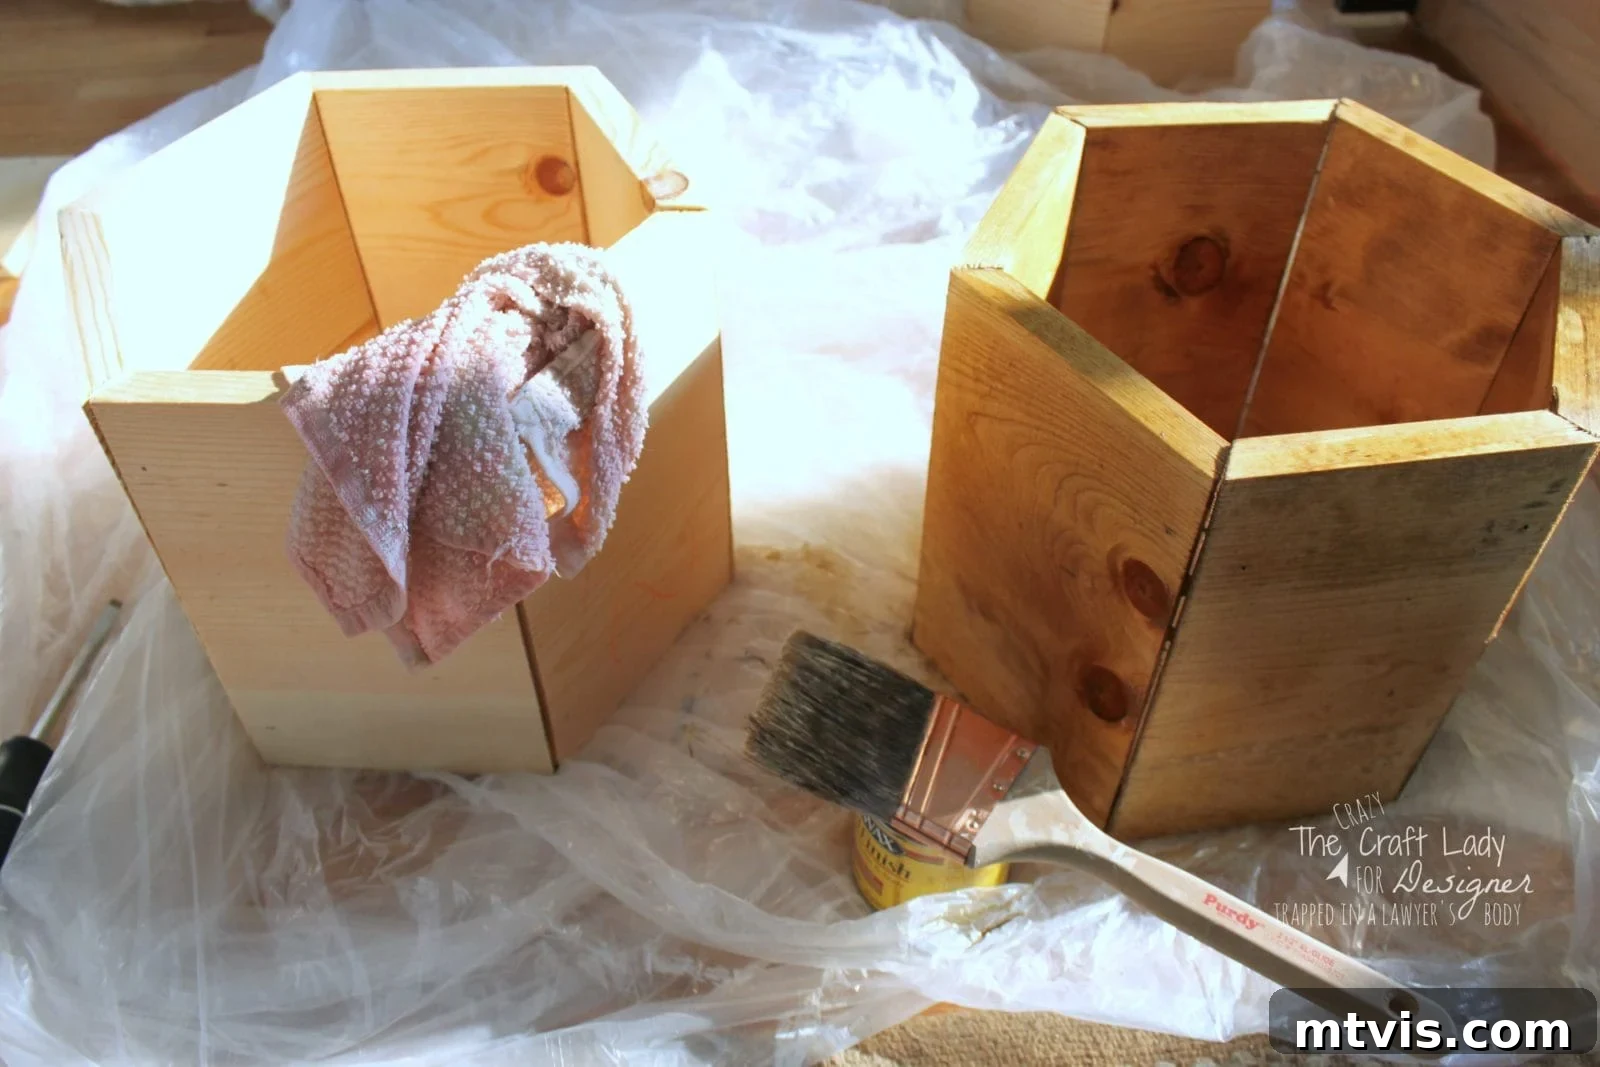
After wiping, let the stained cubbies dry completely according to the stain manufacturer’s instructions, typically 24-48 hours. For added durability and protection, especially for a high-traffic item like a shoe rack, consider applying a clear protective coat like polyurethane. This will guard against scuffs and moisture.
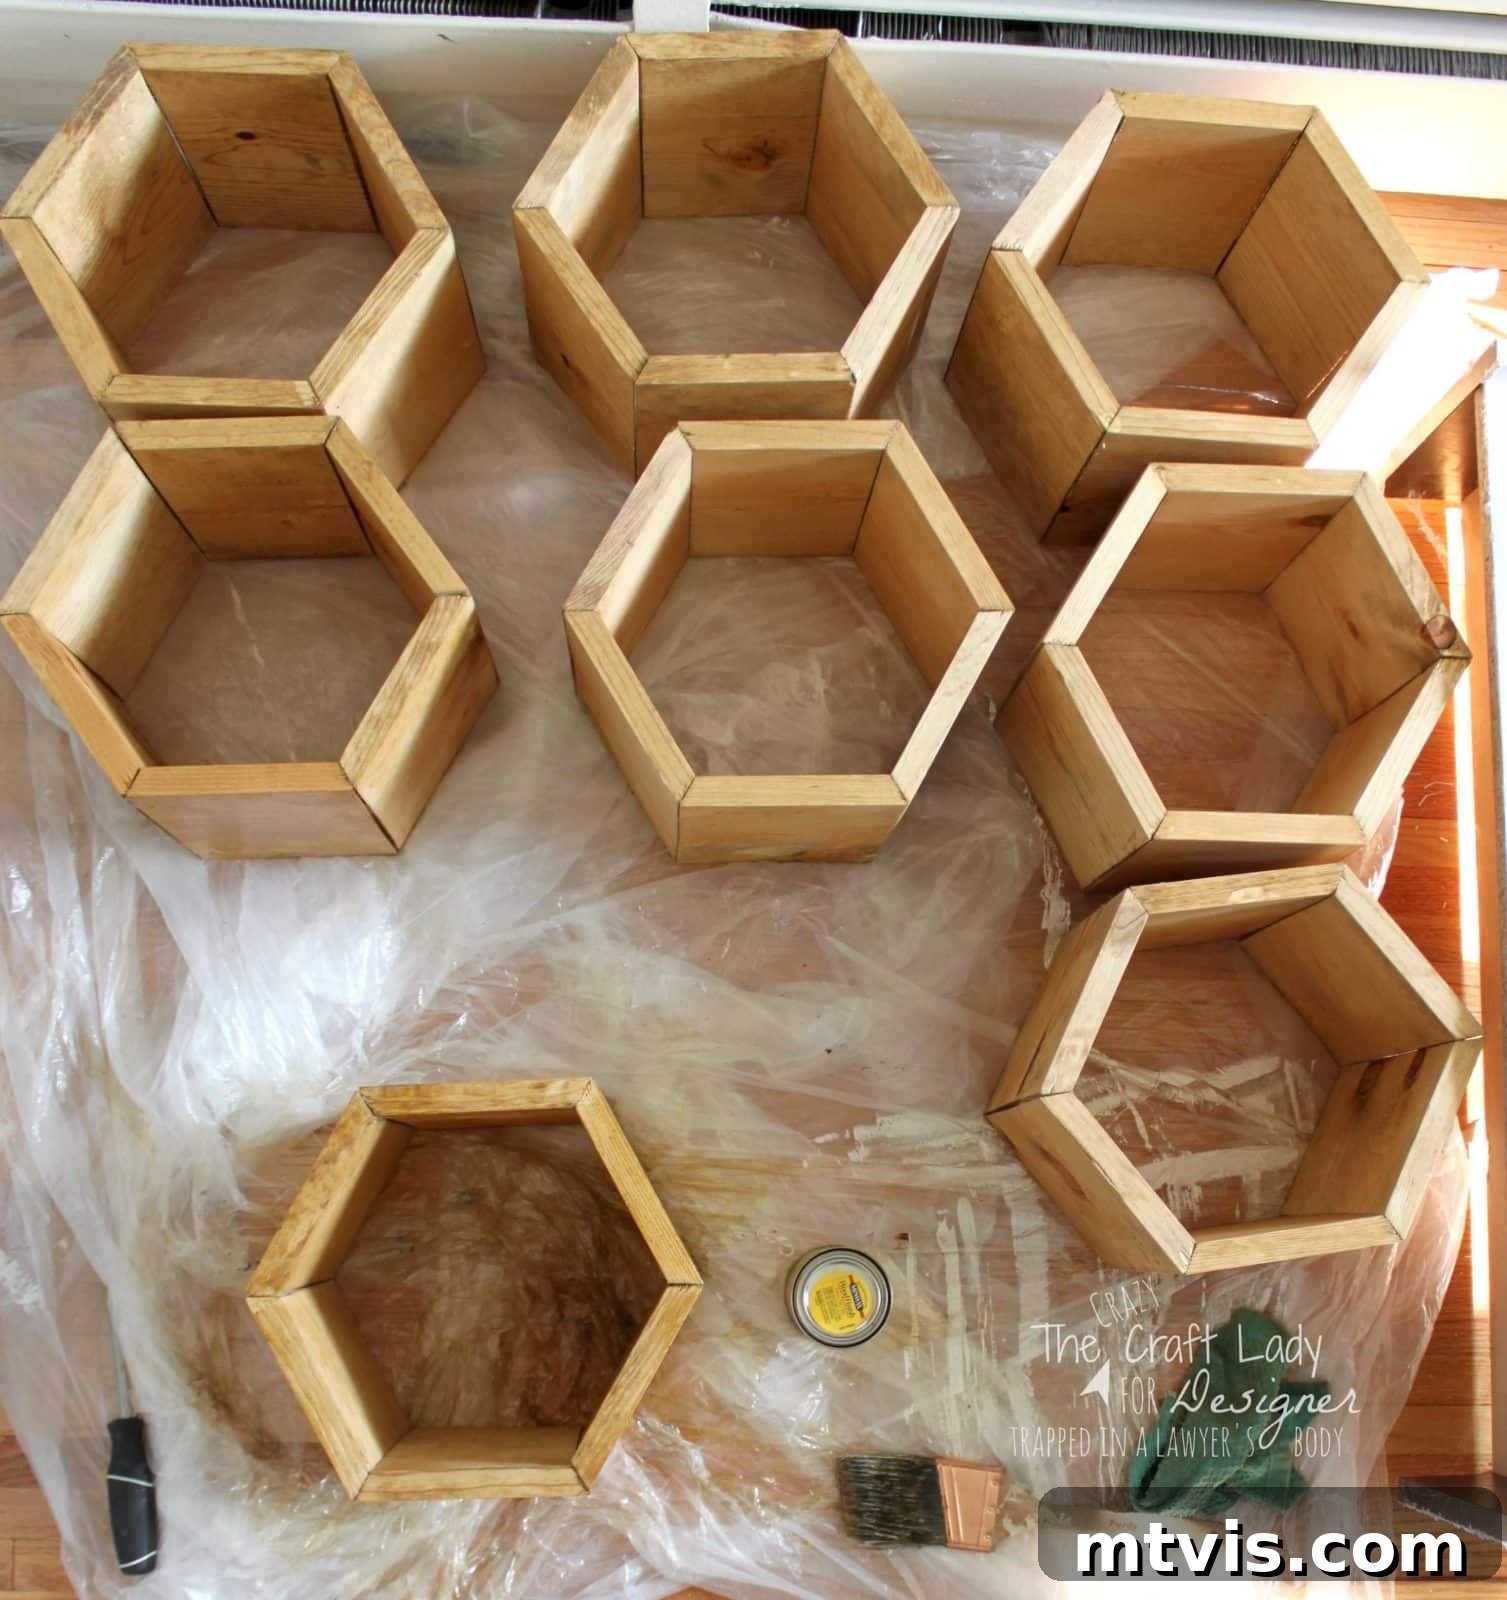
Step 6: Final Assembly and Customization
This is where all your hard work pays off! The final assembly of your custom hexagon shoe cubbies into the repurposed IKEA Billy Bookcase is incredibly satisfying, and thanks to the precise measurements, it’s a breeze. Because I became a “math expert” (with a little help from my diagram!) when calculating the hexagon dimensions, these shelves slid perfectly into the bookcase. The tension created by the snug fit of each cubby holds the entire structure securely in place, no extra hardware needed!
To maximize the functionality of my new shoe rack, I added a few extra touches. I cut and stained some scrap wood to create divider shelves within three of the cubbies. These smaller compartments are ideal for flip-flops, sandals, or even small accessories. Additionally, I repurposed one of the original Billy Bookcase shelves at the top, creating a convenient space for baskets, keys, sunglasses, or other small entryway essentials. This thoughtful customization ensures every inch of the transformed bookcase is utilized efficiently.
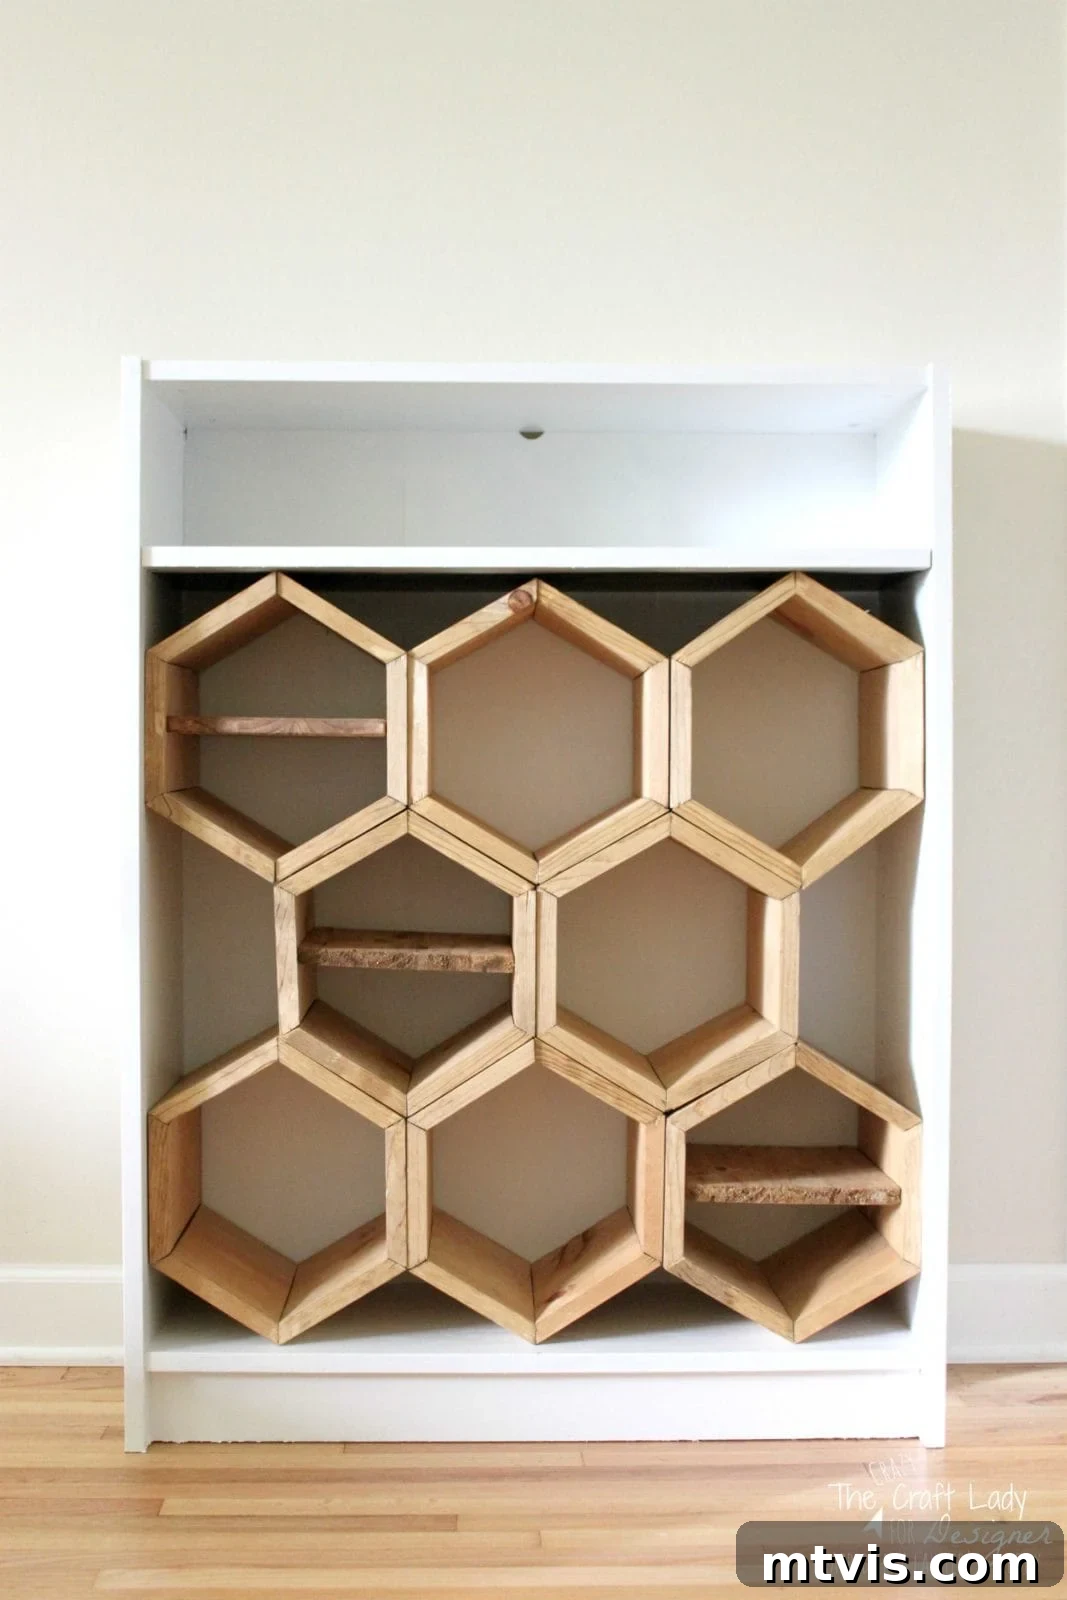
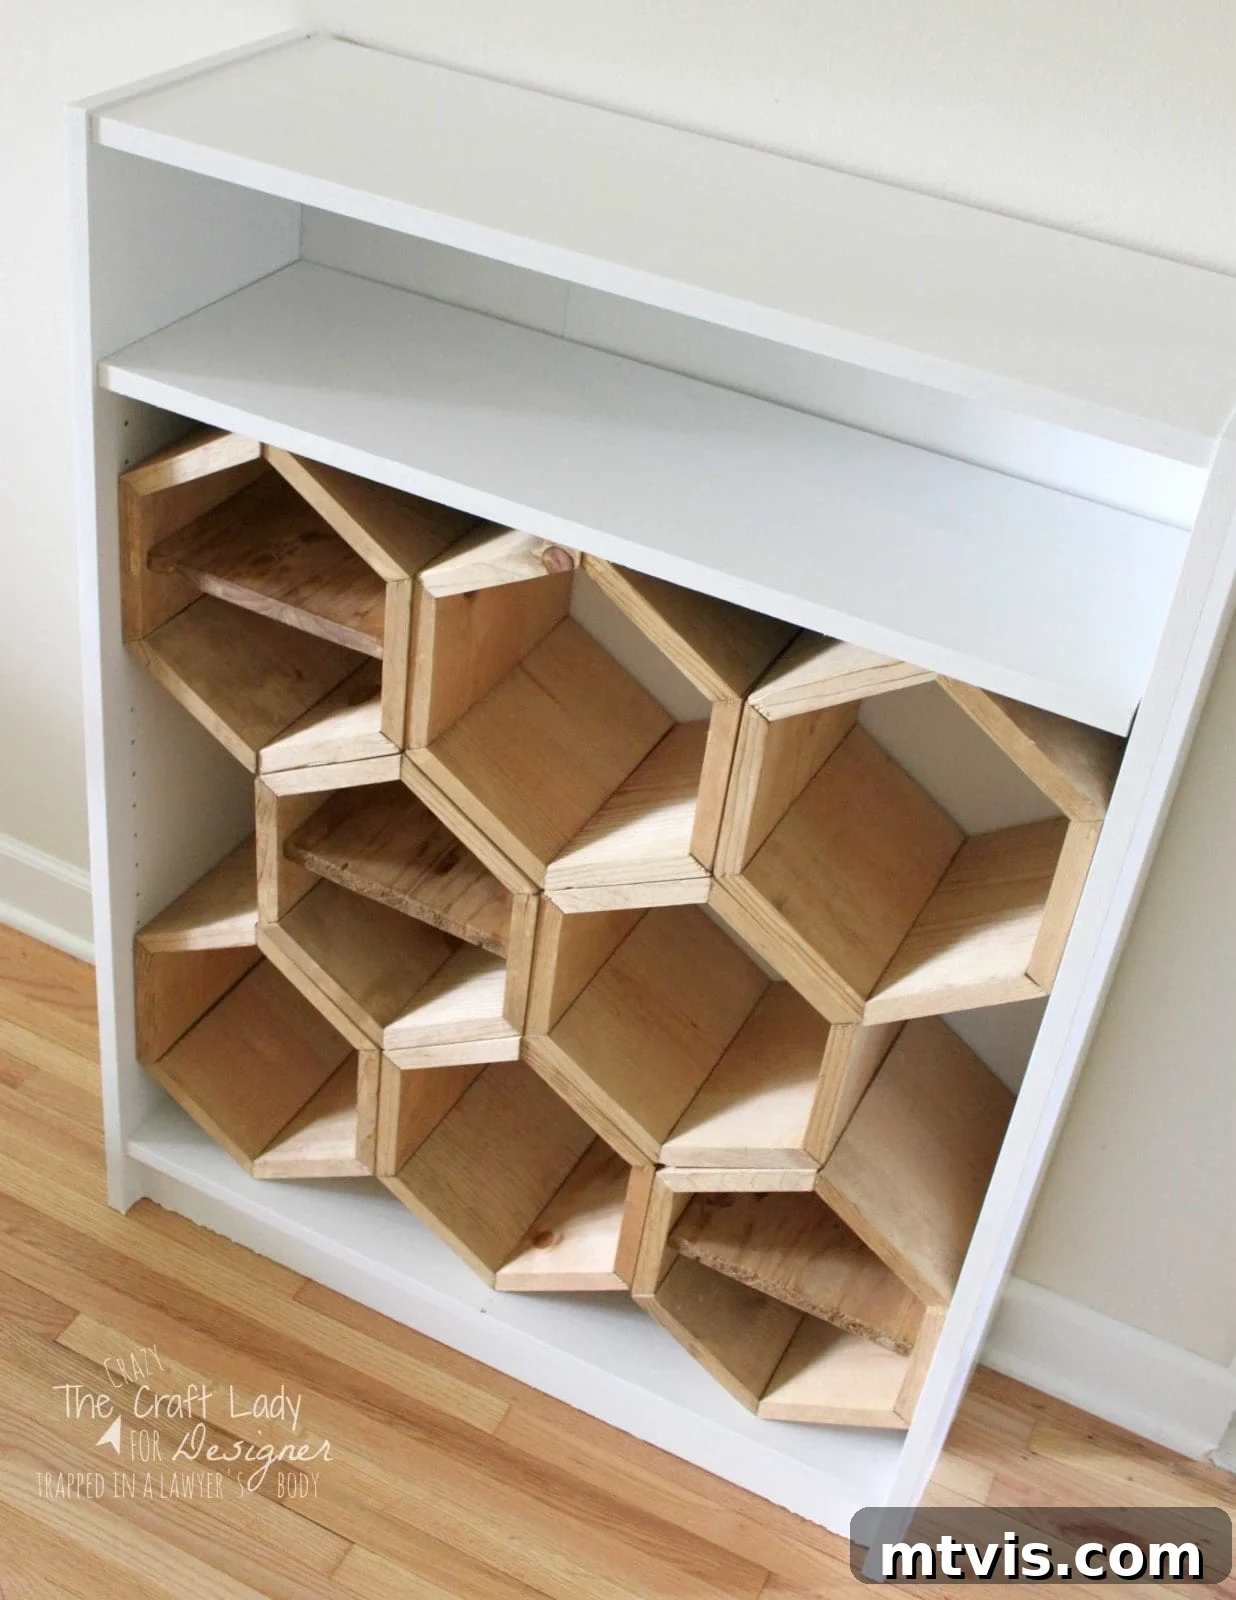
The Grand Reveal: A Stylish & Organized Entryway
I am absolutely delighted with how my new custom shoe shelf turned out! The once-cluttered entryway closet is now a beacon of organization, featuring stylish hexagon cubbies that keep every shoe in its place. Honestly, my only regret is that I created such a beautiful piece of custom furniture only for it to be hidden behind closed closet doors! For now, I think I’ll keep the closet doors open, allowing me (and any guests!) to admire my handiwork until the novelty eventually wears off. It’s a true testament to how DIY can transform a functional need into a stunning design statement.
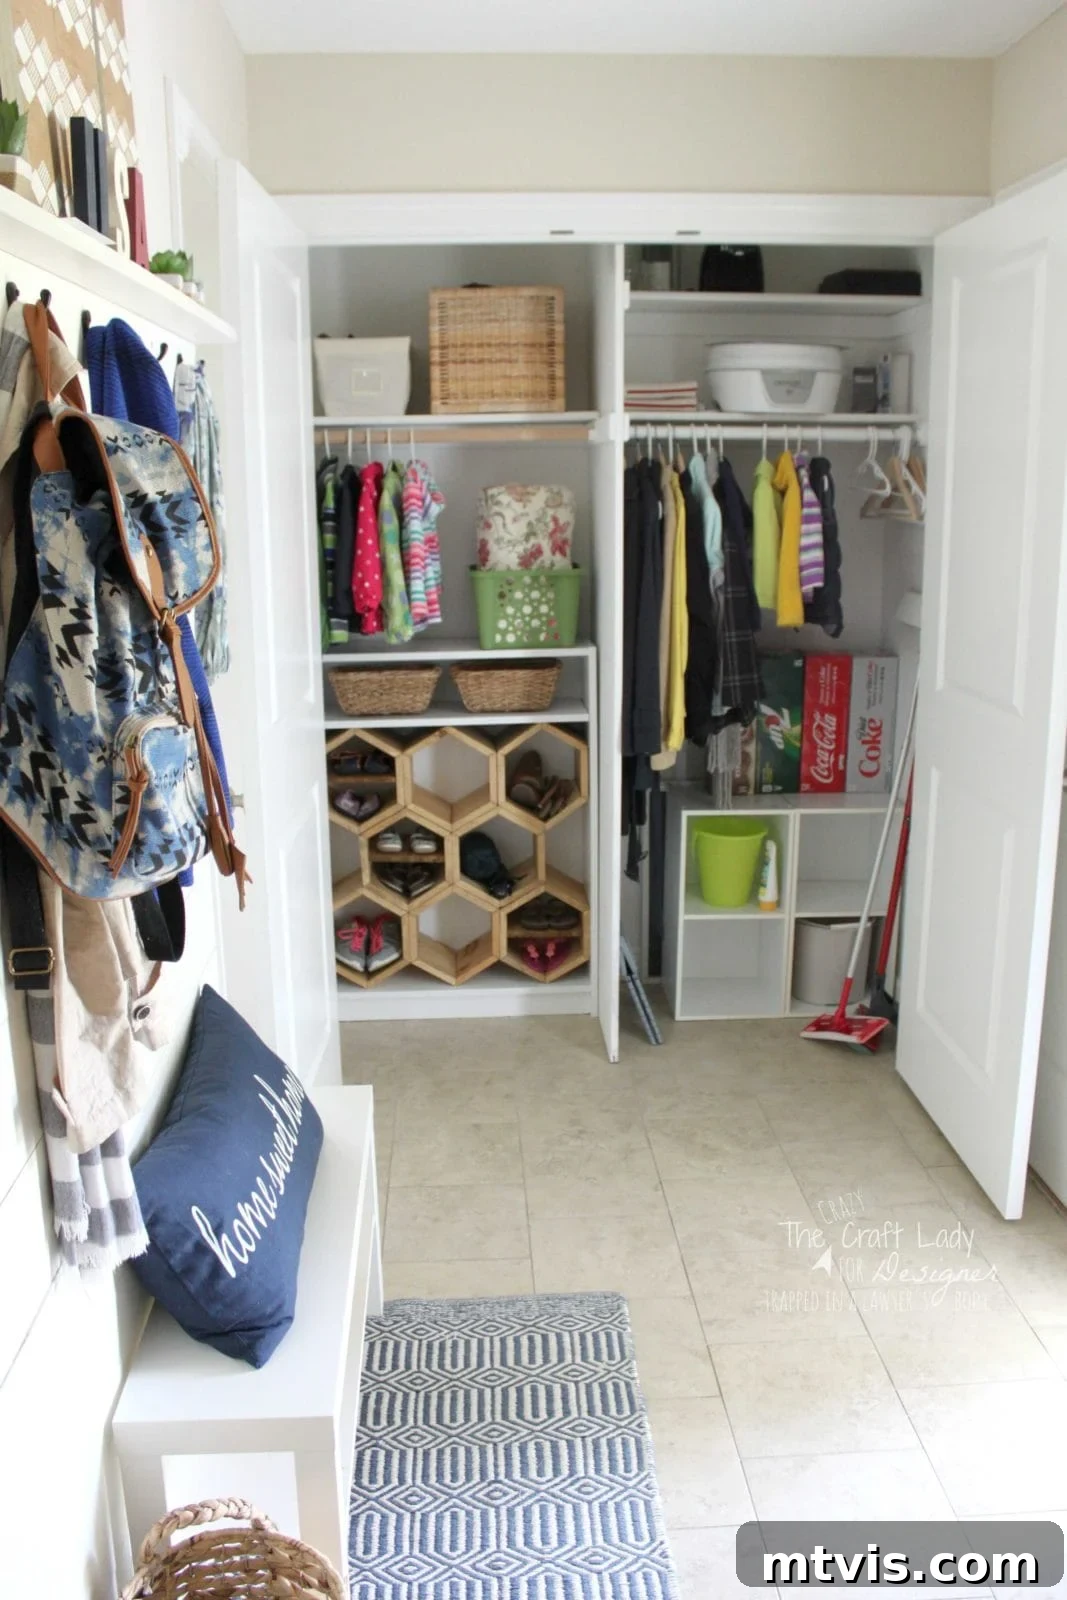
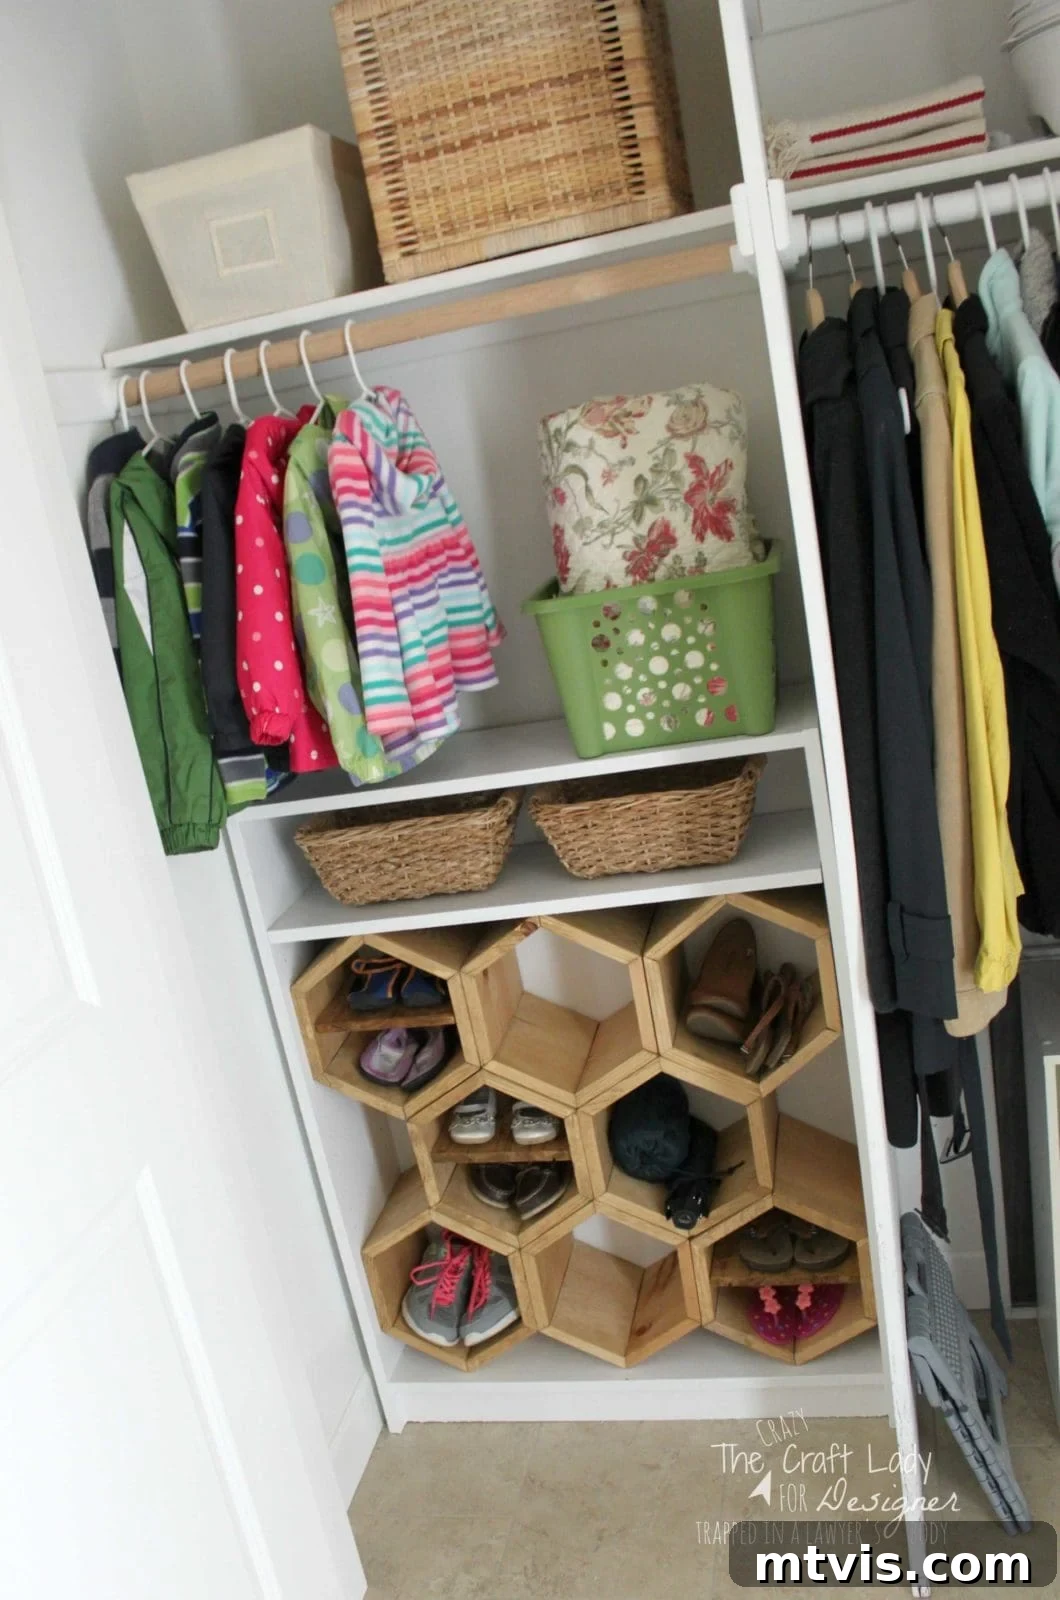
This DIY hexagon shoe rack is more than just a storage solution; it’s a testament to the power of creative problem-solving and repurposing. It proves that with a little imagination and effort, you can transform common household items into personalized, functional, and beautiful pieces that perfectly suit your home’s needs and style. Say goodbye to entryway clutter and hello to streamlined organization with a touch of geometric flair!
More DIY Inspiration from The Crazy Craft Lady
If you enjoyed this tutorial and are looking for more unique craft and DIY decor inspiration, I invite you to explore some of my other popular projects:
- Playroom in a Closet: Never again will I feel bad about telling my twins to “go play in the closet”! See how I transformed an odd-shaped storage closet into a whimsical and functional play space for the kids.
- Rental-Friendly Plank Wall: Just because you rent, doesn’t mean you have to miss out on popular decor trends! Discover my innovative and affordable $8 rental-friendly plank wall solution that adds character without damaging walls.
A huge shout-out and heartfelt thanks to Tasha for inviting me to share this project and spend time with all of you today. I’ll be back in a few months with another guest post, so stay tuned for more DIY adventures! In the meantime, feel free to follow along with all my creative endeavors on my blog, The Crazy Craft Lady, for daily doses of inspiration, tips, and family fun.
Happy crafting, everyone!