
Discover the Modern Plank Wall: A Contemporary DIY Alternative to Traditional Shiplap
Modern and contemporary aesthetics are all about clean lines, sophisticated textures, and a fresh approach to classic designs. While traditional shiplap has long been a beloved feature in farmhouse and rustic interiors, its charm can sometimes feel out of place in a more updated home. But what if you crave the architectural interest and dimension that plank walls offer, without the rustic vibe? You’re in luck! This comprehensive guide will show you how to create your very own modern DIY plank wall, perfectly suited for today’s contemporary tastes. With an easy, step-by-step tutorial, you’ll transform your space into a stylish focal point.
I’m incredibly excited to share the dramatic transformation we’ve achieved in our foyer. If you’ve been following our journey on Instagram, you might have caught glimpses of the progress. For those new to our latest home improvement saga, allow me to provide a quick recap of how we reimagined this crucial entryway.
This post is proudly sponsored by BEHR Paint Company. Additionally, this content contains affiliate links for your convenience. Please click here to review our full disclosure policy.
From Stenciled Walls to Modern Sophistication
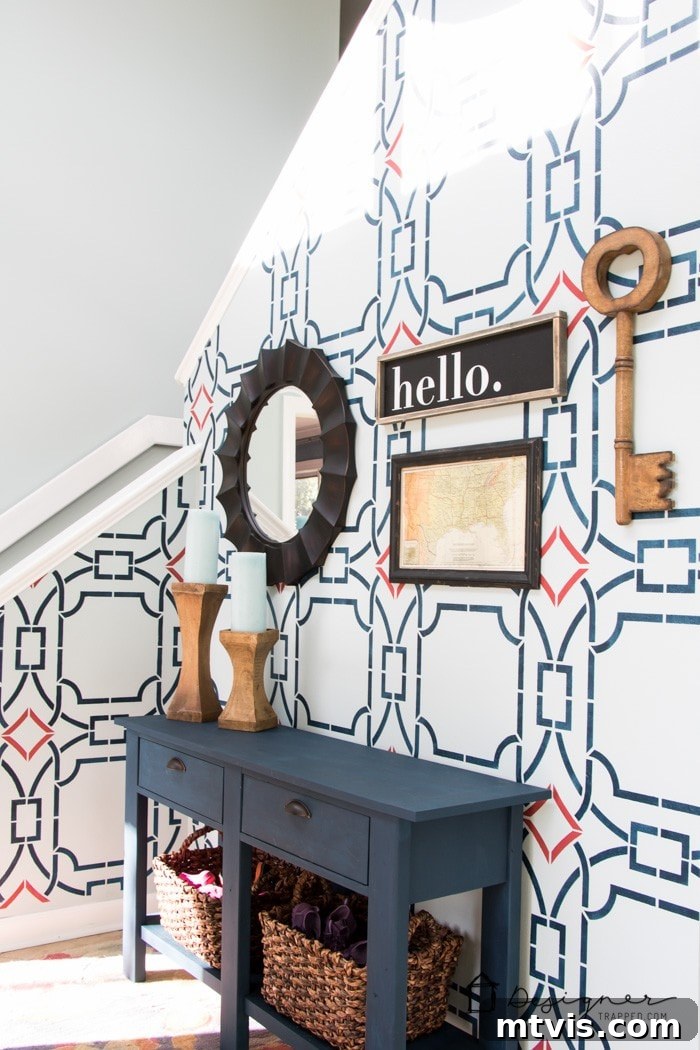
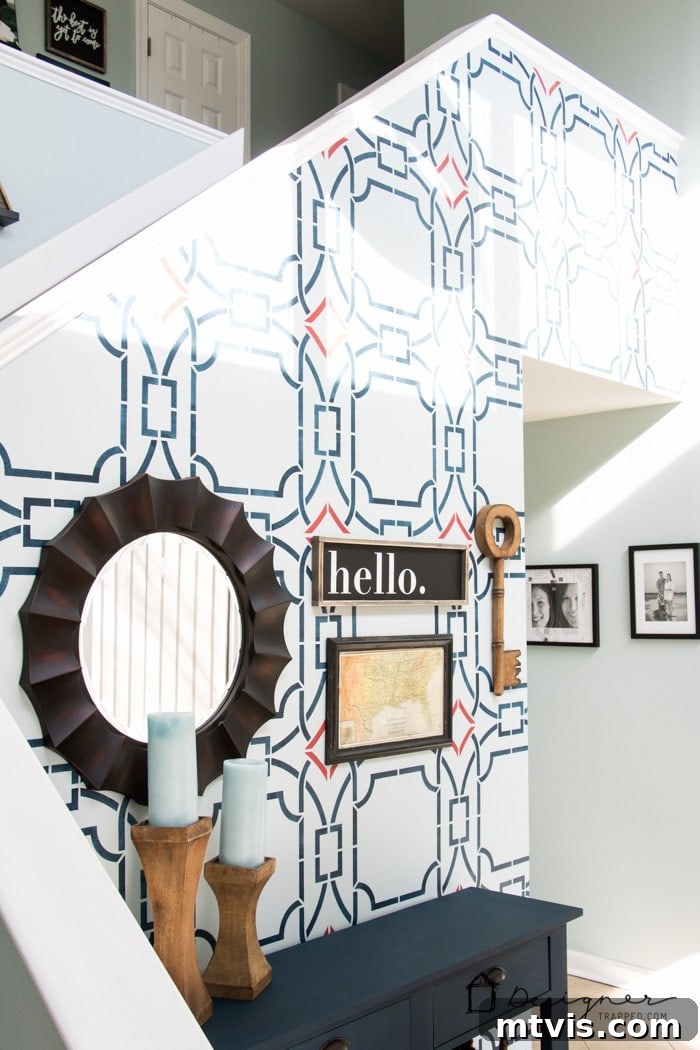
For several years, our foyer showcased a distinctive stenciled wall, a project we once enthusiastically tackled. While I initially adored its bold pattern and unique character, its appeal gradually faded. My husband, Joe, was never truly a fan, and by last Christmas, I found myself struggling to decorate around its prominent design. It felt limiting, and honestly, a bit tiresome. The combination of Joe’s long-standing dislike and my growing boredom signaled that it was time for a significant change. The question then became: what fresh look would redefine our foyer?
 |
 |
The perfect opportunity arose when BEHR Paint Company invited me to participate in their exciting BEHRBox challenge. This initiative focuses on highlighting BEHR’s 2019 Color Trends, all conveniently available at The Home Depot®. A key component of each palette is BEHR’s 2019 Color of the Year, Blueprint S470-5 – a color I instantly fell for the moment it was announced. Along with three other talented bloggers, I joined the BEHRBox challenge, each of us assigned a unique BEHR 2019 Color Trends palette.
Embracing the Monochromatic Palette
My assigned palette was Monochromatic, and it felt like destiny! This palette is simply gorgeous and perfectly aligned with my personal design preferences. The harmonious blend of blues and grays offered a sophisticated foundation for our foyer’s transformation.
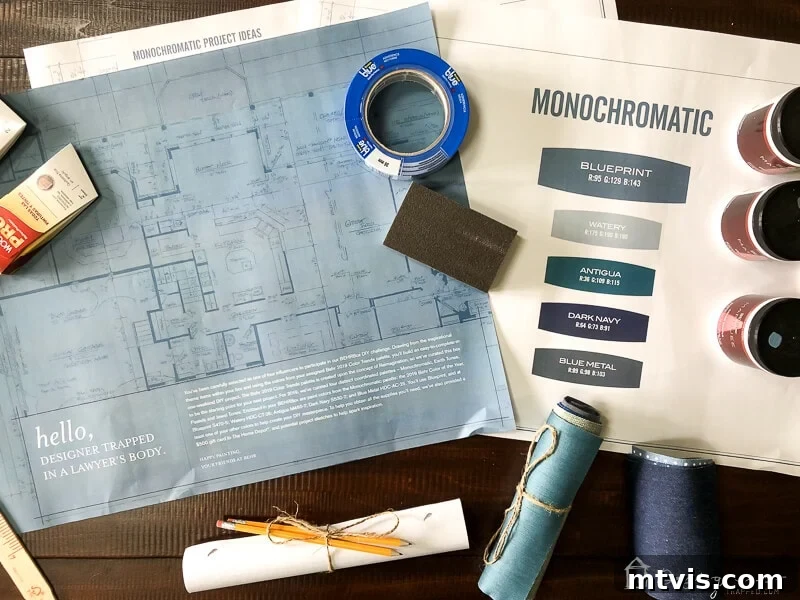
The core of the BEHRBox challenge was to complete a DIY project within a single weekend, utilizing our assigned color palette. For me, this was a match made in heaven. The Watery HDC-CT-26 shade in the Monochromatic palette was almost identical to the existing base color in our foyer, and our front door already mirrored the deep hue of Antigua M460-7. After applying a few paint samples directly onto our foyer wall, the vision became crystal clear.
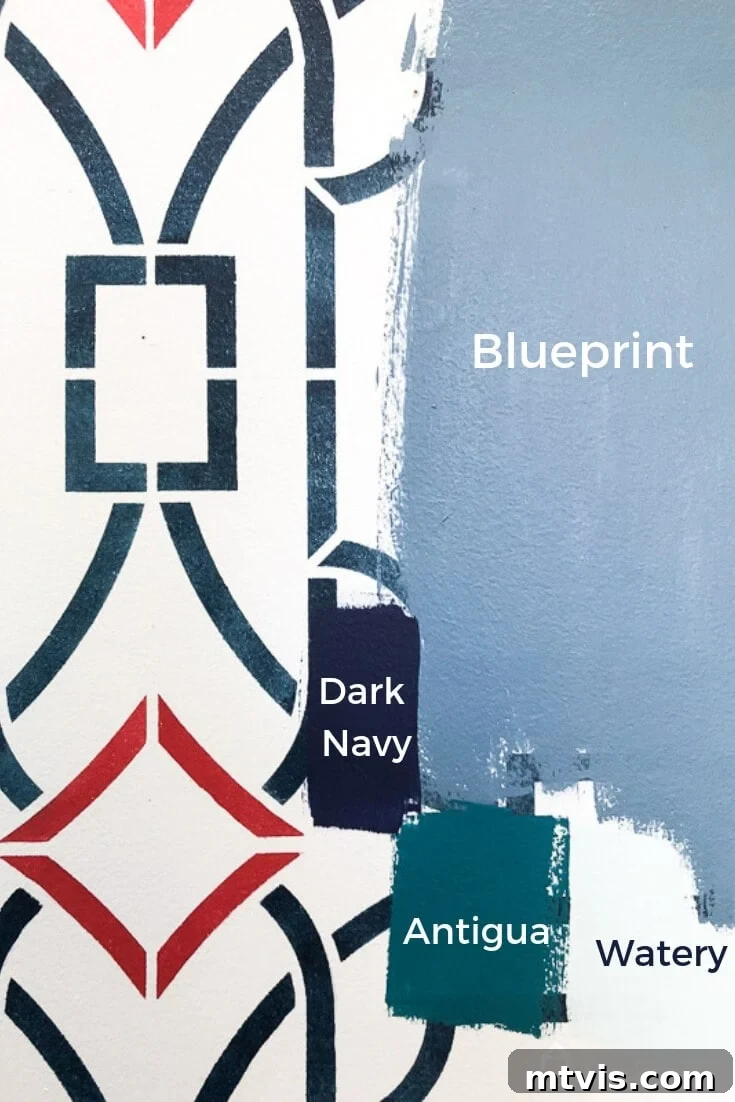
I envisioned a modern interpretation of the popular plank or shiplap wall. While the rustic charm of traditional shiplap is undeniable, it doesn’t quite align with our home’s eclectic and contemporary style. Our space is about a thoughtful blend of modern design and unique pieces, not a farmhouse aesthetic. However, I deeply appreciate the architectural dimension and visual interest that plank walls introduce.
We’ve previously created a captivating herringbone plank wall in our kitchen using salvaged fence wood, and we absolutely adore it. For the foyer, however, we sought something a bit more refined and understated. This led us to develop a concept that truly modernized the traditional plank wall. The result? We are absolutely thrilled with how it turned out. Now, let’s delve into the detailed tutorial, and then I’ll share the exciting reveal with plenty of inspiring photos!
Just a friendly reminder: this post contains some affiliate links for your convenience. You can read our full disclosure policy here.
Modern DIY Plank Wall Tutorial: A Step-by-Step Guide
Ready to transform your walls? Follow these simple steps to achieve a stunning modern plank wall.
Materials and Tools Needed for Your Project:
- 1/4” Plywood Subfloor: This thin, flexible plywood is ideal for creating planks. We chose 1/4″ thickness for a subtle profile that adds texture without overwhelming the space, and it’s easier to work with than thicker wood. You’ll need enough to rip into 5-inch strips.
- Circular Saw and Guide: Essential for straight, consistent cuts. We highly recommend a circular saw guide (this one is a lifesaver!) for achieving perfectly uniform strips. If you don’t have one, consider having your plywood cut at the hardware store.
- Scrap Plywood Strips (5” wide): You’ll need one or two of these to use as consistent spacers between your installed planks, ensuring even gaps.
- Long Level: Crucial for ensuring your planks are installed perfectly straight, especially the first one.
- Finish Nail Gun: An absolute game-changer for quick and secure installation. This is the model we own and wholeheartedly recommend for its reliability and ease of use. Remember to use appropriate safety gear.
- Caulk: For sealing seams where needed, creating a clean, professional finish.
- Spackle and Putty Knife: To fill nail holes and imperfections, preparing the surface for a flawless paint job.
- Sandpaper: Various grits (e.g., 120-220 grit) for smoothing patched areas and plank edges.
- Paint and Painting Supplies:
- BEHR MARQUEE® Interior Paint: We used this premium paint for its exceptional coverage and durability.
- Blueprint S470-5: Our chosen color for the entire plank wall, providing a striking, modern look.
- Watery HDC-CT-26: Used for accent pieces, like our old mirror, adding depth to the monochromatic palette.
- Rub N’ Buff in Antique Gold: Applied to the mirror to complement the Watery shade and introduce a touch of warmth. Find it here.
Installation Steps: Achieve a Flawless Modern Plank Wall
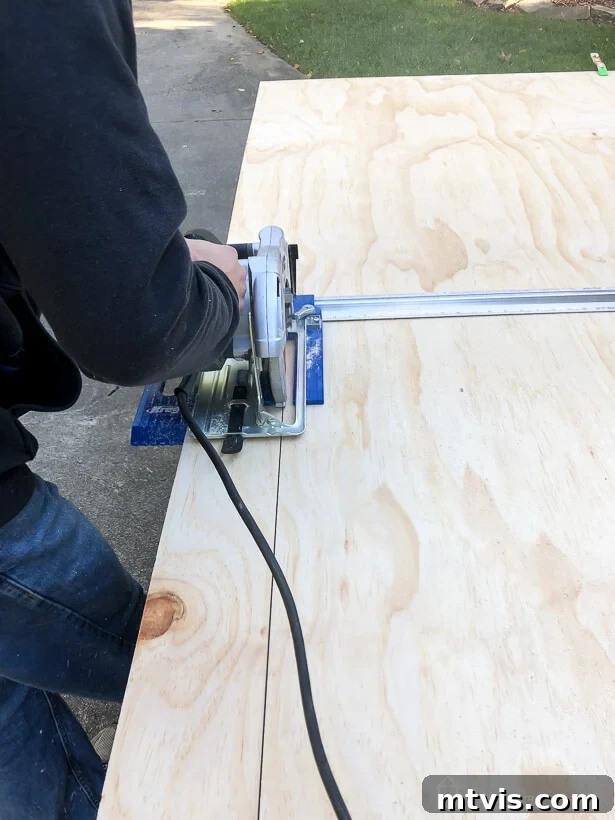
1) Prepare Your Plywood Planks: Begin by ripping your 1/4” plywood subfloor into uniform 5-inch wide planks. While a table saw can be used, we found our circular saw paired with our trusty circular saw guide made this process incredibly quick and easy. The thin, flexible nature of the plywood can make it challenging to manage on a table saw, but the guide ensures perfectly straight cuts every time with a circular saw. Measure carefully and make sure all strips are consistent for a cohesive look.
2) Strategize Your Plank Placement: Before you attach anything, carefully plan where your first plank will go. This involves a bit of math to ensure a balanced appearance. Consider the overall dimensions of your wall and any architectural features. For our foyer, we strategically decided to start with a full piece directly above the hallway opening, avoiding any awkward partial cuts in such a visible area. Careful planning here will prevent uneven gaps or thin strips at the top or bottom of your wall, which can detract from the modern aesthetic.
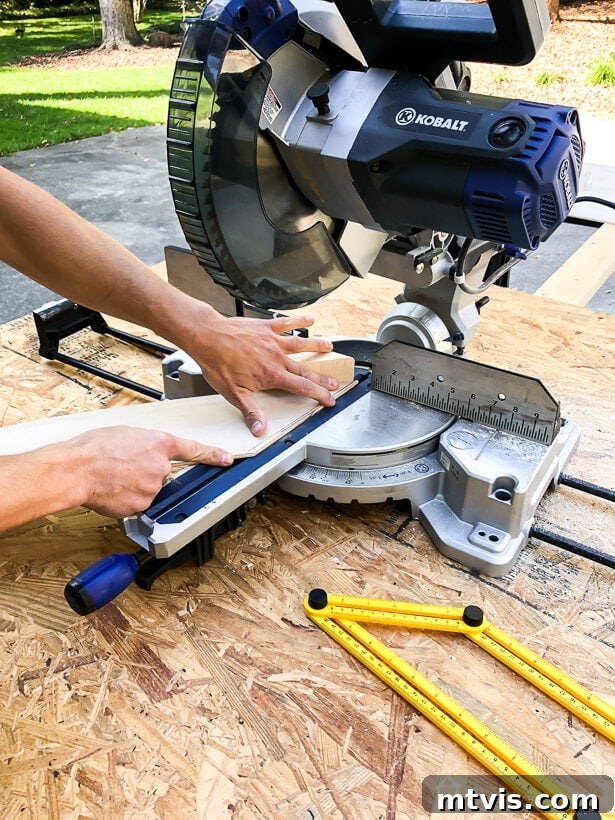
3) Cut Planks to Exact Length: As you progress, you’ll need to cut each plank to the specific length required for its position on the wall. Measure precisely for each piece. Our compound miter saw was invaluable for these crosscuts, allowing us to achieve clean, accurate edges. We encountered a few tricky angles around our banister, which required some careful measurement and calculation – a bit of a challenge, but entirely manageable! Don’t overthink angles; take your time and double-check your cuts.
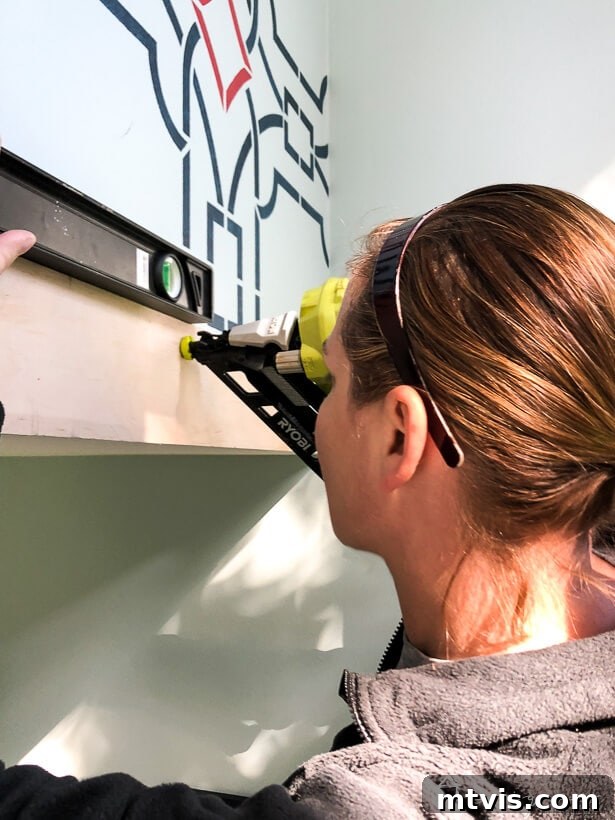
4) Install Your First Planks with Precision: The key to a professional-looking plank wall is ensuring your first plank is perfectly level. Use your long level to mark a straight line where your first plank will sit. Once confirmed, use your finish nailer to securely attach it to the wall. For a consistent, modern look, space your planks exactly 5 inches apart. We achieved this effortlessly by using two scrap pieces of our 5-inch planks as spacers. Because our initial plank was perfectly level, and we maintained consistent spacing with our spacers, we didn’t need to continually check the level for subsequent planks. If you opt not to use spacers, however, it’s imperative to check the level of each and every plank before nailing it into place.
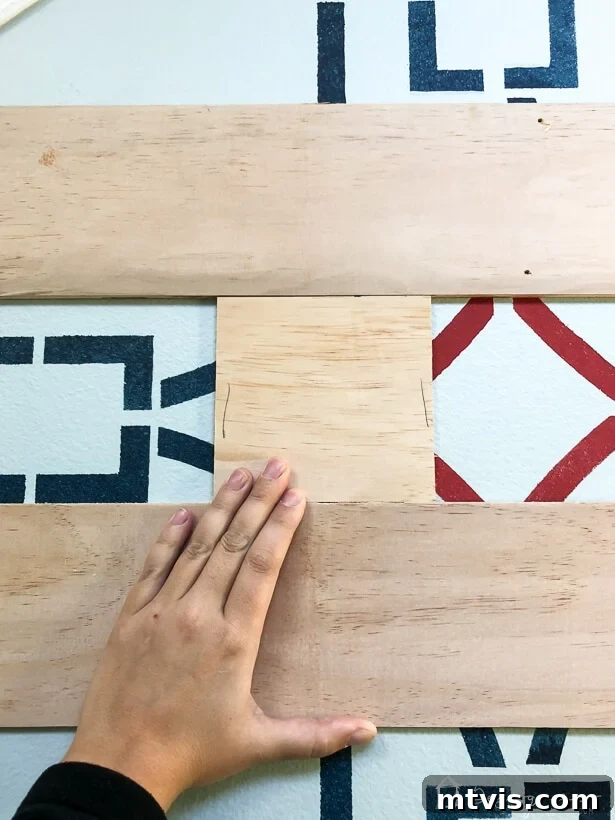
5) Continue the Installation Process: Systematically work your way across the wall, cutting each plank to length and installing it using your finish nailer and spacers. Maintain consistent measurements and spacing until the entire wall section is covered. This rhythmic process makes for efficient progress.
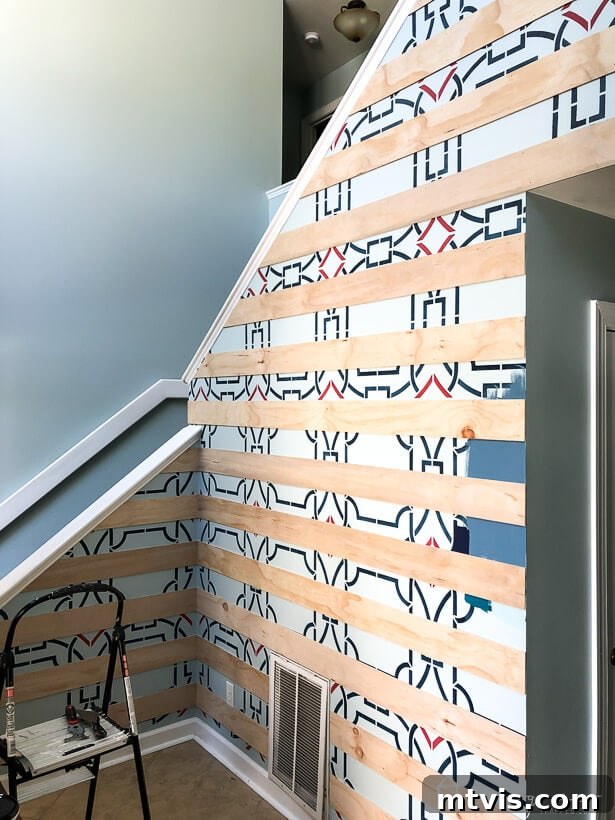
6) Patch and Sand for a Seamless Finish: Once all your planks are securely in place, it’s time for the crucial finishing touches. Use spackle and a putty knife to carefully fill all nail holes. Allow the spackle to dry completely, then gently sand the patched areas until they are smooth and flush with the plank surface. This step is vital for a professional, unblemished appearance, especially before painting.
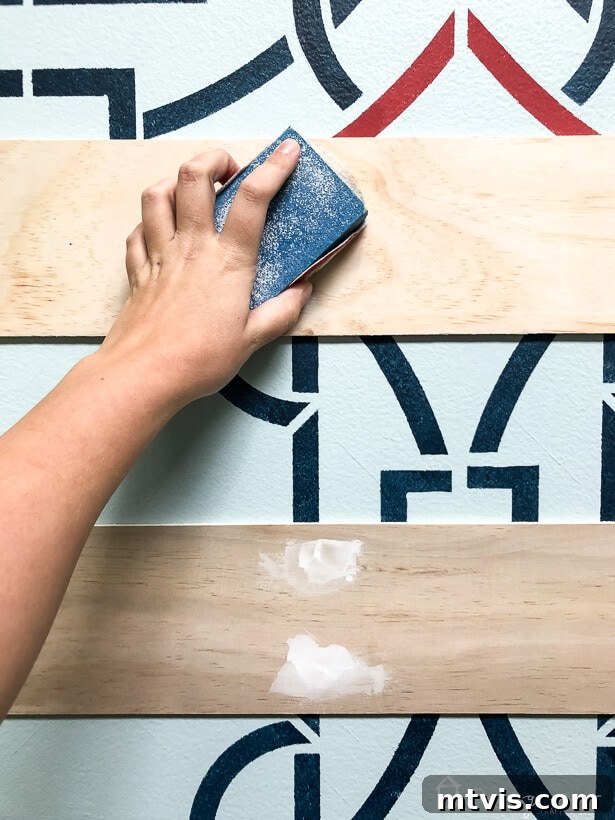
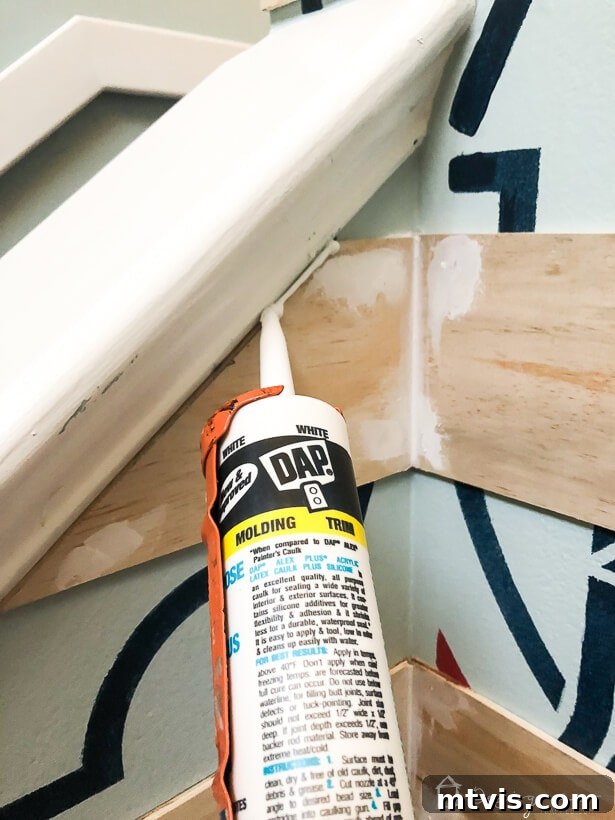
7) Strategic Caulking for Clean Edges: Now, apply caulk to any seams that require it, such as along corners or where planks meet trim. A key decision for our modern plank wall was *not* to caulk along the top and bottom edges of each individual plank. This was because our planks fit snugly against the wall, and we wanted to preserve the option of easier removal in the future if our tastes changed again (removing heavily caulked planks can be a nightmare!). Judicious caulking creates crisp lines without unnecessary over-application.
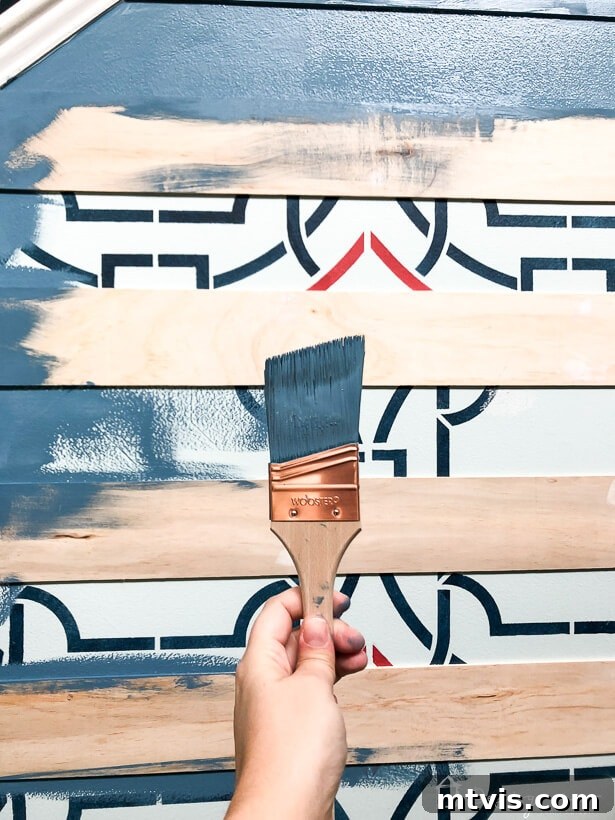
8) Paint Your Masterpiece: With all the preparation complete, your wall is ready for paint! We applied BEHR MARQUEE®Interior Paint in Blueprint S470-5 with a flat finish across the entire plank wall. BEHR MARQUEE® paint is renowned for its exceptional coverage, often requiring fewer coats, which saves time and effort. The deep, sophisticated blue of Blueprint instantly transformed the space, establishing the desired modern and dramatic effect.
The Grand Reveal: Our Foyer Reimagined
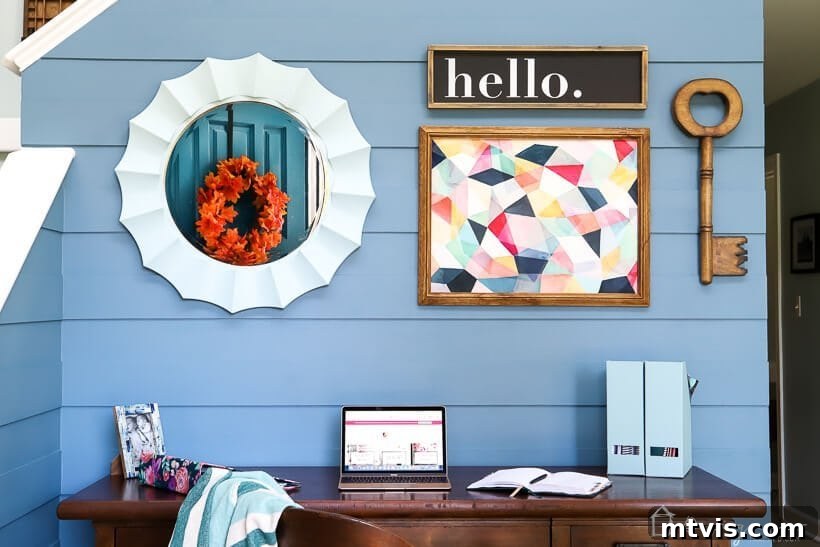
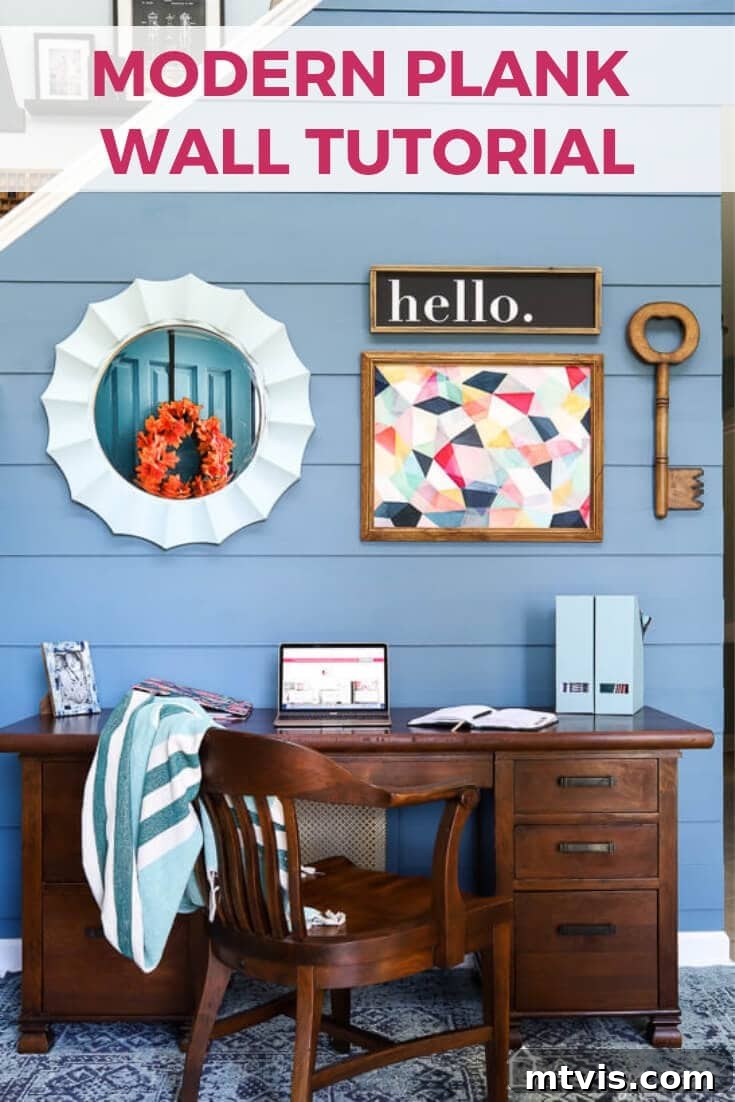
And that’s it! This truly is an easy DIY project that you can confidently complete over a single weekend, offering immense impact for relatively little effort. Now, prepare for the grand reveal of our transformed foyer. You’ll notice we’ve embraced a non-traditional yet highly functional use for this area. Instead of a decorative console table, we’ve integrated a practical desk space, perfect for managing bills and daily tasks. This setup works perfectly for us, making our foyer not just an entryway, but a truly functional extension of our home.
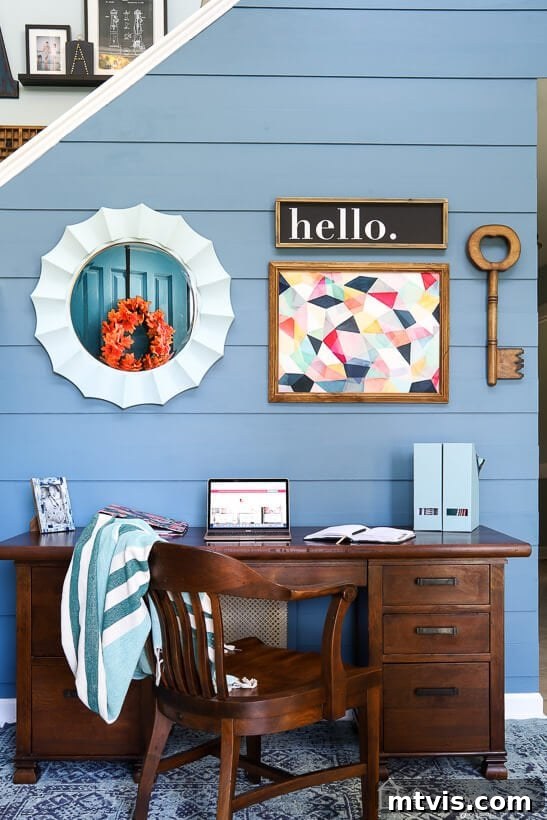
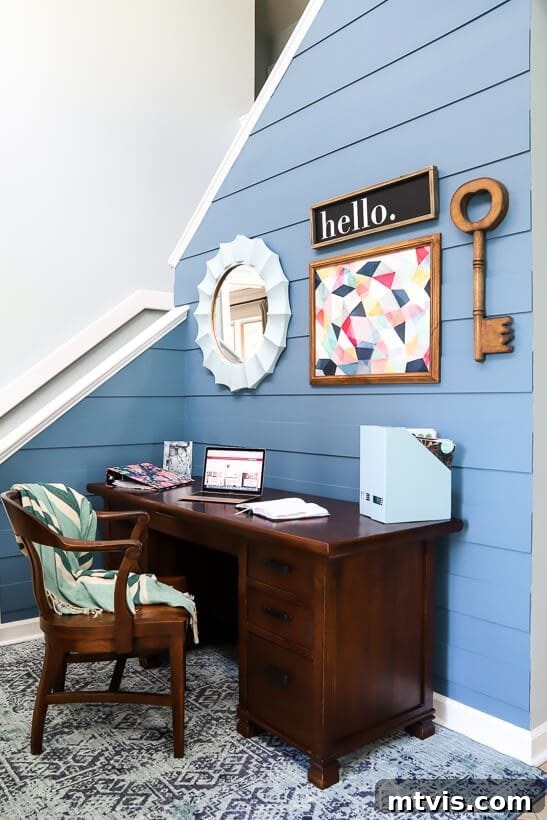
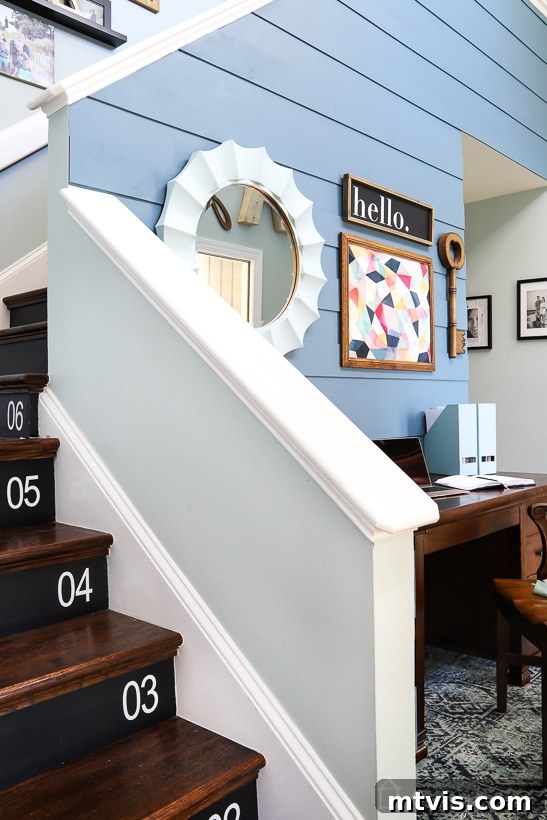
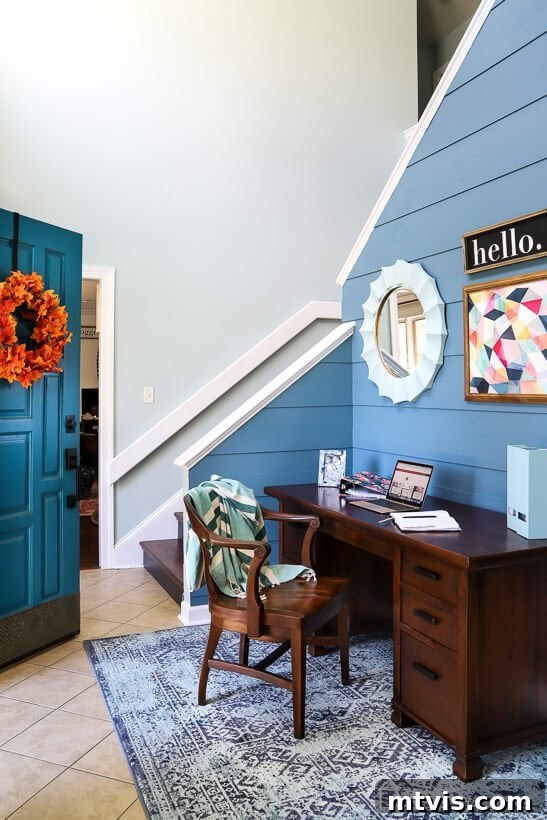
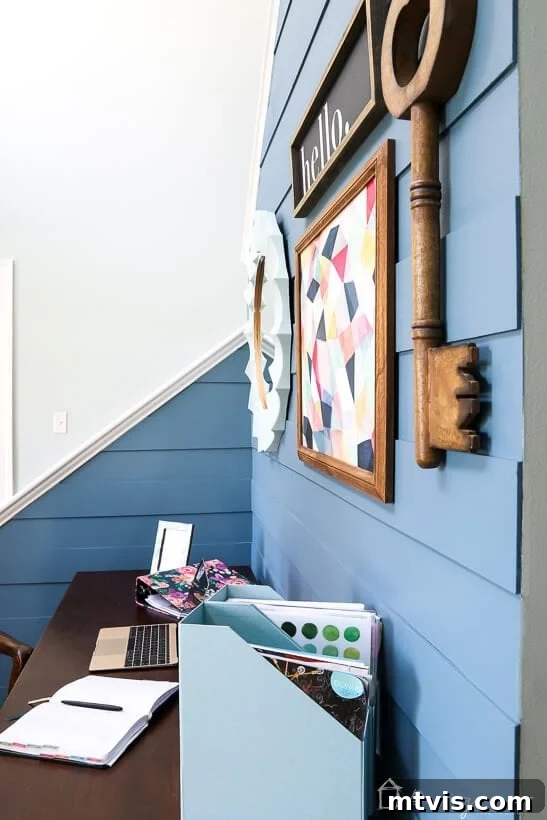
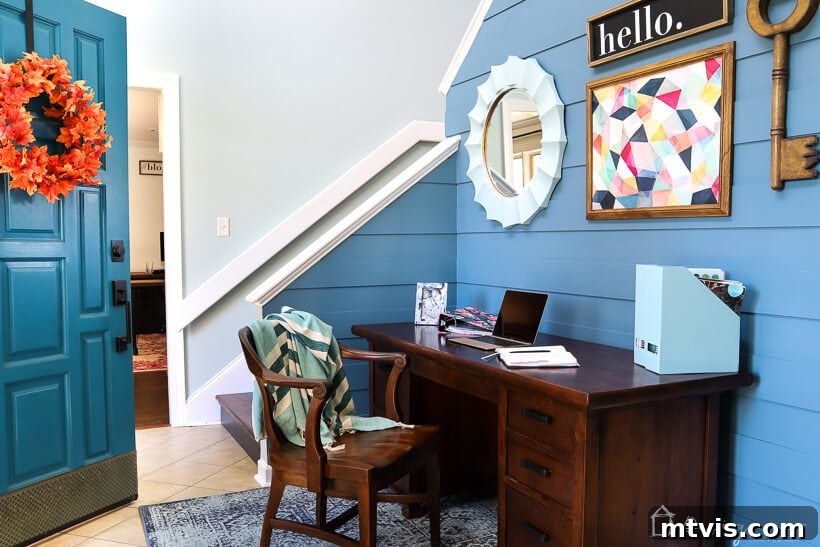
Joe and I are absolutely enamored with the outcome of this project. The modern plank wall, rendered in a sophisticated monochromatic palette, delivers a dramatic statement with just the right amount of texture and visual interest. It perfectly complements our home’s style and has elevated the entire entryway. What are your thoughts on this contemporary twist on a classic wall treatment?
