
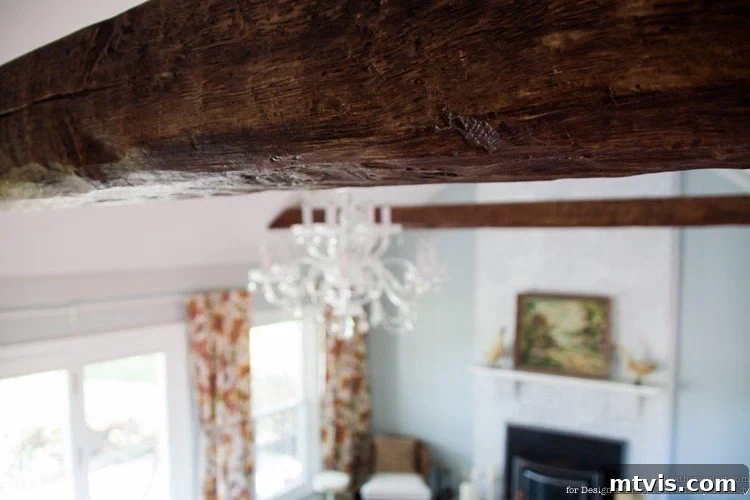
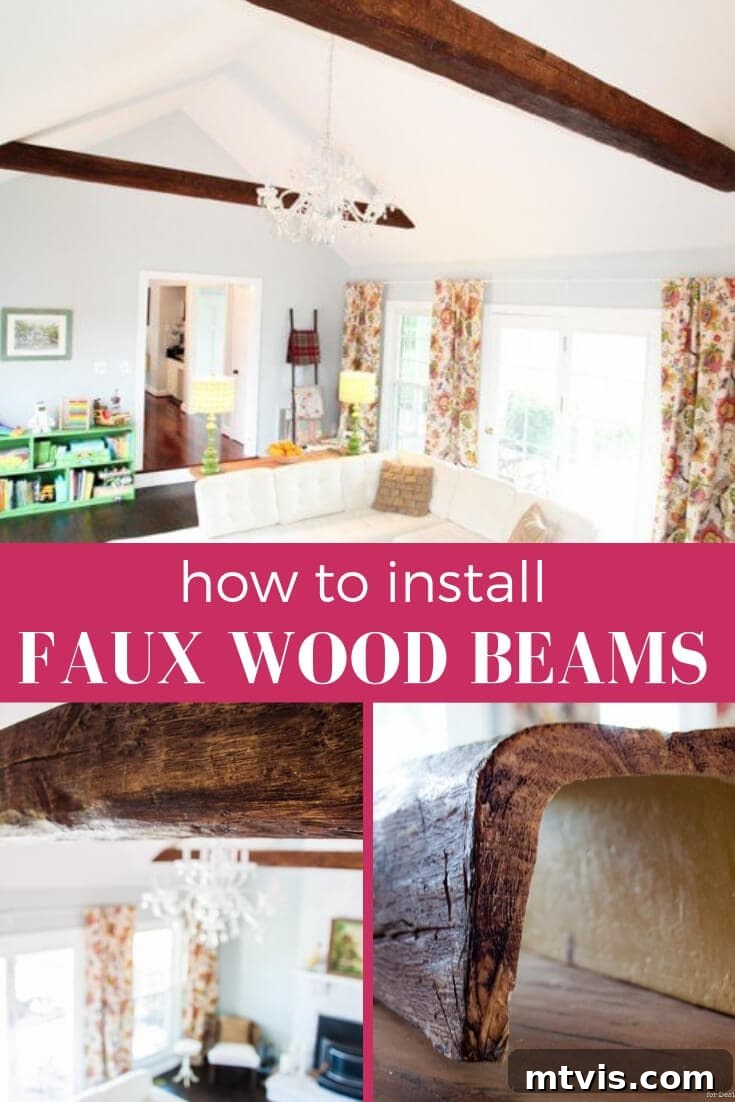
There’s an undeniable charm that architectural beams bring to a living space. Whether evoking the grandeur of an old-world farmhouse or the cozy comfort of a rustic lodge, beams immediately add character, warmth, and a sense of permanence to any room. I’m Heather, from The Heathered Nest, and I’ve always been captivated by the visual impact of beautiful ceiling beams. Today, I’m thrilled to guide you through the process of how to install faux wood beams yourself, turning that design dream into an achievable DIY reality.

For many, beams symbolize a welcoming retreat, inviting you to “come on in and snuggle by the fire.” They suggest a space where you can “prop your feet up and relax in our rustic haven.” The aesthetic appeal is simply captivating.

However, the dream of authentic solid wood beams often comes with a hefty price tag. The cost of materials, not to mention the specialized labor and structural considerations due to their immense weight, can quickly make them an impractical luxury for most homeowners. This realization, for a time, made my design dreams feel dashed. It seemed the rustic elegance of beams would remain just a fantasy.
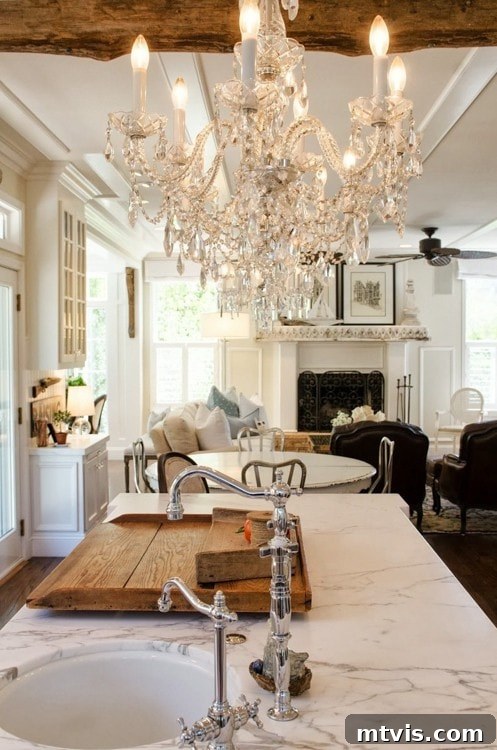
Why Choose Faux Wood Beams? The Smart Solution for Stunning Ceilings
That’s when I discovered the game-changing secret: **faux wood beams!** This innovative solution allows you to achieve the coveted look of real timber at a fraction of the cost, often as little as one-fifth of the price. Beyond the significant savings, faux beams offer several compelling advantages:
- Incredible Lightweight Design: Unlike solid wood, faux beams are incredibly light, typically made from high-density foam. This dramatically simplifies installation, eliminating the need for complex structural reinforcements and heavy lifting equipment. Their lightness means you can often install them with just one helper.
- Realistic Appearance: Modern manufacturing techniques have perfected the art of faux wood, creating beams that are virtually indistinguishable from real wood. They feature authentic textures, grain patterns, and naturalistic finishes that fool even the most discerning eye.
- Versatility in Design: Faux beams come in various styles, colors, and sizes, allowing you to choose the perfect match for your home’s aesthetic – be it rustic farmhouse, modern industrial, or cozy cabin. They can be stained or painted to perfectly complement your decor.
- Easy Installation: As you’ll see in this guide, installing faux wood beams is a straightforward DIY project that most homeowners can tackle. Their lightweight nature and “U” shaped construction make them easy to mount over a simple support structure.
- Durability and Low Maintenance: Faux beams are resistant to pests, rot, and warping, problems often associated with real wood. They require minimal maintenance, ensuring your beautiful ceiling design lasts for years to come.
Seriously, it’s a game-changer! Hallelujah, happy “beam” days are here again! Ready to transform your home without breaking the bank? My partner here at The Heathered Nest is going to walk you through every step of the installation process. This post contains some affiliate links. Click here to read my full disclosure policy.
Don’t Be Intimidated! This Project Is More Manageable Than You Think.
While the list of materials and steps might seem extensive, rest assured, this is a very achievable DIY project. With careful planning and a little patience, you’ll be admiring your stunning new faux wood beams in no time!
Materials Needed to Install Faux Wood Beams
Before you begin, gather all the necessary tools and materials. Having everything on hand will ensure a smooth and efficient installation process.
- Faux Beam(s): Carefully measure your space to determine the length and number of beams required. Consider the height of your ceiling when choosing beam dimensions – taller ceilings generally benefit from larger, more substantial beams. Ours were sourced from Home Depot.
- Joist Hangers: Essential for securely attaching the support structure to your ceiling. Find them easily online or at hardware stores.
- Two Sets of Hands: A reliable helper is crucial for lifting and positioning the beams, especially for longer sections.
- 2×4 Lumber: These will form the inner support structure that your faux beams will slide over.
- Hand Saw (or Circular Saw/Miter Saw): For cutting both the 2x4s and the faux beams to precise lengths and angles.
- Level: A large level (4-6 feet) is highly recommended for ensuring your beams are perfectly straight.
- Laser Level or Line Level with String: Absolutely critical for achieving perfectly level and aligned joist hangers and support structures across longer spans.
- Angle Finder: Invaluable for accurately measuring the angles of vaulted or sloped ceilings, ensuring precise cuts for your beams.
- Black Drywall Screws: These will be used to secure the faux beams to the 2×4 support structure. The black color helps them blend in more discreetly.
- Ladder or Two: Depending on your ceiling height and the length of your beams, one or two sturdy ladders will be necessary.
- Telescoping Work Poles (Optional, but Highly Recommended): These adjustable poles can hold the 2×4 support structure or even the faux beams in place while you work, freeing up your hands and making the job much easier. They are incredibly handy for ceiling projects.
- Stud Finder: To locate ceiling joists for secure attachment of joist hangers.
- Wood Putty (matching beam color): For concealing screw holes after installation.
- Safety Glasses and Gloves: Always prioritize safety when working with tools and overhead projects.
How to Install Faux Wood Beams: A Step-by-Step Guide
1. Strategize Your Beam Placement and Dimensions
The first step in any successful DIY project is meticulous planning. Deciding where and how many faux wood beams to install might seem straightforward, but it can be the most challenging part due to the multitude of design options. Consider the overall size and shape of your room, the height of your ceilings, and any existing focal points like chandeliers.
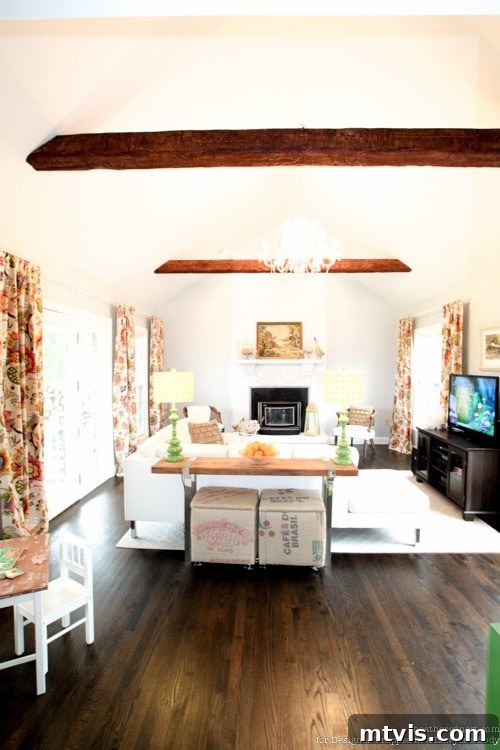
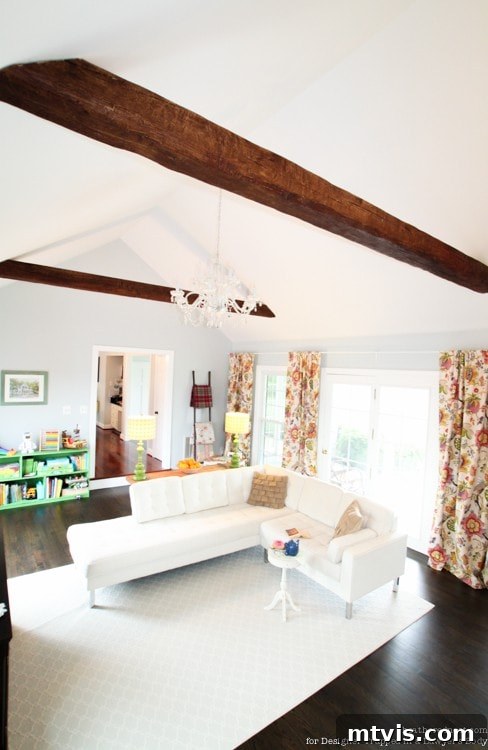
For instance, in our family room, which boasts beautiful high cathedral ceilings, we opted for two beams. This design choice was made to add rustic flair and significant architectural detail without overshadowing our existing chandelier, which we wanted to remain a prominent focal point. Remember, the higher your ceiling, the more substantial (taller or wider) your beams can be to maintain appropriate proportions and visual impact.
Here’s an image of our family room from the real estate listing before we bought our house. As you can see, it had great potential with its vaulted ceilings but lacked the architectural elements to truly make them pop.

2. Secure the Joist Hangers for Your Support Structure
Now, let’s get into the actual installation, starting with the joist hangers. You might think joist hangers are exclusively for structural joists, and you’d be right! However, they also serve as incredibly useful anchors for our faux wood beam support structure. Since our installation was in a vaulted space, we utilized joist hangers that are adjustable to match the angle of our ceiling.
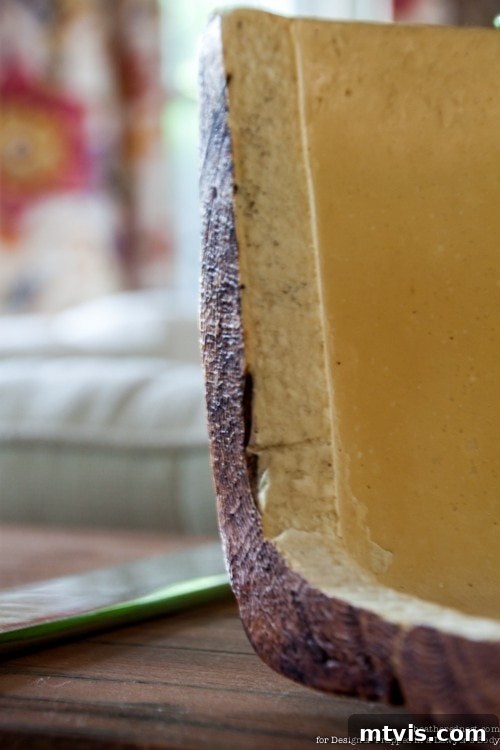
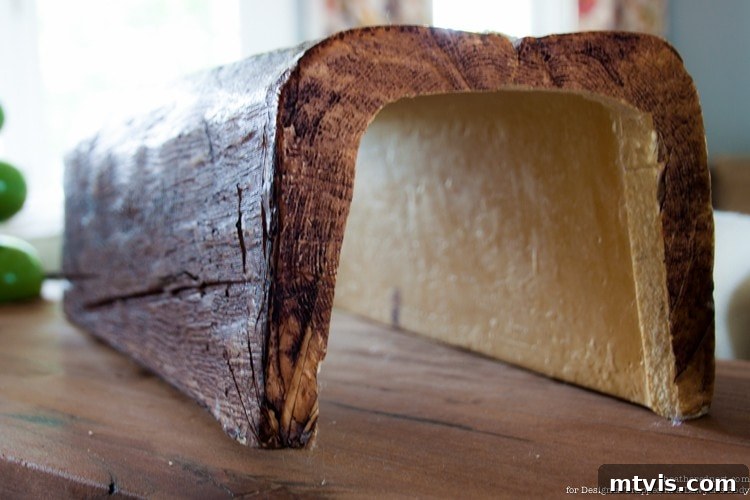
Ideally, you’ll locate a ceiling stud where you want to place each hanger. Use a reliable stud finder to pinpoint these locations. If a stud isn’t available precisely where you need it, don’t fret! You can use appropriate drywall anchors, which are perfectly sufficient given the incredibly light weight of faux beams. These beams are made of high-density foam, as shown in the picture below, making them exceptionally easy to support.
The absolute key here is precision. Ensure all four joist hangers (two per beam, one at each end) are installed at the exact same height and are perfectly level with each other. A laser level is your best friend for this task, projecting a precise line across your ceiling. If you don’t have one, a string stretched taut with a line level will also work effectively. This step is crucial for ensuring your finished beams appear straight and professional.
3. Install the “Sistered” 2×4 Support Structure
With the joist hangers securely in place, the next step is to install your 2×4 support structure. You’ll need to “sister” two 2x4s together. This means screwing two pieces of 2×4 lumber together lengthwise, creating a stronger, more rigid support. Always aim for the longest possible 2x4s to span the entire length of your desired beam. For example, if you need a 16-foot span, use a single 16-foot sistered 2×4 assembly, rather than trying to join two 8-foot sections mid-span, which could compromise stability.
Once you have sistered your 2x4s, cut them to the precise length required. For vaulted or cathedral ceilings, you’ll need to cut an angle on the ends of these 2x4s to match the ceiling’s slope. An angle finder tool is indispensable here for getting an accurate measurement of your ceiling’s pitch. After cutting, simply set these prepared 2×4 assemblies into the joist hangers and screw them securely in place. At this point, you’re roughly 75% done with the structural work – congratulations!
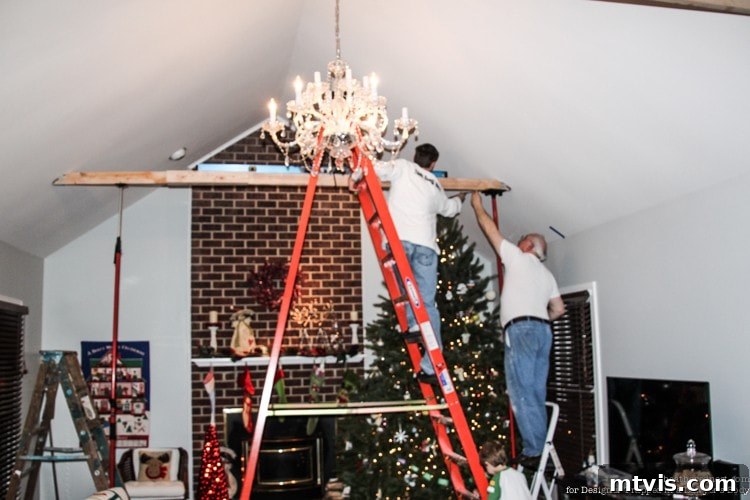
Though the picture might not be the clearest, you can just about make out the “sistered” 2x4s in this image, along with their ends resting securely in the joist hangers. Notice those red telescoping work poles supporting the 2x4s on either end? Those were incredibly helpful, almost “clutch,” in successfully completing this part of the project.
4. Precisely Cut Your Faux Beams to Length and Angle
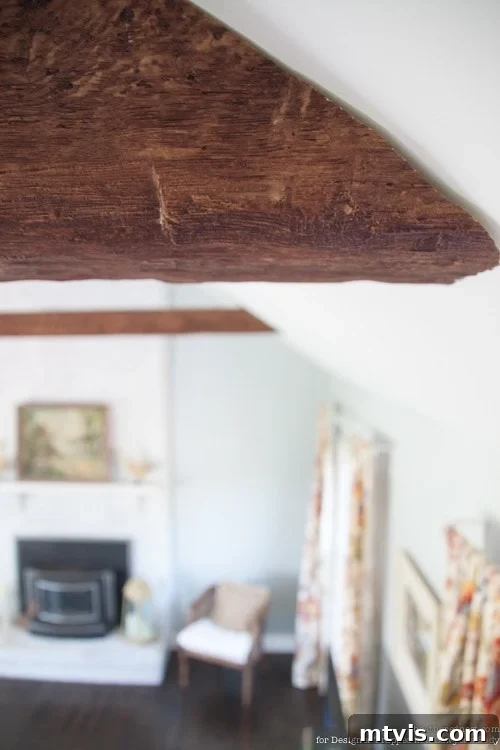
Now it’s time to prepare the star of the show: your faux beams. For us, this was arguably the most meticulous and patience-testing part of the process, particularly when dealing with angled cuts for our vaulted ceiling. Getting the angle perfectly right requires careful attention to detail.
Again, grab your trusty angle finder to precisely measure the angle of your ceiling. The golden rule of DIY applies here: measure twice, cut once! While the measuring and angling can be tricky, the actual cutting of the faux beams themselves is surprisingly easy. Since they are made of high-density foam, you could almost slice through them with a butter knife (though we strongly recommend using a hand saw for clean, straight cuts!). It took a bit of trial and error to achieve the ideal angle that fit snugly against the ceiling, but persistence pays off. Aim for a tight, professional-looking seam.
5. Mount Your Faux Wood Beams
This is the moment of truth – installing your beautifully prepared faux beams! Believe it or not, with the support structure already in place, this step is often the easiest. This is where your helper, your second set of hands, truly shines. Remember, faux beams are typically shaped like a “U” or an open box, designed to slide over your 2×4 support structure. Here’s a look at an uninstalled beam to illustrate its open top:
With your helper, carefully lift the faux beam and position it to slide over the “sistered” 2×4 joist you installed earlier. Depending on the internal width of your faux beam and the thickness of your 2x4s, it might be a perfectly snug fit from the start. If there’s any gap or looseness, you’ll need to create some 2×4 spacers from your scrap wood. Cut these spacers to various sizes until they create a tight fit within the faux beam once screwed to the 2×4 joist. Install these spacers every few feet along the length of the 2×4. Then, lift the faux beam back up and test the fit. Repeat this process with different sized spacers until the beam sits snugly and securely.
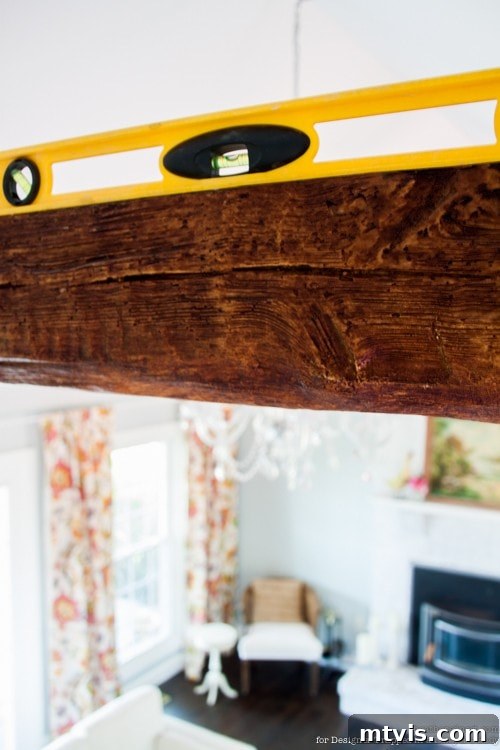
Once the beam is in place, use your long level to ensure it is perfectly straight and level. Even if your underlying 2×4 joists are slightly off (which shouldn’t happen if you followed Step 2 carefully!), you can use the spacers and careful positioning to get the faux beam perfectly level. This attention to detail will ensure a professional finish.
6. Finish and Conceal for a Flawless Look
With the beam perfectly positioned and level, it’s time to secure it. Screw through the faux beam directly into the 2×4 support structure. We used black drywall screws, which blend in fairly well. Once the beam is firmly attached, carefully fill the screw holes with wood putty. It’s essential to use wood putty that closely matches the color and texture of your faux beam for an invisible finish. Allow the putty to dry completely, then gently sand if necessary. And there you have it – beautiful, realistic faux wood beams!
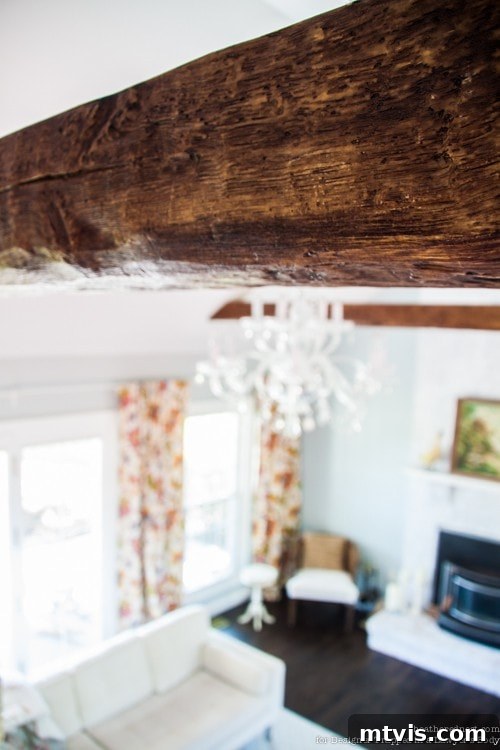
The best part? No one will be able to tell the difference between your expertly installed faux beams and expensive solid wood ones. Enjoy the architectural elegance and warmth they bring to your home!
Tips for a Flawless Faux Beam Installation
- Measure Thrice, Cut Once: This cannot be stressed enough, especially when dealing with angles. Precision in measurement prevents costly mistakes and ensures a seamless fit.
- Don’t Rush the Angles: If you have vaulted ceilings, take your time with the angle finder and test your cuts on scrap pieces first if you’re unsure. A perfect angle makes a huge difference.
- Utilize Telescoping Poles: These work poles are a small investment that can save you a lot of frustration, acting as extra hands to hold the weight of the 2x4s or beams during installation.
- Safety First: Always wear safety glasses when cutting and ensure your ladders are stable and rated for the task.
- Consider Finish Options: Some faux beams come pre-finished, while others can be stained or painted to your desired look. If you plan to customize the finish, do a test on a small, inconspicuous area first.
So come on! Faux-get about the high costs and complex installations of real wood. Give these fantastic faux wood beams a try. We “wood” love to see how they turn out if you do! Share your DIY faux beam transformations with us!
Connect with The Heathered Nest
It’s been awesome sharing this project with you. Don’t be a stranger! I would love to connect with you on social media to share more DIY tips, home decor ideas, and inspiration. You can find me pretty much everywhere:
Facebook
|
Pinterest
|
Google+
| Twitter
|
Instagram
Now, be sure to stop by my blog, The Heathered Nest, and check out some of my most popular posts for more home transformation ideas. Just click on any of the images below to be taken to the full posts!
|
|
|
|