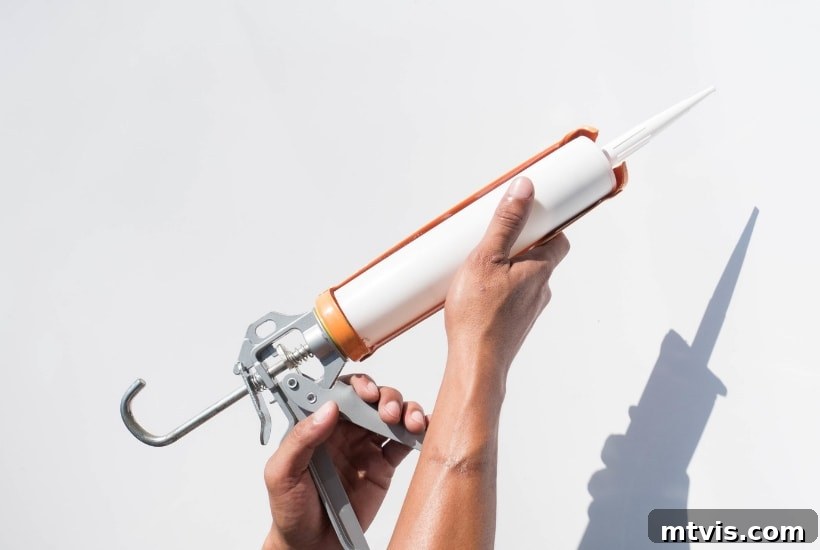
A Beginner’s Comprehensive Guide to Caulking Like a Pro
Learning how to caulk is one of those fundamental skills that every DIY enthusiast should master. It’s not just about aesthetics; proper caulking provides vital protection against moisture, drafts, and pests, significantly extending the life of your home surfaces and improving energy efficiency. The good news? It’s surprisingly easy to learn! This detailed, step-by-step guide is designed to empower beginners with all the knowledge and tips needed to achieve professional-looking results on any caulking project.
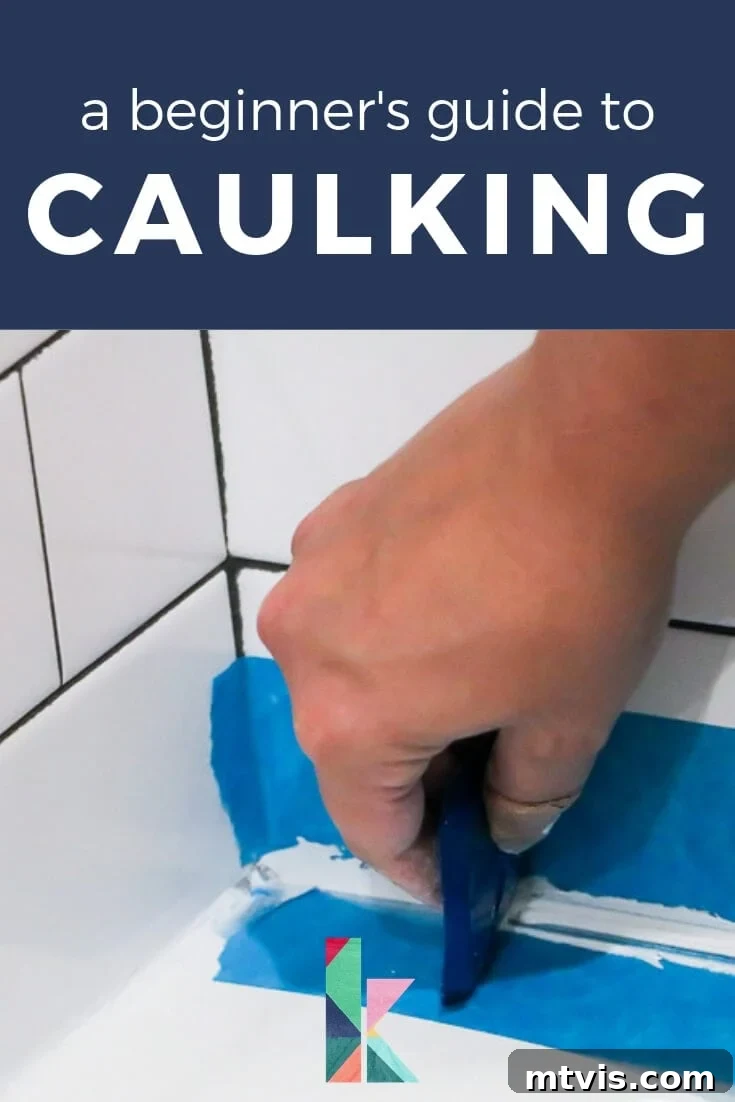
In the world of home improvement, caulk truly is a DIYer’s best friend. Whether you’re sealing gaps around windows to prevent drafts, tidying up the edges of freshly painted trim, or ensuring a waterproof seal around your bathtub, caulk can transform an imperfect joint into a flawless finish. As self-taught DIYers ourselves, we’ve relied on caulk countless times to achieve that polished look, often exclaiming, “No problem, I can caulk that!” It’s a skill that builds confidence and delivers tangible results, making your projects look professionally done without the professional price tag.
Before you dive in, understand that choosing the right type of caulk is as crucial as the application itself. With a vast array of options available at any home improvement store, knowing which caulk suits your specific needs will save you time, effort, and potential headaches down the line. This guide will walk you through everything, from selecting the perfect caulk to applying it with precision, ensuring your next DIY project shines.
Thank you to DAP Products for sponsoring this post. This post contains some affiliate links for your convenience. Click here to read my full disclosure policy.
Table of Contents
Why Caulking is an Essential DIY Skill
Caulking is far more than just a cosmetic touch-up; it’s a critical component of home maintenance and improvement that offers a multitude of benefits. For any DIYer, understanding the importance of proper sealing can save a lot of money and headaches in the long run.
Functionally, caulk acts as a protective barrier. It seals gaps and cracks where different building materials meet, such as between a wall and a window frame, or between a bathtub and tile surround. This seal prevents moisture from penetrating these vulnerable areas, which is crucial in bathrooms, kitchens, and around exterior openings. Without it, water can seep in, leading to costly issues like wood rot, mold and mildew growth, and even structural damage. By preventing water infiltration, caulk significantly extends the lifespan of your fixtures and finishes.
Beyond moisture protection, caulk also plays a vital role in improving your home’s energy efficiency. Gaps around windows, doors, and foundations can allow conditioned air to escape and unconditioned air to enter, driving up your heating and cooling costs. A well-applied bead of caulk creates an airtight seal, stopping these drafts and helping to maintain a consistent indoor temperature. This not only makes your home more comfortable but also contributes to lower utility bills.
From an aesthetic perspective, caulk provides a clean, finished look to almost any project. It seamlessly blends imperfections, filling in minor gaps and cracks that might otherwise detract from your hard work. Think about the crisp line where a baseboard meets the floor, or the smooth transition around a newly installed sink. These details elevate the overall appearance of a space, making it look professional and well-maintained. Whether you’re painting, installing trim, or renovating a bathroom, caulk is the finishing touch that truly makes a difference.
Essential Tools for a Perfect Caulk Job
Before you begin your caulking project, gathering the right tools is key to a smooth and successful application. Having everything ready will streamline the process and help you achieve the best possible results.
- Caulk Gun: A reliable caulk gun is essential for applying caulk from standard tubes. While basic models are affordable, investing in a drip-free or smoother-action gun can make application much easier and more consistent, especially for beginners.
- Caulk Tubes: Ensure you have the correct type of caulk for your specific project (more on this in Step 2). It’s always a good idea to have an extra tube on hand, just in case.
- Utility Knife or Caulk Tool: You’ll need a sharp utility knife to cut the tip of the caulk tube nozzle at the correct angle. A specialized caulk tool often includes a cutting blade, a puncture tool, and smoothing tips, making it a versatile accessory.
- 5-in-1 Painter’s Tool (or similar scraper): This multi-purpose tool is invaluable for removing old caulk, scraping away debris, and preparing surfaces. Plastic scrapers are also useful, especially on delicate surfaces like fiberglass tubs, to prevent scratches.
- Painter’s Tape: High-quality painter’s tape is crucial for creating clean, straight lines and protecting adjacent surfaces from accidental caulk smears. Choose a tape that offers clean removal.
- Cleaning Supplies: Old rags, a general household cleaner, and rubbing alcohol are necessary for thoroughly cleaning the surface before application. A clean surface ensures optimal adhesion of the new caulk.
- Foam Backer Rod: For gaps deeper than 1/2 inch, a foam backer rod is required. This compressible material is inserted into the gap before caulking to ensure the caulk has a proper backing to adhere to, preventing it from sinking too deep.
- Smoothing Tool or Wet Finger/Rag: A specialized caulk smoothing tool can create a perfect concave bead. Alternatively, a wet finger (wearing a glove if preferred) or a damp cloth can also be used effectively to smooth the applied caulk.
A Step-by-Step Guide to Caulking for Beginners
Step 1: Evaluate Your Project and Gap Size
The first crucial step is to thoroughly assess the area you intend to caulk. Begin by examining the existing caulk (if any) and the nature of the gaps. Look for any signs of mold, mildew, cracks, or areas where the old caulk has pulled away or hardened. If there’s old caulk, note its condition, as this will determine the necessary preparation.
Crucially, caulk is designed to seal gaps that are generally no wider or deeper than 1/2 inch. If you encounter gaps that are significantly deeper or wider than this, simply filling them with caulk alone is not the correct approach. For larger gaps, you will first need to insert a foam backer rod. This compressible material provides a base for the caulk to adhere to, ensuring that the caulk doesn’t just sink into the void. It also helps the caulk cure properly and maintain its flexibility, leading to a much more durable and effective seal. Failure to use a backer rod for deep gaps can result in premature cracking and failure of your caulk job.
Step 2: Choose the Correct Caulk for the Job
Selecting the appropriate caulk is arguably the most critical decision in the entire process. Walking into a home improvement store and facing an intimidating wall of various caulk options can be overwhelming. However, understanding the key differences will guide you to the perfect choice for your project. Consider the environment (wet vs. dry, indoor vs. outdoor), the materials you are sealing, and whether the caulk needs to be paintable. When in doubt, remember that DAP’s technical customer service team is an excellent, free resource at 1-888-DAP-TIPS.
Best Caulk for Dry Areas & Paint Projects
For interior applications in dry areas where paintability is a must, Acrylic Latex Caulk is your go-to. This type of caulk is incredibly versatile, user-friendly, and cost-effective. It dries relatively quickly, and its water-based formula makes cleanup a breeze with just water and soap.
Ideal Uses:
- Sealing gaps around interior wood trim, such as crown molding, baseboards, and window casings.
- Filling nail holes and minor imperfections in furniture pieces or built-ins that will be painted.
- Creating a smooth transition between walls and ceilings.
My favorite in this category is DAP Alex Flex Premium Molding & Trim Sealant, known for its excellent flexibility and smooth finish, perfect for maintaining integrity even with slight structural movement.
Best Caulk for More Demanding Applications
When your project requires enhanced durability, adhesion, and flexibility, especially in areas exposed to some moisture or temperature fluctuations, Acrylic Latex Caulk with Silicone Added is the superior choice. The addition of silicone significantly boosts its performance characteristics, making it more resistant to cracking and moisture than standard latex caulk.
Ideal Uses:
- Around exterior windows and doors to prevent drafts and water infiltration.
- Sealing joints where different materials meet, such as siding transitions or window frames that encounter varying weather conditions.
- Interior projects where you desire extra longevity and resilience, even if the area is painted.
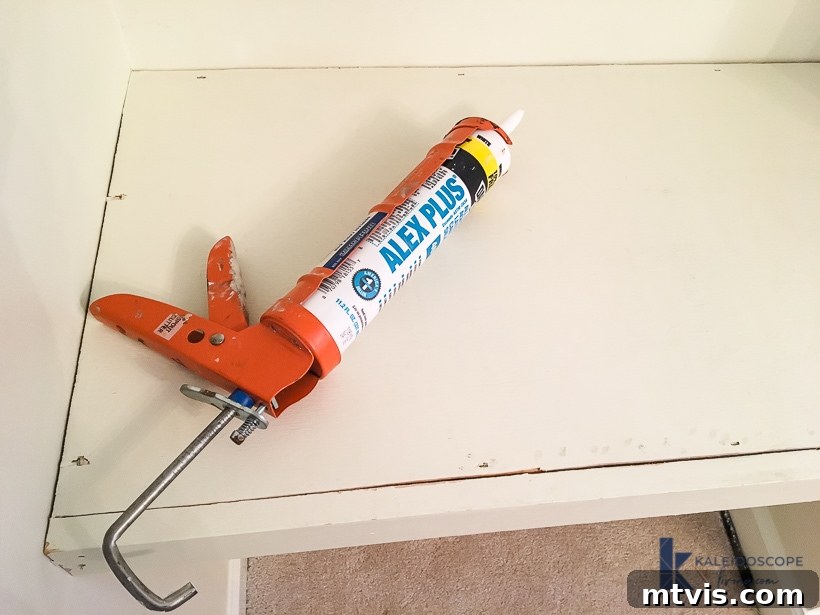
We frequently use DAP ALEX PLUS Acrylic Latex Caulk Plus Silicone for many interior paint projects because it’s water-based for easy cleanup and fully paintable. Its versatility makes it a staple in our DIY toolkit. We employed it for our DIY floating shelves and desk project and, more recently, for our DIY board and batten accent wall in the hallway. For even more demanding exterior applications, consider DAP DYNAFLEX, which offers advanced flexibility and weather resistance.
Best Caulk for Wet Areas (Kitchens & Baths)
For areas continuously exposed to high moisture, such as around bathtubs, showers, sinks, and toilets, you absolutely need a Specialty Kitchen and Bath Sealant, often 100% silicone or a highly siliconized acrylic latex designed for severe moisture resistance and mildew prevention.
Critical Features:
- Superior Water Resistance: These sealants form an impenetrable barrier against water, essential for preventing leaks and water damage in wet environments.
- Mildew Resistance: Many kitchen and bath caulks contain antimicrobial additives that inhibit the growth of mold and mildew, keeping your surfaces looking clean and hygienic longer.
- Flexibility: They offer excellent flexibility to accommodate movement between fixtures and surfaces without cracking or losing their seal.
- Often Non-Paintable: Pure silicone caulks are typically not paintable, so plan accordingly. If you need a paintable option for a wet area, ensure you select a siliconized acrylic latex that explicitly states it is paintable and mildew-resistant.
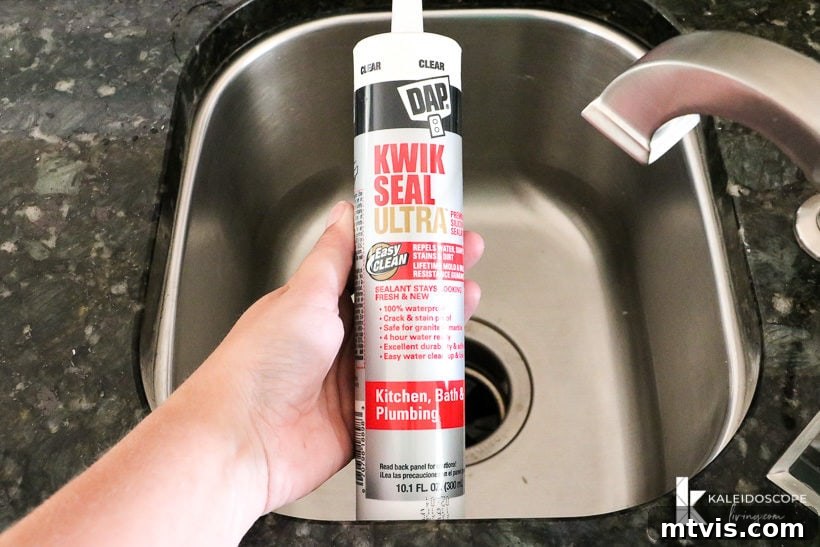
My top recommendation is DAP Kwik Seal Ultra Premium Siliconized Sealant. It applies white for easy visibility during application but dries clear, providing a discreet, clean finish. Just remember, this specific caulk is NOT paintable, so it’s best for areas where you want a natural, unpainted seal.
For more detailed instructions on a specific project, you can read exactly how to caulk a kitchen sink in this post.
Step 3: Prepare Your Surface for Optimal Adhesion
A flawless caulk job begins with a perfectly prepared surface. Attempting to apply new caulk over old, dirty, or loose caulk is a common mistake that will inevitably lead to premature failure and a messy finish. For the best adhesion and a long-lasting seal, it is crucial to start with a clean, dry, and smooth surface.
Remove Old Caulk: If old caulk is present, it must be completely removed. Use a utility knife, a dedicated caulk removal tool, or a 5-in-1 tool to carefully cut and scrape away all traces of the old material. For delicate surfaces like plastic or fiberglass bathtubs and shower surrounds, opt for plastic scrapers or soft plastic scrubbing pads to avoid scratches. Take your time to get rid of every bit, as any residue can prevent the new caulk from bonding properly.
Clean the Surface: Once the old caulk is gone, the entire surface needs to be meticulously cleaned. Use a general household cleaner to remove dirt, grime, and any remaining caulk residue. Pay close attention to corners and crevices. After cleaning, wipe the area down with rubbing alcohol. Alcohol is excellent for removing any lingering grease, oils, or soap scum that could compromise adhesion. Allow the surface to dry thoroughly before proceeding; caulk will not adhere well to a damp surface.
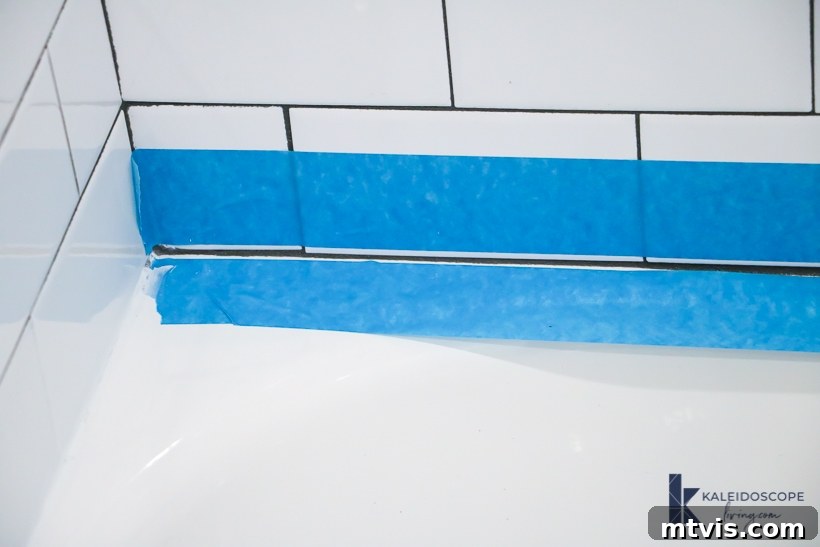
Step 4: Tape the Surrounding Area for a Professional Finish
For truly professional-looking results, taping off the surrounding area with painter’s tape is a game-changer. This step is especially beneficial for beginners as it acts as a guide, ensuring a perfectly straight caulk line and protecting adjacent surfaces from accidental smears. It’s the secret to achieving those crisp, clean edges that make your DIY projects stand out.
How to Tape Effectively:
- Apply two parallel strips of painter’s tape on either side of the gap you intend to caulk.
- Ensure the tape is pressed down firmly to create a tight seal, preventing any caulk from bleeding underneath.
- The distance between the two tape strips will determine the width of your caulk bead. Aim for a consistent, narrow gap for a neat appearance.
This technique was invaluable when we tackled our twin girls’ bathroom remodel. After weeks of hard work, we wanted the caulk lines around the tub and vanity to be absolutely perfect, and painter’s tape delivered precisely that. (You can see the full bathroom renovation reveal here).
Step 5: Prepare Your Caulk Tube and Gun
Proper preparation of your caulk tube and gun is crucial for a smooth and controlled application. Most caulk tubes come with a rigid plastic nozzle that needs to be cut and an internal foil seal that needs to be punctured.
Cutting the Nozzle: Using a sharp utility knife, carefully cut the tip of the caulk nozzle at a 45-degree angle. The size of the cut determines the width of your caulk bead: a smaller cut closer to the tip will produce a finer bead, while a larger cut farther down the nozzle will yield a thicker bead. For most general purposes, a small to medium opening is ideal. Start small; you can always cut more off if you need a wider bead.
Puncturing the Seal: After cutting the tip, you’ll need to puncture the inner foil seal inside the caulk tube. Most caulk guns include a thin metal poker tool specifically for this purpose. Insert the poker all the way into the nozzle and push through the seal. Without puncturing this seal, no caulk will come out.
Loading the Caulk Gun: Once prepared, load your caulk tube into your caulk gun. Make sure it’s seated properly. Before you start applying, press the trigger a few times until the caulk begins to flow, ensuring it’s ready for a consistent bead. After each use or when moving to a new section, remember to release the pressure on the caulk gun by pushing the small lever on the handle. This prevents excess caulk from oozing out and creating a mess.
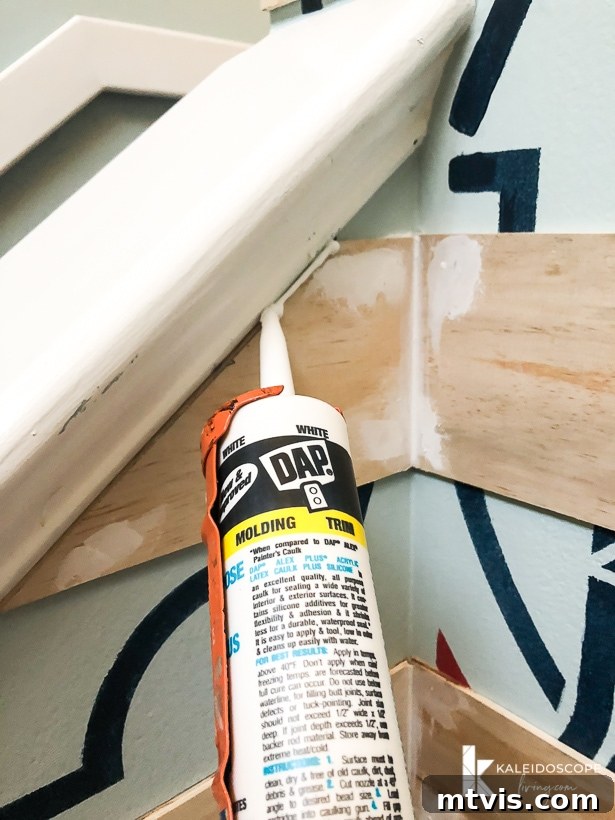
Step 6: Apply Your Caulk with Precision
Now for the exciting part – applying the caulk! Whether you’re using a standard caulk gun or a squeezable tube, the goal is to apply a steady, even “bead” (the term for a line of caulk) that smoothly fills the gap. Consistency is key here.
Technique for Application:
- Angle and Direction: Hold the caulk gun at a consistent 45-degree angle relative to the surface you are caulking.
- Steady Pressure: Apply continuous and even pressure on the caulk gun’s trigger. This will ensure a uniform flow of caulk. Avoid stopping and starting abruptly, which can create bumps and unevenness.
- Smooth Motion: Move the caulk gun along the gap in one continuous, fluid motion. It’s generally easier to pull the gun towards you rather than push it away, as this allows you better control over the bead.
- Work in Sections: For longer gaps, work in manageable sections, ensuring you complete smoothing each section before the caulk begins to skin over.
Don’t worry if your first few attempts aren’t perfect; practice makes perfect! Here, you can see me caulking our DIY modern plank wall, a crucial step before painting to achieve those crisp, finished lines.
Step 7: Smooth Your Caulk Bead for a Flawless Result
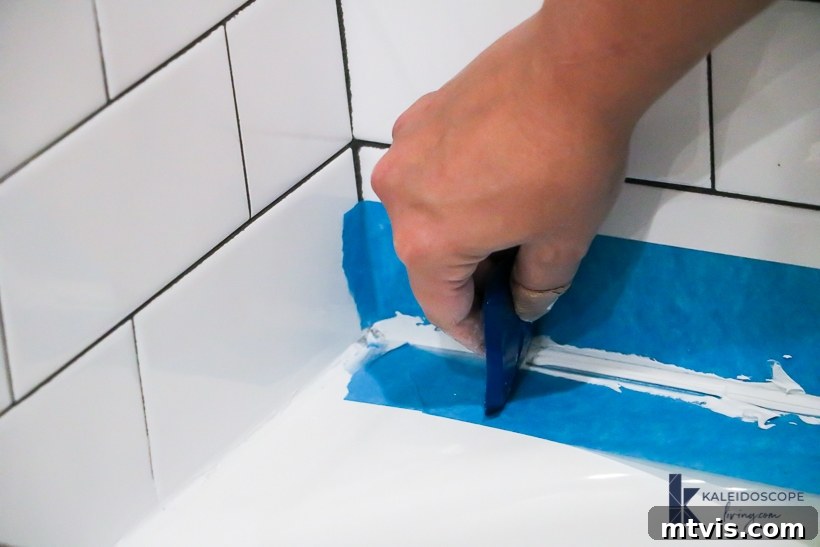
Once the caulk is applied, the final step is to smooth the bead for a clean, professional finish. This step should be done immediately after application, while the caulk is still wet and pliable.
Smoothing Techniques:
- Using Your Finger: This is a common and effective method. Dip your finger (wearing a glove is often recommended, especially for silicone-based caulks) in a small amount of water, then gently run it along the caulk bead. Apply consistent, light pressure to create a smooth, concave finish.
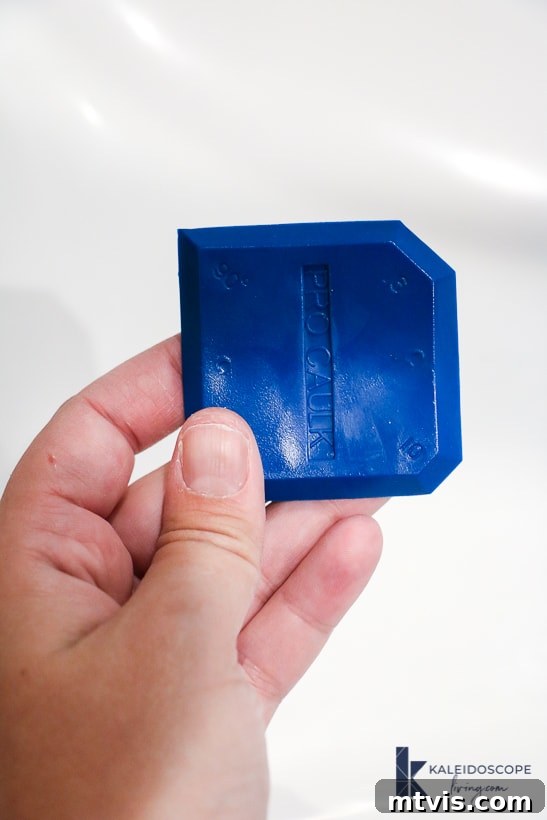
- Caulk Smoothing Tool: Specialized caulk tools come with various shaped tips designed to create perfect bead profiles. These can be particularly helpful for achieving uniform results, especially in tight corners or complex areas.
- Damp Sponge/Rag: A slightly damp sponge or rag can also be used to gently wipe and smooth the caulk, removing excess as you go.
Timely Tape Removal: Critically, remove your painter’s tape immediately after smoothing the caulk, while the caulk is still wet. If you wait until the caulk dries, it may bond to the tape, causing the caulk to peel away or crack when the tape is removed, ruining your perfectly straight line. Carefully pull the tape at a 45-degree angle away from the freshly caulked seam. Clean up any excess caulk on your tools or hands with a damp cloth before it dries.
That’s it! By following these steps, you’ll find that caulking is a straightforward process that yields incredibly satisfying, professional-looking results for all your DIY projects. This simple skill will become one of your most valuable assets in maintaining and beautifying your home.
Common Caulking Mistakes & Troubleshooting Tips
Even with the right instructions, beginners can sometimes encounter common pitfalls. Knowing these mistakes beforehand can help you avoid them and troubleshoot effectively.
- Not Cleaning the Surface Properly: This is the most frequent mistake. If the surface isn’t clean, dry, and free of old caulk, dirt, or grease, the new caulk won’t adhere properly and will likely fail prematurely.
- Solution: Always meticulously clean and dry the surface as described in Step 3.
- Using the Wrong Type of Caulk: Using interior caulk in a wet area, or non-paintable caulk where you plan to paint, can lead to frustration and failure.
- Solution: Carefully review Step 2 and select the caulk specifically designed for your project’s environment and requirements.
- Cutting the Nozzle Too Large or Too Small: A cut that’s too big leads to excessive caulk and mess, while one that’s too small makes it hard to fill the gap.
- Solution: Start with a smaller 45-degree cut and test on a scrap piece. You can always enlarge the opening if needed.
- Inconsistent Pressure During Application: This results in an uneven bead, with thick and thin spots that look unprofessional.
- Solution: Practice on scrap material. Aim for a steady hand and consistent pressure. It’s often easier to pull the caulk gun rather than push.
- Not Smoothing the Caulk in Time: Caulk begins to “skin over” relatively quickly. If you wait too long to smooth it, you’ll create a rough, messy finish.
- Solution: Apply caulk in manageable sections and smooth each section immediately. Keep a damp cloth or smoothing tool handy.
- Forgetting to Remove Painter’s Tape While Wet: If the caulk dries with the tape still attached, it will pull up the caulk when the tape is removed, ruining your clean line.
- Solution: Remove the tape immediately after smoothing the caulk, while it’s still completely wet.
- Not Filling Deep Gaps with Backer Rod First: For gaps deeper than 1/2 inch, simply filling with caulk will lead to sinking and cracking.
- Solution: Always insert a foam backer rod into deep gaps before applying caulk to provide proper support and ensure longevity.
Conclusion: Master the Art of Caulking
You now have a comprehensive understanding of how to caulk, from selecting the right product to achieving a perfectly smooth finish. Caulking is a powerful DIY skill that offers both functional protection and significant aesthetic improvements to your home. It prevents water damage, seals drafts, deters pests, and provides that crisp, professional look that elevates any renovation or repair. Don’t let the simplicity of the task fool you; mastering this technique is a cornerstone of effective home maintenance and truly empowers you to tackle projects with confidence.
Embrace the art of caulking, and you’ll find yourself reaching for that caulk gun again and again, transforming everyday imperfections into flawless details. Happy caulking!
More DIY Resources You’ll Love
- Attley’s Budget-Friendly Bathroom Renovation
- Avery’s Budget-Friendly Bathroom Makeover
- Affordable Master Bathroom Remodel REVEAL
- The Easy Way to Update Bathroom Tile Without Replacing It!
- How to Caulk a Bathtub
- How to Install Quarter-Round Molding
- How to Install a Toilet
- 25 Stunning Powder Room Makeovers
Wondering how I approach transforming rooms and spaces in our home? Check out Designer in a Binder®.
And if you want exclusive content and behind-the-scenes sneak peeks, be sure to subscribe before you head out!