
Thank you to Mohawk Consumer Products for sponsoring this post.
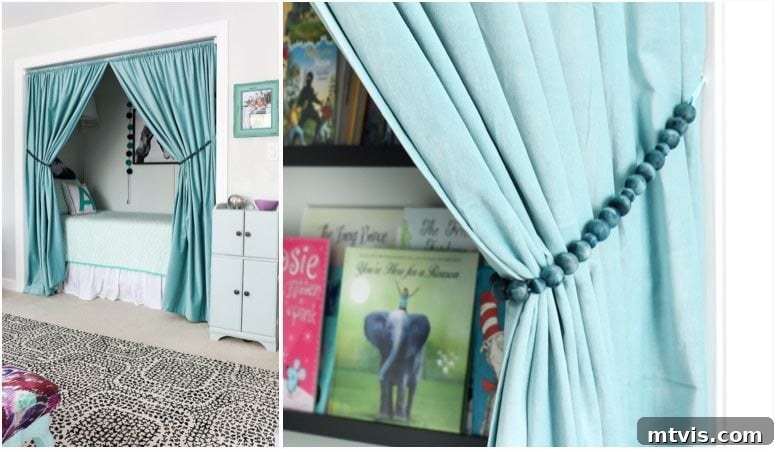
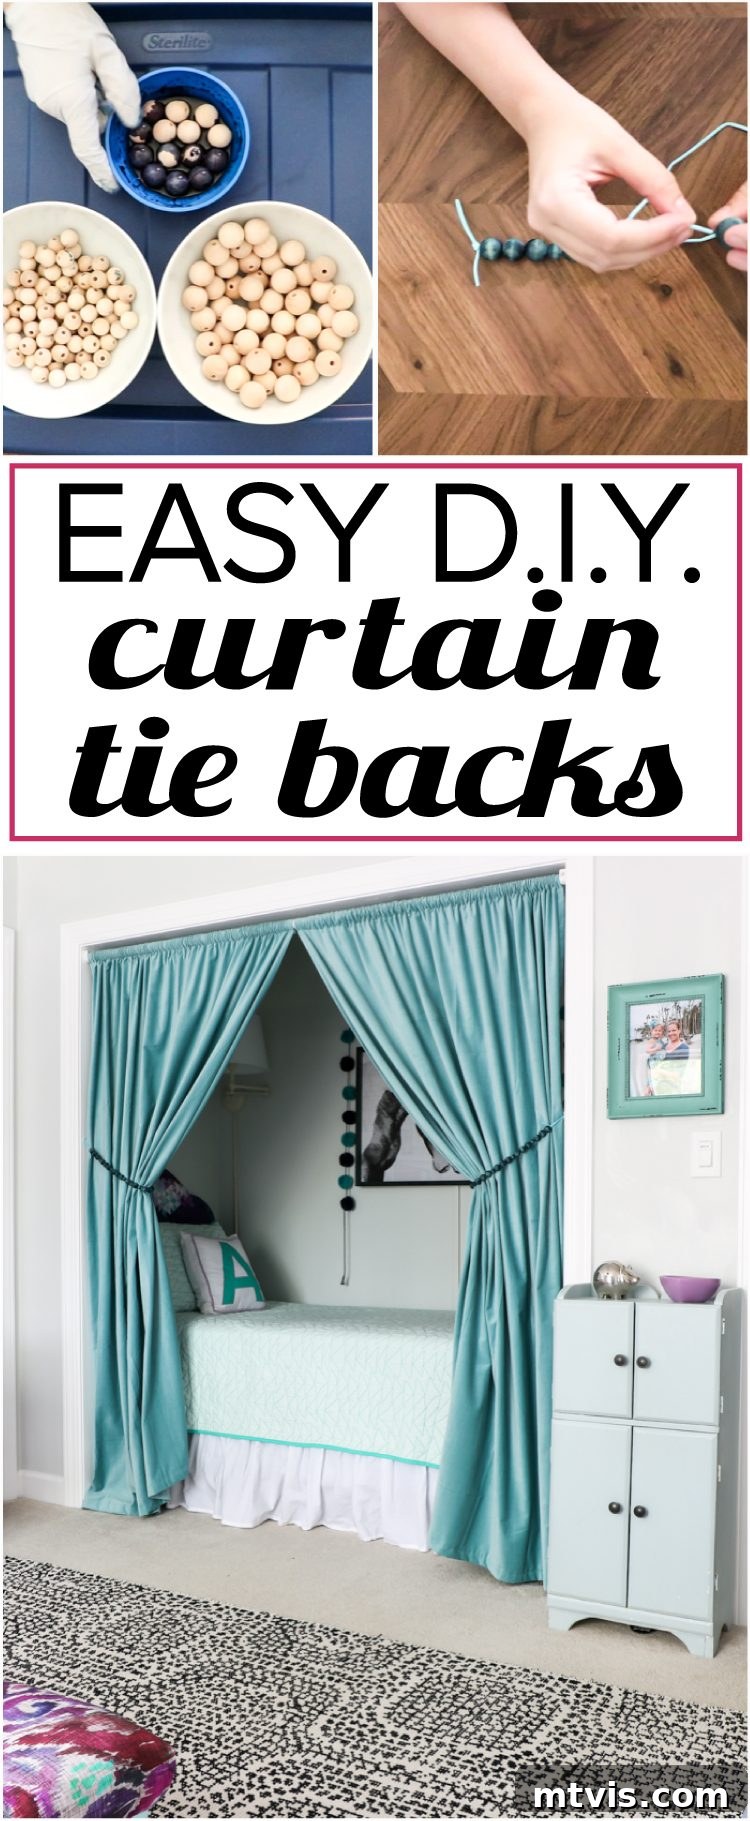
Hello fellow DIY enthusiasts and home decor lovers! Today, I am absolutely thrilled to share a project that will not only add a charming, custom touch to your living spaces but also save you the frustration of endless searching for the perfect store-bought solution. We’re diving into the delightful world of **DIY curtain tie backs**! When I embarked on a quest to find unique and beautiful tie backs for Avery’s cozy bed nook (her full room reveal is just around the corner, promise!), I was met with disappointment. The options were either overly ornate and “gauche,” or simply bland and uninspiring. More importantly, none offered the precise mounting style I envisioned for her door frame. So, what’s a creative spirit to do? Make my own, of course! And the result? Pure joy! These handcrafted wooden bead curtain tie backs are effortlessly chic, incredibly versatile, and surprisingly simple to create. Imagine being able to choose any size wood beads and any stain color to perfectly match your home’s aesthetic – the possibilities are truly limitless. This isn’t just a craft; it’s an opportunity to infuse your personality into your home decor. Best of all, this entire project can be completed in approximately 15 minutes, making it an ideal activity for even the busiest schedule, and it’s so straightforward that your kids can even lend a hand! Let’s embark on this creative journey to craft your very own bespoke **wood bead curtain tie backs**.
Crafting Your Own Curtain Tie Backs: A Step-by-Step Guide
Are you ready to transform ordinary curtains into captivating focal points? Our comprehensive guide will show you exactly how to make curtain tie backs that are far cuter and more personalized than anything you’ll find in stores. Prepare to be amazed by how quickly and easily you can elevate your home decor!
This post contains some affiliate links for your convenience (which means if you make a purchase after clicking a link I will earn a small commission which helps keep my blog up and running but it won’t cost you a penny more)! Click here to read my full disclosure policy.
Essential Materials & Tools for Your DIY Curtain Tie Backs
Gathering your supplies is the first exciting step in any DIY project. For these stunning curtain tie backs, you’ll need just a few readily available items. Each component has been carefully chosen for its aesthetic appeal, durability, and ease of use, ensuring a beautiful and lasting result.
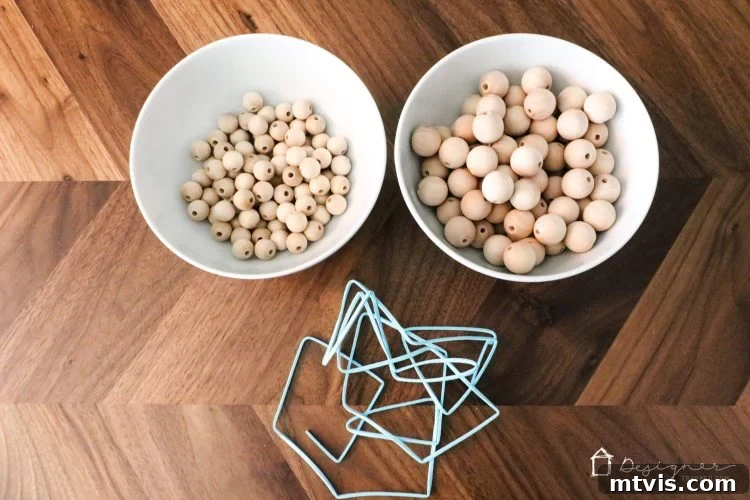
- Wood Beads: The foundation of our design. I opted for two different sizes to create a subtle yet engaging pattern, adding visual interest without overpowering the design. Consider varying sizes, shapes, or even unfinished wood for a truly unique look.
- Behlen Solar Lux Stain: This is where the magic of color comes in! I used “Sea Blue” to perfectly complement Avery’s room, but the range of available colors is vast and vibrant. Explore the options to find a shade that speaks to your personal style and existing decor. Staining allows the natural wood grain to show through, creating a rich, organic finish.
- Suede Cord: (this is the exact cord I ordered) A durable and aesthetically pleasing cord is crucial. Suede offers a soft texture and a slightly rustic, yet sophisticated, feel that beautifully complements the wood beads. Its strength ensures your tie backs will hold up over time.
- Scissors: A sharp pair of scissors will ensure clean cuts for your suede cord.
- Small Bowl: Crucial for containing your stain. Be sure to use a bowl that is designated for craft use and not for food consumption.
- Paper Towels: Essential for wiping off excess stain and cleaning up any drips.
- Gloves: To protect your hands from stain, ensuring a clean and safe crafting experience.
With these simple materials, you’re well on your way to creating stunning, personalized **homemade curtain tie backs** that will enhance any room. Now, let’s look at the finished materials layout, ready for action!
Detailed Steps to Create Your Wood Bead Curtain Tie Backs
This project is remarkably straightforward, offering immense satisfaction for minimal effort. While there was a video here, the detailed step-by-step instructions below will guide you through every stage, ensuring a flawless execution of your beautiful **DIY curtain tie backs**.
Step 1: Dye Your Beads with Precision
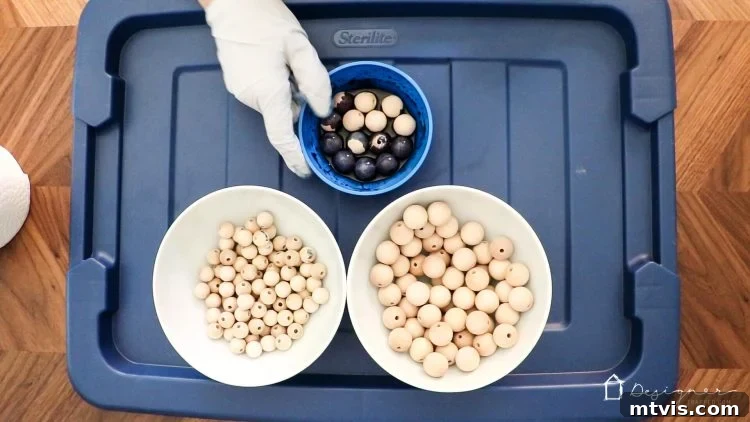
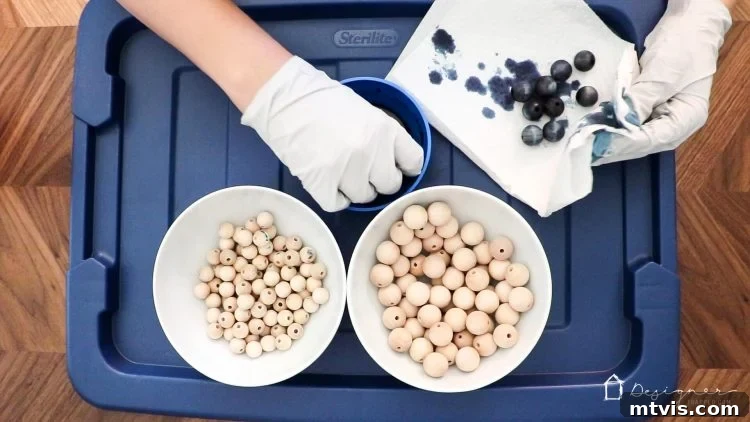
Begin by preparing your workspace. Lay down some newspaper or a drop cloth to protect your surfaces. Don your gloves to keep your hands stain-free. Next, pour a small amount of the Behlen Solar Lux Stain into your designated craft bowl. Carefully add your wood beads to the bowl, ensuring they are fully submerged or adequately coated. Gently swirl the beads in the stain. This method allows for an even application, saturating the wood and creating a vibrant, consistent color. Depending on the desired intensity, you can let them soak for a few moments, or simply swirl and move to the next step. Remember, lighter wood will absorb color more intensely.
Step 2: Wipe and Dry for a Perfect Finish
Once your beads are thoroughly coated with stain, carefully remove them from the bowl using your gloved hands. Immediately wipe off any excess stain with paper towels. This step is crucial for preventing drips, ensuring a smooth finish, and allowing the wood grain to subtly show through. Arrange your stained beads on a clean, protected surface (like more newspaper or a cooling rack) and set them aside to fully dry. Drying time will vary depending on humidity and stain thickness, so allow ample time for them to cure completely before handling them further.
Step 3: Prepare Your Suede Cord
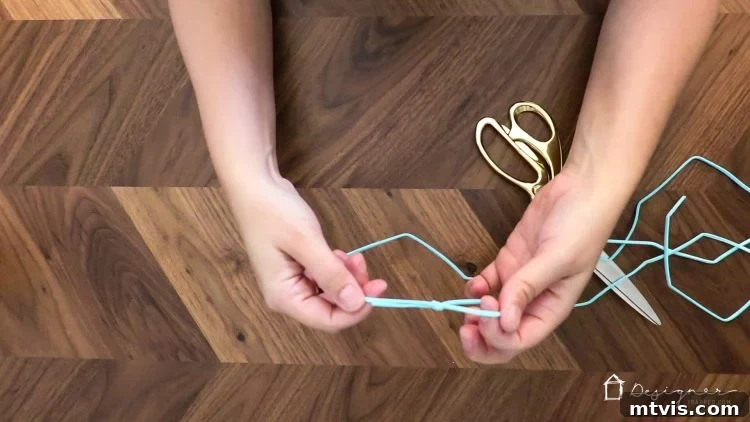
Take your suede cord. First, tie a secure loop knot at one end. This loop will serve as one attachment point for your tie back. Next, measure and cut your cord to the desired length. For most standard curtains and tie-back styles, approximately 24 inches (about 60 cm) per tie back is a good starting point. However, feel free to adjust this length based on the thickness of your curtains and how much drape you prefer. Longer cords offer more flexibility in styling and can accommodate thicker fabrics. Ensure your cut is clean to make threading easier.
Step 4: Thread Your Beads with Creative Flair
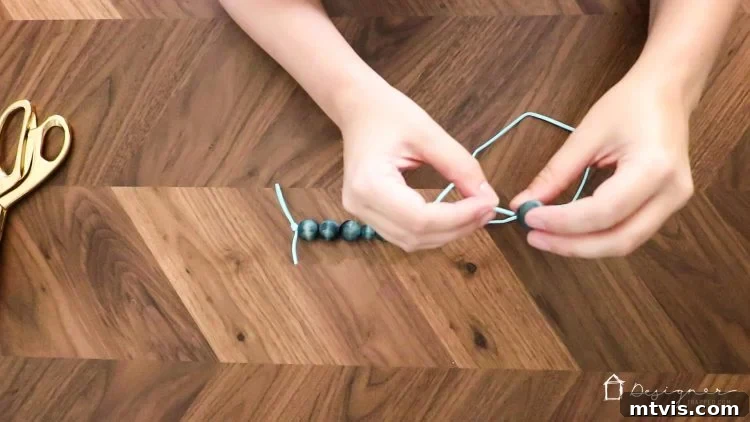
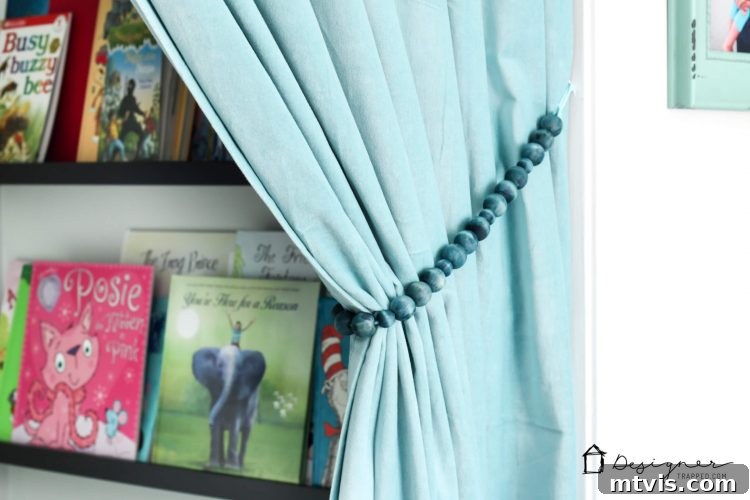
Now for the fun part: threading! Once your beads are completely dry, begin threading them onto your suede cord. This is where your creativity truly shines. I opted for a pattern of three larger beads followed by one smaller bead, which creates a subtle visual rhythm. Experiment with different sequences, mix and match bead sizes, or even incorporate different colored beads if you chose multiple stains. Consider how the pattern will look when draped around your curtains. If you’re struggling to thread the cord through smaller bead holes, a dab of super glue on the very end of the cord, allowed to dry, can stiffen it for easier passage.
Step 5: Secure the Final Knot
Once you’ve threaded all your beads and are satisfied with the length and design, tie another secure loop knot at the opposite end of your suede cord. Make sure this knot is tight and prevents the beads from sliding off. You want the beads to be snug but not overly compressed, allowing for a natural drape. Trim any excess cord, leaving a neat, finished appearance. Double-check both knots to ensure they are firm and reliable.
Step 6: Install and Admire Your Handiwork
The final step is to secure your beautiful new **custom curtain tie backs** in place! A simple nail is often sufficient for mounting. Hammer a small nail into your door frame or wall where you want your curtains to be held back. The loop knots on each end of your tie back will easily slip over the nail, providing a secure hold. For a more decorative touch, consider using small decorative hooks or cup hooks. These offer an elegant alternative to a plain nail and can further enhance your room’s aesthetic. Position your tie backs to gather your curtains beautifully, creating an inviting and stylish look.
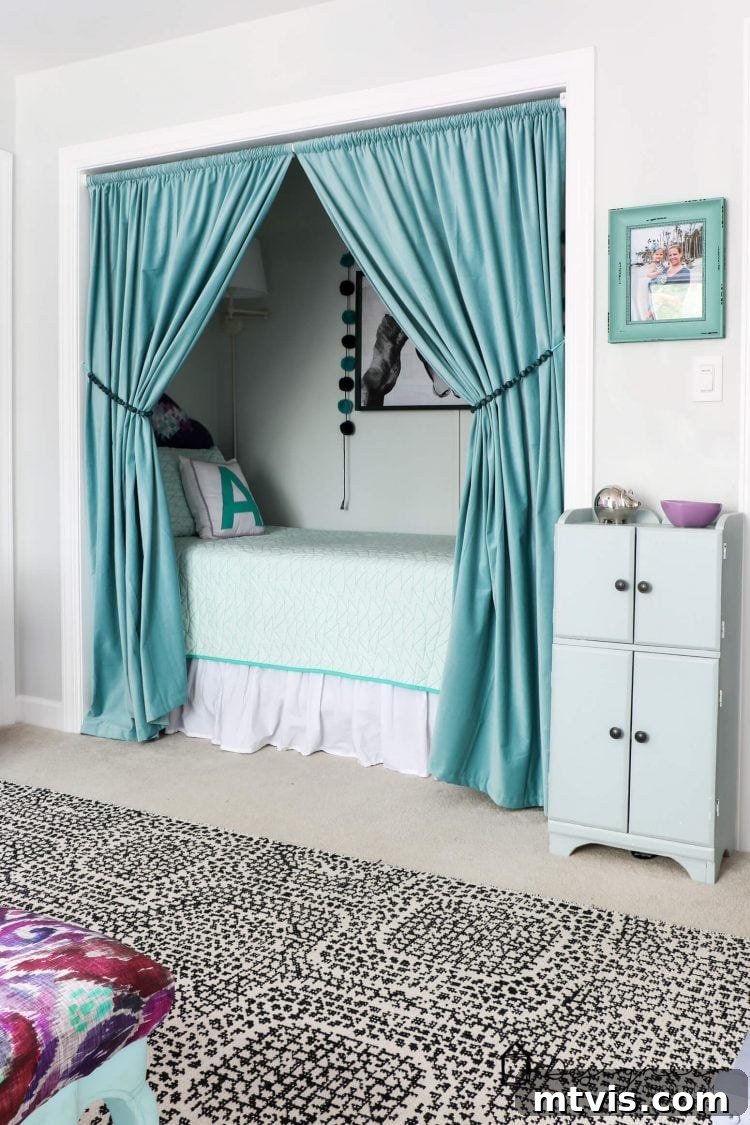
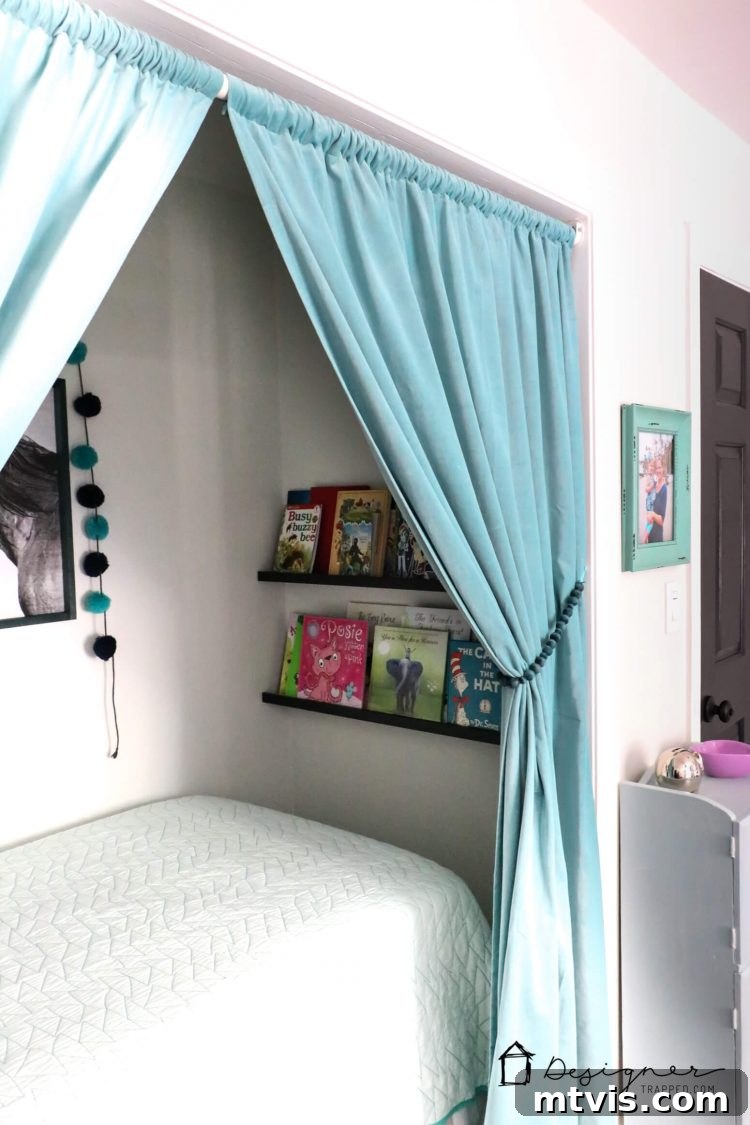
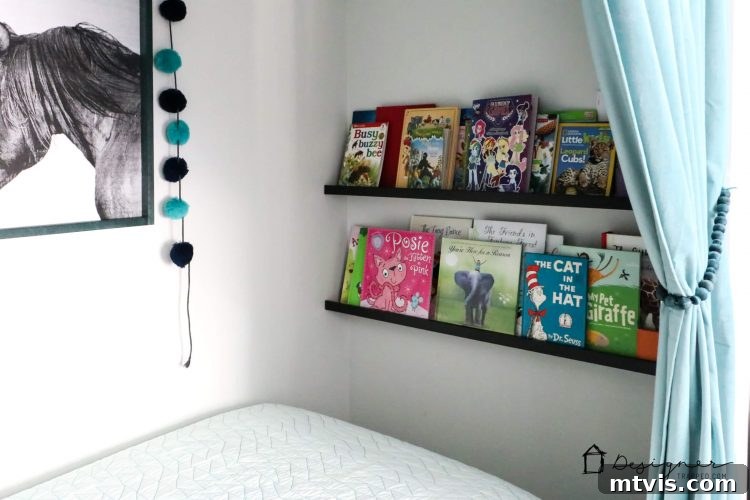
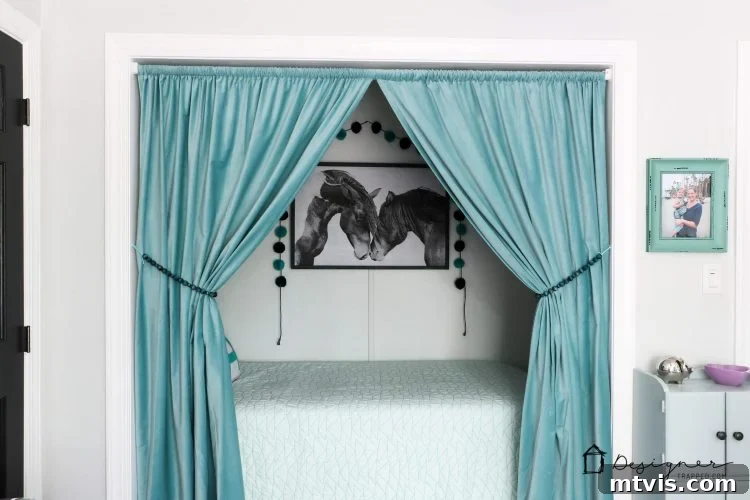
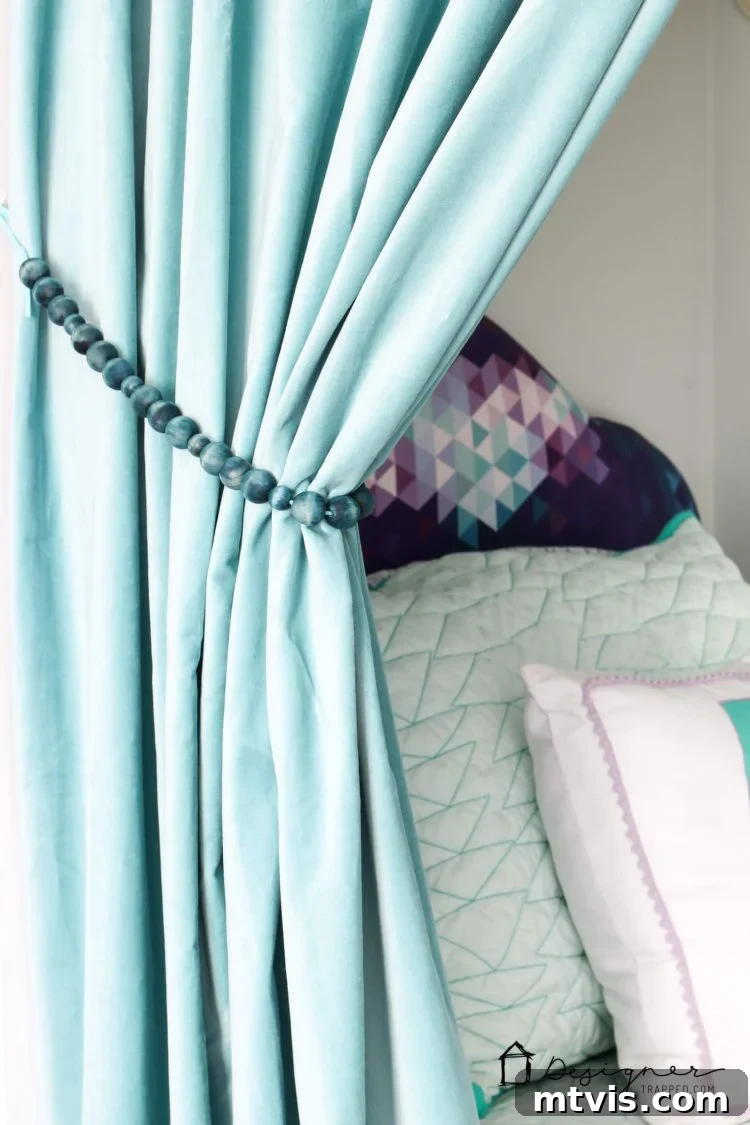
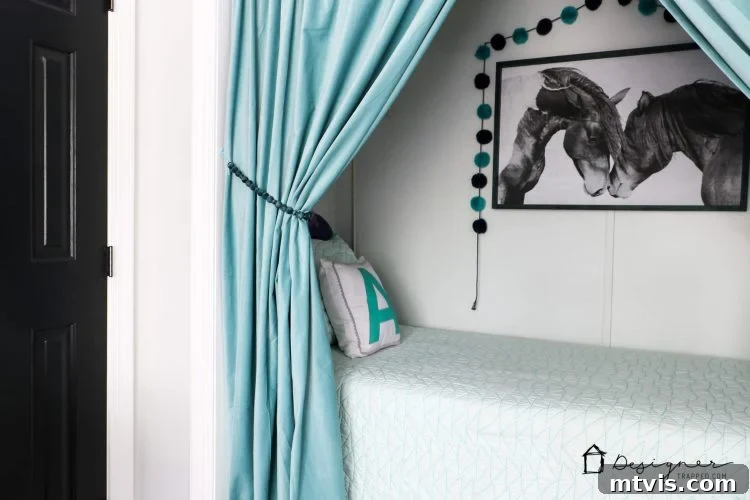
So simple, yet so incredibly impactful, right?! I truly adore how these **DIY curtain tie backs** transformed Avery’s room. They add a layer of texture and personalized charm that store-bought options simply couldn’t achieve. Now, let’s take a closer look at them installed in Avery’s bed nook – seriously, I’m completely jealous of how cozy and inviting her little space is!
Customization Ideas: Making Your Tie Backs Truly Unique
The beauty of **homemade curtain tie backs** lies in their endless customization potential. Don’t feel limited by the specific materials or patterns I used. Here are some ideas to inspire your next creation:
- Bead Variety: Explore different types of wood beads – natural, painted, raw, or even a mix of wood with ceramic or glass beads for varying textures and weights. Try geometric shapes or carved beads for added visual interest.
- Color Palette: If staining isn’t your preference, consider painting your beads in solid colors that match or contrast your room’s decor. You can also leave the beads natural for a minimalist or Scandinavian-inspired look, perhaps sealed with a clear topcoat for protection.
- Cord Alternatives: Instead of suede, try macrame cord for a boho vibe, leather cord for a more rugged aesthetic, or even thick twine for a rustic farmhouse feel. The choice of cord can dramatically alter the overall style.
- Knot Styles: Experiment with different knotting techniques. Beyond simple loops, you could incorporate decorative knots, braiding, or even macrame elements into your cord design before adding beads.
- Adding Embellishments: Consider attaching small tassels, charms, or even miniature faux flowers to the ends of your tie backs for an extra touch of whimsy or elegance.
- Mounting Hardware: While a nail works, decorative wall hooks, antique brass cup hooks, or even self-adhesive hooks (for renters or delicate surfaces) can add another layer of sophistication and functionality.
Styling Your Space with Personalized Curtain Tie Backs
Curtain tie backs are more than just functional; they’re an integral part of your room’s decor. These **wood bead curtain tie backs** are particularly versatile and can enhance a multitude of interior styles:
- Boho Chic: The natural wood and soft suede lend themselves perfectly to a bohemian aesthetic, especially when paired with linen or sheer curtains.
- Farmhouse Modern: The rustic charm of wood, especially with a subtle stain, fits beautifully into farmhouse or modern farmhouse interiors, adding warmth and a handcrafted touch.
- Kids’ Rooms: As seen in Avery’s nook, these tie backs are perfect for children’s spaces. The ability to choose bright, cheerful stains makes them playful and personal. They’re also robust enough to withstand daily use.
- Minimalist & Scandinavian: Opt for natural, unstained beads and a simple cord for a clean, minimalist look that complements light-filled, uncluttered spaces.
- Coastal Vibes: My “Sea Blue” stain choice is ideal for bringing a touch of the ocean indoors, perfect for coastal or beach-themed rooms.
When positioning your tie backs, consider the natural flow of your curtains. Tying them higher creates a more formal, tailored look, while tying them lower allows for a softer, more relaxed drape. Experiment with different heights until you achieve the perfect framing for your windows and the desired ambiance for your room.
Benefits of Choosing DIY for Your Curtain Decor
Beyond the sheer satisfaction of creating something with your own hands, there are numerous practical and aesthetic benefits to making your own **curtain decor**:
- Cost-Effective: Crafting your own tie backs is significantly cheaper than purchasing high-end designer versions, especially when you need multiple sets.
- Perfect Match: You can guarantee a perfect color and style match for your existing decor, avoiding the compromise often required with retail options.
- Unique & Personalized: Your tie backs will be one-of-a-kind, reflecting your personal taste and adding an exclusive touch to your home.
- Quick Project: As demonstrated, this is not an all-day affair. It’s a project you can complete during a short break, offering immediate gratification.
- Kid-Friendly: Involving children in simple steps like threading beads can be a wonderful way to introduce them to crafting and home improvement.
Final Thoughts and Encouragement
I hope this tutorial has inspired you to pick up some beads and stain and create your own set of personalized **DIY curtain tie backs**. It’s a small project with a big impact, proving that handmade details can truly transform a space. The joy of finding the perfect solution that you crafted yourself is unparalleled. Don’t be afraid to experiment with colors, textures, and patterns to make these truly your own. Whether you’re enhancing a child’s bedroom, a cozy reading nook, or a sophisticated living room, these custom tie backs are sure to draw compliments and add that special touch of personality. Happy crafting, and remember to share your beautiful creations with me!
If you’re looking for more easy and impactful home decor projects, keep exploring our blog for innovative ideas and detailed tutorials. There’s always something new to create!