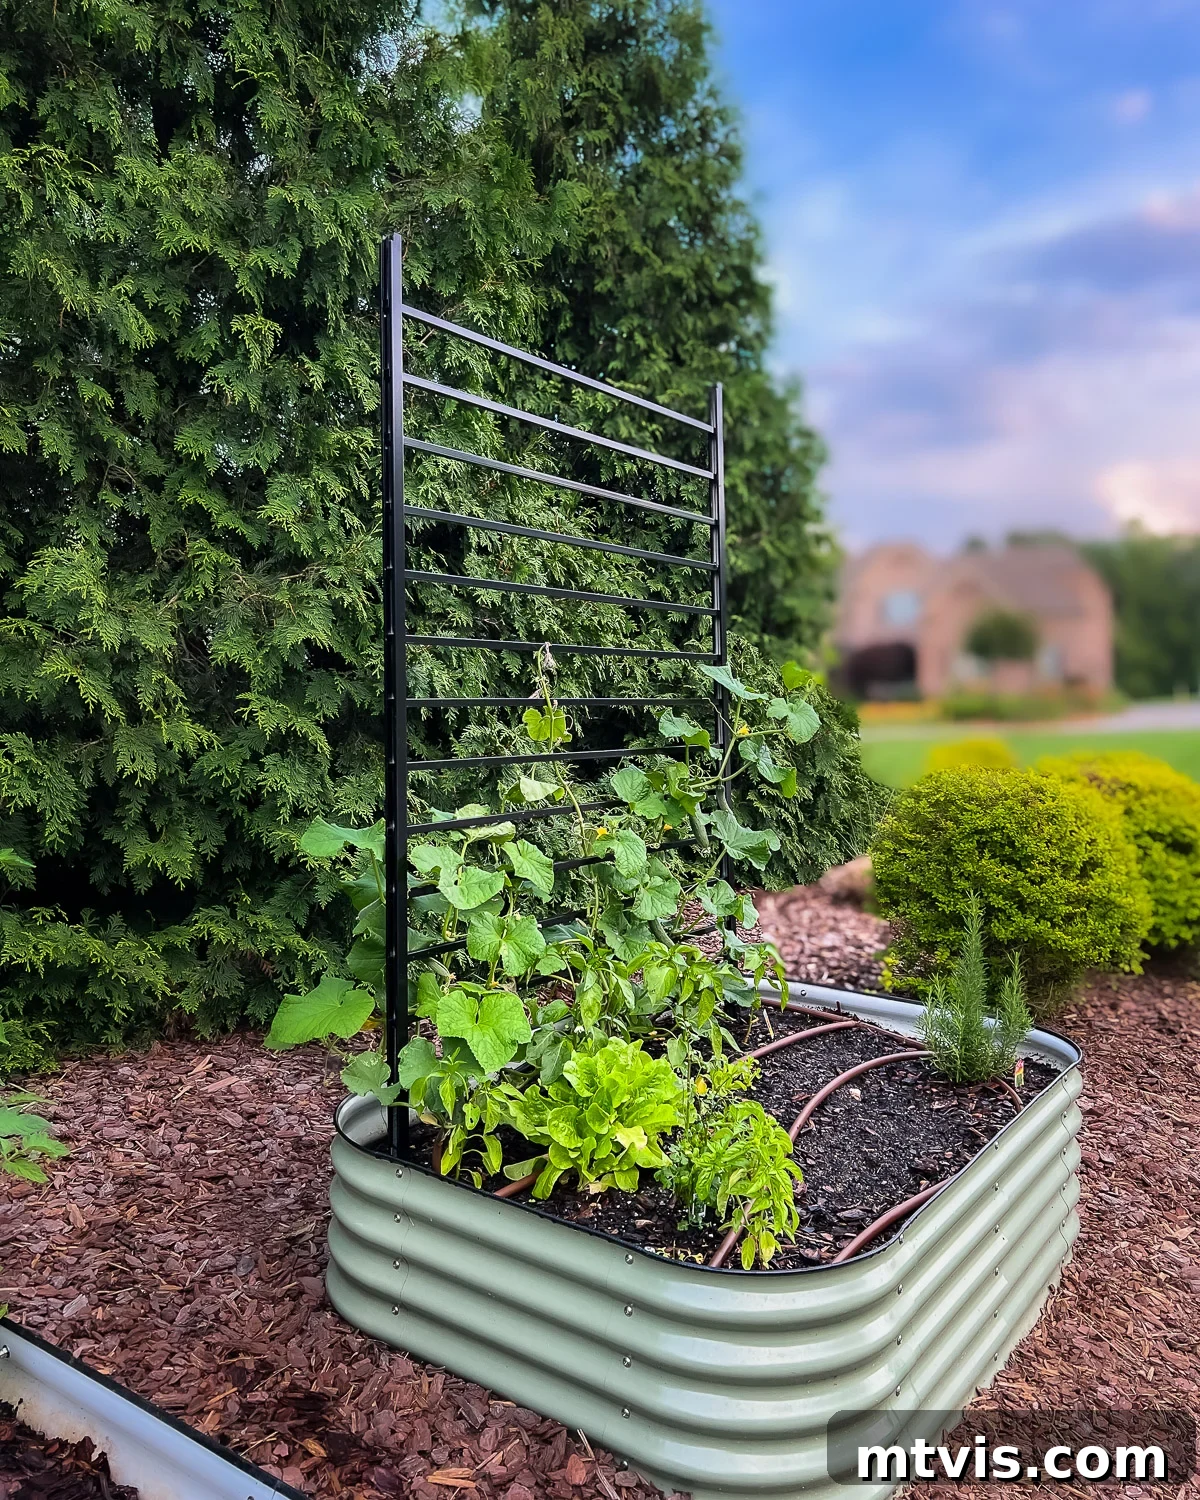
Tired of searching endlessly for the perfect garden trellis that combines modern aesthetics with unwavering functionality? Look no further! After countless hours spent hunting for an attractive, contemporary trellis for our beloved raised garden beds—and consistently coming up empty-handed—we decided to take matters into our own hands. The result? A stunning DIY trellis design that is not only robust and built to last but also effortlessly beautiful. The best part is its simplicity; this project is remarkably quick and easy, making it perfect for gardeners of all skill levels. Dive into our comprehensive guide and discover how you can transform your garden with this elegant, homemade solution.
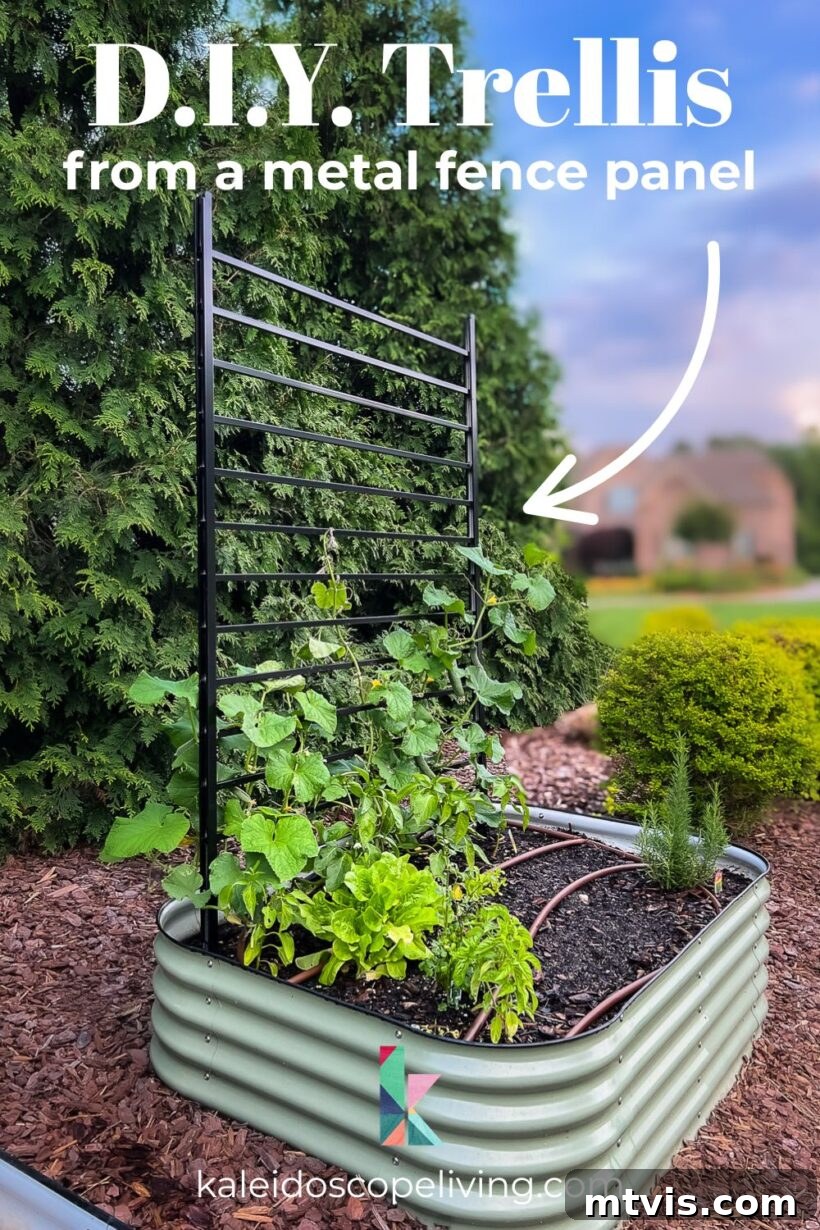
Discovering the Perfect Modern Garden Trellis Solution for Raised Beds
Our journey to the ideal garden trellis began in June of 2023, when we proudly integrated Vego Garden Beds into our yard. These raised beds quickly became a favorite for cultivating fresh vegetables, proving to be an excellent investment in our gardening endeavors. (For those curious, you can explore our unbiased review of our Vego Garden Beds here, detailing their many benefits and any considerations.) While Vego offers trellises designed for their beds, they didn’t quite align with the modern, minimalist aesthetic we envisioned for our outdoor space. This led us on a mission to find a trellis that was not just practical but also a true design statement.
The market, however, proved surprisingly barren. We scoured nurseries, home improvement stores, and online retailers, yet nothing truly captured the contemporary look and sturdy construction we desired. Faced with this dilemma, inspiration struck: why not create our own? The solution came in the form of a simple, yet ingenious, idea—utilizing a standard metal fence panel. This innovative approach allowed us to craft two gorgeous, modern DIY trellises in less than an hour. If there’s one thing we appreciate in a home improvement project, it’s efficiency and outstanding results, and this trellis delivers on both fronts!
This post contains affiliate links for your convenience. Click here for my full disclosure policy.
How to Build a Modern DIY Garden Trellis Using a Metal Fence Panel
Building a robust and stylish trellis doesn’t have to be complicated or expensive. Our DIY method leverages the inherent strength and contemporary look of a metal fence panel, transforming it into an essential garden accessory. This guide will walk you through each step, ensuring you achieve a professional-looking result with minimal effort.
Why Choose a Metal Fence Panel for Your Trellis?
Metal fence panels offer several distinct advantages that make them an ideal choice for a modern garden trellis. Firstly, their inherent strength and rigidity provide superior support for even the heaviest climbing plants, such as cucumbers, tomatoes, or beans. Unlike wooden trellises that can warp or rot over time, metal is exceptionally durable and weather-resistant, ensuring your trellis will stand strong for years with virtually no maintenance. Secondly, the sleek, clean lines of a black metal fence panel lend themselves perfectly to a modern aesthetic, adding a sophisticated touch to any garden. This material choice not only provides excellent functionality but also elevates the visual appeal of your raised beds.
Selecting the Right Plants for Your Trellis
Before you even begin building, it’s helpful to consider what you’ll be growing on your new trellis. This DIY design is incredibly versatile and can support a wide variety of climbing plants. Think about vining vegetables like pole beans, peas, cucumbers, indeterminate tomatoes, and even some varieties of squash or small melons. For ornamental gardeners, climbing roses, clematis, morning glories, or sweet peas would beautifully adorn this modern structure, adding vibrant color and fragrance to your outdoor space. The horizontal orientation of the fence pickets provides ample grip points for tendrils and stems, encouraging lush, vertical growth and maximizing your garden’s yield or visual impact.
Materials & Tools Needed for Your DIY Trellis Project
One of the beauties of this DIY trellis project is the minimal number of specialized tools and materials required. Most items can be easily sourced from your local hardware store or online, making this an accessible project for almost anyone. Gather these essentials before you begin:
- 4 x 6 black metal fence panel: The core component of our trellis. Choose a panel that complements your garden’s size and aesthetic.
- Two pieces of 1/4 inch x 4 foot rebar: These will serve as the sturdy anchors, providing essential stability to your trellis.
- Heavy-duty zip ties: For securely attaching the fence panel to the rebar, especially important in windy conditions.
- Heavy-duty mallet: Crucial for driving the rebar firmly into the ground.
- Optional but Recommended: Angle grinder or hacksaw (if pickets need cutting), safety gloves, eye protection, level.
Step-by-Step Installation Guide
The key to this design’s success lies in installing the fence panel horizontally. This means the metal pickets (or balusters) will run sideways, creating parallel support lines for your plants, while the sturdy fence rails will run vertically, sinking into the ground. This orientation not only provides superior plant support but also gives the trellis its distinctive modern look. The vertical rails will be concealed beneath the soil surface, resting snugly against the rebar anchors. To provide a clearer visual context for the steps below, envision the fence panel rotated 90 degrees from its typical fence application, with the bottom rails becoming the vertical supports.
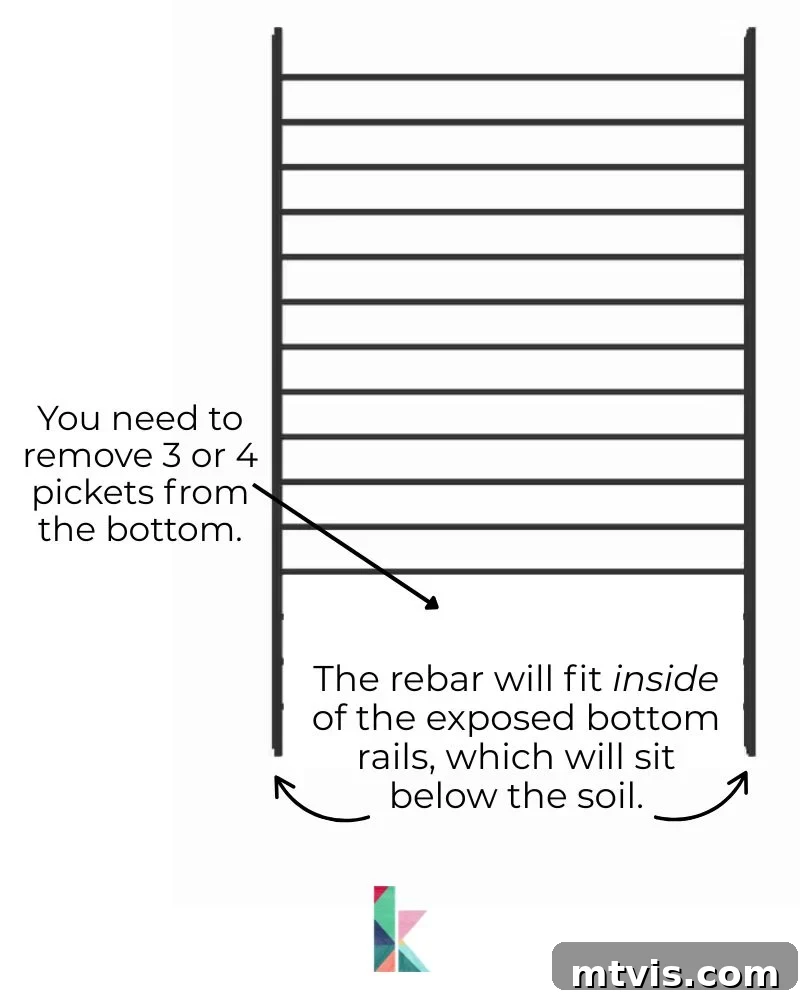
Step 1: Prepare Your Fence Panel by Removing Bottom Pickets. Before you begin installation, you’ll need to modify your metal fence panel slightly. Identify the bottom of the fence panel, which will be the side that rests closest to the ground. Carefully remove 3 or 4 of the lowest horizontal pickets (the metal bars that run across the panel). This crucial step allows the vertical rails of the fence panel to sit directly on the rebar, which will be driven into the ground, creating a seamless and incredibly stable foundation for your trellis. Removing these pickets ensures that the panel can be deeply anchored, preventing any wobble and ensuring maximum support for your climbing plants. Depending on your fence panel design, you might use a hacksaw, angle grinder, or simply unbolt them if they are designed to be removable. Always wear appropriate safety gear, such as gloves and eye protection, when working with metal tools.
Step 2: Strategically Position Your Trellis. Decide exactly where in your raised garden bed you want your trellis to stand. Consider factors like sun exposure for your plants, proximity to the edge of the bed for stability, and overall garden aesthetics. Once you’ve chosen the perfect spot, carefully mark the soil where the two vertical rails of the modified fence panel (which were originally the side rails) will be inserted. These marks will guide where you drive your rebar anchors.
Step 3: Drive Rebar Anchors for Maximum Stability. With your marks in place, take one piece of rebar and position its tip directly over one of your marked spots. Using a heavy-duty mallet, begin to drive the rebar deep into the soil. As you hammer, frequently check with a level to ensure the rebar remains perfectly plumb (vertically straight). This attention to detail is vital for a straight and stable trellis. Our rebar pieces were long enough to extend below the base of our garden beds, providing exceptional foundational stability, a technique we highly recommend for enduring support. Aim to leave approximately 12 inches of rebar exposed above the soil surface; this exposed length will slot perfectly into the fence panel rails.
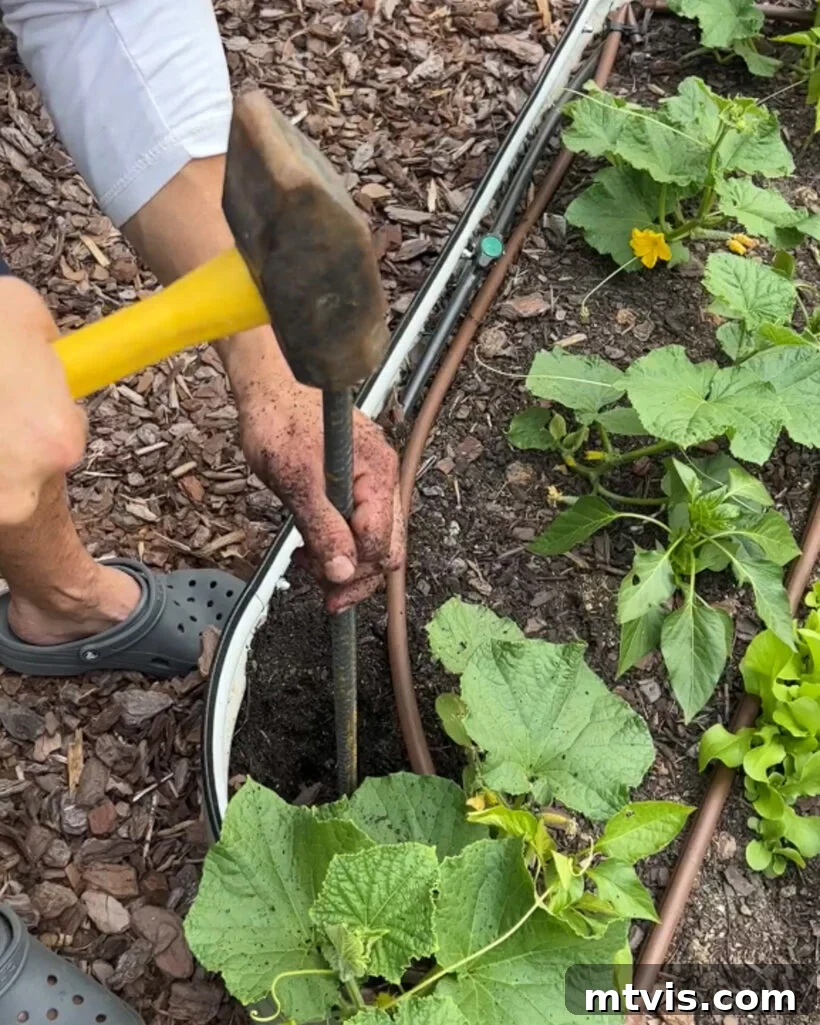
Step 4: Carefully Position and Level the Fence Panel. Once both pieces of rebar are firmly installed, it’s time to place your prepared fence panel. Carefully lift the panel and align its modified bottom rails (the vertical supports) so that they slide down over the exposed rebar sections. The rebar should fit snugly inside these rails, creating a secure connection. This visual is crucial: the rebar should be encased by the fence panel’s vertical structure, as clearly depicted in the image below. Take your time with this step, making small adjustments as needed. Use a level to ensure the entire fence panel is perfectly level horizontally and plumb vertically. You might need to temporarily remove the fence panel and make minor adjustments to the rebar’s position or depth until everything aligns flawlessly and sits perfectly straight.
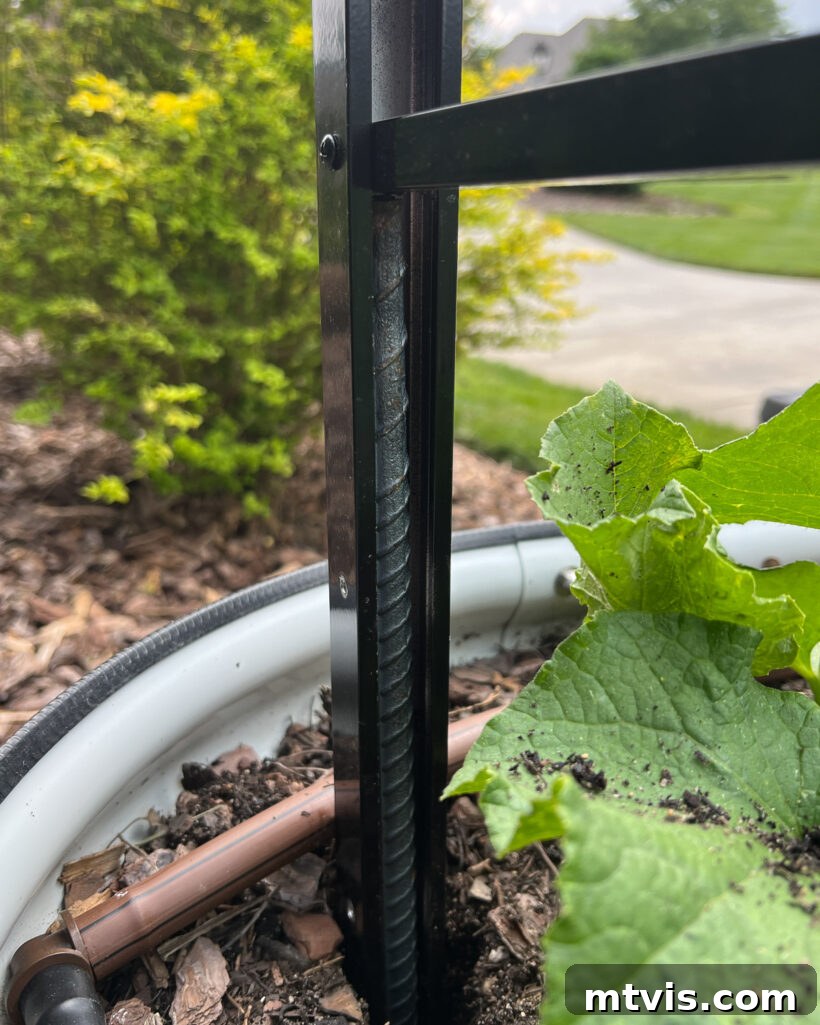
Step 5: Secure the Trellis with Heavy-Duty Zip Ties. For an added layer of security and peace of mind, especially in areas prone to strong winds, we highly recommend using heavy-duty zip ties to firmly secure the fence panel to the rebar. While the snug fit of the rebar within the rails provides significant stability, these zip ties offer an extra reinforcement against lateral movement and uplift during severe weather. This step is incredibly quick, taking approximately 30 seconds per trellis, but the added assurance that your beautiful trellis won’t shift or blow away in a storm is immeasurable. Loop the zip ties tightly around the rebar and through the fence panel’s rails at multiple points along the exposed rebar sections.
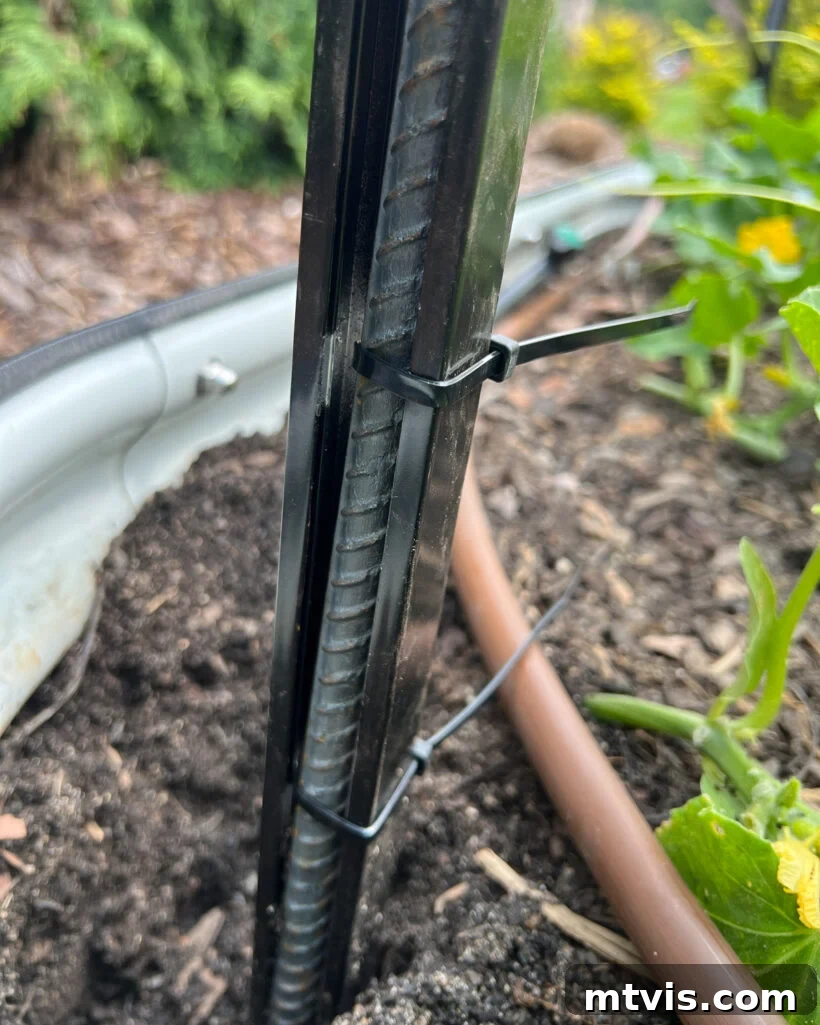
Enjoying Your New Modern Garden Trellis
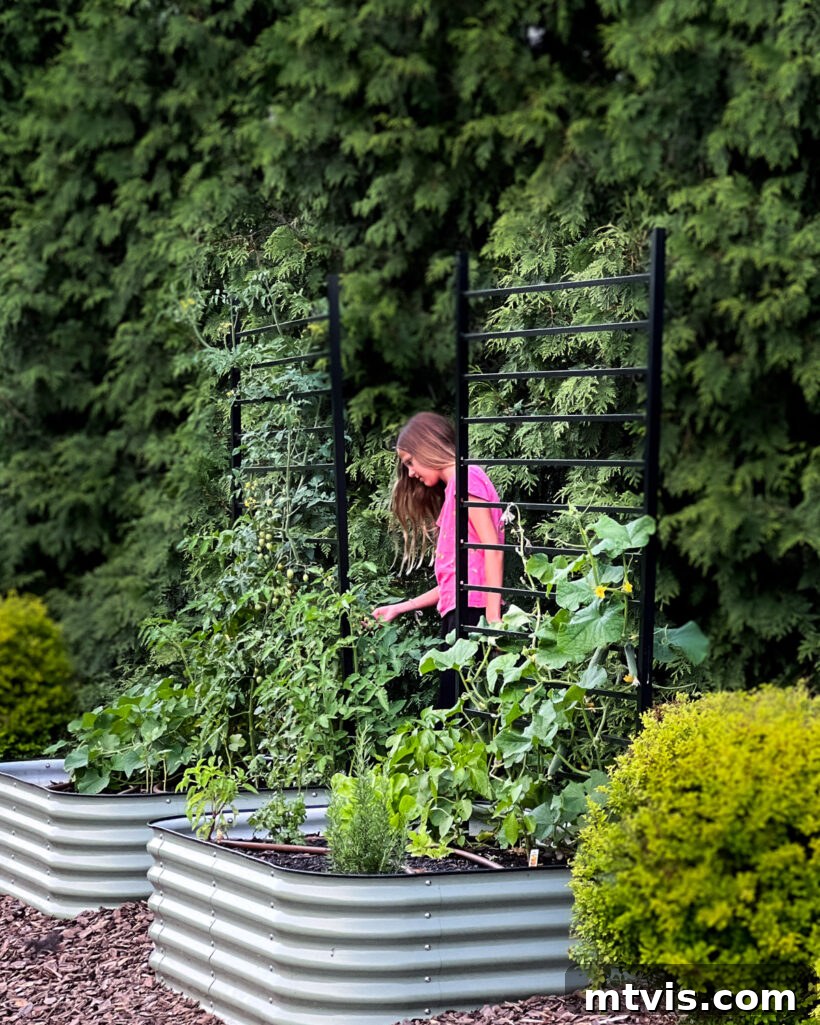
And just like that, you’re done! We promised it was an easy project, and we stand by that. The satisfaction of creating something so functional and aesthetically pleasing with your own hands is truly rewarding. We are absolutely thrilled with how our DIY trellises turned out, and we’re confident you will be too. We installed ours nearly two years ago, and they have held up remarkably well—showing no signs of rust, peeling paint, fading, or any other issues. They remain as sturdy and beautiful as the day we installed them, a testament to the durability of this simple design. Below are some photos showcasing the finished product in our garden.
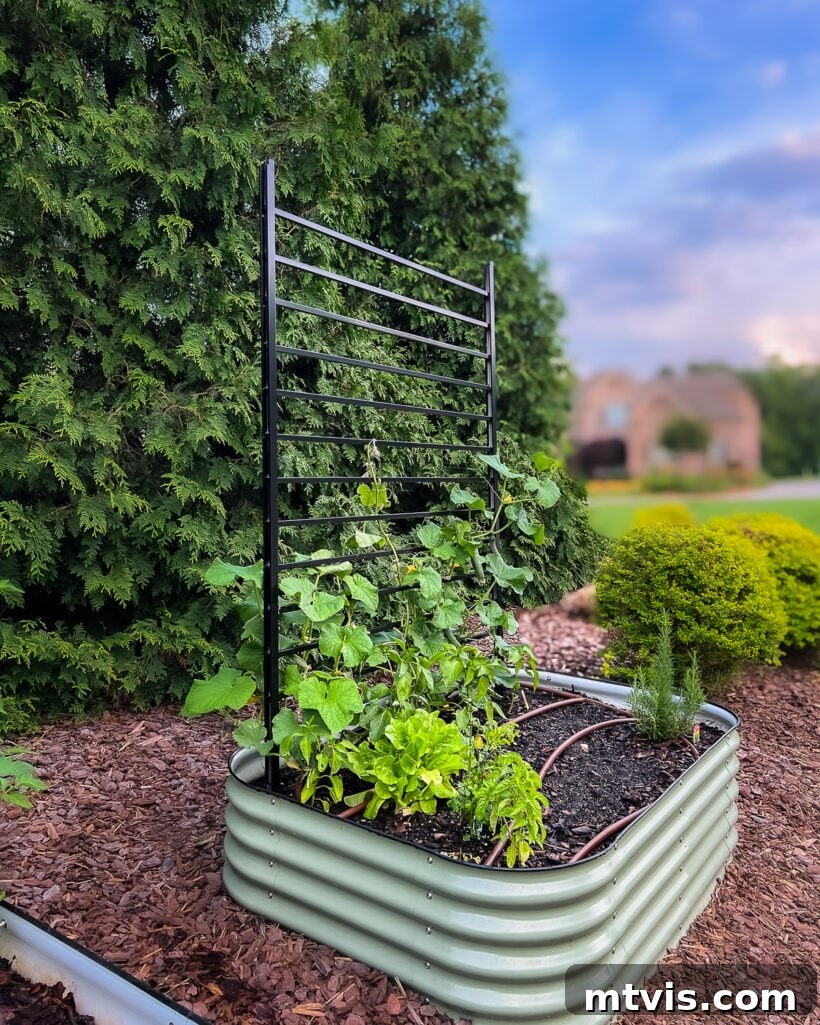
Here’s another perspective, capturing just one of the DIY trellises from a slightly different angle. Its clean lines and robust structure truly enhance the overall appeal of our raised beds. Isn’t it a delightful addition to the garden?
Tips for Success & Customization
To ensure your DIY trellis project goes smoothly, consider these additional tips:
- **Measure Carefully:** Always double-check your measurements for rebar placement to ensure a perfect fit for your fence panel.
- **Soil Conditions:** If your soil is particularly rocky or compacted, you might need to use a post-hole digger for the initial few inches to make driving the rebar easier.
- **Personalize It:** While we love the minimalist black, you could paint your metal fence panel a different color to match your garden’s theme or add decorative caps to the top of the rebar for an extra touch of style, if desired.
- **Plant Support:** As your plants grow, gently guide their tendrils onto the horizontal pickets to encourage optimal climbing and coverage.
Conclusion: A Trellis That Transforms Your Garden
We genuinely hope this tutorial has been incredibly helpful for anyone who has been searching for a modern, durable, and easy-to-implement garden trellis solution. The frustration of finding nothing suitable on the market can be immense, but this DIY approach offers a fantastic alternative. We promise you, this modern DIY trellis project is among the easiest and most rewarding we’ve ever undertaken, making it highly beginner-friendly. The payoff is simply awesome: a beautiful, sturdy support structure that will elevate your garden’s aesthetic and productivity for years to come. Happy gardening, and enjoy the beauty and bounty your new trellis brings!
More OUTDOOR IDEAS
SEE ALL outdoor POSTS
-
Fire Pit Ideas for Every Outdoor Space
-
How to Make a DIY Outdoor Chandelier
-
Modern DIY Garden Trellis
-
DIY Outdoor Electrical Box Cover
-
DIY Diamond Wire Trellis for a Vine
-
A Complete Review of Vego Garden Beds: Pros, Cons, and Everything In-between
Curious about our approach to transforming rooms and spaces within our home? Explore our philosophy and practical strategies in Designer in a Binder®, your guide to decorating with confidence and simplicity.
For exclusive content and behind-the-scenes glimpses into our latest projects and design insights, make sure to subscribe before you go!