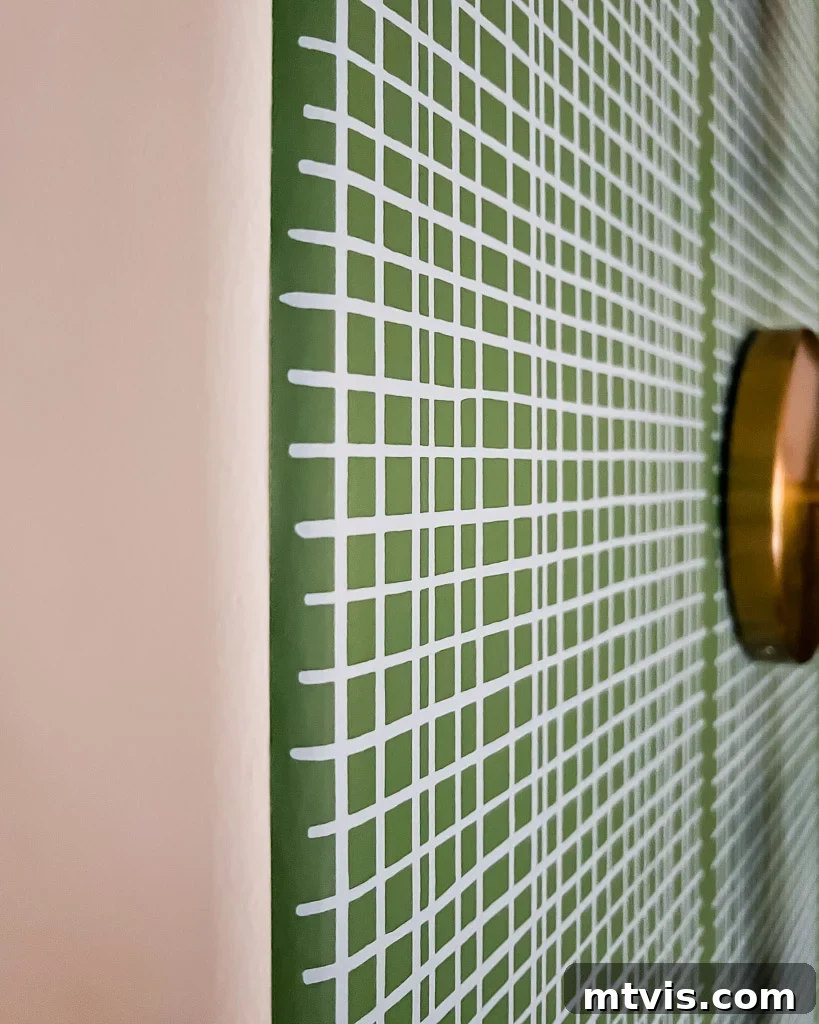
Dreaming of transforming your space with beautiful wallpaper but hesitant about the long-term commitment? Whether you’re a renter navigating property rules or a homeowner dreading the notorious struggle of wallpaper removal, this guide offers the perfect solution. Discover how to make virtually any traditional unpasted wallpaper entirely removable, turning a potentially daunting DIY project into a flexible and fun decor adventure. Say goodbye to sticky residue, damaged walls, and hours of scraping, and hello to effortless style changes!
Wallpaper has an undeniable charm, capable of infusing a room with color, texture, and a unique personality. I’m a huge fan; in fact, I’ve dedicated an entire article to unique wallpaper ideas because I believe in its power to transform a space. However, my passion for wallpaper comes with a confession: I’ve also spent countless hours in previous homes battling stubborn wallpaper removal, and it’s an experience I wouldn’t wish on anyone. Imagine renting a heavy-duty steamer, scoring the paper, applying the strongest removal paste, only for it to come off in tiny, frustrating strips. It was a truly terrible, back-breaking ordeal.
This painful history led me on a quest, even as a homeowner, to discover a foolproof method for easy wallpaper removal. I wanted a solution that not only offered peace of mind to homeowners like myself, who might desire a change every few years, but also provided an ideal renter-friendly option. Why not just opt for peel-and-stick wallpaper, you ask? While I’ve installed removable wallpaper many times (it takes practice to master!), it often comes with a significantly higher price tag than traditional wallpaper. More importantly, it doesn’t always offer the wide range of patterns, textures, and quality finishes available in traditional unpasted varieties.
My research unveiled a surprisingly simple and cost-effective solution: liquid starch. Many DIY enthusiasts have successfully used liquid starch to apply traditional wallpaper, finding it provides a strong enough bond for display while ensuring effortless removal when the time comes for a refresh. This method offers the best of both worlds: the aesthetic appeal and variety of traditional wallpaper combined with the flexibility of temporary decor. Let’s dive into this game-changing tutorial and transform your approach to wallpaper!
How to Make Traditional Wallpaper Removable
Materials Needed
- Unpasted Wallpaper: This is crucial for the liquid starch method. Ensure your chosen design is not pre-pasted. (This is the wallpaper I used for reference).
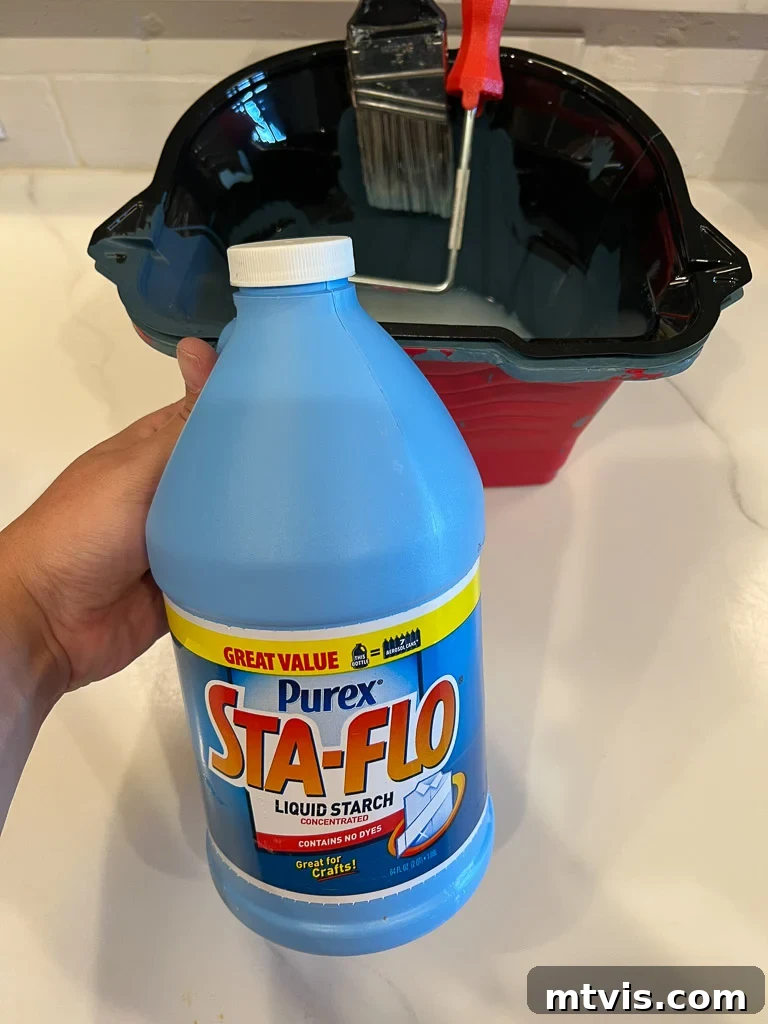
- Liquid Starch: The secret ingredient for temporary adhesion.
- Paint Tray or Bucket: For holding and distributing the liquid starch.
- 6-inch Paint Roller: Ideal for applying starch evenly to the wall.
- Straight Edge or Laser Level: Essential for establishing a perfectly vertical plumb line. (My favorite laser level that I use frequently).
- Utility Knife with Fresh Blades: A sharp blade is paramount for clean cuts.
- Damp Rag or Sponge: For smoothing wallpaper and wiping excess starch.
- Painter’s Tape: Helpful for securing wallpaper panels, especially during solo installation.
Before diving into the detailed instructions, understand that this method requires a bit of patience and precision, but the rewarding outcome of beautiful, removable wallpaper is well worth the effort. Follow these steps meticulously to achieve a professional finish.
Time needed: 4 hours (approximately, for a 14ft x 10ft wall)
Follow these steps to transform any unpasted wallpaper into a stylish, easily removable, and renter-friendly wall covering.
- Prepare Your Walls.
Begin by thoroughly cleaning the wall(s) where you plan to install the wallpaper. Use a damp rag to wipe away any dust, dirt, or grease. Allow the wall to dry completely before proceeding. A clean, smooth surface is essential for proper adhesion of the liquid starch and to ensure the wallpaper lies flat without blemishes. Any residue on the wall can prevent the starch from bonding effectively, making installation more difficult and potentially compromising future removal.

- Cut Your Wallpaper to Length.
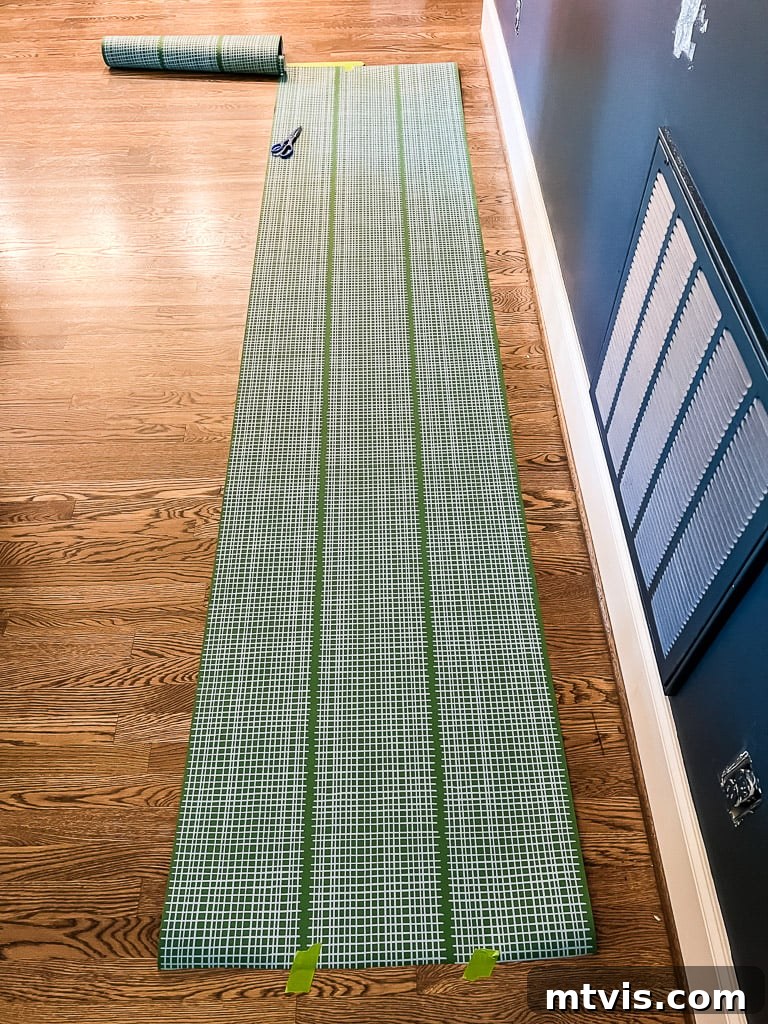
Next, unroll your wallpaper and cut it into strips. Each strip should be at least 4 inches longer than the height of your wall. This excess allows for precise trimming at the top and bottom after the panel is applied, ensuring a clean edge. To make this process easier, I measured the wall height once and marked that length on my floor with painter’s tape. This allowed me to roll out each strip, align one end with the tape mark, and cut efficiently without re-measuring every time. If working alone, taping one end of the wallpaper down to the floor can prevent it from rolling back up while you cut. If your wallpaper has a complex pattern repeat, consider pre-cutting all your strips, carefully aligning the pattern across panels before cutting. For simpler patterns, cutting as you go can be sufficient.
- Establish Your Plumb Line.
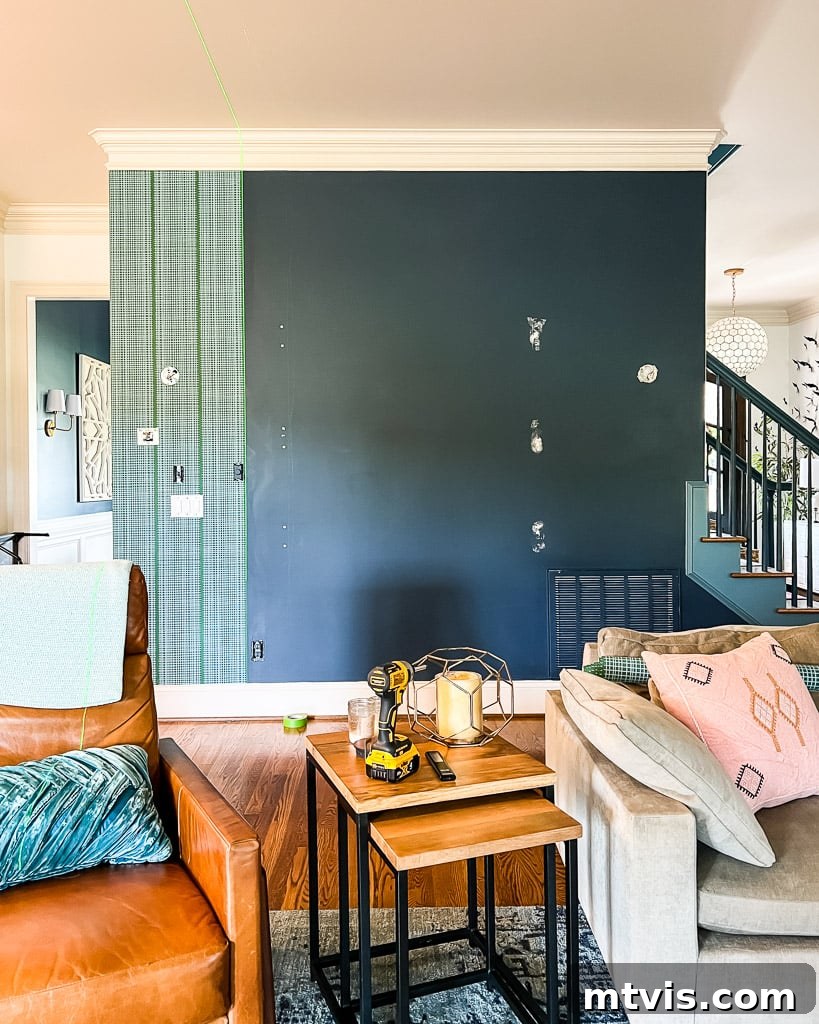
This step is critical for a professional-looking installation. Never assume your ceiling, floor, or existing trim is perfectly straight or level; relying on them will result in crooked wallpaper. Instead, use a laser level (the one I love to use) or a traditional level and pencil to mark a perfectly vertical plumb line on your wall. This line will serve as the guide for the first edge of your initial wallpaper panel. You can see my green laser line in the photo below, extending even onto the ceiling – it blends slightly with the wallpaper but is there as a precise guide. A straight first panel sets the foundation for all subsequent panels, ensuring the pattern aligns correctly across the wall.
- Apply Liquid Starch to the Wall in Sections.
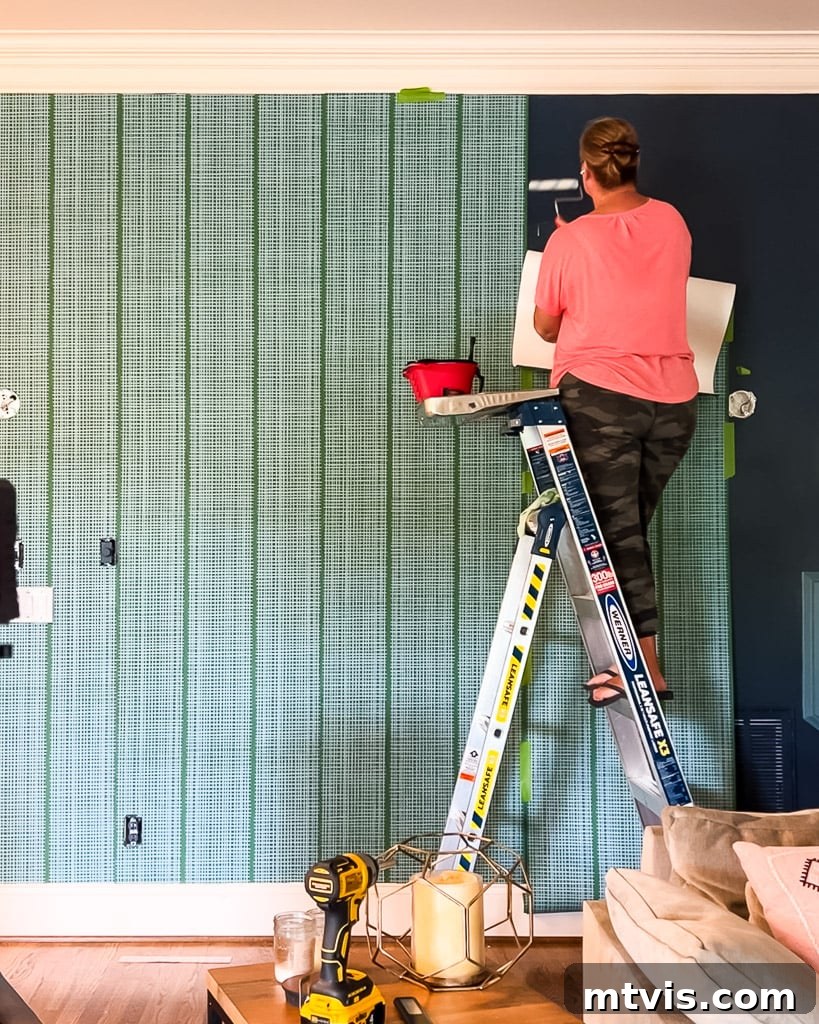
Pour the liquid starch into your paint tray or bucket. Saturate your paint roller, then gently roll off any excess in the tray to prevent drips. Apply the starch liberally and evenly directly to the wall in manageable sections, typically about 4-5 feet wide. You do not need to apply starch to the wallpaper itself. It’s important to work in sections because liquid starch can dry relatively quickly, especially in warmer or drier environments. Ensuring the wall section is sufficiently wet with starch will give you enough time to position the wallpaper panel accurately without it drying out prematurely.
- Apply Your Wallpaper.
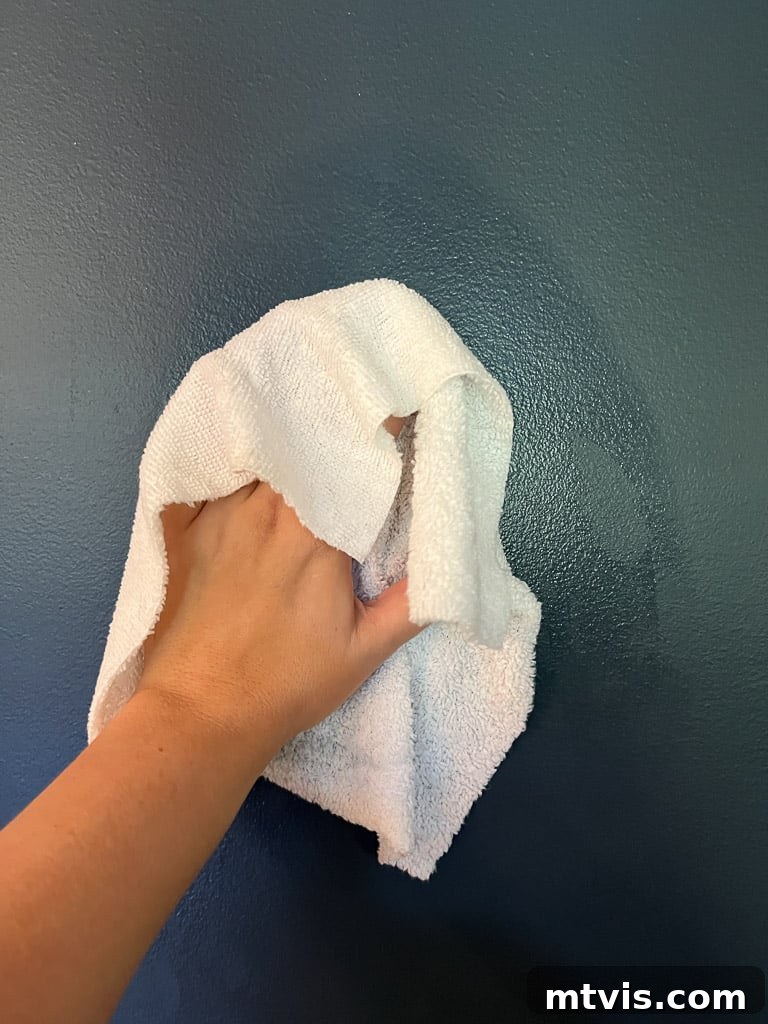
Align the first wallpaper panel with your plumb line, starting from the top of the wall and leaving a slight overlap at the ceiling (which you’ll trim later). Gently smooth the wallpaper into place using a damp rag or sponge, working from the center of the panel outwards. This technique helps push out any air bubbles or wrinkles, ensuring a smooth, flat finish. Once the panel is securely in place, use a straight edge to firmly hold the wallpaper against the ceiling and trim (or floor if you don’t have trim), then carefully cut off the excess with a VERY SHARP utility knife blade. A dull blade will snag and tear the wallpaper, so replace blades frequently for crisp cuts. Repeat this trimming process at the bottom of the wall. When encountering outlets or light switches, carefully feel for the edges of the electrical boxes under the wallpaper. Cut slowly and precisely around these obstacles with your sharp blade.
For subsequent panels, installation can be a bit trickier, especially if you’re working solo. My strategy involved painter’s tape: I would first dry-fit the next panel, aligning its pattern and seam perfectly with the previous one. Once aligned, I taped it securely along the edge that overlapped with the prior panel. Then, I gently flapped back the top section of the new panel, applied liquid starch to that section of the wall, and carefully pressed the wallpaper into place, aligning it with the pattern. Once the top portion was secure, I could remove the painter’s tape and work my way down the wall in 4-5 foot sections, applying starch and smoothing the paper as I went.
Because liquid starch is less aggressively adhesive than traditional wallpaper paste, getting the edges to stick, especially on rounded corners, might require a bit more attention. In such cases, apply a small amount of extra liquid starch directly to the stubborn edge and hold it in place for a slightly longer period until it adheres. Patience here will result in a perfectly flush seam.
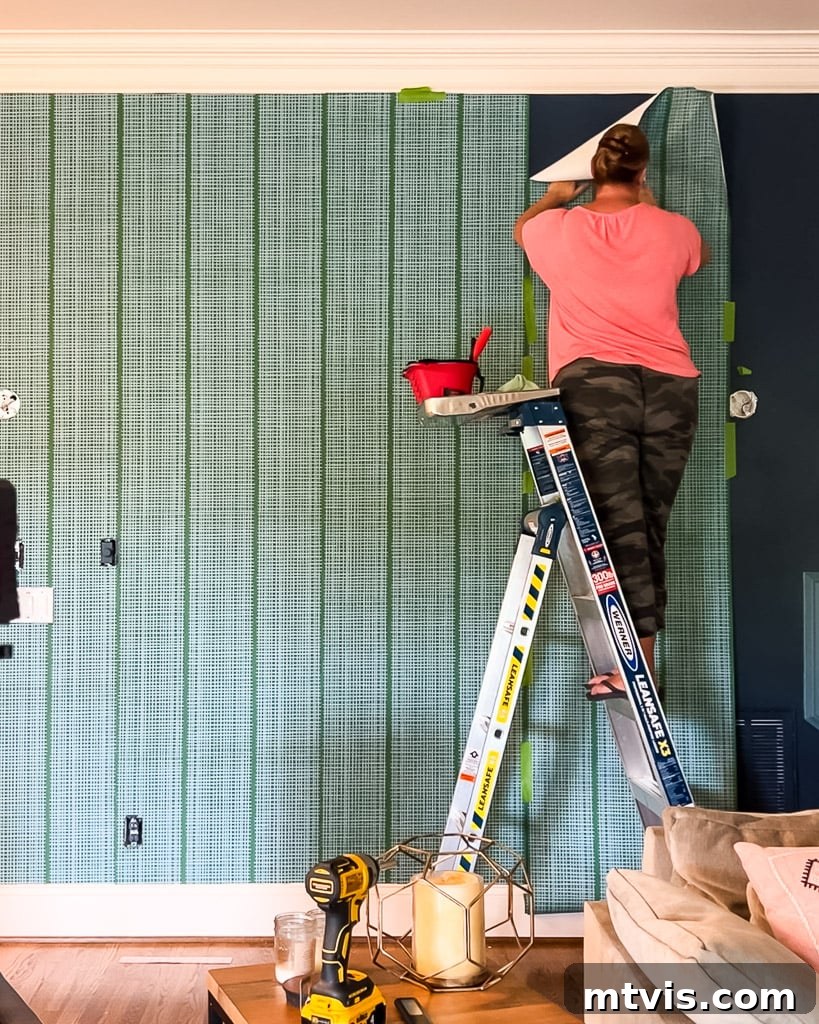
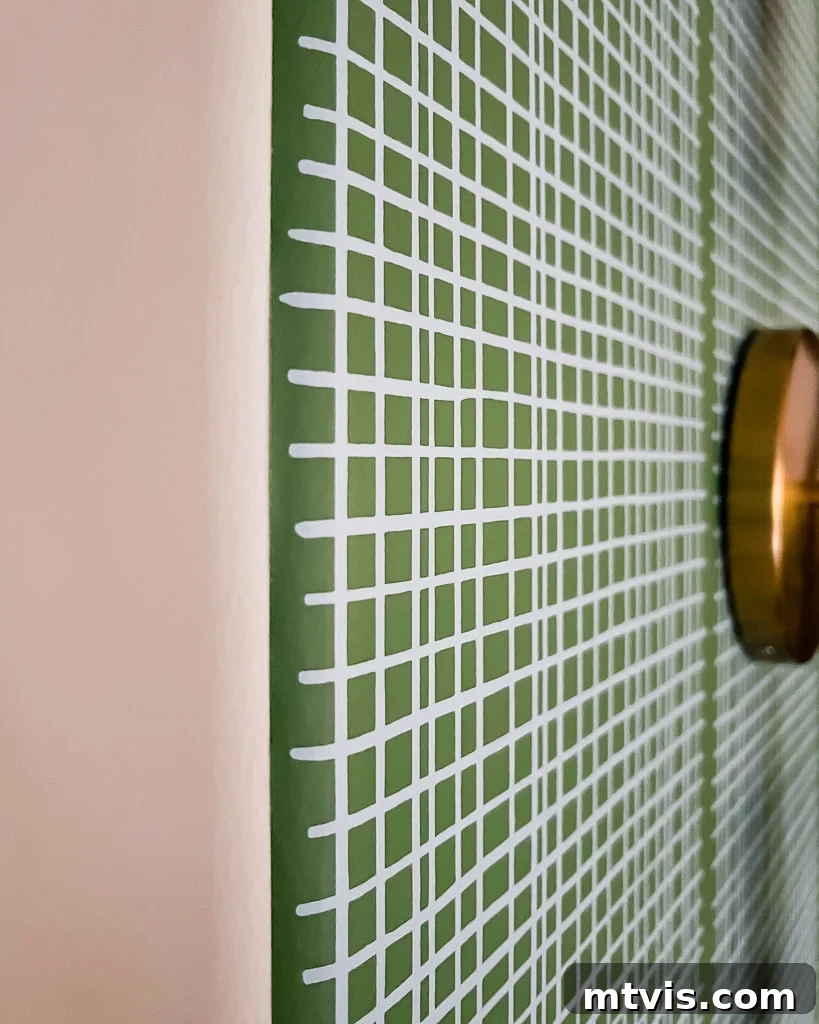
And that’s it! This technique transforms a traditional wallpaper into a renter-friendly, easily removable masterpiece. For context, installing wallpaper on a wall approximately 14 feet wide by 10 feet tall took me about 4 hours. This time estimate does not include the additional hours spent removing shelves, lights, and other fixtures, and then replacing them after the wallpaper was complete, so factor that into your planning.
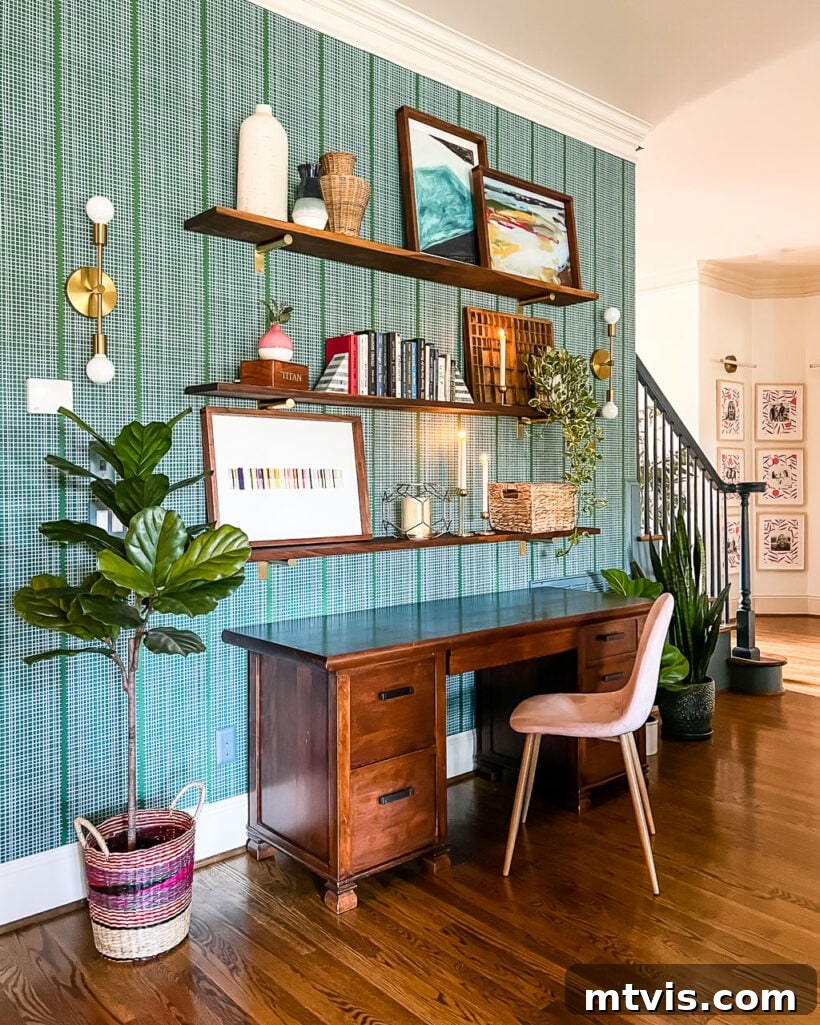
While the initial installation with liquid starch might feel slightly more demanding than with traditional wallpaper paste due to its less aggressive tack (a point I’ll elaborate on below), I firmly believe the extra effort is an investment in future convenience. The joy of knowing I can easily refresh my decor in a few years, without the dread of intense removal, makes this method invaluable. As much as I adore this vibrant wallpaper now, I know myself well enough to anticipate the desire for a new look down the road, and this method provides that cherished flexibility.
Important Notes About Using Liquid Starch to Hang Wallpaper
Understanding the nuances of liquid starch as an adhesive is key to a successful project:
- Forgiving Application: One of the greatest benefits of liquid starch is its forgiving nature. If you make a mistake, encounter too many wrinkles, or misalign a panel, you can usually peel the wallpaper back gently, reapply a little more liquid starch to the wall, and reposition it. This flexibility significantly reduces stress during installation.
- Wrinkles and Smoothing: You might find yourself needing to smooth out more wrinkles when working with liquid starch compared to traditional, thicker wallpaper pastes. The thinner consistency of starch means air bubbles and imperfections might be more apparent initially. Be diligent with your damp rag or sponge, working consistently from the center outward to achieve a smooth finish.
- Less Stickiness: Liquid starch provides a milder bond than conventional wallpaper paste. This means you won’t have the same “wiggle room” to slide and reposition wallpaper panels extensively once they touch the wall. Precision in your initial placement and careful alignment with your plumb line or previous panel is essential. While this can make solo installation a bit more challenging, it’s precisely this characteristic that ensures easy removal later.
- When to Choose Traditional Paste: If your primary concern is ease of installation and you have no intention of removing the wallpaper in the foreseeable future (or don’t mind a laborious removal process), traditional wallpaper paste is generally easier to work with. It offers stronger initial tack and more adjustability during placement.
- Liquid Starch vs. Peel-and-Stick: In my experience, applying wallpaper with liquid starch is often simpler than installing peel-and-stick wallpaper, which can be notoriously tricky to align perfectly and often traps bubbles. Furthermore, the liquid starch method allows you to use a much wider array of traditional unpasted wallpapers, which are often significantly more affordable than their peel-and-stick counterparts. This opens up a world of design possibilities without breaking the bank.
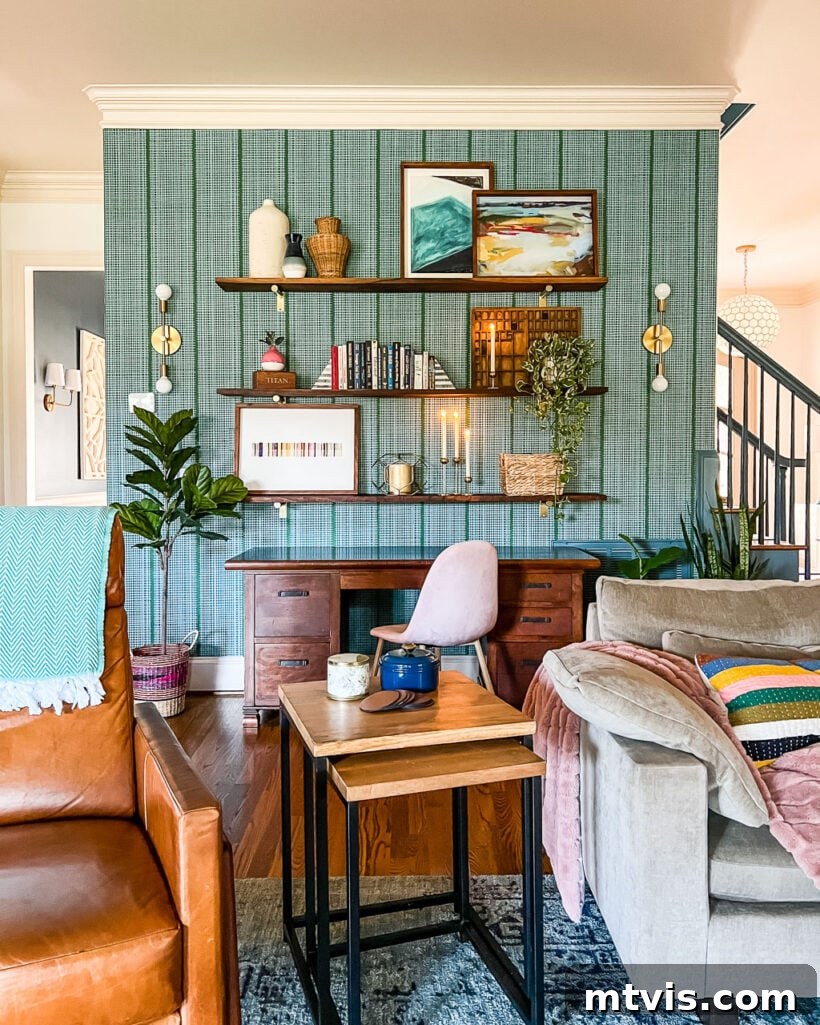
So, what are your thoughts? Does knowing how to make any wallpaper removable make you feel less intimidated about embracing bold patterns and colors in your home? This method empowers you to decorate with confidence, knowing that your design choices are not permanent and can evolve with your style.
If you found this guide helpful and inspiring, please consider saving it for future reference! Pin this post to your Pinterest board so you can easily revisit these tips when you’re ready to tackle your next wallpaper project.
Other posts you may enjoy:
- 18 Unique Wallpaper Ideas to Spark Your Creativity
- How to Install Removable Wallpaper in 5 Easy Steps
- Stunning Accent Wall Ideas to Transform Any Room
- How to Choose Paint Colors for Your Home: 6 Simple Tips to Follow
- 5 Tips to Decorate With Color (Even When It Scares You)
Curious about my unique approach to transforming rooms and spaces in our home? Be sure to check out Designer in a Binder®, my comprehensive guide to affordable and simple home decorating.
For exclusive content, behind-the-scenes sneak peeks, and more decorating inspiration, don’t forget to subscribe to my newsletter before you go!